

Grilling is one of the most rewarding ways to prepare food, offering rich flavors and a social cooking experience. If you’re new to the world of outdoor cooking, learning how to use a gas grill might seem daunting—but it doesn’t have to be. Gas grills are user-friendly, efficient, and perfect for creating everything from juicy burgers to perfectly seared vegetables.
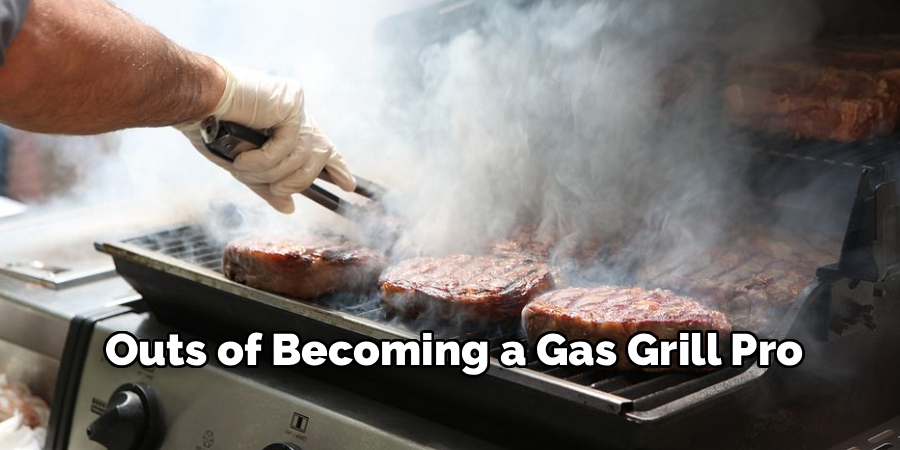
This guide will walk you through everything you need to know to get started with confidence. Whether you’re firing up the grill for the first time or looking to refine your skills, we’ve got you covered. With clear, actionable steps, you’ll be flipping the perfect steak and impressing your friends in no time. Stick around to learn the ins and outs of becoming a gas grill pro.
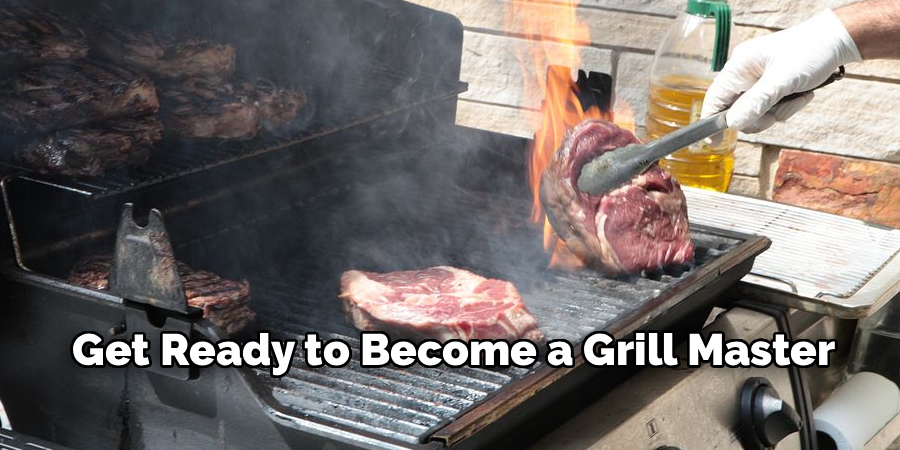
Gas grills are a popular choice for outdoor cooking, and for good reason. They offer convenience, control, and consistent heat, making it easier to achieve delicious results every time. However, if you’re new to gas grills, the array of options and features can be overwhelming. But fear not! This beginner’s guide will cover everything you need to know about gas grills so you can feel confident in your skills and get ready to become a grill master.

Why Gas Grilling is the Ultimate Way to Cook Outdoors
Gas grills offer unparalleled convenience compared to other grilling methods. They heat up quickly, often within 10-15 minutes, and maintain consistent temperatures for predictable cooking. This makes them ideal for beginners and seasoned cooks alike. Unlike charcoal grills, which require time and practice to master, gas grills come with easy-to-use temperature controls that optimize every step of your cooking process.
Plus, the versatility of a gas grill allows you to prepare a variety of dishes, whether you’re grilling tender meats, whipping up quick weeknight meals, or hosting large gatherings. Gas grilling is also more environmentally friendly than using charcoal, emitting fewer pollutants into the air.
With the right techniques and safety measures, gas grilling can open up a world of culinary possibilities. Keep reading to master this essential skill.
Step-by-Step Guide on How to Use a Gas Grill
Transitioning from the kitchen to grilling outdoors can feel like a big leap, but with methodical preparation, you’ll quickly find yourself operating a gas grill like a pro. Here’s a step-by-step guide to walk you through the process.
Step 1: Inspect and Position Your Grill
Before you begin, check the condition of your grill. Make sure it’s on a flat, non-flammable surface, well away from walls or overhangs. Inspect the propane tank for leaks by applying soapy water to the connectors and watching for bubbles. Ensuring your grill is stable and safe to use is always the first step toward a successful grilling session. Safety first!
Step 2: Connect the Propane Tank
Secure the propane tank to your gas grill by attaching the hose tightly to the regulator. Once connected, gently open the propane valve by turning the knob counterclockwise. Listen for any unusual hissing that could indicate a leak. A proper connection ensures steady gas flow to maintain even heat while cooking. Gas leaks, if undetected, can disrupt your grilling or pose safety risks.
Step 3: Preheat the Grill
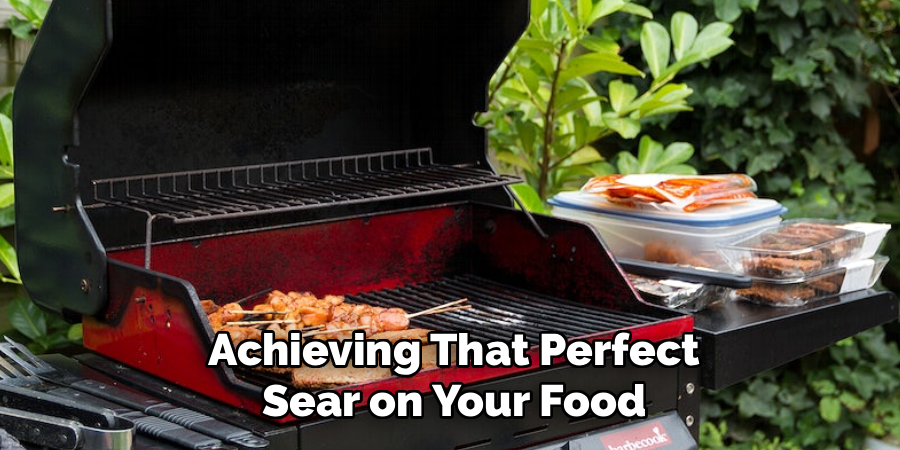
Turn the gas burners on by twisting the knobs to “High” while pressing the ignition button. Close the lid and allow the grill to preheat for 10-15 minutes until it reaches a surface temperature of approximately 400-500°F. This step is critical for reducing sticking and achieving that perfect sear on your food. Preheating also ensures even cooking throughout.
Step 4: Clean the Grates
Once the grill is preheated, use a sturdy grill brush to scrub the grates. Any leftover residue from previous grilling sessions can affect the flavor of your food. A clean cooking surface also minimizes sticking. This step might seem minor, but it’s essential for grilling success.
Step 5: Prepare Your Food
Before placing your ingredients on the grill, pat them dry and add any desired marinades or seasonings. Dry food sears better, while too much liquid can disrupt the grilling process. Keep all necessary tools nearby for an uninterrupted experience. Grilling isn’t just about the heat—it’s about preparation and timing.
Step 6: Grill with Lid Open or Closed
The lid position depends on what you’re cooking. For thinner cuts like burgers or vegetables, leave the lid open for direct heat. For thicker cuts like chicken or roasts, close the lid to mimic an oven and cook food evenly. This distinction makes a big difference in the outcome.
Step 7: Use a Meat Thermometer
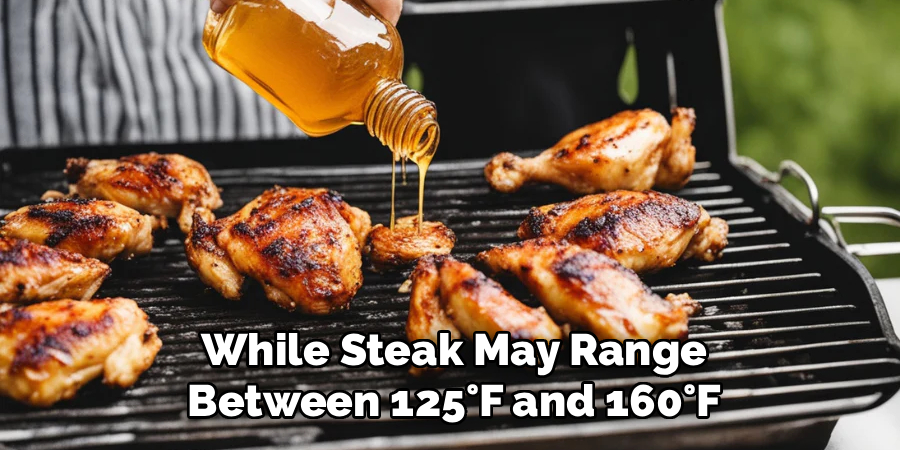
A meat thermometer is your best friend when learning how to use a gas grill successfully. Insert the thermometer into the thickest part of the meat to ensure it’s cooked to the correct internal temperature. For example, chicken should reach 165°F, while steak may range between 125°F (rare) and 160°F (well done). Consistency is key.
Step 8: Turn and Monitor Food
Flip your food only once to ensure even cooking without drying it out. Avoid pressing down on meats, as this releases flavorful juices. Use tongs instead of a fork to retain as much moisture as possible. Monitoring food closely prevents overcooking or charring.
Step 9: Turn Off and Clean Up
When your meal is complete, turn off the burners and close the propane valve. Allow the grates to cool slightly and then clean them with a grill brush. Proper shutdown procedures prolong the life of your grill and prepare it for future use.
Step 10: Store the Grill Safely
Ensure your grill is completely cool before covering it with a protective cover. Store it in a dry location to minimize rust and weather damage. This final step ensures your gas grill remains in excellent condition for many seasons to come.
Common Grilling Mistakes to Avoid
Even with proper techniques, it’s easy to make mistakes that can impact the quality of your grilling experience. Overcrowding the grill can prevent even cooking and reduce the heat efficiency. Additionally, flipping meats too frequently can prevent a good sear from forming, which is essential for locking in flavor.
Another common error is failing to preheat the grill, which can result in uneven cooking and sticking food. Using the wrong tools, such as forks that pierce the meat, can cause juices to escape, leading to dry results. By being mindful of these common mistakes, you can elevate your grilling skills and consistently achieve excellent results.
Properly maintaining your grill is another crucial aspect of successful grilling. Regularly cleaning the grates prevents food buildup that can cause sticking or impart unwanted flavors to your dishes. Additionally, inspecting and cleaning the burners ensures even heat distribution, which is key to cooking food thoroughly and avoiding hot spots.
For charcoal grills, removing ash and unburned coals after each use improves airflow, allowing for more efficient heat generation during your next cookout. Investing time in grill maintenance not only extends the life of your equipment but also enhances the quality of your meals.
Tips for Grilling Success
- Keep your grill clean: After each use, make sure to clean off any residue or buildup on the grates. This will not only keep your food from sticking, but also prevent any unwanted flavors from transferring to your next meal.
- Preheat properly: Before adding any food to the grill, give it enough time to preheat. This ensures that the temperature is consistent and helps create those beautiful sear marks on your meats.
- Oil up: To prevent sticking, lightly oil the grates before adding food. You can use a brush or spray bottle to evenly coat the surface.
- Don’t overcrowd: To avoid uneven cooking and steaming instead of grilling, make sure to leave some space between food items on the grill. This allows for proper air circulation and helps achieve that perfect char.
- Keep an eye on the heat: Different foods require different levels of heat. Make sure to keep an eye on the temperature and adjust as needed. Some tips for controlling heat include moving coals or adjusting gas levels.
- Use a thermometer: To ensure your food is cooked to the desired level of doneness, use a meat thermometer. This takes out any guesswork and helps prevent overcooking.
- Know when to flip: When grilling meats, it’s best to only flip once. Let one side cook for a few minutes before flipping
FAQ Section
1. How do I clean a gas grill after each use?
Cleaning a gas grill is simple. Start by turning off the burners and letting the grates cool slightly. Use a grill brush to remove any food residue from the grates while they’re still warm. Empty the grease tray and wipe it clean with a damp cloth. For a deeper clean, soak grates in warm, soapy water once they’ve cooled completely, and scrub them thoroughly.
2. What is the best way to ignite a gas grill if the electronic ignition fails?
If your grill’s electronic ignition doesn’t work, use a long-reach lighter or matchstick. Turn one burner knob to the light position, then hold the flame close to the burner until it ignites. Repeat this for additional burners and always exercise caution with manual ignition methods.
3. Can I use my grill during the winter?
Yes, you can use your gas grill year-round! To grill in colder weather, preheat the grill for a longer period to compensate for cooler ambient temperatures. Also, make sure propane tanks are properly stored to maintain the gas’s pressure, as colder conditions can affect its performance.
4. How do I know if my propane tank is running low?
Check your propane tank levels by pouring warm water down its side. A condensation line will appear at the level where propane remains. Some tanks also come equipped with gauges, which offer a more direct reading. Running out mid-cook is inconvenient, so check ahead!
5. What safety precautions should I follow when using a gas grill?
Always operate your gas grill in a well-ventilated outdoor space to prevent carbon monoxide buildup. Keep a fire extinguisher nearby and never leave the grill unattended while in use. Regularly inspect your propane tank for leaks, and avoid placing the grill on or near flammable surfaces.
Conclusion
Mastering how to use a gas grill doesn’t have to be intimidating. By following these steps, inspecting your equipment, and prioritizing safety, you’ll unlock a world of delicious grilling possibilities. Whether it’s juicy steaks, crisp vegetables, or flavorful seafood, the gas grill is the ultimate tool for outdoor cooking.
Take your time, experiment with new recipes, and enjoy your culinary creations with loved ones. Remember, practice makes perfect, and grilling is as much about the experience as it is about the food. Now, go ahead and fire up that grill—you’re ready to get cooking!
About
Diane Lo is a distinguished figure in the world of kitchen innovation and culinary design, with over a decade of expertise creating functional and sustainable kitchen environments. Her professional focus lies in merging ergonomic spatial planning with modern culinary technology, fostering kitchen layouts that are both highly practical and aesthetically refined. As the lead expert at Kitchenub, Diane Lo delves into the art and science of kitchen organization, appliance selection, and workflow efficiency, inspiring home cooks and professional designers alike.
Education
Royal Melbourne Institute of Technology (RMIT University) (Melbourne, Australia) Associate Degree in Interior Design and Spatial Planning Focus on sustainable kitchen layouts, user-centric design, and ergonomic efficiency. Gained hands-on experience in high-traffic commercial kitchen modeling and advanced space-saving architecture.
Nottingham Trent University (United Kingdom) Bachelor’s in Product Design and Culinary Architecture (Honors) Specialized in the intersection of kitchen technology and lifestyle design. Participated in major industry collaborations, working with premium appliance manufacturers and cabinetry firms to gain real-world insights into modern kitchen workflows.
Publications and Impact
At Kitchenub, Diane Lo shares her expert insights on kitchen renovation processes, material durability, and strategies for achieving peak culinary productivity. Her writing effectively bridges the gap between professional culinary needs and home design, making it an essential resource for those looking to transform their kitchen into a highly efficient and welcoming heart of the home.