

Storing hot peppers in vinegar is a simple and effective way to preserve their freshness and flavor for an extended period. This method not only enhances the peppers’ shelf life but also infuses them with a tangy taste that can elevate your recipes. Whether you harvest peppers from your garden or purchase them from the market, learning this preservation technique ensures you always have a spicy, flavorful ingredient on hand. In this blog post, we’ll walk you through the steps on how to store hot peppers in vinegar so that you can get back to using it in no time! So grab your tools, and let’s get started!
Best Types of Peppers to Store in Vinegar
When it comes to storing peppers in vinegar, some varieties are better suited for this preservation method due to their flavor profiles, texture, and shape. Here are some of the best types of peppers to consider:
- Jalapeños – Known for their mild to medium heat and crisp texture, jalapeños are a popular choice for pickling. They maintain their crunch and offer a balanced heat that complements many dishes.
- Banana Peppers – With their mild and slightly tangy flavor, banana peppers are ideal for vinegar storage. They work well as toppings for sandwiches, salads, and pizzas.
- Cayenne Peppers – If you’re a fan of spicier flavors, cayenne peppers are an excellent option. Their bold heat and slim shape make them easy to pickle and great for adding a kick to recipes.
- Habaneros – For those who love intense heat, habaneros are perfect for storing in vinegar. Their fruity undertones pair beautifully with the tanginess of the vinegar.
- Cherry Peppers – These small, round peppers are ideal for stuffing or using as a snacking accompaniment. Their mild heat and juicy texture make them a versatile pickling choice.
- Thai Chili Peppers – Known for their fiery punch, Thai chilies are a great pick for those looking to add significant heat to their dishes. Their thin size helps them absorb the vinegar efficiently, resulting in a flavorful bite.
Choosing the right pepper not only impacts the taste but also the texture and usability of your preserved ingredients. Select fresh, firm peppers for the best results and experiment with different varieties to find your perfect flavor combination!
Supplies You’ll Need
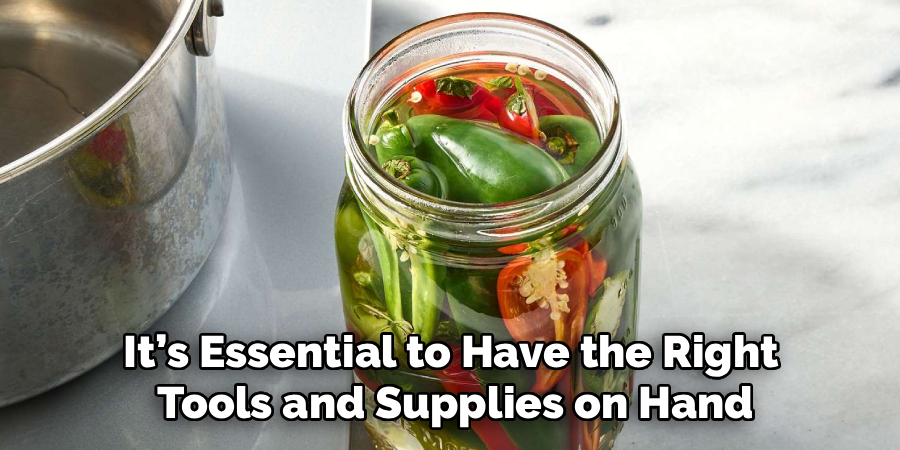
Before you begin pickling peppers, it’s essential to have the right tools and supplies on hand. Here’s a list of what you’ll need to get started:
- Fresh Peppers – Choose your preferred variety or mix them for a unique flavor profile. Make sure they are firm and blemish-free.
- Mason Jars – Use sterilized glass jars with lids to ensure a proper seal for safe storage.
- Vinegar – White vinegar or apple cider vinegar are common choices for pickling, as they provide acidity and flavor.
- Water – Clean, filtered water is necessary to balance the brine.
- Salt – Use pickling or kosher salt, as table salt may contain additives that can cloud the brine.
- Sugar – Depending on your recipe, sugar may be used to balance the acidity and add depth to the flavor.
- Garlic and Spices – Customize your pickled peppers with garlic cloves, peppercorns, bay leaves, or any other spices of your choice.
- Cutting Board and Knife – A sharp knife and sturdy cutting board are needed for prepping the peppers.
- Ladle and Funnel – These tools make it easier to transfer the brine into the jars without spilling.
- Large Pot – Used to prepare the brine and sterilize jars if necessary.
Having these supplies ready will make your pickling process smooth and efficient.
10 Methods How to Store Hot Peppers in Vinegar
1. Select Fresh, Firm Hot Peppers for Best Results
Before beginning the storage process, it is crucial to choose high-quality, fresh hot peppers. Select peppers that are firm, shiny, and free from blemishes or soft spots. Any damaged or overripe peppers can spoil more quickly and compromise the entire batch. Wash the peppers thoroughly under cold water to remove dirt and pesticides. You can use any variety of hot pepper—such as jalapeños, habaneros, Thai chilies, or serranos—depending on your desired heat level. Always dry them completely with a clean towel before proceeding to avoid diluting the vinegar brine.
2. Decide Whether to Slice or Leave Whole
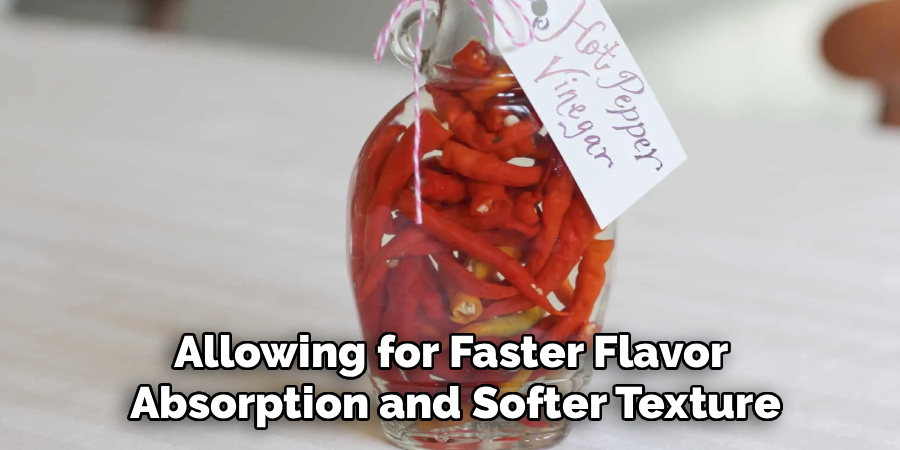
One important decision before preserving peppers in vinegar is whether to slice them or store them whole. Slicing peppers exposes more surface area to the vinegar, allowing for faster flavor absorption and softer texture. However, whole peppers maintain their shape and texture better over time. If you slice them, be sure to remove the seeds and membranes if you prefer a milder flavor. Whole peppers should be pricked with a clean needle or knife to allow vinegar to penetrate the interior. This step is essential for ensuring uniform preservation.
3. Choose the Right Type of Vinegar for Preservation
The type of vinegar you choose plays a significant role in both the safety and taste of your preserved peppers. White distilled vinegar is the most commonly used because it has a high acetic acid content (typically 5%) and a clean, neutral flavor. Apple cider vinegar adds a sweet and fruity note that pairs well with many pepper varieties. Rice vinegar, though milder, can be used for a more delicate flavor. Avoid flavored vinegars or those with added sugar unless you’re experienced with advanced pickling techniques, as they may alter preservation efficiency.
4. Sterilize Jars and Lids Before Use
Proper sterilization is essential for safe long-term storage. Place your glass jars and metal lids in boiling water for at least 10 minutes to kill any bacteria or mold spores. Alternatively, you can sterilize them in a dishwasher using the high-heat setting or by baking them in the oven at 250°F (120°C) for 15 to 20 minutes. Once sterilized, let the jars air-dry on a clean kitchen towel. Avoid touching the insides of the jars or lids with your hands to maintain cleanliness and prevent contamination.
5. Prepare a Simple Vinegar Brine
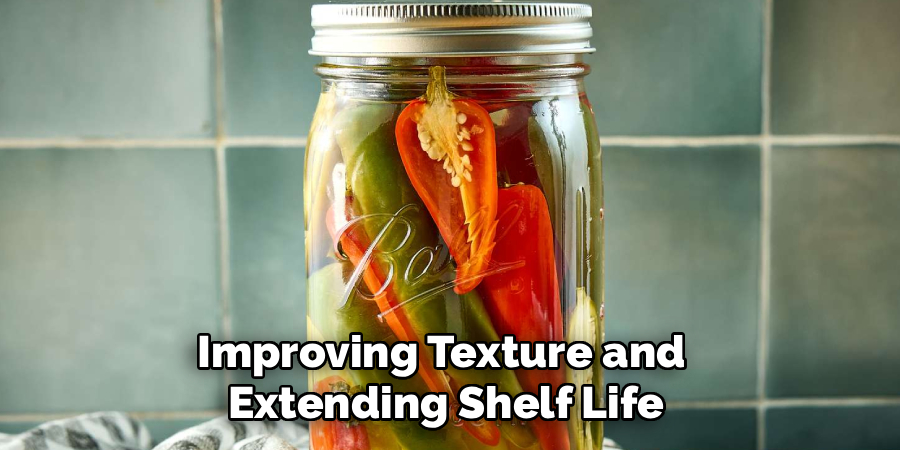
For effective preservation, a basic brine can be prepared by heating equal parts vinegar and water with a pinch of salt. For example, combine 1 cup of vinegar and 1 cup of water with 1 tablespoon of salt. Bring this mixture to a boil and then let it simmer for five minutes. The salt not only enhances flavor but also helps draw moisture from the peppers, improving texture and extending shelf life. Let the brine cool slightly before pouring it over the peppers to prevent softening them too quickly.
6. Add Aromatics for Enhanced Flavor
Though optional, adding aromatics can elevate the flavor of your vinegar-stored peppers. Consider including garlic cloves, bay leaves, mustard seeds, peppercorns, coriander seeds, or sprigs of fresh herbs like thyme or dill. These additions infuse the vinegar with complexity and provide a gourmet finish. Add the aromatics to the bottom of the jar before packing the peppers. Be sure all ingredients are clean and dry to avoid unwanted bacterial growth. The vinegar will extract and preserve the essence of these flavor boosters over time.
7. Fill the Jars Carefully and Submerge the Peppers Completely
Once your peppers and jars are ready, fill the jars tightly with the peppers, arranging them so that they leave as little air space as possible. Carefully pour the warm (not boiling) brine into the jar, covering the peppers completely. It’s critical that no part of the pepper is exposed to air, as this could lead to mold or spoilage. Use a spoon or knife to release any trapped air bubbles by running it along the inside edges of the jar. Wipe the rim clean and tightly seal the jar with a lid.
8. Store the Jars in the Refrigerator for Short-Term Use
If you do not plan to can the jars using a water bath method, they must be stored in the refrigerator. This method, known as “quick pickling,” allows you to safely keep peppers in vinegar for several months without advanced canning techniques. Place the sealed jars in the back of the fridge where the temperature remains most stable. Let the peppers sit for at least 48 hours before consuming to allow the flavors to meld. This method offers convenience and great taste with minimal effort.
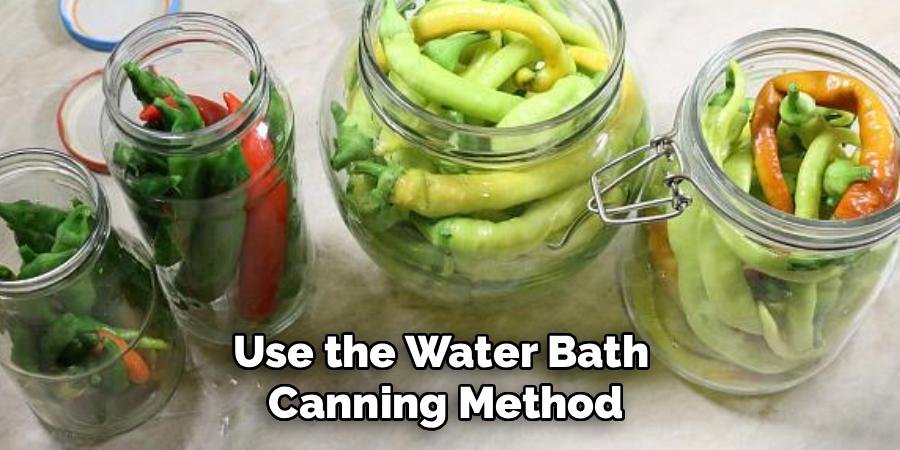
9. Use the Water Bath Method for Long-Term Shelf Storage
For pantry storage rather than refrigeration, use the water bath canning method. Once the jars are filled with peppers and brine and sealed with sterilized lids, submerge them in a large pot of boiling water, ensuring the water covers the jars by at least an inch. Boil for 10 to 15 minutes depending on jar size and altitude. Carefully remove the jars and let them cool undisturbed. The lids should “pop” as they seal. This method allows for safe storage in a cool, dark pantry for up to one year.
10. Label and Date Each Jar for Easy Monitoring
Once your peppers are safely stored, always label each jar with the contents and the date of preparation. Use waterproof markers or labels to prevent smudging. This step is especially important if you store multiple varieties of peppers or use different brine recipes. Having the date helps you keep track of shelf life and ensures you consume the oldest jars first. Proper labeling promotes food safety and helps you enjoy your preserved hot peppers at their best flavor peak.
Conclusion
Storing hot peppers in vinegar is a time-honored method that combines safety, flavor, and convenience. By carefully selecting your peppers, preparing a proper brine, sterilizing containers, and choosing between refrigeration and canning, you can enjoy your preserved peppers for months. These ten detailed methods provide a step-by-step guide to ensure success, whether you’re a first-time preserver or a seasoned home cook. Thanks for reading our blog post on how to store hot peppers in vinegar! We hope you found it helpful and informative.

About
Diane Lo is a distinguished figure in the world of kitchen innovation and culinary design, with over a decade of expertise creating functional and sustainable kitchen environments. Her professional focus lies in merging ergonomic spatial planning with modern culinary technology, fostering kitchen layouts that are both highly practical and aesthetically refined. As the lead expert at Kitchenub, Diane Lo delves into the art and science of kitchen organization, appliance selection, and workflow efficiency, inspiring home cooks and professional designers alike.
Education
Royal Melbourne Institute of Technology (RMIT University) (Melbourne, Australia) Associate Degree in Interior Design and Spatial Planning Focus on sustainable kitchen layouts, user-centric design, and ergonomic efficiency. Gained hands-on experience in high-traffic commercial kitchen modeling and advanced space-saving architecture.
Nottingham Trent University (United Kingdom) Bachelor’s in Product Design and Culinary Architecture (Honors) Specialized in the intersection of kitchen technology and lifestyle design. Participated in major industry collaborations, working with premium appliance manufacturers and cabinetry firms to gain real-world insights into modern kitchen workflows.
Publications and Impact
At Kitchenub, Diane Lo shares her expert insights on kitchen renovation processes, material durability, and strategies for achieving peak culinary productivity. Her writing effectively bridges the gap between professional culinary needs and home design, making it an essential resource for those looking to transform their kitchen into a highly efficient and welcoming heart of the home.