

Formica countertops have long been valued for their affordability, durability, and classic appeal. Found in countless kitchens and bathrooms, these surfaces offer homeowners a practical, attractive solution without breaking the bank.
However, like any work surface, years of daily use can leave their mark—scratch marks, stains, dull patches, and even chips can appear, making countertops look outdated. Thankfully, learning how to refinish Formica countertops can give your workspace a fresh, renewed look while prolonging the lifespan of your investment.
Whether you’re aiming to refresh your kitchen, upgrade your bathroom, or customize an older countertop to match a new design, refinishing Formica can be a cost-effective, satisfying DIY project.
This detailed step-by-step guide will walk you through how to refinish Formica countertops, offering practical advice, troubleshooting tips, and creative ideas for a professional result. With the right preparation, tools, and a methodical approach, you can transform worn Formica into a stylish feature of your home.
Understanding Formica Countertops
What is Formica?
Formica is a brand name that has become synonymous with high-pressure laminate surfaces used primarily for countertops, cabinetry, and furniture. It is composed of layers of kraft paper saturated with resin and bonded together with heat and pressure. The result is an attractive, highly durable surface that resists moisture, heat, and everyday wear.
Formica is popular for its versatility, broad range of colors and patterns, and its budget-friendly price point. From faux-stone to solid colors, Formica countertops can match nearly any aesthetic while being easier to maintain compared to natural stone or wood.
Common Issues with Formica
Despite their resilience, Formica countertops are not immune to damage over time. Common problems include:
- Superficial scratches caused by knives or abrasive cleaners
- Stains from food, drinks, or cleaning products
- Fading or discoloration due to sunlight or cleaning chemicals
- Chipped or cracked edges from heavy impacts
These blemishes can detract from your kitchen or bathroom’s overall look, but most can be effectively remedied by refinishing.
Assessing the Current State of Your Countertops
Before you begin learning how to refinish Formica countertops, a thorough assessment is essential. Start by examining the surface in good lighting, checking for the following:
- Small or deep scratches across the surface
- Chips or cracks, particularly at corners and along edges
- Stained or discolored areas
- Loss of gloss, sheen, or an uneven finish
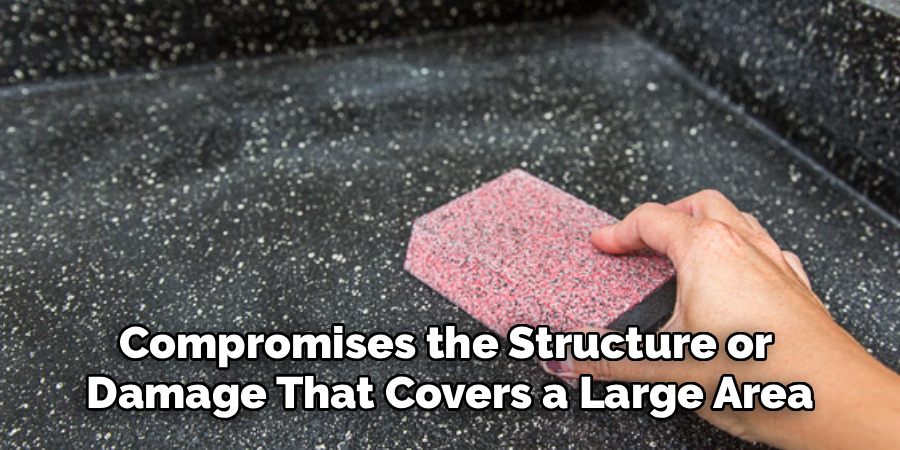
If you notice extensive cracking that compromises the structure or damage that covers a large area, replacing the countertop might be more practical. However, if the issues are mostly cosmetic—surface scratches, discoloration, or small chips—refinishing is likely the best solution.
Create a checklist to guide you:
- Are cracks limited and only on the surface?
- Is the countertop still firmly attached to the cabinets?
- Are the edges mostly intact?
- Is the underlying surface dry and free from rot or mold?
If you can answer “yes” to these questions, you are ready to proceed.
Tools and Materials Needed
Tools
Having the correct tools on hand will simplify each step and help ensure professional results. For this project, you will need:
- Medium- and fine-grit sandpaper (usually between 120–220 grit)
- A sanding block or electric sander
- Putty knife or plastic scraper
- Paintbrushes for edges and corners
- High-density foam paint roller for smooth application
- Clean, lint-free rags or tack cloths
Materials
In addition to tools, gather the following materials before starting:
- Degreasing cleaner (such as a household degreaser or diluted dish soap)
- Laminate countertop primer (specifically formulated for slick surfaces)
- Laminate or countertop paint (choose enamel or acrylic-based)
- Polyurethane or another protective top sealant compatible with your paint
- Filler or repair compound for minor chips and cracks (available at most hardware stores)
- Painter’s tape and drop cloths to protect nearby surfaces
Preparing the Countertop for Refinishing
Cleaning the Surface
Cleaning is the foundation of a great refinishing job. Begin by removing everything from the countertops. Spray the entire surface with a degreasing cleaner and allow it to sit for several minutes. Use a non-abrasive sponge or soft cloth to scrub away any built-up grease, sticky residue, or grime. Pay extra attention to areas around the sink and cooktop, where splashes are common. Make sure the surface is completely dry before moving on.
Sanding the Countertop
Once clean, lightly sand the entire countertop to create a “tooth” for the primer to grip. Use medium-grit (120–150) sandpaper for the initial pass, working in a circular motion and applying even pressure. Focus on glossy areas and be sure not to sand so aggressively that you break through the laminate layer.
Next, switch to a fine-grit (200–220) sandpaper to smooth rough spots and ensure an even surface throughout. Wipe away all sanding dust with a damp, lint-free cloth or tack cloth.
The right grit makes a difference: coarse sandpaper can gouge the surface, while too fine can make primer adhesion difficult. Always follow with thorough dust removal.
Repairing Imperfections
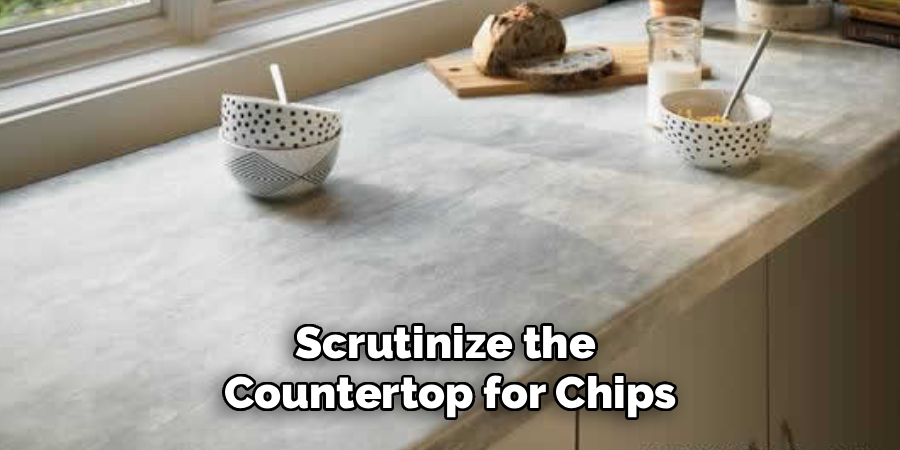
Scrutinize the countertop for chips, cracks, or gouges, especially around the edges. Use a laminate repair filler to patch damaged areas according to the product instructions. With a putty knife, press the filler into imperfections, overfill slightly, and let it dry. Once cured, sand the repairs flush with the surrounding surface. Wipe clean again, ensuring a perfectly smooth and dust-free surface before proceeding.
How to Refinish Formica Countertops: Applying Primer to the Countertop
Why Priming is Important
Priming is a critical step when you refinish Formica countertops because it ensures optimal paint adhesion. Laminate is a non-porous material, so regular primers will not bond effectively. Specialized countertop primers adhere aggressively, providing a solid foundation for your paint and extending the durability of your refinished surface. Skipping primer could result in peeling, flaking, or uneven coloration.
Step-by-Step Priming Process
Apply painter’s tape to protect adjacent walls, backsplash, and plumbing fixtures. Pour your laminate primer into a paint tray and use a brush to “cut in” along edges and tight corners. Follow with a foam roller to cover larger flat areas, working in long, even strokes for complete, uniform coverage. Be careful not to overload the roller, as excess primer can form drips or bubbles.
Allow the primer to dry fully according to the manufacturer’s instructions, typically at least 4–6 hours. For best results, consider applying a second coat after the first has dried—this is especially important if your countertop is a dark color or has visible stains.
Painting the Formica Countertops
Choosing the Right Paint
For a durable, attractive result, choose paints designed for high-traffic, high-moisture surfaces. Laminate or countertop paint kits provide good adhesion and stand up to spills, cleaning, and daily use. Enamel paints (water- or oil-based) and acrylic-based options are preferred for their hardness, longevity, and easy cleaning. Select a satin, semi-gloss, or high-gloss finish to best mimic the original countertop sheen and match your desired style.
Applying the Paint
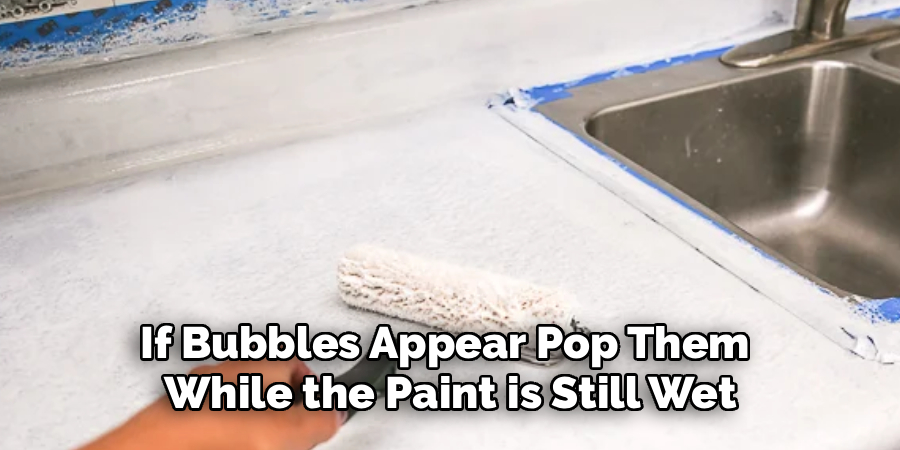
Begin with a high-quality angled brush to outline edges, seams, and tight spaces where a roller can’t reach. Immediately follow with a foam roller, applying the paint in thin, smooth coats. Roll each section in a single direction to minimize lines and avoid overworking the paint, which can create streaks or bubbles.
Apply paint evenly, making sure to keep a “wet edge” as you roll. If bubbles appear, pop them while the paint is still wet. Thin coats are key—a thick coat may drip, sag, or take much longer to dry.
Adding Additional Coats
Most surfaces require two to three coats of paint. Allow each coat to dry thoroughly according to the manufacturer’s recommendation, usually about 4-6 hours between coats. For best results, lightly sand the surface with fine-grit sandpaper after each dry coat to remove subtle imperfections, then wipe away all dust before recoating.
Patience at this stage yields the most professional finish. Rushing can lead to an uneven surface or damage the work you’ve already done.
Sealing the Refinished Surface
Importance of Sealing
Sealing is non-negotiable when you refinish Formica countertops. Polyurethane or specialized countertop sealers protect the new paint from scratches, stains, water infiltration, and heat. They also help maintain the finish’s gloss and make routine cleaning easier. Without a sealer, even the best paint job will quickly wear out with everyday use.
Application Process
Once your final coat of paint is completely dry, stir—never shake—your polyurethane sealant to minimize bubbles. Use a clean, high-density foam roller or a synthetic brush to apply the first coat in thin, even strokes. Allow the sealer to dry thoroughly (usually 12–24 hours for oil-based, less for water-based). Lightly sand with very fine sandpaper between coats, and wipe clean. Apply a second, and if desired, third coat for maximum protection.
Let the countertop cure for several days before returning it to regular use. Early exposure to water, heat, or heavy objects can mar the new finish.
Cleaning and Maintenance after Refinishing
Daily Care Tips
To keep your refinished Formica countertop looking great, use mild soap and a soft sponge or microfiber cloth for daily cleaning. Avoid abrasive cleansers and scouring pads, which can scratch the new finish. Wipe spills promptly, especially acidic substances like lemon juice, vinegar, or tomato sauce, which can damage the surface over time.
Stick to gentle, pH-neutral cleaners and test any products on an inconspicuous area first. Many all-purpose kitchen sprays are safe, but check the label when in doubt.
Avoiding Damage
Preserve your work by always using cutting boards for food prep and trivets or hot pads for cookware straight from the stove or oven. Never drag heavy appliances or objects across the countertop, as this can cause scratches or chips in the finish. With proper care, a refinished surface can last for many years.
Creative Options for Customization
Refinishing is not just an opportunity for a basic refresh—you can transform your countertops with creative touches that reflect your personal style. Some customization ideas include:
- Creating faux stone or marble effects with sponging or rag-rolling techniques
- Stenciling patterns or borders for a unique look
- Painting contrasting stripes or color blocks for a modern twist
- Adding a metallic glaze or shimmer for visual interest
Experiment with sample boards first before committing to your countertop. The key is to apply creative elements between the last color coat and first clear sealer coat to ensure protection and durability. With thoughtful customization, you can create a one-of-a-kind surface that elevates your entire kitchen or bath.
Troubleshooting Common Refinishing Issues
Even with careful preparation, refinishing Formica countertops can result in a few problems:
- Uneven paint application: This usually occurs from overloading your brush or roller, applying uneven pressure, or insufficient mixing. Lightly sand and reapply a thin coat as needed.
- Peeling or flaking: Most often, this is due to poor surface preparation. Remove the peeling area, sand thoroughly, and spot-prime before recoating.
- Bubbles or bumps: Bubbles can form from excessive rolling, high humidity, or shaking sealant cans. Lightly sand away bubbles once dry and apply an additional sealer coat.
- Sticky finish: Allow extra drying time in humid environments. Never use the countertop before the sealer has fully cured.
By addressing these issues promptly, you can avoid a complete redo and achieve a smooth, professional finish.
Conclusion
Refinishing Formica countertops is a smart, budget-friendly way to restore and revitalize an essential surface in your home. With proper preparation, quality materials, and careful attention to each step, you can achieve results that rival brand-new countertops. This process allows homeowners to extend the life of existing fixtures, tailor them to evolving tastes, and improve the overall look and value of a kitchen or bathroom.
Learning how to refinish Formica countertops unlocks countless design possibilities. With the practical guidance provided in this comprehensive article, you can tackle chips, scratches, stains, and dull spots with confidence.
Whether aiming for a straightforward update or aiming to make a bold style statement, refinishing is a rewarding DIY project achievable for most homeowners. Gather your tools, follow each step, and soon you’ll enjoy stunning, like-new countertops that serve you well for years to come.

About
Diane Lo is a distinguished figure in the world of kitchen innovation and culinary design, with over a decade of expertise creating functional and sustainable kitchen environments. Her professional focus lies in merging ergonomic spatial planning with modern culinary technology, fostering kitchen layouts that are both highly practical and aesthetically refined. As the lead expert at Kitchenub, Diane Lo delves into the art and science of kitchen organization, appliance selection, and workflow efficiency, inspiring home cooks and professional designers alike.
Education
Royal Melbourne Institute of Technology (RMIT University) (Melbourne, Australia) Associate Degree in Interior Design and Spatial Planning Focus on sustainable kitchen layouts, user-centric design, and ergonomic efficiency. Gained hands-on experience in high-traffic commercial kitchen modeling and advanced space-saving architecture.
Nottingham Trent University (United Kingdom) Bachelor’s in Product Design and Culinary Architecture (Honors) Specialized in the intersection of kitchen technology and lifestyle design. Participated in major industry collaborations, working with premium appliance manufacturers and cabinetry firms to gain real-world insights into modern kitchen workflows.
Publications and Impact
At Kitchenub, Diane Lo shares her expert insights on kitchen renovation processes, material durability, and strategies for achieving peak culinary productivity. Her writing effectively bridges the gap between professional culinary needs and home design, making it an essential resource for those looking to transform their kitchen into a highly efficient and welcoming heart of the home.