

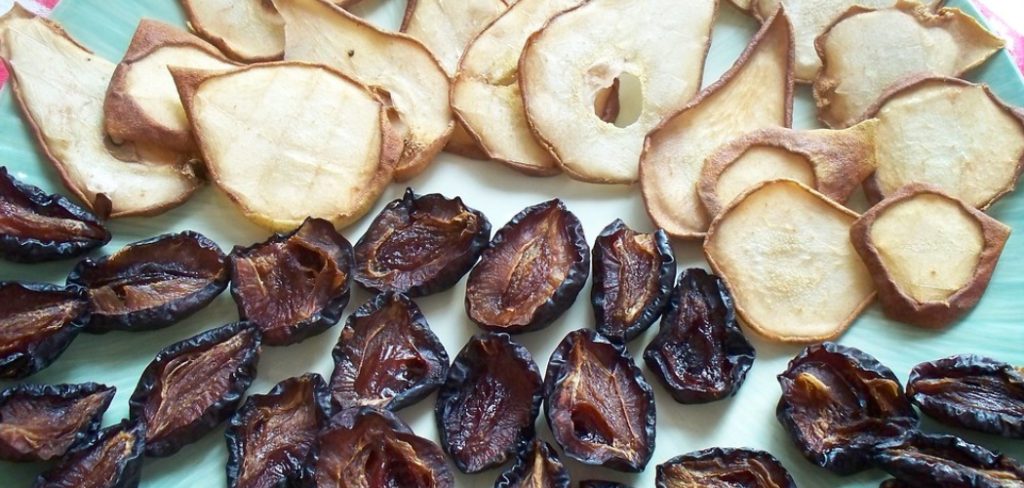
Drying plums in the oven is a simple and efficient way to preserve their natural sweetness and extend their shelf life. This method allows you to create your own homemade dried fruit without the need for specialized equipment. Whether you plan to enjoy them as a healthy snack, incorporate them into recipes, or store them for later use, drying plums at home ensures a fresh and flavorful result. This guide explores the key aspects of how to dry plums in the oven.
Selecting the Best Plums for Drying
Choosing the right plums is crucial to achieving high-quality dried fruit. Start by selecting ripe but firm plums that are free from bruises, blemishes, or signs of spoilage. Varieties like Italian prune plums, damsons, or Santa Rosa plums are particularly well-suited for drying due to their sweetness and low water content. Avoid overripe or overly soft plums, as they may not dry evenly and could result in a less desirable texture. Wash the plums thoroughly under running water to remove dirt or residues, and pat them dry with a clean towel before proceeding with the drying process.
Preparing Plums for Oven Drying
To prepare the plums for oven drying, begin by cutting each plum in half lengthwise and removing the pit. Using a sharp knife ensures clean cuts and prevents bruising the fruit. For faster and more even drying, you may also quarter the plums, especially if they are larger varieties. Arrange the prepared plum pieces on a baking sheet lined with parchment paper, ensuring they are spaced apart and not touching. This allows proper air circulation during the drying process. If desired, you can sprinkle a light layer of sugar or spices, such as cinnamon, over the plums to enhance their flavor before placing them in the oven.
10 Methods How to Dry Plums in the Oven
1. Selecting Ripe Yet Firm Plums for Optimal Drying
The journey to perfectly dried plums begins with selecting the right fruit. While fully ripe plums may seem ideal due to their sweetness, overripe fruit can be overly soft and prone to uneven drying or even spoilage. It is best to choose plums that are ripe but still firm to the touch, with smooth skin free of bruises or blemishes. The firmness ensures that the plum halves hold their shape during drying and that moisture evaporates uniformly. Thoroughly wash the plums to remove any pesticides, dirt, or surface contaminants, using cool running water and a gentle scrub if needed. Starting with high-quality fruit is essential to achieve dried plums that are both tasty and safe.
2. Preparing the Plums by Pitting and Halving for Even Drying
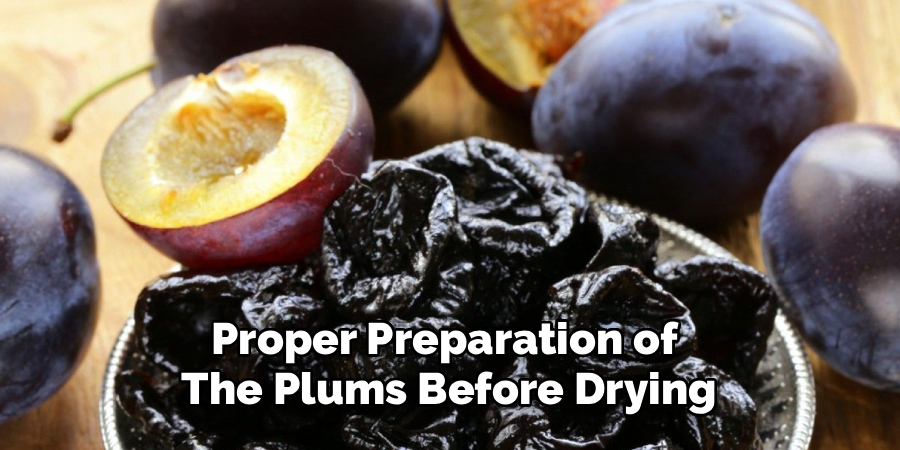
Proper preparation of the plums before dryingProper preparation of the plums before drying is a vital step that greatly influences the final quality of the dried fruit. Each plum should be sliced in half and carefully pitted, removing the stone with a paring knife or by hand. This exposes the interior flesh, allowing moisture to escape more easily during the drying process. Uniformly halving the plums ensures consistent drying times across all pieces, preventing some from drying too quickly while others remain moist. You may also choose to quarter the fruit for smaller pieces, but keep in mind that thinner slices will dry faster and require more attentive monitoring to prevent overdrying.
3. Applying a Pretreatment to Preserve Color and Flavor
When drying plums, enzymatic browning can cause the fruit to darken and lose its vibrant color. To combat this, many home cooks use a pretreatment step that helps retain both the natural hue and the fresh flavor of the plums. One popular method is blanching the plum halves briefly—immersing them in boiling water for about 1 to 2 minutes—followed by immediate cooling in ice water.
Alternatively, soaking the plums in a lemon juice and water solution (about 1 tablespoon of lemon juice per cup of water) for 10 minutes before drying is another effective approach. The acidity in lemon juice slows oxidation and helps the plums maintain an appealing appearance. After pretreatment, make sure to thoroughly pat the plums dry with clean kitchen towels or paper towels to avoid excess surface moisture.
4. Arranging Plums on a Baking Sheet with Adequate Space
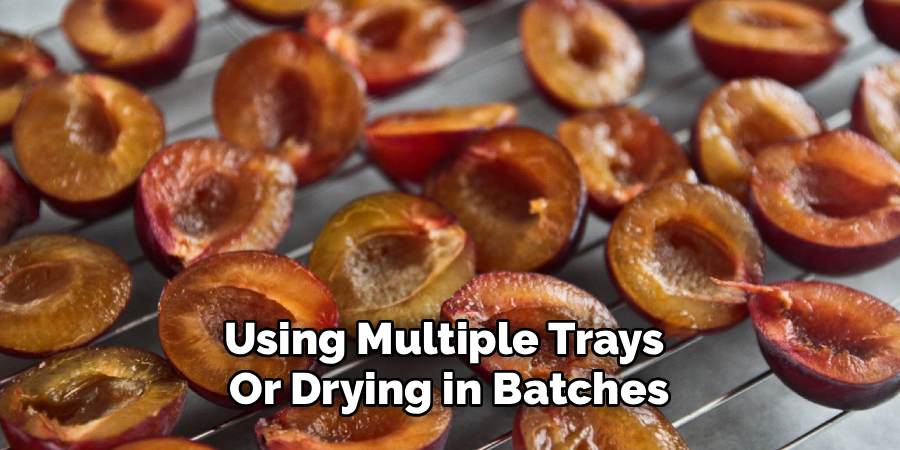
Once prepped, the plum halves should be arranged thoughtfully on a baking sheet for drying. Line your sheet with parchment paper or a silicone baking mat to prevent sticking and facilitate easy handling later. Lay each plum cut-side up, making sure the pieces are spaced well apart to allow air to circulate freely around each one. Overcrowding the tray traps moisture, slows drying, and can lead to mold growth.
Using multiple trays or drying in batches may be necessary if you have a large quantity of fruit. Good airflow is a crucial factor for effective oven drying, and this spacing helps ensure every plum dries evenly.
5. Setting the Oven to a Low Temperature to Preserve Quality
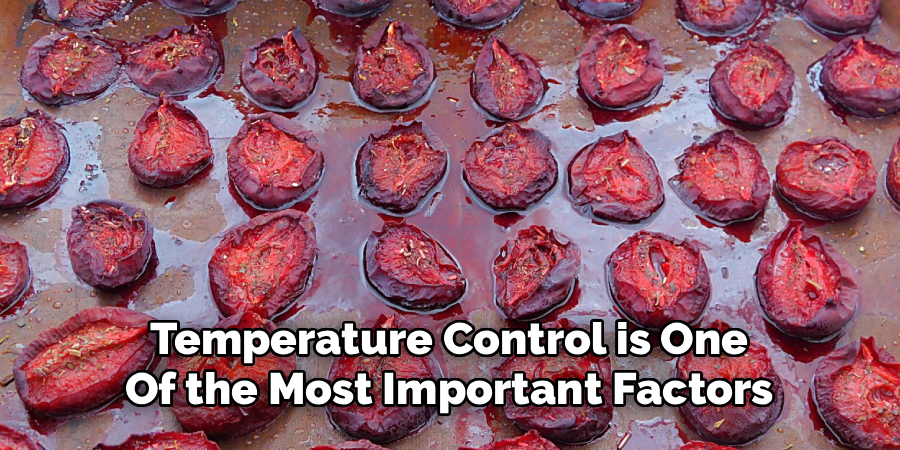
Proper temperature control is one of the most important factors when drying plums in the oven. Ideally, the oven should be set to a low temperature, usually between 140°F and 170°F (60°C to 75°C). Since many home ovens do not allow such precise low settings, set your oven to the lowest possible temperature and prop the oven door open slightly—using a wooden spoon or a heat-resistant object—to reduce heat buildup and encourage moisture to escape.
Keeping the temperature low prevents the plums from cooking, caramelizing, or burning, while slowly drawing out moisture. Using an oven thermometer can help you monitor and maintain a consistent drying environment.
6. Drying the Plums Slowly and Turning Regularly
Place the baking sheet with the plums in the oven and let them dry gently over many hours, typically between 6 to 12 hours, depending on fruit size, moisture content, and oven performance. Slow drying is crucial as it preserves the delicate flavor and ensures the plums dry evenly from the inside out. Every 2 to 3 hours, carefully turn each plum half over using tongs or a spatula to expose the underside to the drying air.
This turning prevents one side from drying too quickly, which can cause “case hardening,” a condition where the surface dries and hardens, trapping moisture inside and risking spoilage. Maintaining an even drying process ensures the plums develop a leathery, pliable texture instead of becoming tough or shriveled.
7. Checking for the Right Texture and Moisture Level
After several hours, begin testing the plums for dryness. Properly dried plums should feel supple and leathery when gently squeezed, with no sticky or overly moist areas. They should not be brittle or hard but retain some pliability without moisture oozing out. To test, cut or tear a piece open and check the interior; there should be no visible moisture, and the fruit should not be tacky to the touch. If moisture remains, return the plums to the oven for continued drying, checking every hour. This careful monitoring ensures the plums are dried safely for long-term storage without compromising quality.
8. Cooling the Dried Plums to Avoid Condensation
Once the plums have reached the ideal dryness, remove the trays from the oven and allow the fruit to cool completely at room temperature. Cooling is a crucial step because warm dried fruit can produce condensation when placed in sealed containers, leading to mold growth. Spread the plums on a clean, dry surface or leave them on the baking sheet to air out for a couple of hours. If you notice any residual moisture after cooling, consider returning the plums to the oven for a brief additional drying cycle to eliminate it.
9. Storing the Dried Plums in Airtight Containers
Proper storage is key to preserving the flavor, texture, and safety of your dried plums. Use airtight containers such as glass jars, vacuum-sealed bags, or heavy-duty plastic containers with tight-fitting lids. Store the containers in a cool, dry, and dark location such as a pantry or cupboard, avoiding exposure to heat, humidity, or sunlight, which degrade quality over time. If you wish to extend shelf life further, refrigeration or freezing is recommended. Label your containers with the date of drying for easy inventory management, and consume within six months to a year for best quality.
10. Utilizing Dried Plums in Culinary Creations
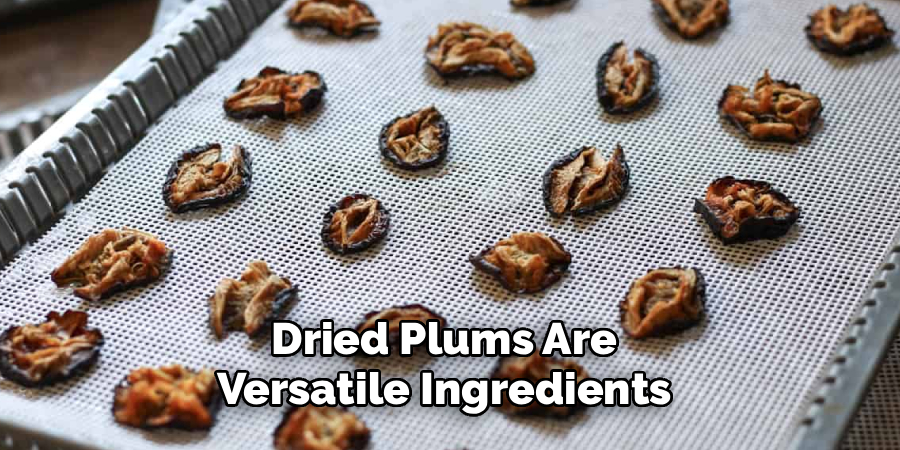
Dried plums are versatile ingredients that can enhance a variety of dishes. Enjoy them as a healthy snack straight from the jar, or rehydrate by soaking them in warm water, fruit juice, or alcohol for 20 to 30 minutes to restore softness. Rehydrated plums add a rich sweetness and moist texture to stews, sauces, baked goods, and compotes. You can also chop dried plums to incorporate into salads, oatmeal, or granola, adding natural sweetness and chewy texture. Their deep, caramelized flavor complements both savory and sweet recipes, making dried plums a wonderful addition to your pantry.
Conclusion
Drying plums in the oven is a rewarding preservation technique that, when done correctly, yields flavorful, nutrient-rich prunes that enhance your culinary options. From careful fruit selection and preparation to controlled drying temperature and meticulous monitoring, each step plays a crucial role in achieving perfectly dried plums with balanced texture and vibrant taste. Thanks for reading our blog post on how to dry plums in the oven! We hope you found it helpful and informative.
About
Diane Lo is a distinguished figure in the world of kitchen innovation and culinary design, with over a decade of expertise creating functional and sustainable kitchen environments. Her professional focus lies in merging ergonomic spatial planning with modern culinary technology, fostering kitchen layouts that are both highly practical and aesthetically refined. As the lead expert at Kitchenub, Diane Lo delves into the art and science of kitchen organization, appliance selection, and workflow efficiency, inspiring home cooks and professional designers alike.
Education
Royal Melbourne Institute of Technology (RMIT University) (Melbourne, Australia) Associate Degree in Interior Design and Spatial Planning Focus on sustainable kitchen layouts, user-centric design, and ergonomic efficiency. Gained hands-on experience in high-traffic commercial kitchen modeling and advanced space-saving architecture.
Nottingham Trent University (United Kingdom) Bachelor’s in Product Design and Culinary Architecture (Honors) Specialized in the intersection of kitchen technology and lifestyle design. Participated in major industry collaborations, working with premium appliance manufacturers and cabinetry firms to gain real-world insights into modern kitchen workflows.
Publications and Impact
At Kitchenub, Diane Lo shares her expert insights on kitchen renovation processes, material durability, and strategies for achieving peak culinary productivity. Her writing effectively bridges the gap between professional culinary needs and home design, making it an essential resource for those looking to transform their kitchen into a highly efficient and welcoming heart of the home.