

Drying herbs in the oven is an efficient and simple way to preserve their flavor and aroma for long-term use. Whether you have a bountiful herb garden or just want to save store-bought herbs before they spoil, this method allows you to enjoy fresh-tasting herbs all year round. By following a few easy steps, you can ensure your dried herbs retain their quality, enhancing your culinary creations. This guide explores the key aspects of how to dry herbs in the oven.
Best Herbs for Oven Drying
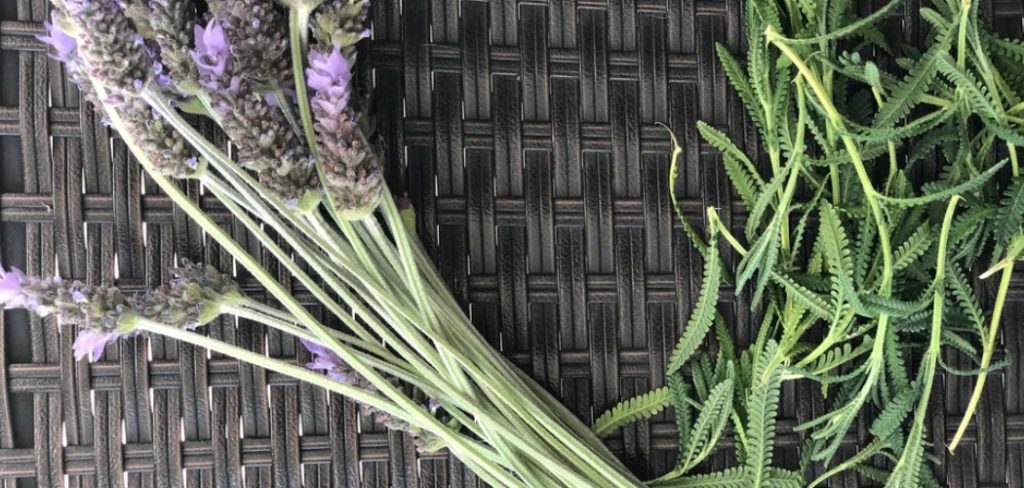
While most herbs can be dried in the oven, some are better suited for this method due to their sturdy structure and ability to retain flavor during the drying process. Herbs like rosemary, thyme, sage, oregano, and mint are excellent candidates.
Their robust leaves and stems dry efficiently and keep their aromatic qualities intact. Delicate herbs, such as basil, parsley, and dill, may still be dried in the oven but require extra care and lower temperatures to avoid losing their vibrant color and fragile texture. Choosing the right herbs ensures the best results for your dried herb collection.
Tools and Supplies Needed
Before starting the herb drying process, it’s important to gather the right tools and supplies to ensure the best results. Here’s what you’ll need:
- Fresh Herbs: Harvested at the right time, typically in the morning when oils are most concentrated.
- Scissors or Pruners: For snipping herbs cleanly without damaging the plant.
- Paper Towels or Clean Cloths: For patting the herbs dry after washing.
- Baking Sheets: Used if opting for oven drying or laying herbs out flat.
- Parchment Paper: To line baking sheets and prevent sticking.
- String or Twine: Essential for bundling herbs if you choose to air-dry them.
- Rubber Bands: To secure bundles and hold stalks firmly in place.
- Cooling Racks (optional): For better air circulation during drying.
- Glass Jars or Airtight Containers: For storing your dried herbs to maintain freshness.
- Permanent Marker and Labels: To mark the jars for easy identification.
Having these tools on hand makes the process efficient and helps preserve the herbs’ quality for enjoyment well into the future.
10 Methods How to Dry Herbs in the Oven
1. Choose Fresh, Healthy Herbs for Drying
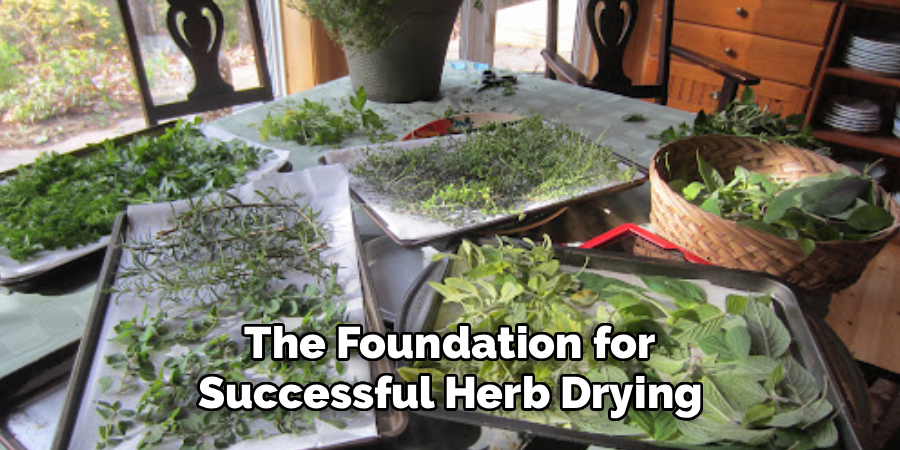
The foundation for successful herb drying begins with selecting fresh, vibrant herbs. Harvest your herbs early in the morning after the dew has dried but before the sun reaches its peak, as this is when essential oils are most concentrated.
Choose leaves free from spots, discoloration, or insect damage. Washing the herbs gently under cool water helps remove dirt and insects, but ensure they are completely dry before placing them in the oven. Excess moisture can prolong drying time and increase the risk of mold.
2. Preheat Your Oven to a Low Temperature
Herbs are delicate and can easily lose flavor or become brittle if exposed to high heat. Preheat your oven to its lowest setting, ideally between 90°F and 110°F (about 32°C to 43°C). If your oven does not display temperatures this low, use the lowest possible setting and prop the oven door slightly open to allow heat to escape and reduce temperature.
Using a thermometer inside the oven can help monitor the temperature more precisely, ensuring that herbs dry slowly and evenly without burning.
3. Prepare Herbs by Removing Leaves from Stems
For most herbs, removing leaves from thick stems before drying ensures more even dehydration. Gently strip the leaves off the stems and arrange them in a single layer on a baking sheet lined with parchment paper or a silicone baking mat. For more delicate herbs like basil or mint, you may dry whole small branches, but take care to space them apart to promote airflow. Avoid overcrowding the tray, as this traps moisture and slows the drying process.
4. Spread Herbs in a Single Layer on Baking Sheets
Even drying requires that herbs are laid out in a single, thin layer. Arrange the leaves or small branches on the baking sheet so they do not overlap. Overlapping causes uneven drying and increases the chance of mold formation in damp areas. Using parchment paper or a silicone mat prevents herbs from sticking to the tray and facilitates easy removal after drying. If you have a large harvest, use multiple trays and rotate them periodically in the oven for uniform drying.
5. Keep the Oven Door Slightly Ajar for Air Circulation
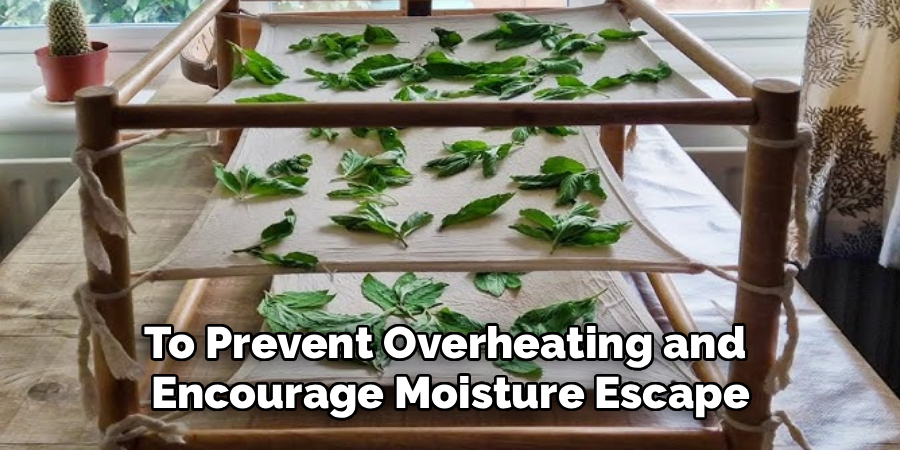
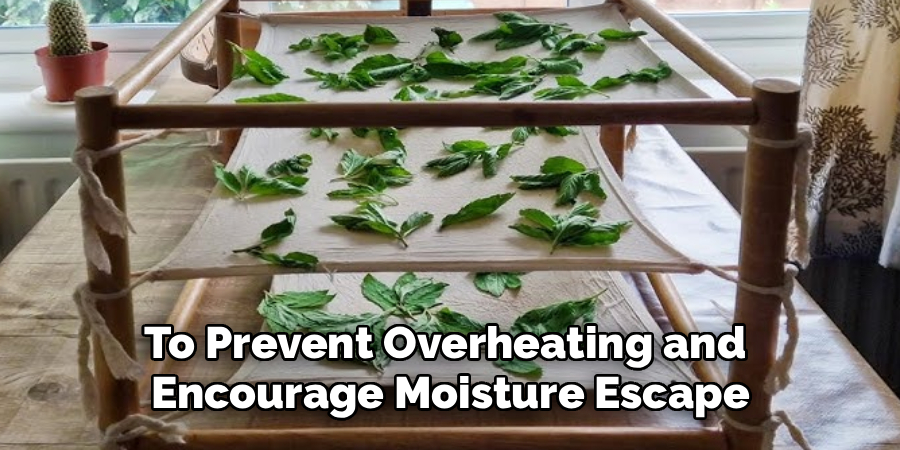
To prevent overheating and encourage moisture escape, keep your oven door slightly open during the drying process. This simple technique allows humid air to vent out while fresh air flows in, accelerating drying without subjecting the herbs to excessive heat. You can use a wooden spoon or heatproof object to prop the door open just an inch or two. Proper ventilation is key to preserving the flavor and color of herbs and avoiding the development of a “cooked” aroma.
6. Monitor Herbs Frequently and Turn Them
Oven drying is a fast process, so it requires close attention to avoid over-drying or burning. Check the herbs every 10 to 15 minutes, gently flipping or stirring the leaves to promote even drying. This prevents some pieces from becoming overly brittle while others remain moist. The total drying time usually ranges between 20 to 60 minutes, depending on the type and thickness of the herbs. Keep a watchful eye as drying times vary with oven efficiency, herb moisture content, and leaf size.
7. Test for Proper Dryness Before Removing
Knowing when herbs are fully dried is essential to ensure they store well and maintain quality. Properly dried herbs should crumble easily between your fingers and break apart rather than bend. If the leaves still feel pliable or moist, return them to the oven for additional drying time, checking frequently. Over-dried herbs can lose essential oils and flavor, so it’s best to remove them promptly once they reach the desired crispness.
8. Cool Herbs Completely Before Storing
After removing herbs from the oven, allow them to cool completely on the baking sheet or a cooling rack. Cooling prevents condensation inside storage containers, which can reintroduce moisture and lead to mold growth. Spread the herbs out to maximize air exposure as they cool. Once fully cooled, gently crumble or grind them if desired, and transfer them to airtight containers such as glass jars or resealable bags. Label the containers with the herb name and drying date for easy identification.
9. Store Dried Herbs in a Cool, Dark Place
Proper storage extends the shelf life and preserves the flavor of your dried herbs. Keep the containers in a cool, dark cabinet or pantry, away from direct sunlight, heat, and humidity. Exposure to light and heat accelerates the degradation of essential oils, leading to loss of potency and flavor. Well-stored dried herbs can retain their qualities for up to a year or more, making your oven-dried harvest a lasting addition to your kitchen.
10. Use Oven-Dried Herbs Promptly for Best Flavor
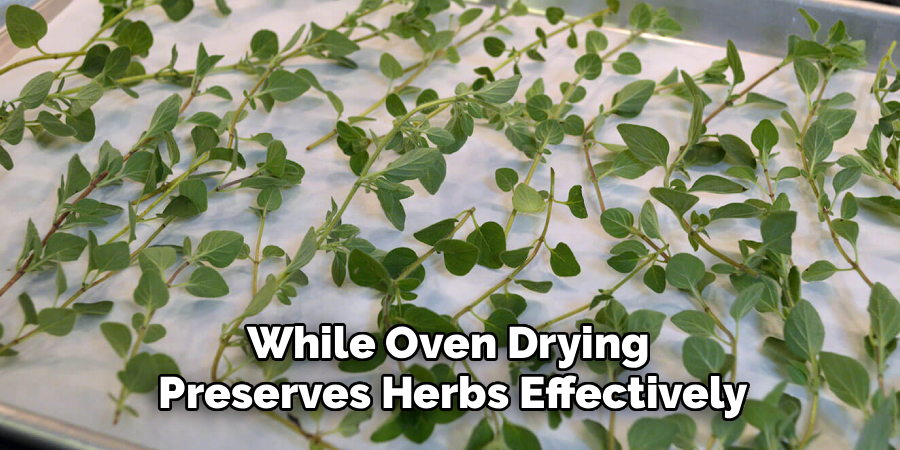
While oven drying preserves herbs effectively, it is best to use dried herbs within a reasonable time frame to enjoy their optimal flavor and aroma. Over time, even well-stored dried herbs lose intensity. To maximize freshness, grind dried herbs just before use or add whole dried leaves early during cooking to allow flavors to infuse. Oven-dried herbs can enhance soups, sauces, marinades, and seasoning blends, bringing the garden’s essence to your meals year-round.
Maintenance and Upkeep
Proper maintenance is essential to ensure your dried herbs remain aromatic and flavorful over time. Store them in airtight containers, preferably made of glass, and keep them in a cool, dark place away from sunlight, heat, and moisture. Label containers with the herb’s name and drying date for easy identification and to track freshness.
Regularly check for signs of deterioration, such as discoloration or loss of scent, and discard any herbs that appear compromised. By taking these steps, you can preserve the quality of your dried herbs and continue to enjoy their vibrant flavors in your cooking.
Troubleshooting Common Issues
When drying herbs, a few common issues may arise that can affect their quality. Here are some troubleshooting tips:
- Mold Growth
If you notice mold on your herbs, it typically means they weren’t dried thoroughly before storage. To avoid this, ensure the herbs are completely dry and crisp before packaging. If mold develops, discard the affected batch immediately to prevent contamination.
- Loss of Flavor or Aroma
Over-drying herbs or exposing them to excessive heat can cause the essential oils, which are responsible for their flavors and scents, to dissipate. To tackle this, opt for a low-heat drying method and monitor the process closely to preserve the herbs’ characteristics.
- Discoloration
Herbs turning brown or losing their vibrant green color could be a result of improper drying conditions, such as overheating or prolonged exposure to sunlight. Dry herbs in a cool, shaded area with good air circulation to maintain their natural color.
- Pests or Infestation
Store herbs in well-sealed containers to prevent pests from getting in. If an infestation occurs, it’s best to dispose of the herbs and thoroughly clean the storage area.
By addressing these common issues, you can better ensure your herbs remain fresh, aromatic, and flavorful for long-term use.
Conclusion
Drying herbs in the oven is a fast, convenient, and effective method for preserving the fresh flavors and aromas of your garden harvest. By carefully selecting fresh herbs, controlling oven temperature, ensuring proper airflow, and monitoring drying progress, you can create beautifully dried herbs suitable for cooking, teas, or crafting.
Each of the ten methods outlined provides essential steps and tips for maximizing quality while minimizing common pitfalls like over-drying or flavor loss. Thanks for reading our blog post on how to dry herbs in the oven! We hope you found it helpful and informative.

About
Diane Lo is a distinguished figure in the world of kitchen innovation and culinary design, with over a decade of expertise creating functional and sustainable kitchen environments. Her professional focus lies in merging ergonomic spatial planning with modern culinary technology, fostering kitchen layouts that are both highly practical and aesthetically refined. As the lead expert at Kitchenub, Diane Lo delves into the art and science of kitchen organization, appliance selection, and workflow efficiency, inspiring home cooks and professional designers alike.
Education
Royal Melbourne Institute of Technology (RMIT University) (Melbourne, Australia) Associate Degree in Interior Design and Spatial Planning Focus on sustainable kitchen layouts, user-centric design, and ergonomic efficiency. Gained hands-on experience in high-traffic commercial kitchen modeling and advanced space-saving architecture.
Nottingham Trent University (United Kingdom) Bachelor’s in Product Design and Culinary Architecture (Honors) Specialized in the intersection of kitchen technology and lifestyle design. Participated in major industry collaborations, working with premium appliance manufacturers and cabinetry firms to gain real-world insights into modern kitchen workflows.
Publications and Impact
At Kitchenub, Diane Lo shares her expert insights on kitchen renovation processes, material durability, and strategies for achieving peak culinary productivity. Her writing effectively bridges the gap between professional culinary needs and home design, making it an essential resource for those looking to transform their kitchen into a highly efficient and welcoming heart of the home.