

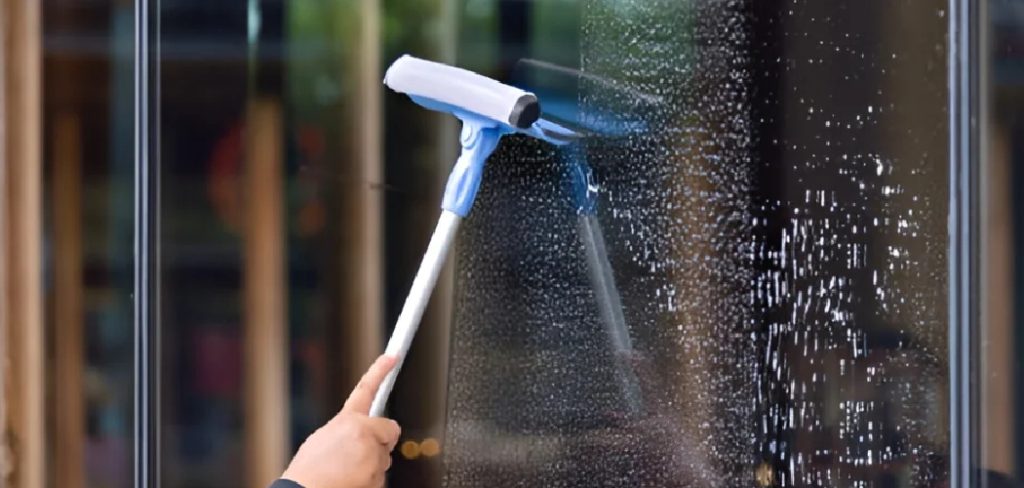
Keeping your glass washer clean is essential for maintaining hygiene and ensuring sparkling results with every use. Over time, residue, mineral deposits, and grime can build up, impacting the machine’s performance and the quality of cleaned glasses. A deep clean not only extends the lifespan of your glass washer but also ensures it operates at peak efficiency. This guide will walk you through the steps of how to deep clean a glass washer and keep it in top condition.
Difference Between Daily Cleaning vs. Deep Cleaning
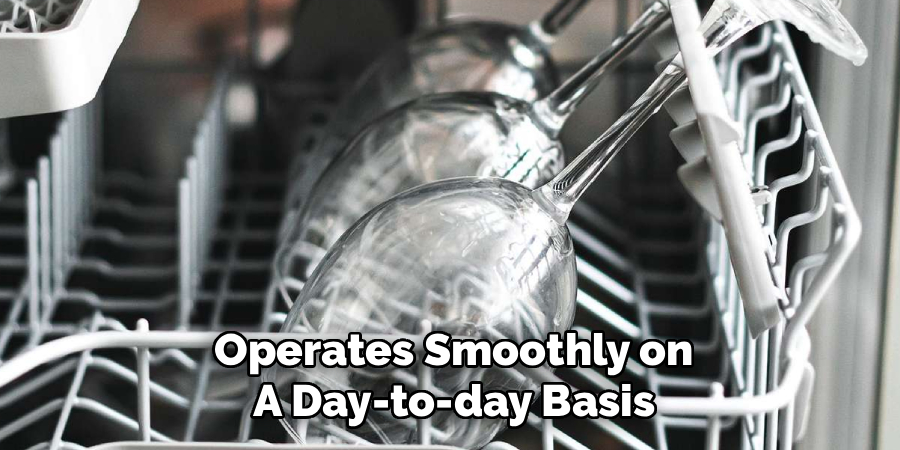
Daily cleaning and deep cleaning serve different purposes but are both essential for maintaining the functionality and hygiene of your glass washer. Daily cleaning involves routine tasks such as emptying and rinsing the machine, removing debris, and wiping down accessible surfaces. These steps help prevent the immediate buildup of dirt and grime, ensuring that the washer operates smoothly on a day-to-day basis.
Deep cleaning, on the other hand, is a more thorough process conducted less frequently, typically on a weekly or monthly basis depending on usage. This involves disassembling removable parts, soaking them in cleaning solutions, descaling mineral deposits, and thoroughly sanitizing the interior and exterior of the machine. Deep cleaning addresses issues that daily cleaning cannot, such as deep-seated residue or lime scale, and is crucial for long-term performance and durability. Together, both types of cleaning ensure your glass washer remains efficient and hygienic.
Gather Your Cleaning Supplies
Before starting the cleaning process, make sure you have all the necessary supplies on hand. Common items include a mild detergent, non-abrasive sponges or brushes, a descaling solution, and a sanitizing agent. Additionally, you may need a microfiber cloth for wiping surfaces and gloves to protect your hands from chemicals. Having everything prepared ahead of time will streamline the process and ensure you can clean your glass washer thoroughly and efficiently.
10 Methods How to Deep Clean a Glass Washer
1. Power Down and Unplug the Glass Washer for Safety
Before beginning any deep cleaning procedure, always turn off the glass washer and unplug it from the power source. This is a crucial safety measure to prevent electric shock or accidental startup while you are cleaning internal components. Water and electricity are a hazardous combination, and even momentary contact can result in serious injury. Wait a few minutes after powering down to allow the internal mechanisms to settle and cool down if the washer was recently in use. Ensuring the machine is fully powered off gives you a safe environment to begin your deep cleaning process.
2. Remove and Soak All Removable Parts
Most commercial and domestic glass washers contain several removable parts such as spray arms, racks, strainers, and filters. Begin by carefully disassembling these components, making note of their proper placement for reassembly later. Place them in a large sink or basin filled with warm water and a degreasing detergent. Allow these parts to soak for 15 to 30 minutes to break down grime, limescale, and residual food or beverage particles. This step ensures that even the hard-to-reach surfaces are softened and easier to scrub clean in the next stage.
3. Clean the Spray Arms and Nozzles Thoroughly
Spray arms play a critical role in the performance of a glass washer by distributing water at high pressure to remove residue. However, over time, mineral buildup and debris can clog the nozzles, reducing their effectiveness. After soaking, use a small brush or a toothpick to clear each nozzle hole meticulously. Run water through the spray arms to verify that no obstructions remain. If any buildup proves stubborn, you can soak the arms in a vinegar solution to dissolve mineral deposits. This ensures the spray arms perform at maximum efficiency once the machine is reassembled.
4. Scrub the Filters and Strainers
Filters and strainers trap food particles, pulp, and debris from glasses to prevent clogs in the plumbing or drainage system. These components can quickly become dirty and foul-smelling if not maintained regularly. Using a firm-bristled brush, scrub both sides of the filters thoroughly under warm, running water. Inspect them for damage such as holes or tearing, and replace if necessary. Clean filters not only maintain hygiene but also allow for faster drainage and improved water circulation during the wash cycle.
5. Descale the Interior Walls and Surfaces
Glass washers, especially those in hard water areas, accumulate mineral deposits such as calcium and lime on their interior walls and metal components. Descaling is essential to prolong the life of the machine and maintain its cleanliness. Use a commercial descaling solution or a mixture of vinegar and hot water to scrub the interior surfaces of the machine. Apply the solution liberally and allow it to sit for 10 minutes before scrubbing with a non-abrasive sponge or cloth. Focus on corners, edges, and under fixed components where buildup is likely to occur.
6. Disinfect and Deodorize with a Sanitizing Solution
After removing physical grime and descaling, it’s time to sanitize the interior to eliminate any lingering bacteria or mold. Create a food-safe sanitizing solution by mixing a disinfectant approved for kitchen equipment or using a diluted bleach solution (1 tablespoon of bleach per gallon of water). Using a spray bottle or clean cloth, apply the solution to the entire interior, including the door, seals, and handle. Leave it to sit for a few minutes before wiping down with a clean, damp cloth. This step helps prevent odor, stains, and microbial growth that can compromise hygiene.

7. Clean the Drain Area and Flush the Drain Line
The drain area is often overlooked during routine cleaning, yet it is a common site for buildup and unpleasant odors. Remove any visible debris manually from the drain area and inspect the drain line if accessible. Pour a descaling or degreasing solution down the drain and allow it to sit before flushing with hot water. If your glass washer allows it, run a short empty wash cycle using a specialized machine cleaner to cleanse internal pipes. A clean drainage system ensures that water flows smoothly and eliminates backflow or stagnant water problems.
8. Wipe and Polish the Exterior Surfaces
Once the interior components are clean, it’s time to address the exterior of the machine. Use a soft cloth and a non-abrasive cleaner to wipe down the exterior surfaces, including buttons, handles, and displays. For stainless steel surfaces, a stainless-steel polish or a solution of vinegar and water can be used to remove fingerprints and restore shine. Pay special attention to seams and edges where dirt and dust tend to accumulate. A clean exterior is not only visually appealing but also contributes to the sanitary appearance of your commercial or home kitchen.
9. Reassemble All Components Correctly
After all components are thoroughly cleaned and dried, reassemble the glass washer. Begin by installing the filters and strainers, followed by the spray arms and any other internal parts. Ensure each piece is securely fitted in its correct position to prevent operational issues. Refer to the manufacturer’s guide if needed for correct placement. Run a brief empty rinse cycle afterward to ensure everything is functioning properly. This step ensures that your next use will be efficient, hygienic, and trouble-free.
10. Implement a Regular Maintenance Schedule
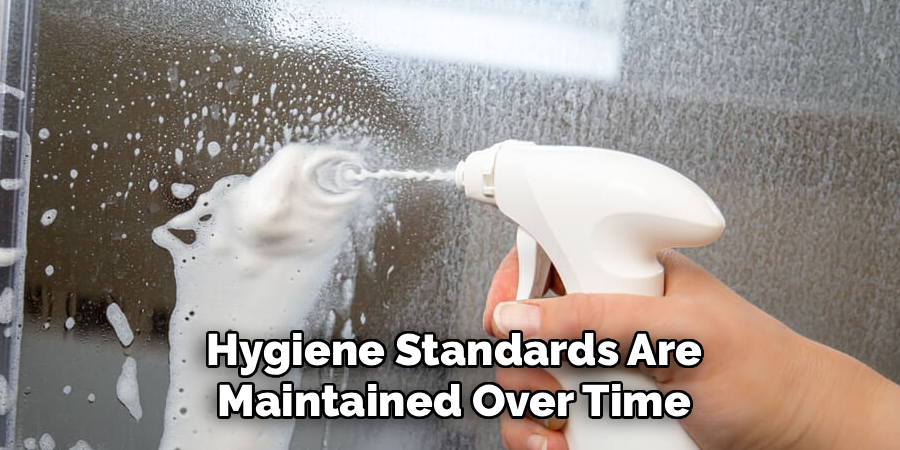
To keep your glass washer in top condition and avoid the need for frequent deep cleans, establish a routine maintenance schedule. Daily tasks should include wiping down the interior, cleaning filters, and checking the spray arms. Weekly cleaning can involve inspecting the drain and running a cleaner through the machine. Schedule a full deep clean, like the one outlined above, every 1 to 2 months depending on usage frequency. Keeping a maintenance log can also help track any issues and ensure consistent hygiene standards are maintained over time.

Safety Considerations
When maintaining and cleaning your appliance, it is essential to prioritize safety. Always disconnect the machine from the power source before performing any deep cleaning or repairs to avoid electrical hazards. Wear protective gloves to safeguard your hands from sharp edges, chemicals, or debris. Use non-toxic and appliance-safe cleaning products to prevent damage to the machine or exposure to harmful substances. Additionally, ensure the area around the appliance is dry to minimize the risk of slips and falls. If accessing internal components, consult the user manual or a professional technician to avoid accidental damage or injury. Adhering to these precautions will help ensure a safe and efficient cleaning process.
Common Mistakes to Avoid
When cleaning appliances, certain errors can hinder the process or even cause damage. One common mistake is using the wrong cleaning products, such as harsh chemicals that can corrode surfaces or harm internal components. Another error is neglecting to unplug the appliance before cleaning, which poses serious electrical hazards. Avoid using excessive amounts of water, as it can seep into electrical parts and cause malfunctions. Skipping regular maintenance is also a frequent oversight—routine cleaning helps prolong the lifespan of your appliances. Lastly, forcing open delicate or sealed components without proper knowledge can lead to costly repairs. By being mindful of these mistakes, you can maintain your appliances safely and effectively.
Conclusion
Deep cleaning a glass washer requires methodical attention to both internal and external components. From unplugging the unit for safety to sanitizing, descaling, and reassembling, each step ensures optimal hygiene, performance, and longevity of the machine. Thanks for reading our blog post on how to deep clean a glass washer! We hope you found it helpful and informative.
About
Diane Lo is a distinguished figure in the world of kitchen innovation and culinary design, with over a decade of expertise creating functional and sustainable kitchen environments. Her professional focus lies in merging ergonomic spatial planning with modern culinary technology, fostering kitchen layouts that are both highly practical and aesthetically refined. As the lead expert at Kitchenub, Diane Lo delves into the art and science of kitchen organization, appliance selection, and workflow efficiency, inspiring home cooks and professional designers alike.
Education
Royal Melbourne Institute of Technology (RMIT University) (Melbourne, Australia) Associate Degree in Interior Design and Spatial Planning Focus on sustainable kitchen layouts, user-centric design, and ergonomic efficiency. Gained hands-on experience in high-traffic commercial kitchen modeling and advanced space-saving architecture.
Nottingham Trent University (United Kingdom) Bachelor’s in Product Design and Culinary Architecture (Honors) Specialized in the intersection of kitchen technology and lifestyle design. Participated in major industry collaborations, working with premium appliance manufacturers and cabinetry firms to gain real-world insights into modern kitchen workflows.
Publications and Impact
At Kitchenub, Diane Lo shares her expert insights on kitchen renovation processes, material durability, and strategies for achieving peak culinary productivity. Her writing effectively bridges the gap between professional culinary needs and home design, making it an essential resource for those looking to transform their kitchen into a highly efficient and welcoming heart of the home.