

Discovering shattered glass in your oven can be a stressful experience, but with the right approach, you can safely and effectively clean up the mess. Whether it’s from a broken baking dish or an exploded glass panel, addressing the issue promptly is essential to prevent further damage or injury. This guide provides step-by-step instructions on how to clean exploded glass in oven.
Importance of Proper Cleanup
Proper cleanup of shattered glass in your oven is crucial for several reasons. First and foremost, leaving glass shards behind can pose a serious safety risk. Tiny, nearly invisible fragments can cause injuries if touched or stepped on accidentally.
Additionally, leftover glass in the oven could damage its internal components or interfere with its functionality during future use. Residual glass can also contaminate food, posing a health hazard. By thoroughly cleaning up the glass, you ensure both your safety and the longevity of your appliance, as well as maintaining a clean and hazard-free cooking environment.
Is It Safe to Clean Up Exploded Oven Glass?
Yes, it is safe to clean up exploded oven glass, but only if it is done cautiously and thoughtfully to prevent injuries. Start by ensuring that the oven is completely turned off and has cooled down to avoid burns or further accidents. Wear protective gear, such as heavy-duty gloves and closed-toe shoes, to guard against cuts from sharp glass shards. Use a soft brush or broom to carefully collect larger fragments, followed by a vacuum cleaner to pick up smaller, harder-to-see pieces. Dispose of the broken glass in a sealed bag to prevent harm to others handling the trash. By following these steps, you can clean up safely and restore your kitchen to a safe condition.
10 Methods How to Clean Exploded Glass in Oven
1. Let the Oven Cool Completely Before Touching Anything
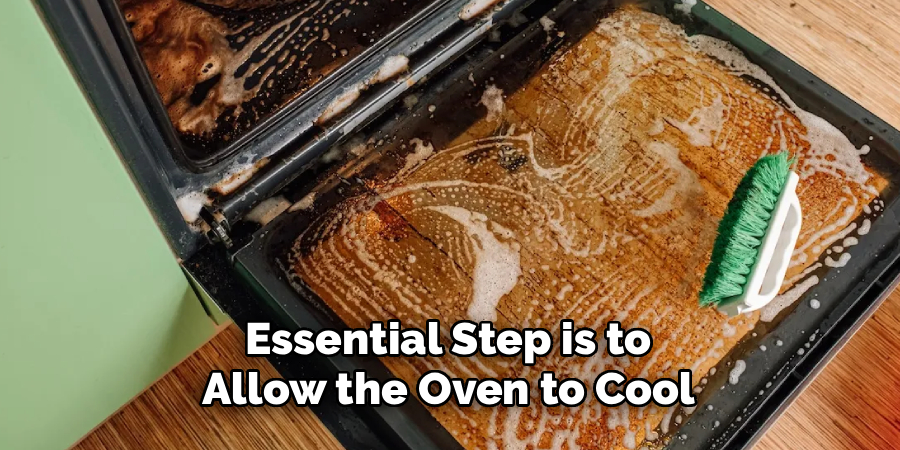
The first and most essential step is to allow the oven to cool down completely before attempting any cleanup. Attempting to remove glass shards while the oven is hot can result in burns or cause the glass to shift unpredictably. Depending on the temperature of the oven at the time of the explosion, it may take several hours to cool fully. During this time, avoid opening the oven door frequently, as moving the oven or disturbing airflow might cause tiny glass particles to become airborne.
2. Unplug the Oven or Switch Off Power at the Circuit Breaker
Before beginning any cleaning, ensure that your oven is completely disconnected from power. This is especially important if you’ll be cleaning around heating elements or removing internal components. For electric ovens, unplug it directly from the outlet or turn off its circuit breaker. For gas ovens, turn off the gas supply as a precaution. This step ensures your safety by preventing accidental ignition or electric shock during the cleanup process.
3. Wear Thick Gloves, Eye Protection, and Closed Shoes
Cleaning up exploded glass is not like typical oven cleaning—it involves handling sharp and potentially hazardous material. Equip yourself with heavy-duty rubber or leather gloves to protect your hands from cuts. Use eye protection, such as safety goggles, to shield your eyes from any airborne particles. Closed-toed shoes with thick soles will protect your feet from stepping on unseen shards that might have fallen to the floor. Always dress cautiously, as even small glass fragments can pierce skin or embed in fabric.
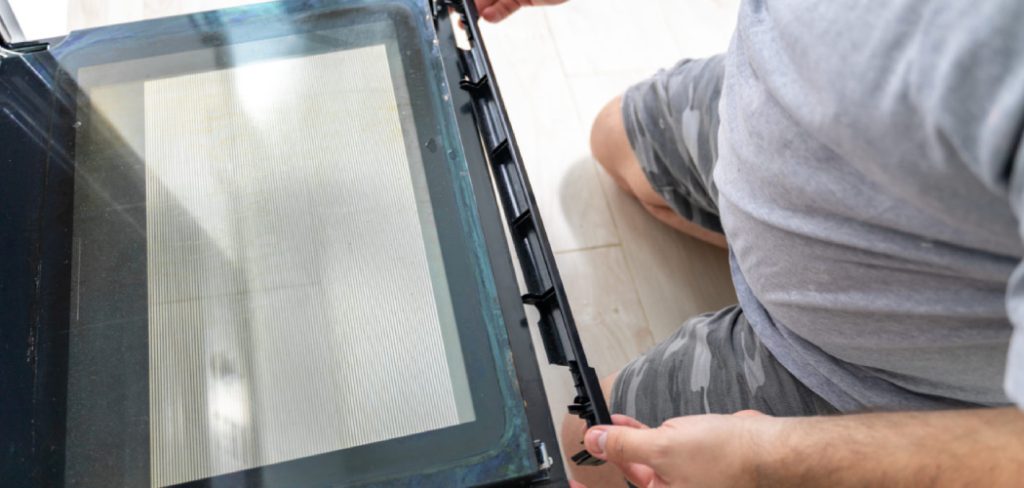
4. Carefully Remove Large Glass Chunks by Hand or with Tongs
Begin the cleaning process by removing the larger, visible pieces of glass. Use gloved hands or kitchen tongs to gently pick them up and place them into a sturdy container—preferably a thick cardboard box or rigid plastic bin. Avoid using thin trash bags, as the shards can pierce through. Be cautious not to press too hard on any surfaces, as the glass may be embedded or hiding under other components. Continue until all large fragments are removed from the visible oven interior.
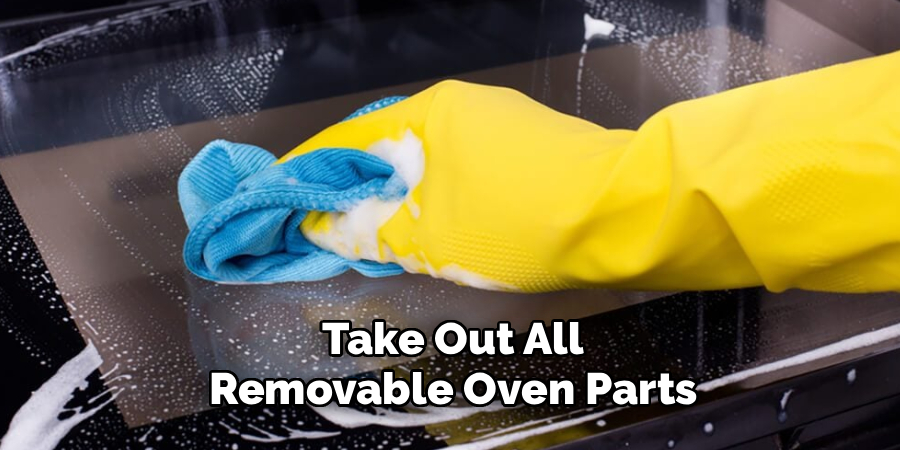
5. Remove Oven Racks and Examine Them for Embedded Glass
Next, take out all removable oven parts, including racks and trays. These items are often overlooked but may hold small glass particles in grooves or under grates. Take them outdoors or to a large sink, and inspect each surface closely. Use a damp sponge or cloth to wipe each rack thoroughly, rinsing the cloth frequently to avoid spreading the glass. You may also run the racks under high-pressure water to help dislodge fine pieces.
6. Vacuum the Interior with a Hose Attachment
To collect the smaller, invisible shards scattered inside the oven cavity, use a vacuum cleaner with a hose or narrow nozzle attachment. Avoid using the main vacuum head, which could scatter shards or get damaged. Slowly vacuum the oven floor, corners, and even the door hinges. If your vacuum has a HEPA filter, use it, as it will better capture fine dust and glass particles. After vacuuming, inspect the filter and clean it outside to avoid indoor contamination.
7. Use Duct Tape or a Sticky Roller for Micro Glass Fragments
Once the visible and larger fragments are gone, fine glass dust may still remain, especially on the oven floor and near the gasket. A highly effective technique for picking up micro-shards is using wide duct tape or a lint roller. Press the sticky surface onto the oven walls and floor, lifting and replacing it as it fills with particles. This step may need to be repeated several times, especially in areas around screws, vents, and door seals.
8. Clean the Oven Interior with Soapy Water and a Soft Cloth
After all the glass is removed, clean the oven thoroughly with warm soapy water and a soft, non-abrasive cloth or sponge. Mix dish soap with warm water in a bucket and gently scrub all surfaces, including the floor, sidewalls, and inner part of the oven door. Avoid harsh chemicals, which might damage surfaces or interact poorly with residual glass dust. The purpose of this wash is to remove any remaining glass particles and eliminate potential grease that could have attracted the glass or worsened the explosion.
9. Dry and Reassemble the Oven with Care
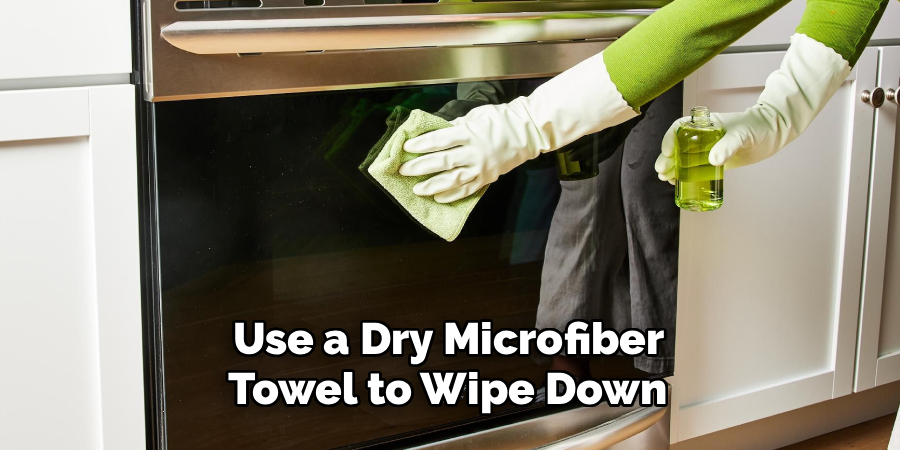
Once the oven has been cleaned, use a dry microfiber towel to wipe down all interior surfaces. Make sure no moisture is left behind, especially around the heating elements or insulation areas. Carefully reinstall the oven racks, ensuring they’re free of glass and seated properly. Examine the oven door and door gasket to ensure there are no lingering pieces of glass around hinges or corners. This step ensures the oven is safe to use again and that no fragments can fall onto food during the next baking session.
10. Run a Test Heat Cycle and Recheck for Glass
Before cooking any food in the oven, it’s best to run a test cycle. Turn the oven on at a medium temperature—around 350°F (175°C)—and let it heat for 15–30 minutes. Watch and listen closely for any signs of crackling or burning that may indicate leftover glass. After the oven cools down again, inspect the interior once more with a flashlight to ensure no shards reappeared. If everything is clean and safe, your oven is now ready for normal use.
Things to Consider When Cleaning Up Broken Glass in an Oven
- Safety First
Always wear protective gloves and ensure the oven is completely cool before attempting to clean. Broken glass can cause serious injuries, so handling it with care is essential.
- Use the Right Tools
Equip yourself with tools such as a handheld vacuum or a damp paper towel to efficiently pick up small glass shards. Avoid using a broom, as it might spread the fragments further.
- Avoid Scratching the Oven’s Interior
Be cautious when using tools to clean the oven. Scraping the surface can damage the interior lining, potentially reducing the appliance’s efficiency and lifespan.
- Double-Check Hard-to-Reach Areas
Glass shards can easily settle in corners, seams, or under the heating elements. Ensure you inspect all areas thoroughly to avoid leaving any pieces behind.
- Perform a Safety Heat Test
After cleaning, running a test heat cycle (like the one described earlier) is crucial. This ensures that no hidden shards remain and guarantees safe future use of your oven.

Conclusion
Cleaning exploded glass from an oven is an intricate process that requires patience, attention to detail, and strict safety measures. From allowing the oven to cool down, wearing proper protective gear, and carefully vacuuming and taping small shards, every step is crucial in ensuring that your oven is free from any hazardous debris. By following these ten elaborated methods, you can confidently restore your oven to a safe and clean state, avoiding injury or damage in future uses. Thanks for reading our blog post on how to clean exploded glass in oven! We hope you found it helpful and informative.
About
Diane Lo is a distinguished figure in the world of kitchen innovation and culinary design, with over a decade of expertise creating functional and sustainable kitchen environments. Her professional focus lies in merging ergonomic spatial planning with modern culinary technology, fostering kitchen layouts that are both highly practical and aesthetically refined. As the lead expert at Kitchenub, Diane Lo delves into the art and science of kitchen organization, appliance selection, and workflow efficiency, inspiring home cooks and professional designers alike.
Education
Royal Melbourne Institute of Technology (RMIT University) (Melbourne, Australia) Associate Degree in Interior Design and Spatial Planning Focus on sustainable kitchen layouts, user-centric design, and ergonomic efficiency. Gained hands-on experience in high-traffic commercial kitchen modeling and advanced space-saving architecture.
Nottingham Trent University (United Kingdom) Bachelor’s in Product Design and Culinary Architecture (Honors) Specialized in the intersection of kitchen technology and lifestyle design. Participated in major industry collaborations, working with premium appliance manufacturers and cabinetry firms to gain real-world insights into modern kitchen workflows.
Publications and Impact
At Kitchenub, Diane Lo shares her expert insights on kitchen renovation processes, material durability, and strategies for achieving peak culinary productivity. Her writing effectively bridges the gap between professional culinary needs and home design, making it an essential resource for those looking to transform their kitchen into a highly efficient and welcoming heart of the home.