

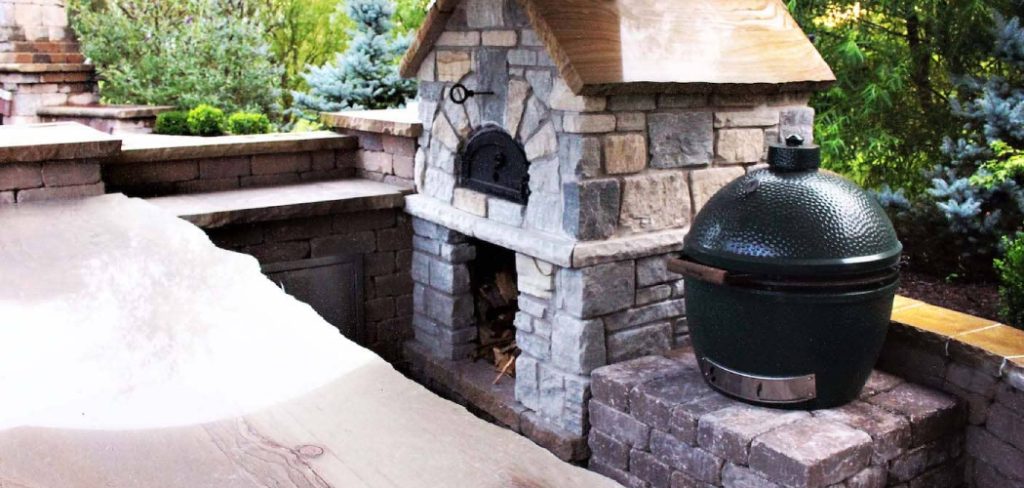
Building a brick pizza oven is a rewarding project that combines practicality with craftsmanship. A well-constructed oven allows you to enjoy authentic, wood-fired pizzas right in your backyard, while also being a centerpiece for gatherings and events. This guide will walk you through the essential steps of how to build a brick pizza oven, ensuring a durable and efficient design. Whether you’re an experienced builder or a DIY enthusiast, this project is achievable with the right preparation and dedication.
Planning and Preparation
Before you begin building your brick pizza oven, proper planning and preparation are essential to ensure a successful outcome. Start by selecting an appropriate location in your backyard. The spot should be level, away from flammable materials, and ideally sheltered from harsh weather conditions. Next, determine the size and style of the oven you want to build, as this will influence the materials and design plans you’ll need. Research different oven designs, such as dome-shaped or barrel vault, and choose one that fits your skill level and available space.
Gathering the right materials is another crucial step. You’ll need firebricks, refractory mortar, cement, sand, and insulation materials such as ceramic fiber or perlite. Additionally, having accurate blueprints or plans will ensure your oven is structurally sound and efficient. Finally, make sure to have the necessary tools on-hand, including a wheelbarrow, trowels, a level, and safety equipment like gloves and glasses. Taking the time to plan thoroughly will set a strong foundation for a successful and rewarding project.
Tools and Materials Needed
To build a sturdy and functional oven, it’s essential to gather the right tools and materials beforehand. Below is a comprehensive list to help guide you:
Materials
- Firebricks
- Refractory mortar
- Cement
- Sand
- Insulation materials (e.g., ceramic fiber, perlite)
- Gravel and concrete mix (for the base)
Tools
- Wheelbarrow (for mixing and transporting materials)
- Trowels (for spreading mortar)
- Level (to ensure even surfaces)
- Measuring tape
- Safety gloves and glasses
- Shovel (for digging or mixing)
Having all these materials and tools ready will help ensure the construction process runs smoothly and efficiently. Proper preparation is the key to achieving the best possible result.
10 Methods How to Build a Brick Pizza Oven
1. Select a Suitable Location and Design
Begin by choosing a location that offers both convenience and safety. Your brick pizza oven should be installed on level ground, away from flammable materials like wooden fences, trees, or overhangs. Ideally, it should be close to your outdoor kitchen or patio for easy access, yet not so near that the heat and smoke become a nuisance. Once the site is selected, choose a design that suits your cooking needs and space—common shapes include barrel-vault and dome-style ovens. You can find free or paid blueprints online to guide the measurements and layout based on your preferred design.

2. Lay a Strong Concrete Foundation
A solid foundation is critical to support the weight of the oven and ensure long-term durability. Dig a square hole approximately 6 inches deep, the width and length depending on your oven’s base—usually 4×4 feet or larger. Pour a mixture of concrete and gravel to fill the hole, and level it with a screed board. Reinforce the slab with steel rebar to prevent cracking over time. Let the concrete cure for at least 48 hours before continuing construction. A level and well-cured foundation serves as the backbone of the entire oven structure.
3. Build a Cinder Block or Brick Base
On top of your cured concrete slab, construct the base or stand that will support the oven dome. You can use cinder blocks, bricks, or poured concrete walls. Arrange the blocks in a rectangular shape, leaving a hollow center for storing firewood or tools. Secure each block layer with mortar, and use a level to ensure uniform height. Add horizontal reinforcement with rebar or wire mesh if needed. The base should be strong enough to carry the oven weight while also elevating the cooking surface to a comfortable height—usually around 36 inches from the ground.
4. Pour a Concrete Slab for the Oven Floor
Once the stand is complete, create a top slab to support the firebrick cooking surface. Use form boards around the top of the stand, and fill it with concrete reinforced with wire mesh or rebar. Allow it to set and cure fully for several days. This slab should be smooth and level, as it forms the base for laying your firebricks. Some builders add insulation board or a layer of vermiculite concrete between the base slab and firebrick floor to improve heat retention.
5. Lay Firebricks for the Cooking Surface
Firebricks are high-temperature bricks that form the oven floor where pizzas will cook. Arrange them in a tight, flat pattern—usually in a herringbone or running bond layout—to prevent the pizza peel from catching on any edges. Dry-lay the firebricks without mortar to allow for thermal expansion. Use a level and rubber mallet to make adjustments and ensure a smooth surface. This step is crucial because it directly affects cooking performance, heat distribution, and the ability to slide pizzas in and out of the oven.
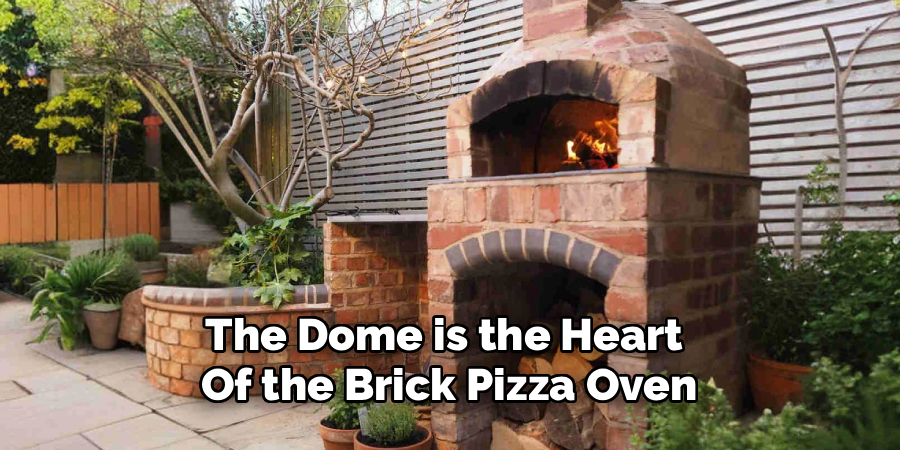
6. Construct the Oven Dome or Vault
The dome is the heart of the brick pizza oven, responsible for trapping and radiating heat evenly. Begin by creating a wooden form or sand mold to support the bricks as you build the curved shape. Lay firebricks in a circular pattern, bonding them with a high-heat refractory mortar. As you build upward, taper the bricks inward to form the dome. Keep the interior as smooth and tight as possible to encourage even heat flow. Some builders opt for a barrel-vault oven instead, which is easier to build but slightly less efficient than a dome.
7. Build the Entry Arch and Chimney Flue
The entry arch is both functional and aesthetic—it frames the oven and helps control airflow. Use a wooden template to form the arch, and lay bricks over it in a curved pattern. Ensure the entry height is about 60% of the dome height to maintain proper draft. Just in front of the dome, construct a chimney flue using firebrick and metal flue pipe. The chimney helps vent smoke out of the oven while drawing fresh air in, which keeps the fire burning efficiently and keeps the front opening smoke-free.
8. Insulate the Dome Properly
Proper insulation is essential to retain high temperatures and improve fuel efficiency. Once the dome and chimney are cured, cover the exterior with a thick layer of ceramic fiber blanket or rock wool. Then, apply a layer of chicken wire to secure the insulation in place. Over this, apply several inches of insulating mortar or a mixture of perlite and cement. This layered insulation traps heat within the dome, allowing you to maintain cooking temperatures for hours with minimal firewood.
9. Apply the Final Outer Shell and Finish
After insulating the oven, it’s time to add the final weatherproof shell. This can be made of stucco, brick veneer, stone, or even tile, depending on your desired aesthetic. Apply a base coat of stucco, allow it to dry, and then finish with paint or additional layers as needed. Make sure the outer layer is sealed and water-resistant to protect the oven from rain and weather damage. You can also add decorative elements like mosaic tiles or custom stonework to give your oven a personal touch.
10. Cure the Oven Slowly Before Full Use
Before you start cooking, the oven must be cured gradually to prevent cracking. Begin with a series of small fires over five to seven days. On the first day, burn a low fire for a few hours to allow moisture to evaporate from the mortar and bricks. Each day, increase the size and duration of the fire. Avoid high heat too soon, as rapid expansion can crack the dome or mortar. Once fully cured, your brick pizza oven will be ready to cook pizzas, bread, and more with exceptional flavor and texture.
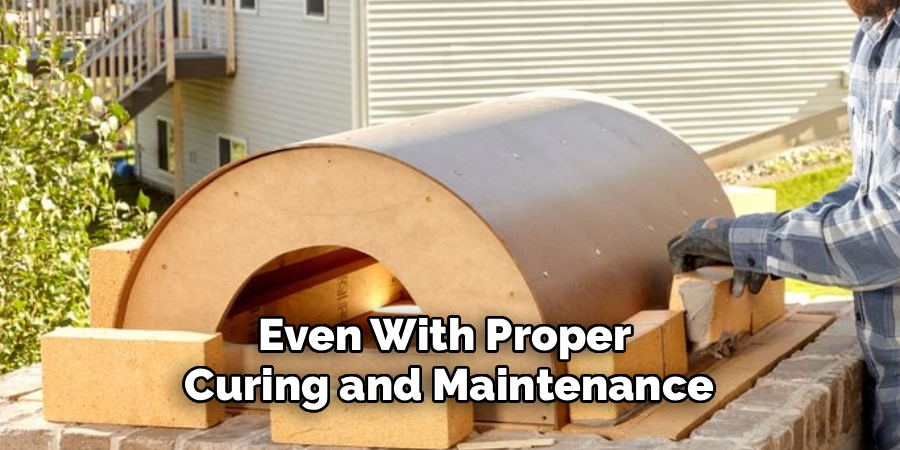
Troubleshooting Common Issues
Even with proper curing and maintenance, brick pizza ovens can encounter some common issues. Here are a few problems and how to address them:
- Cracks in the Dome or Mortar
Small hairline cracks are normal and typically don’t affect performance. However, if you notice larger cracks, inspect the structure to ensure it remains stable. For major cracks, consider using heat-resistant mortar for repairs.
- Uneven Cooking
If your pizzas or bread are burning in some spots while undercooked in others, the heat in your oven may not be evenly distributed. To resolve this, allow the oven to preheat thoroughly and use a turning peel to rotate food regularly during cooking.
- Excess Smoke
Excessive smoke can result from burning wood that is wet or unseasoned. Always use dry, hardwoods like oak or maple for optimal burning efficiency and minimal smoke.
- Difficulty Maintaining Heat
If your oven struggles to retain heat, it may indicate insufficient insulation. Check for any damage or gaps in the insulation layer and repair as needed to improve heat retention.
By addressing these issues promptly, you can ensure your brick pizza oven continues to perform at its best for years to come.
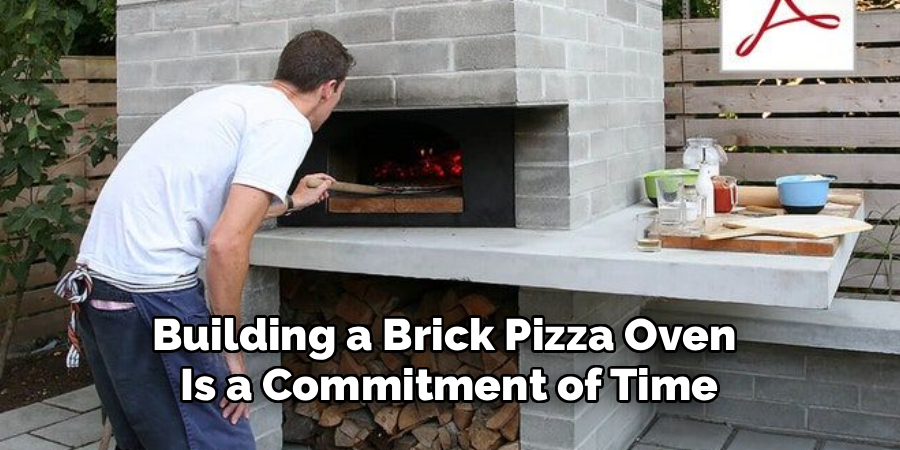
Conclusion
Building a brick pizza oven is a commitment of time, effort, and craftsmanship—but the payoff is well worth it. From the deep satisfaction of a hand-built structure to the unbeatable taste of wood-fired meals, every moment spent on the project brings long-lasting value. Thanks for reading our blog post on how to build a brick pizza oven! We hope you found it helpful and informative.
About
Diane Lo is a distinguished figure in the world of kitchen innovation and culinary design, with over a decade of expertise creating functional and sustainable kitchen environments. Her professional focus lies in merging ergonomic spatial planning with modern culinary technology, fostering kitchen layouts that are both highly practical and aesthetically refined. As the lead expert at Kitchenub, Diane Lo delves into the art and science of kitchen organization, appliance selection, and workflow efficiency, inspiring home cooks and professional designers alike.
Education
Royal Melbourne Institute of Technology (RMIT University) (Melbourne, Australia) Associate Degree in Interior Design and Spatial Planning Focus on sustainable kitchen layouts, user-centric design, and ergonomic efficiency. Gained hands-on experience in high-traffic commercial kitchen modeling and advanced space-saving architecture.
Nottingham Trent University (United Kingdom) Bachelor’s in Product Design and Culinary Architecture (Honors) Specialized in the intersection of kitchen technology and lifestyle design. Participated in major industry collaborations, working with premium appliance manufacturers and cabinetry firms to gain real-world insights into modern kitchen workflows.
Publications and Impact
At Kitchenub, Diane Lo shares her expert insights on kitchen renovation processes, material durability, and strategies for achieving peak culinary productivity. Her writing effectively bridges the gap between professional culinary needs and home design, making it an essential resource for those looking to transform their kitchen into a highly efficient and welcoming heart of the home.