

The vegetable peeler is a humble yet essential tool found in almost every kitchen, designed to make food preparation quicker and more efficient. Mastering its use can save you significant time and effort, whether you’re peeling potatoes for a family dinner or preparing carrots for a healthy snack. It’s a simple utensil that makes removing tough or unwanted skins a breeze.
This guide will provide you with a comprehensive walkthrough on how to use a vegetable peeler correctly and safely. From understanding the different types of peelers to learning the best techniques for various vegetables, you’ll gain the confidence to handle any peeling task with ease. Let’s unlock the full potential of this handy kitchen gadget.
Tools and Materials You’ll Need:
- Vegetable Peeler (Y-peeler or Swivel Peeler)
- Vegetables or Fruits to Be Peeled (E.g., Potatoes, Carrots, Apples, Cucumbers)
- Cutting Board
- A Bowl for the Peels (for Easy Cleanup)
- A Firm, Non-slip Work Surface
8 Simple Step-By-Step Guidelines on How to Use a Vegetable Peeler
Step 1: Choose the Right Peeler for the Job
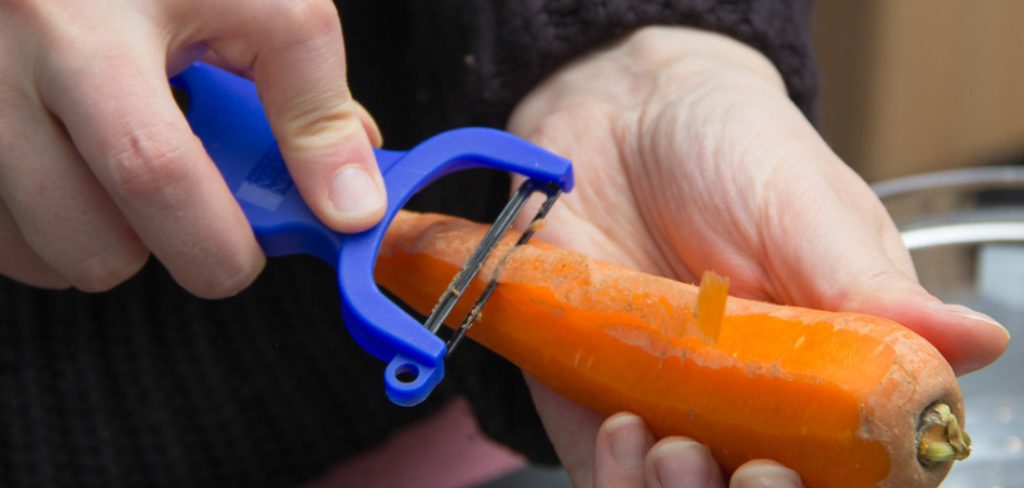
Before you begin, it’s important to select the appropriate peeler for your task. The two most common types are the swivel peeler (also known as a straight peeler) and the Y-peeler. A swivel peeler looks like a knife and is great for long vegetables like carrots and parsnips, as you peel with a motion similar to whittling. A Y-peeler has a horizontal blade and is often preferred for rounder items like potatoes and apples because it provides better control and stability.
Consider the shape and texture of the vegetable you are peeling. For delicate skin, a sharp, high-quality blade is crucial to avoid bruising the flesh underneath. Some peelers even come with serrated blades, which are ideal for waxy or soft-skinned produce like tomatoes and peaches. Selecting the right tool not only makes the job easier but also ensures a cleaner, more professional result in your food preparation.
Step 2: Wash and Prepare Your Produce
Proper preparation is a key first step before you start peeling. Thoroughly wash your vegetables or fruits under cool running water to remove any dirt, pesticides, or debris from the surface. Use a vegetable brush for root vegetables like potatoes and carrots to scrub away any stubborn soil. After washing, pat the produce dry with a clean kitchen towel or paper towels.
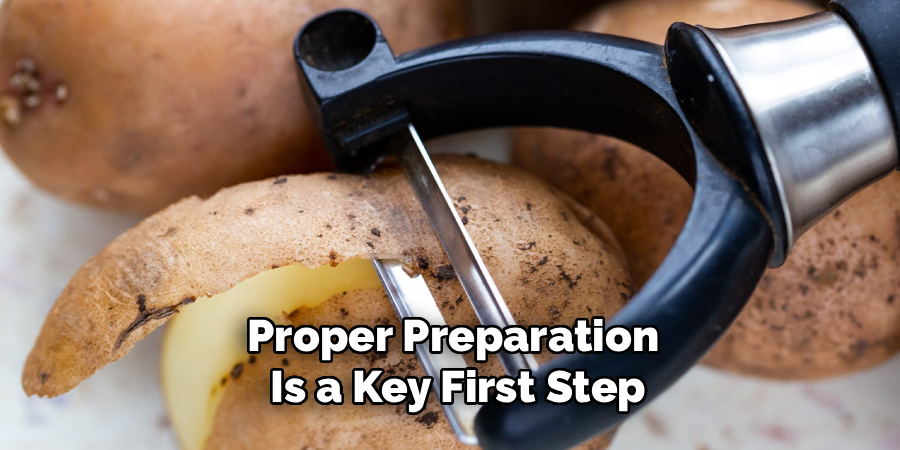
A dry surface is essential for getting a secure grip on the vegetable, which is crucial for safety. A wet, slippery vegetable can easily slide out of your hand while you’re peeling, increasing the risk of an accident. Taking a moment to properly wash and dry your produce ensures a clean and safe starting point for your peeling task, leading to a better final product.
Step 3: Find a Secure and Comfortable Grip
Your grip on both the peeler and the vegetable is fundamental to safe and efficient peeling. Hold the vegetable firmly in your non-dominant hand, keeping your fingers curled away from the path of the peeler blade. For long vegetables like carrots or zucchini, hold one end and peel downwards toward the other. For round items like potatoes or apples, cradle them in your palm.
Hold the peeler in your dominant hand in a way that feels natural and comfortable, much like holding a pencil or a paring knife. Your grip should be firm but not tense, allowing for smooth, controlled movements. A secure grip prevents the vegetable from slipping and gives you complete control over the peeler, ensuring straight, even strokes and protecting your fingers from the sharp blade.
Step 4: Peel Away From Your Body
The golden rule of using any sharp kitchen tool, including a vegetable peeler, is to always direct the blade away from your body. This is the single most important safety practice to prevent cuts. Position the peeler at the top of the vegetable and apply gentle, even pressure as you glide the blade downwards or away from the hand holding the produce. This motion should feel natural and require minimal force.
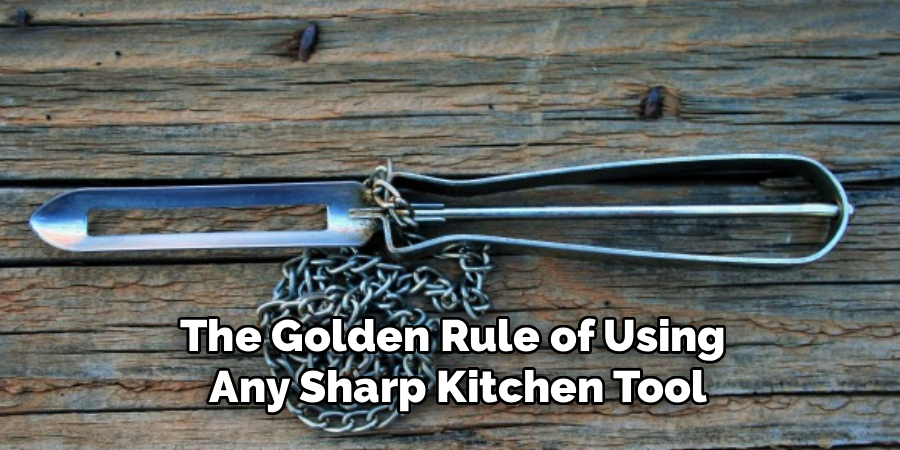
Avoid peeling towards your thumb or fingers that are holding the vegetable. For long vegetables like carrots, hold the top and peel down towards the cutting board. For round vegetables, rotate the item as you peel in a continuous motion around its circumference, always ensuring the blade is moving away from your supporting hand. This technique maximizes safety and becomes second nature with practice.
Step 5: Use Long, Even Strokes
To achieve a clean and efficient peel, aim for long, continuous strokes rather than short, choppy motions. Start at one end of the vegetable and glide the peeler all the way to the other end in one smooth movement. This not only speeds up the process but also results in a more uniform surface, which is ideal for even cooking. Short, hesitant strokes can create ridges and waste more of the edible flesh.
Don’t apply excessive force; let the sharpness of the blade do the work. A good peeler should glide effortlessly, removing only a thin layer of skin. If you find yourself needing to press hard, it may be a sign that your peeler’s blade is dull and needs to be sharpened or replaced. Long, even strokes are the hallmark of proficient and effective peeling.
Step 6: Rotate the Vegetable as You Peel
To peel the entire surface of the vegetable efficiently, you need to rotate it systematically as you work. After completing one long stroke, slightly turn the vegetable in your hand to expose a new, unpeeled section. Continue making long, even strokes and rotating the item until all the skin has been removed. This method ensures you don’t miss any spots and creates a smooth, fully peeled product.
For round produce like potatoes and apples, this rotation becomes a continuous, fluid motion as you peel around the circumference. For longer vegetables like cucumbers, you can peel one side completely, then rotate it a quarter turn and peel the next side. This methodical approach ensures complete coverage and prevents you from going over the same area multiple times, saving both time and food.
Step 7: Use the Tip for Blemishes and Eyes
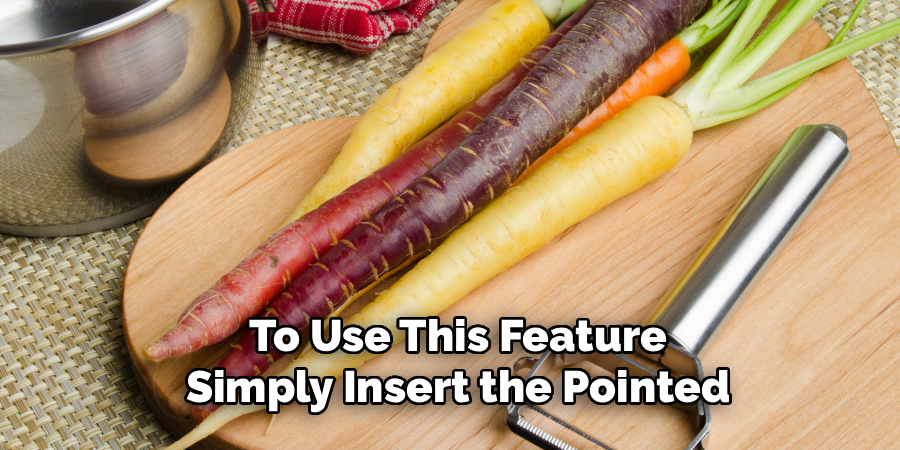
Most vegetable peelers come equipped with a small, pointed feature, either at the tip or on the side, designed for removing blemishes, sprouts, or potato eyes. This tool is often overlooked but is incredibly useful for detailed work. Once you have finished peeling the main surface, inspect the vegetable for any imperfections you want to remove.
To use this feature, simply insert the pointed tip into the blemish or eye and use a scooping or prying motion to lift it out. This allows you to remove unwanted spots without wasting a large portion of the vegetable, which often happens when using a knife for the same task. It’s a small detail that contributes to a perfectly prepared, professional-looking final product.
Step 8: Clean Up Your Workspace
Once you have finished peeling, proper cleanup will make the rest of your cooking process much smoother. If you placed a bowl or newspaper on your cutting board, you can now easily dispose of all the peels at once. Gather all the peels and transfer them to your compost bin or trash. This simple habit keeps your primary workspace clean and ready for the next step, like chopping or slicing.
Wipe down your cutting board and work surface to remove any residual moisture or small bits of peel. Immediately wash your vegetable peeler according to the cleaning instructions to prevent any residue from drying on the blade, which can make it harder to clean later. A quick and tidy cleanup routine is an essential part of an efficient kitchen workflow.
Following these steps on how to use a vegetable peeler will not only make the process easier and more efficient, but it will also help you maintain a clean and organized kitchen. Keeping your tools clean and in good condition ensures the safety and quality of your food preparation.
Frequently Asked Questions:
Q1: Can You Sharpen a Vegetable Peeler?
A1: Yes, many vegetable peelers can be sharpened, which is a great way to extend their lifespan. You can use a specialized knife or blade sharpener designed for small blades. Carefully run the sharpener along the edge of the peeler’s blade, following the tool’s instructions. However, many peelers are very inexpensive, so replacing them when they become dull is also a practical and common option.
Q2: What’s the Difference Between a Swivel and a Y-Peeler?
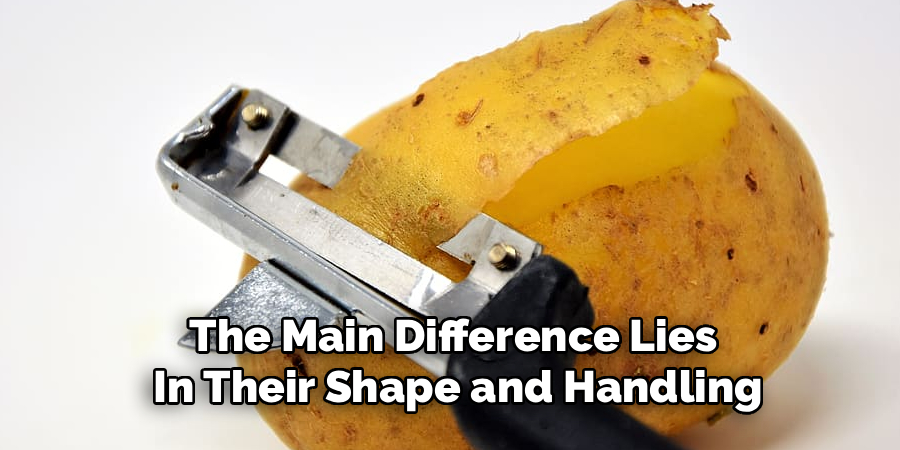
A2: The main difference lies in their shape and handling. A swivel peeler, or straight peeler, has a blade parallel to the handle, and you use it with a motion similar to using a paring knife. A Y-peeler has a horizontal blade perpendicular to the handle, resembling the letter “Y.” Many people find Y-peelers more ergonomic and easier to control, especially for round produce.
Q3: Why Is My Peeler Removing Too Much Flesh?
A3: If your peeler is taking off thick chunks of the vegetable, it could be due to a few reasons. The most common cause is applying too much pressure while peeling; a sharp peeler should glide easily with light force. It could also be that the blade is set at a less-than-ideal angle, which is sometimes an issue with lower-quality peelers. Try using a lighter touch first.
Q4: Can I Use a Vegetable Peeler for Things Other Than Vegetables?
A4: Absolutely! A vegetable peeler is a surprisingly versatile tool. You can use it to create thin shavings of hard cheese like Parmesan for salads or pasta. It’s also perfect for making chocolate curls from a block of chocolate to garnish desserts. Additionally, you can use it to create citrus twists from lemons or limes for cocktails.
Conclusion
The vegetable peeler is a fundamental kitchen tool that, when used correctly, streamlines food preparation and enhances safety. By choosing the right peeler, adopting a secure grip, and using smooth, deliberate motions, you can peel any fruit or vegetable with precision and speed.
This guide on how to use a vegetable peeler has equipped you with the techniques and knowledge to move beyond basic peeling and master this essential skill. With a little practice, you’ll be able to prepare ingredients efficiently, making your time in the kitchen more enjoyable and productive.

About
Diane Lo is a distinguished figure in the world of kitchen innovation and culinary design, with over a decade of expertise creating functional and sustainable kitchen environments. Her professional focus lies in merging ergonomic spatial planning with modern culinary technology, fostering kitchen layouts that are both highly practical and aesthetically refined. As the lead expert at Kitchenub, Diane Lo delves into the art and science of kitchen organization, appliance selection, and workflow efficiency, inspiring home cooks and professional designers alike.
Education
Royal Melbourne Institute of Technology (RMIT University) (Melbourne, Australia) Associate Degree in Interior Design and Spatial Planning Focus on sustainable kitchen layouts, user-centric design, and ergonomic efficiency. Gained hands-on experience in high-traffic commercial kitchen modeling and advanced space-saving architecture.
Nottingham Trent University (United Kingdom) Bachelor’s in Product Design and Culinary Architecture (Honors) Specialized in the intersection of kitchen technology and lifestyle design. Participated in major industry collaborations, working with premium appliance manufacturers and cabinetry firms to gain real-world insights into modern kitchen workflows.
Publications and Impact
At Kitchenub, Diane Lo shares her expert insights on kitchen renovation processes, material durability, and strategies for achieving peak culinary productivity. Her writing effectively bridges the gap between professional culinary needs and home design, making it an essential resource for those looking to transform their kitchen into a highly efficient and welcoming heart of the home.