

Preheating your Power XL Air Fryer is a simple but crucial step for achieving perfectly cooked meals. This process ensures the cooking chamber reaches the optimal temperature before you add your food, leading to crispier results, even cooking, and reduced cooking times. It’s similar to preheating a conventional oven and is key to unlocking your air fryer’s full potential.
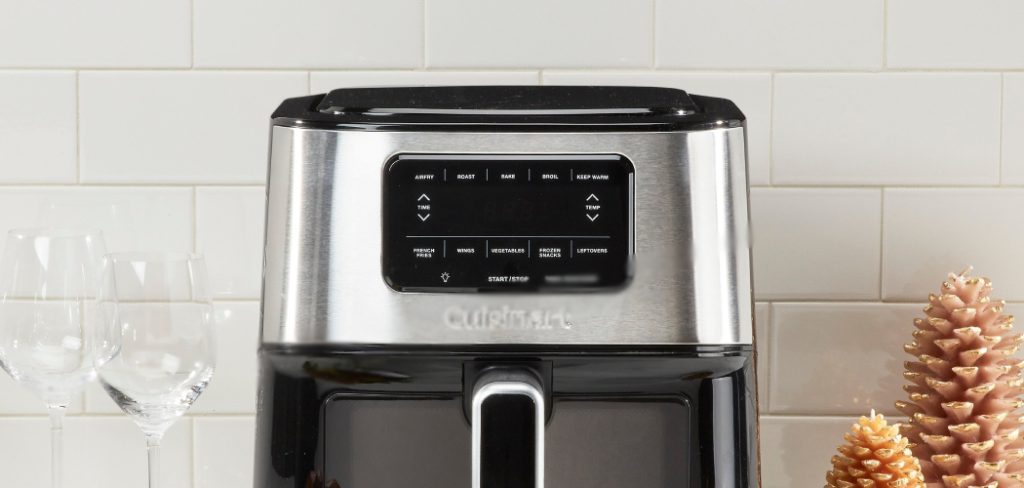
By taking just a few extra minutes to preheat, you guarantee that your food starts cooking immediately at the correct temperature. This initial blast of hot air sears the outside of foods like chicken wings and fries, creating a delicious, crispy texture while keeping the inside tender and juicy. This guide on how to preheat power xl air fryer will walk you through the easy steps to make preheating a regular part of your air frying routine.
Tools and Materials You’ll Need
- Power XL Air Fryer
- A Stable, Heat-resistant Surface (Like a Countertop)
- Oven Mitts
- The Food You Plan to Cook
10 Step-by-step Guidelines on How to Preheat Power XL Air Fryer
Step 1: Place Your Air Fryer on a Safe Surface
Before you even think about plugging in your Power XL Air Fryer, safety should be your top priority. It is essential to place the appliance on a completely flat, stable, and heat-resistant surface. Kitchen countertops made of granite, quartz, or laminate are ideal choices. Avoid using it on wooden tables, plastic surfaces, or near flammable materials like curtains or paper towels, as the unit can get hot during operation and requires proper ventilation.

Ensure there is adequate space around the air fryer, particularly at the back where the air vent is located. A clearance of at least five inches on all sides will allow for proper air circulation, preventing the appliance from overheating and ensuring it operates efficiently. This simple setup step is fundamental for both safety and the longevity of your air fryer, so never overlook its importance before you begin the preheating process.
Step 2: Plug in the Unit and Power It On
Once your Power XL Air Fryer is securely positioned, the next step is to connect it to a power source. Find a dedicated electrical outlet that is easily accessible and not overloaded with other high-powered appliances. Plug the power cord firmly into the socket. After plugging it in, you will typically hear a beep, and the digital display will illuminate, indicating that the appliance is in standby mode and ready to receive your commands.
Press the power button, which is usually located in the center of the control panel. This will activate the air fryer and light up the full display, showing the default time and temperature settings. The unit is now officially on and waiting for you to input your desired preheating parameters. This step is straightforward but marks the official start of the cooking process, moving you from preparation to active operation.
Step 3: Set the Desired Cooking Temperature
With your Power XL Air Fryer powered on, your next task is to set the appropriate temperature for preheating. The temperature you choose should match the recommended cooking temperature for the recipe you are making. Most recipes will specify this, but a good general temperature for preheating is often between 375°F and 400°F (190°C to 200°C), as this range covers a wide variety of foods, from frozen snacks to fresh vegetables and proteins.
Use the temperature control buttons on your display panel, which are typically marked with “Temp” and up/down arrows, to adjust the setting. Press the button until the display shows your desired temperature. Setting the correct temperature is vital because it ensures the cooking environment is perfectly prepared. This allows your food to cook evenly and develop that signature crispy texture that air fryers are famous for, right from the moment it enters the basket.
Step 4: Set the Preheat Time
After setting the temperature, you need to set the preheat time. Most Power XL Air Fryer models do not have a dedicated “preheat” button, so you will simply run the appliance empty for a short duration. A preheating time of three to five minutes is generally sufficient for the unit to reach the target temperature. For lower temperatures (below 350°F), three minutes is usually enough, while for higher temperatures (400°F), a full five minutes is recommended to ensure the chamber is thoroughly heated.
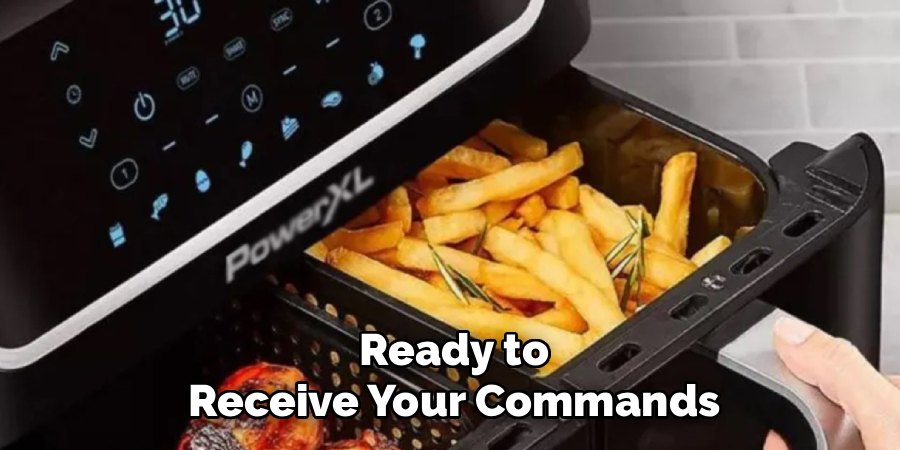
To set the time, use the time control buttons, often labeled “Time” with corresponding up/down arrows. Adjust the timer to your chosen preheat duration, such as ’03’ or ’05’ for three or five minutes. This step essentially tricks the air fryer into heating up before you add your food. It’s a simple manual override that serves the exact same purpose as an automatic preheat function, preparing the internal cooking chamber for optimal performance.
Step 5: Start the Preheating Cycle
With both the temperature and time correctly set, you are now ready to begin the preheating cycle. To start the process, press the “Start” or “Power” button again (the function can vary slightly by model, but it’s typically the same button used to turn the unit on). Once pressed, the air fryer will begin to operate. You will hear the fan turn on, and the heating element will start working to bring the internal chamber up to your specified temperature.
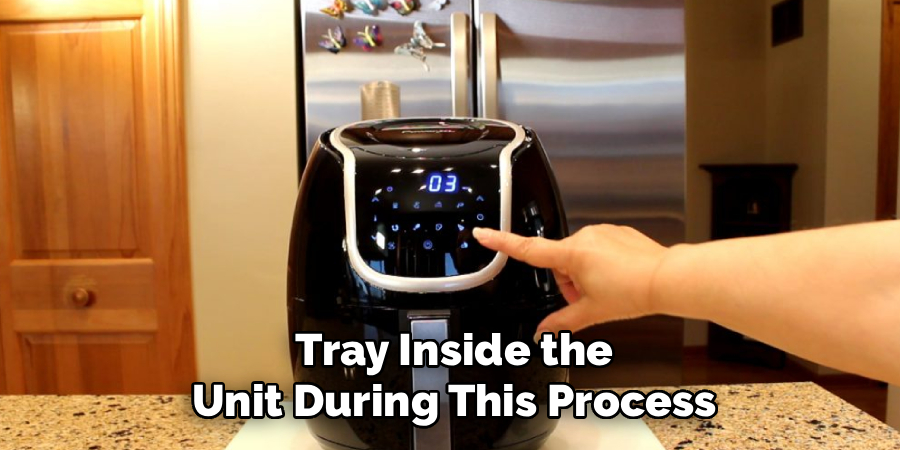
During this time, the air fryer is essentially running an empty cooking cycle. The timer you set will begin to count down, and the display will show the remaining time. You can leave the air fryer basket and tray inside the unit during this process, as this helps them heat up as well, contributing to a better sear when you add your food. Just let the machine run for the full three to five minutes you allocated.
Step 6: Wait for the Preheating to Complete
Now that the preheating cycle has started, all you need to do is wait. Allow the Power XL Air Fryer to run for the full duration you set on the timer. During these few minutes, the powerful fan and heating element are working together to circulate hot air throughout the cooking chamber, ensuring that every corner, as well as the basket and crisper tray, reaches a consistent and stable temperature. This is the most passive but one of the most important steps in the process.
Resist the urge to open the basket to check on its progress. Opening the unit will release the hot air and cause the internal temperature to drop, defeating the purpose of preheating. The air fryer is designed to heat quickly and efficiently, so trust the process. Use these few minutes to finish preparing your food—whether it’s seasoning chicken, chopping vegetables, or arranging frozen items—so you are ready to start cooking as soon as the timer goes off.
Step 7: Carefully Remove the Hot Basket
Once the timer beeps to signal the end of the preheating cycle, the air fryer will typically shut off automatically. The inside of the unit, including the basket and the handle, will be very hot. It is extremely important to exercise caution at this stage to avoid burns. Always use oven mitts or a heat-resistant glove to handle the hot basket. Avoid touching any metal parts of the basket or the interior of the air fryer with your bare hands.
Firmly grip the handle and pull the basket straight out of the air fryer unit. Place it on a heat-resistant surface, such as a trivet, silicone mat, or a cool stovetop burner. Do not place the hot basket directly onto your countertop, especially if it is made of a material that could be damaged by heat. Being mindful and prepared during this step ensures your safety and protects your kitchen surfaces from any potential damage.
Step 8: Add Your Food to the Basket
With the preheated basket safely placed on a heat-resistant surface, it’s time to add your food. Arrange the food items in a single layer inside the basket, making sure not to overcrowd it. Proper spacing is key to achieving the best air frying results, as it allows the hot air to circulate freely around each piece of food. This ensures everything cooks evenly and develops a crispy, golden-brown exterior.
If you are cooking smaller items like French fries or chicken wings, you can give the basket a gentle shake after adding them to help distribute them more evenly. For larger items like chicken breasts or fish fillets, place them side-by-side without overlapping. Work quickly during this step to minimize heat loss from the basket. The sooner you get the food in and the basket back into the unit, the more effective the preheating will be.
Step 9: Insert the Basket and Set the Final Cooking Time
After you have arranged your food in the hot basket, carefully slide it back into the Power XL Air Fryer. You should feel it click securely into place, ensuring a proper connection for the appliance to resume operation. The unit may remember the temperature you previously set for preheating. If not, quickly re-select the correct cooking temperature for your recipe. Now, you need to set the actual cooking time required for your dish.
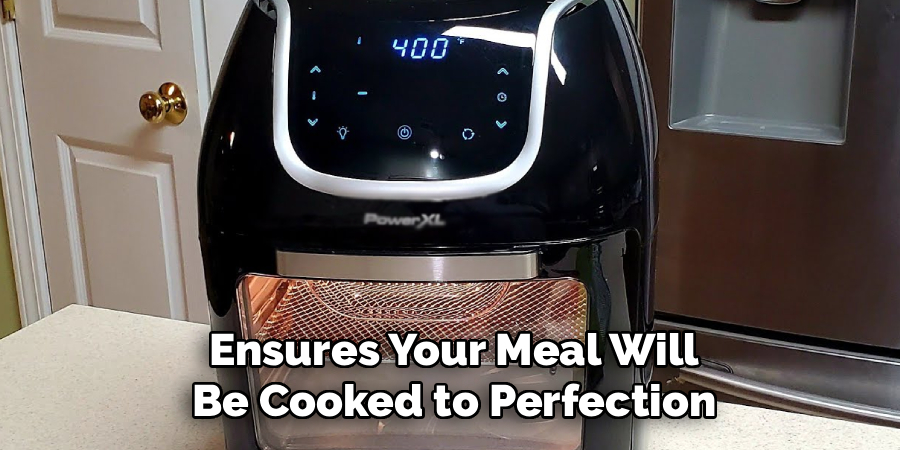
Refer to your recipe for the recommended cooking duration. Use the time control buttons to adjust the timer accordingly. For example, if you are making fries that need to cook for 15 minutes, you would set the timer to ’15’. This step is critical, as undercooking can be a food safety risk and overcooking can lead to dry, burnt results. Setting the precise time ensures your meal will be cooked to perfection.
Step 10: Start Cooking and Monitor Your Food
With the basket back in place and the final cooking time and temperature set, press the “Start” button one last time to begin the main cooking process. The Power XL Air Fryer will restart, and the fan will begin circulating hot air to cook your food. The timer will start counting down, allowing you to track the progress of your meal easily. Now, your active role is mostly complete, and the air fryer will do the rest of the work for you.
However, it’s a good practice to check on your food midway through the cooking cycle. For items like fries, nuggets, or vegetables, you should pause the cooking, pull out the basket, and give it a good shake. This helps to toss the food and ensures that all sides are exposed to the hot air, leading to more even browning and crispiness. Once you’re done, simply slide the basket back in, and the air fryer will automatically resume cooking.
Following these steps on how to preheat power xl air fryer, you’ll be on your way to enjoying delicious and healthy meals in no time. But the benefits of using an air fryer go beyond just cooking food efficiently.
Frequently Asked Questions
Q1: How Long Does It Take to Preheat a Power XL Air Fryer?
A1: Generally, it takes between 3 to 5 minutes to preheat a Power XL Air Fryer. For lower cooking temperatures (around 350°F or less), 3 minutes is typically sufficient. For higher temperatures (375°F to 400°F), it’s best to preheat for a full 5 minutes. This short time allows the internal chamber and basket to reach the target temperature, ensuring your food starts cooking immediately for crispier and more even results.
Q2: Do You Really Need to Preheat an Air Fryer?
A2: While you can cook food without preheating, it is highly recommended. Preheating provides a burst of initial heat that sears the outside of your food, creating a better texture—especially for foods like chicken wings, fries, and breaded items. It also promotes more even cooking and can reduce the overall cooking time. For the best and most consistent results, taking a few minutes to preheat is always worthwhile.
Q3: Can You Put Foil in a Power XL Air Fryer When Preheating?
A3: It is not recommended to place aluminum foil in the air fryer during the preheating cycle when the basket is empty. The powerful fan can cause the lightweight foil to fly around and potentially come into contact with the heating element, creating a fire hazard. If you plan to use foil, add it with the food placed on top of it so that the weight of the food holds it down securely during the cooking process.
Q4: What Is the Preheat Setting on a Power XL Air Fryer?
A4: Most Power XL Air Fryer models do not have a specific, one-touch “preheat” button. Instead, you preheat the appliance manually by setting your desired cooking temperature and then setting the timer for 3 to 5 minutes. After you press start, the air fryer will run empty for this duration, effectively preheating the unit. This manual method works just as well as an automatic preheat function.
Conclusion
Preheating your Power XL Air Fryer is a simple, quick step that makes a significant difference in the quality of your meals. By following these 10 straightforward guidelines on how to preheat power xl air fryer, you can ensure your air fryer is always at the perfect temperature before you start cooking.
This small investment of time leads to crispier textures, more even cooking, and ultimately, more delicious results. Incorporate this practice into your routine to consistently create perfectly cooked dishes and make the most of your air fryer.

About
Diane Lo is a distinguished figure in the world of kitchen innovation and culinary design, with over a decade of expertise creating functional and sustainable kitchen environments. Her professional focus lies in merging ergonomic spatial planning with modern culinary technology, fostering kitchen layouts that are both highly practical and aesthetically refined. As the lead expert at Kitchenub, Diane Lo delves into the art and science of kitchen organization, appliance selection, and workflow efficiency, inspiring home cooks and professional designers alike.
Education
Royal Melbourne Institute of Technology (RMIT University) (Melbourne, Australia) Associate Degree in Interior Design and Spatial Planning Focus on sustainable kitchen layouts, user-centric design, and ergonomic efficiency. Gained hands-on experience in high-traffic commercial kitchen modeling and advanced space-saving architecture.
Nottingham Trent University (United Kingdom) Bachelor’s in Product Design and Culinary Architecture (Honors) Specialized in the intersection of kitchen technology and lifestyle design. Participated in major industry collaborations, working with premium appliance manufacturers and cabinetry firms to gain real-world insights into modern kitchen workflows.
Publications and Impact
At Kitchenub, Diane Lo shares her expert insights on kitchen renovation processes, material durability, and strategies for achieving peak culinary productivity. Her writing effectively bridges the gap between professional culinary needs and home design, making it an essential resource for those looking to transform their kitchen into a highly efficient and welcoming heart of the home.