

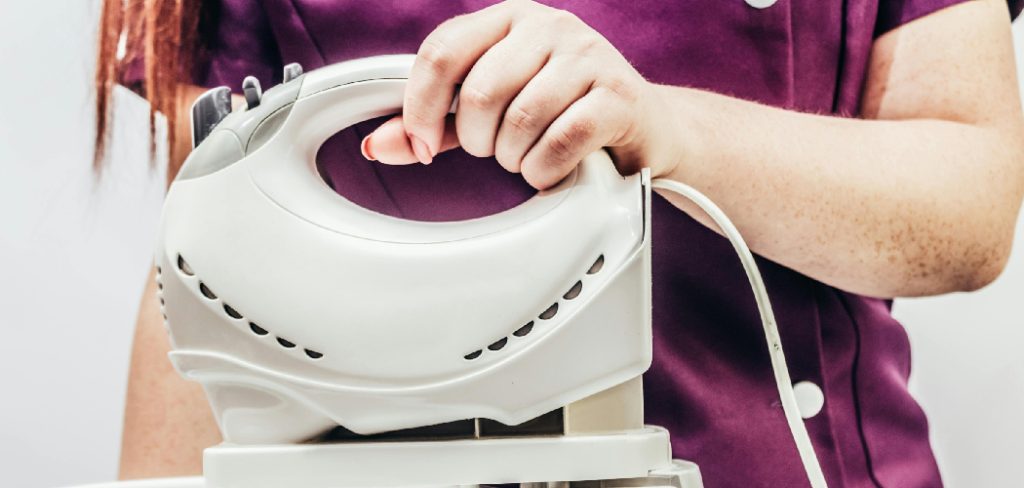
A hand mixer is a compact, powerful, and indispensable tool in the modern kitchen. While a stand mixer has its place, the lightweight and portable nature of a hand mixer makes it perfect for a wide range of baking tasks, especially making cookies. It takes the arm-aching work out of creaming butter and sugar and ensures your dough is perfectly combined, leading to better-tasting treats.
However, using it effectively requires a bit more finesse than just turning it on. This guide is designed to show you exactly how to use a hand mixer for cookies. From choosing the right beaters to mastering the ideal mixing speeds, you’ll learn all the tips and techniques needed to achieve flawless cookie dough every single time.
Why Use a Hand Mixer for Cookies?
While you can certainly mix cookie dough by hand, using a hand mixer offers significant advantages in both efficiency and quality. The most immediate benefit is the saving of time and physical effort. The process of creaming butter and sugar until light and fluffy—a critical step for creating tender cookies—can take many minutes of vigorous stirring by hand. A hand mixer accomplishes this in a fraction of the time with minimal effort.
Furthermore, a hand mixer provides a far more consistent and even mixing result. It incorporates ingredients more thoroughly than manual stirring, eliminating stubborn lumps of flour or pockets of unmixed butter. This leads to a uniform cookie dough consistency, which is essential for cookies that bake evenly and have the perfect texture. The power and speed of the beaters also incorporate more air into the dough, leading to lighter, more tender cookies.
Tools and Materials You’ll Need
Before you start baking, gathering all your tools and ingredients will make the process much smoother. Here’s what you’ll need to use your hand mixer effectively for making cookies.
- A Hand Mixer: With its standard attachments.
- A Large Mixing Bowl: Choose one with high sides to help contain ingredients and prevent splatters.
- A Second Mixing Bowl (Optional): Useful for combining dry ingredients separately.
- Measuring Cups and Spoons: For accurate ingredient measurement.
- A Rubber Spatula: Essential for scraping down the sides of the bowl.
- Your Cookie Ingredients: Ensure your butter and eggs are at room temperature for best results.
- Cookie Sheets and Parchment Paper: For baking your finished dough.
Step-by-Step Guide: How to Use a Hand Mixer for Cookies
Step 1: Choose the Right Beaters
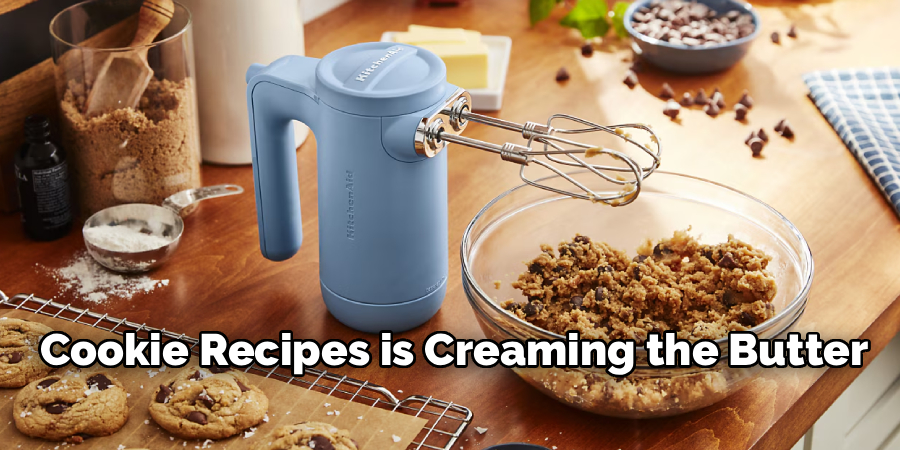
Your hand mixer likely came with a few different attachments. For almost all cookie recipes, the standard twisted wire beaters (often called flat beaters) are the correct choice. These are designed for general-purpose mixing, from creaming butter and sugar to combining wet and dry ingredients. Whisk attachments are too delicate for heavy cookie dough and are better suited for whipping cream. Dough hooks are designed for kneading bread and are not effective for cookie dough. Using the standard beaters ensures proper mixing techniques are possible.
Step 2: Prepare Your Ingredients
One of the most important baking tips for achieving a great cookie dough consistency is to start with room-temperature ingredients. Cold butter will not cream properly with sugar; it will remain lumpy instead of becoming light and fluffy. Similarly, cold eggs can cause the creamed butter mixture to curdle. Let your butter and eggs sit on the counter for about 30-60 minutes before you begin mixing. This simple step allows the fats and liquids to emulsify properly, creating a smooth, uniform dough.
Step 3: Cream the Butter and Sugar
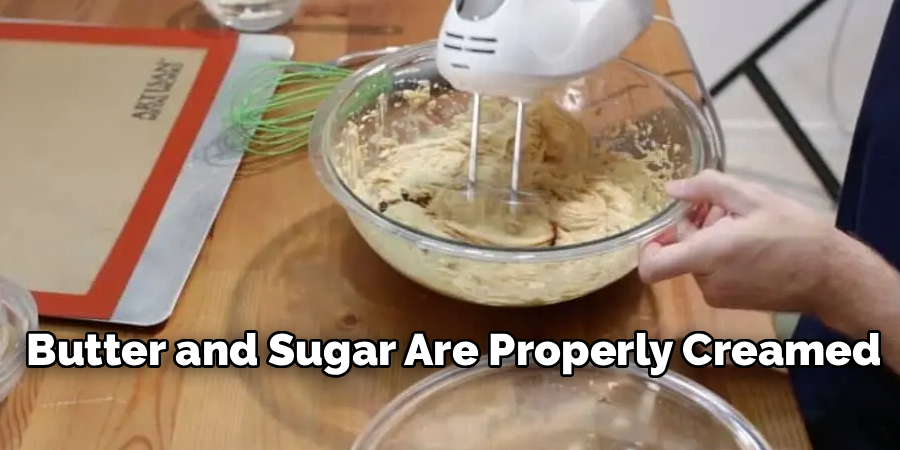
The first mixing step in most cookie recipes is creaming the butter and sugar. Place your softened butter and sugar in the large mixing bowl. Start the hand mixer on a low speed to begin combining them without sending sugar flying everywhere. As they start to come together, gradually increase the speed to medium. Continue mixing for 3-5 minutes. The mixture should become pale, light, and fluffy as the sugar crystals cut into the butter and create tiny air pockets. This aeration is critical for a tender cookie.
Step 4: Add Eggs and Wet Ingredients
Once your butter and sugar are properly creamed, it’s time to add the eggs and any other liquid ingredients, like vanilla extract. Add the eggs one at a time, mixing on a low to medium speed after each addition until it is just combined. Adding them one by one helps them incorporate fully without overwhelming the mixture. Don’t overmix at this stage; just mix until the yellow yolk streaks have disappeared. This is an important step for maintaining the air you just incorporated.
Step 5: Combine and Add the Dry Ingredients
In a separate bowl, whisk together your dry ingredients—flour, baking soda, salt, and any spices. This ensures they are evenly distributed, which is key for a consistent rise and flavor in your cookies. Then, with the hand mixer on its lowest possible speed, add the dry ingredients to the wet mixture in two or three additions. Adding the flour gradually prevents it from exploding out of the bowl and keeps the mixer’s motor from being overworked.
Step 6: Mix Until Just Combined
This is the most critical step in learning how to use a hand mixer for cookies: do not overmix the flour. Mix on low speed only until the last streaks of flour have disappeared. Overmixing develops the gluten in the flour, which will result in tough, dense, and hard cookies instead of soft and chewy ones. The moment the dough comes together, turn off the mixer. A few seconds too long can make a significant difference in the final texture of your cookies.
Step 7: Scrape the Bowl and Add Mix-ins
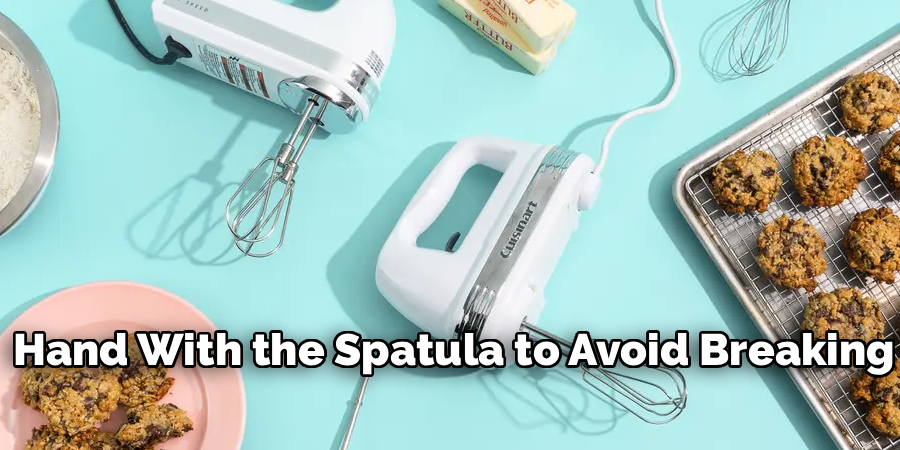
Throughout the mixing process, you should periodically stop the mixer and use a rubber spatula to scrape down the sides and bottom of the bowl. This ensures all ingredients are being incorporated evenly. After the dough has just come together, it’s time to add your mix-ins, like chocolate chips, nuts, or dried fruit. It is best to fold these in by hand with the spatula to avoid breaking them up and to prevent overmixing the dough.
Additional Baking Tips
Chill the Dough: For the best texture and flavor, refrigerate your cookie dough for at least 30 minutes before baking. Chilling helps the flavors develop and prevents the cookies from spreading too much in the oven.
Use Room Temperature Ingredients: Make sure ingredients like butter and eggs are at room temperature before mixing. This allows them to incorporate more evenly into the dough, resulting in a smoother consistency.
Measure Ingredients Accurately: Baking is a science, so precise measurements are crucial. Use a digital scale for dry ingredients and liquid measuring cups for liquids to ensure accuracy.
Don’t Overbake: Cookies continue to cook on the baking sheet after being removed from the oven. Pull them out when the edges are set but the centers still appear slightly undercooked for soft, chewy results.
Prepare Baking Sheets Properly: Use parchment paper or silicone baking mats to prevent sticking and ensure even baking. Avoid greasing the pans, as it can cause cookies to spread too much.
Frequently Asked Questions
What Speed Should I Use on My Hand Mixer for Cookies?
Always start on the lowest speed to combine ingredients without making a mess. For creaming butter and sugar, you can increase to a medium speed to incorporate air. When adding dry ingredients like flour, it is crucial to use the lowest speed setting to prevent the flour from flying out of the bowl and to avoid overworking the dough. Never use high speed for cookie dough.
Why Did My Cookie Dough Become Runny?
Runny cookie dough is often the result of using butter that is too soft or melted, rather than at room temperature. It can also happen if you add too much liquid. If your dough seems too wet, the best solution is to chill it in the refrigerator for at least 30-60 minutes. This will help the butter solidify and will result in a much better cookie dough consistency for baking.
Can I Use a Hand Mixer for All Types of Cookie Dough?
Hand mixers are perfect for most standard drop cookie doughs (like chocolate chip), sugar cookies, and other medium-consistency batters. However, they can struggle with very stiff or heavy doughs, such as gingerbread or biscotti. For these types of recipes, the motor of a hand mixer can overheat. A more powerful stand mixer or mixing the final stages by hand is a better option.
How Do I Stop Flour from Flying Everywhere?
The “flour shower” is a common problem. To prevent it, always use a large, deep bowl. Most importantly, add your dry ingredients in stages (not all at once) and always start the mixer on the absolute lowest speed setting. You can even pulse the mixer on and off a few times to gently incorporate the flour before turning it on for continuous mixing.
Is It Better to Cream Butter and Sugar by Hand or with a Mixer?
Using a mixer is significantly better. The goal of creaming is to aerate the butter by whipping air into it, which creates a light, tender cookie. Achieving this by hand requires a great deal of time and strenuous effort. A hand mixer does this job quickly and much more effectively, creating a greater volume of air pockets and leading to a superior cookie texture.
Conclusion
A hand mixer is a fantastic tool that simplifies the cookie-making process and delivers consistently superior results. By understanding the proper mixing techniques—from creaming butter and sugar effectively to knowing when to stop mixing—you can avoid common pitfalls and produce batches of perfectly textured cookies. It’s all about controlling the speed and paying attention to your dough.
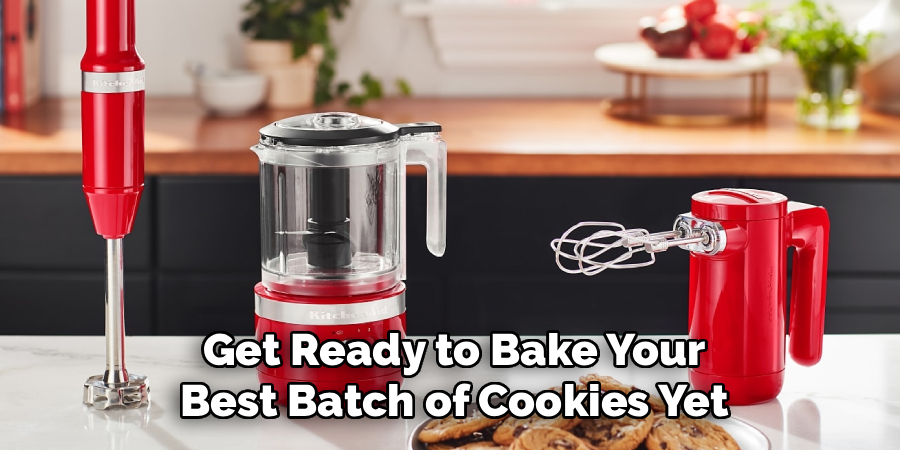
Now that you have this detailed guide on how to use a hand mixer for cookies, it’s time to put your knowledge into practice. Pull out your favorite recipe, grab your mixer, and get ready to bake your best batch of cookies yet. Happy baking

About
Diane Lo is a distinguished figure in the world of kitchen innovation and culinary design, with over a decade of expertise creating functional and sustainable kitchen environments. Her professional focus lies in merging ergonomic spatial planning with modern culinary technology, fostering kitchen layouts that are both highly practical and aesthetically refined. As the lead expert at Kitchenub, Diane Lo delves into the art and science of kitchen organization, appliance selection, and workflow efficiency, inspiring home cooks and professional designers alike.
Education
Royal Melbourne Institute of Technology (RMIT University) (Melbourne, Australia) Associate Degree in Interior Design and Spatial Planning Focus on sustainable kitchen layouts, user-centric design, and ergonomic efficiency. Gained hands-on experience in high-traffic commercial kitchen modeling and advanced space-saving architecture.
Nottingham Trent University (United Kingdom) Bachelor’s in Product Design and Culinary Architecture (Honors) Specialized in the intersection of kitchen technology and lifestyle design. Participated in major industry collaborations, working with premium appliance manufacturers and cabinetry firms to gain real-world insights into modern kitchen workflows.
Publications and Impact
At Kitchenub, Diane Lo shares her expert insights on kitchen renovation processes, material durability, and strategies for achieving peak culinary productivity. Her writing effectively bridges the gap between professional culinary needs and home design, making it an essential resource for those looking to transform their kitchen into a highly efficient and welcoming heart of the home.