

Finding a kitchen storage solution that actually brings order—and lasts—can feel almost mythical, especially when it comes to the unruly world of plastic food containers and their constantly escaping lids. If you’ve ever faced the avalanche of mismatched lids tumbling from your cabinets or spent precious minutes hunting for the one piece that fits, you’re not alone.
This problem plagues home cooks everywhere and can turn even the most enthusiastic organizer into a frustrated mess. Fortunately, there’s no need to resign yourself to chaos. With the right strategy and a willingness to invest a little initial effort, you can master how to store Tupperware lids for good.
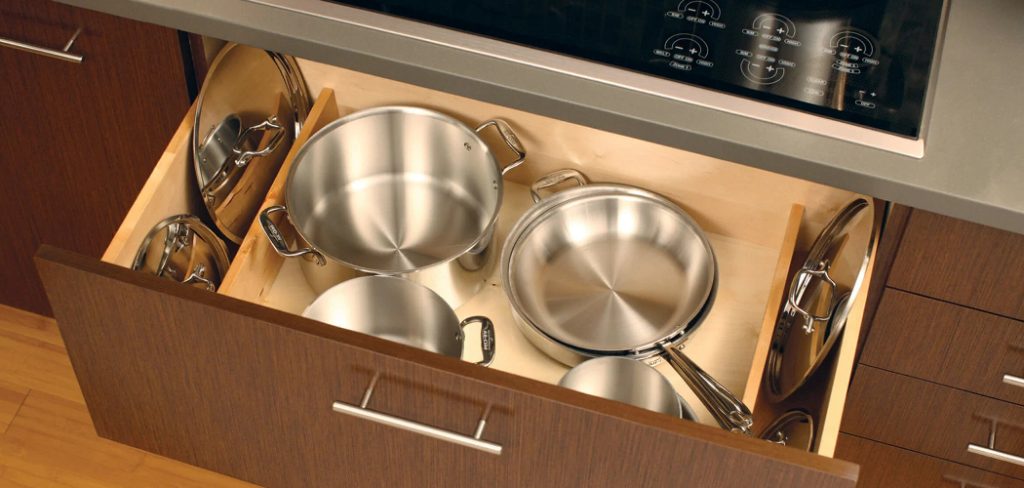
This comprehensive guide will walk you through concrete, practical methods for conquering lid clutter. Whether you have drawers overflowing with mystery pieces, cabinets that hide more lids than containers, or a small kitchen with barely enough space, you’ll find a solution here. We’ll cover how to declutter, choose the right storage system for your kitchen, keep everything organized in the long run, and troubleshoot common pitfalls along the way. By the end, you’ll not only know how to store Tupperware lids effectively—you’ll be ready to keep them organized for life.
The Critical First Step
Before launching into new storage solutions, it’s crucial to begin by understanding exactly what you have. Successfully learning how to store tupperware lids depends on the cleanliness and order of your plasticware collection. The following steps ensure you’re starting with a manageable group of containers and lids, free from unnecessary extras.
The Great Container Match-Up
Start by emptying your entire collection of food containers and lids onto a clean, flat surface—think your kitchen table or a cleared countertop. This task may seem daunting if you’ve accumulated years of mismatched items, but seeing everything at once is essential.
Once you’ve gathered your collection, begin the process of matching. Set up a simple assembly line: match every lid to a container base, grouping them by shape and size as you go. Any “orphan” pieces—lids without a corresponding base or vice versa—should be set aside. This match-up helps reveal how many usable sets you really have and exactly what shapes and sizes dominate your collection.
Inspect, Recycle, and Replace
With everything paired up as much as possible, inspect the condition of each set. Now is the ideal time to be critical. Check containers and lids for cracks, warps, stains, or lingering odors that just won’t disappear. Examine whether lids snap on and seal tightly or if they’ve lost their shape through heat, age, or wear.
If you identify plasticware that’s stained, warped, or no longer closes securely, have the resolve to let it go. Most municipalities accept certain types of kitchen plastics in recycling—check the numbers on the bottom of each item and consult your local guidelines. It can feel wasteful, but keeping only reliable, usable plasticware is the foundation for an organized system.
By the time you complete this audit, you’ll be left with a curated collection: all matching sets, all in good condition. This immediately makes storing and maintaining your lids much easier.
Foundational Systems: Keeping Containers and Lids Together
Once you’ve reduced your collection to only what you need and love, it’s time to select a foundational storage method for your containers and lids. The solution you choose should suit your available space, the sizes of your containers, and your personal habits. Here are two proven systems that help you master how to store Tupperware lids while keeping kitchen chaos at bay.
The Nesting Doll Method
If you have ample drawer or cabinet space and a fairly uniform collection, consider “nesting” your containers. This involves stacking containers of the same shape and size inside one another, just like Russian nesting dolls. For round or rectangular containers, this works particularly well.
To optimize lid storage within this method, you have two choices. The first is to stack all lids together, in order of size, in a dedicated spot next to the nested containers. This keeps them in easy reach but may require fishing through lids to find just the right one. The other, more organized option, is to snap each lid onto its matching base before nesting the sets. Although this approach uses more vertical space, it guarantees that every container has its lid and makes grabbing a matching set effortless.
The Separate, Contained Method
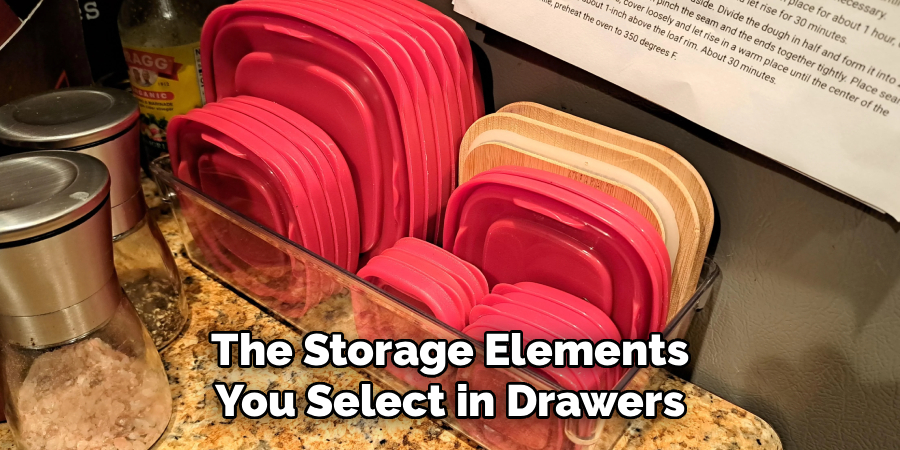
For those short on storage space or with a diverse collection of shapes and sizes, separate but contained storage may prove most efficient. Nest all container bases by shape—square with square, round with round. Then, designate a container or a shallow bin just for the lids. The key is to store lids vertically in this bin, almost like files or folders, so all sizes are instantly visible and easy to access.
Clear plastic bins are particularly helpful since they let you see everything at a glance. Some people repurpose a dish rack or magazine holder for this purpose, creating “slots” for lids of various sizes. By dividing the bases and the lids but keeping both categories corralled in their own areas, you’ll always know where to look—no more searching through piles or mismatched stacks.
How to Store Tupperware Lids: High-Impact Drawer and Cabinet Solutions
The storage elements you select in drawers and cabinets can make or break your organization system. Luckily, with a few thoughtful installations, even the most clutter-prone kitchens can become models of order. The following solutions rely on using available drawers and deep cabinets efficiently to store Tupperware lids in ways that prevent slipping, sliding, and losing essential pieces.
Using Drawer Dividers to File Lids
If you’re fortunate enough to have a deep kitchen drawer devoted to food storage containers, you have a prime opportunity to introduce true order. Adjustable drawer dividers—whether custom-made or the modular style sold at most home retailers—let you create perfectly sized “files” for your lids. Arrange each slot by lid size and shape, placing each lid vertically for maximum visibility. This method keeps every lid upright and prevents the dreaded pileup, so you find what you need in seconds.
Installing Pull-Out Bins or Shelves
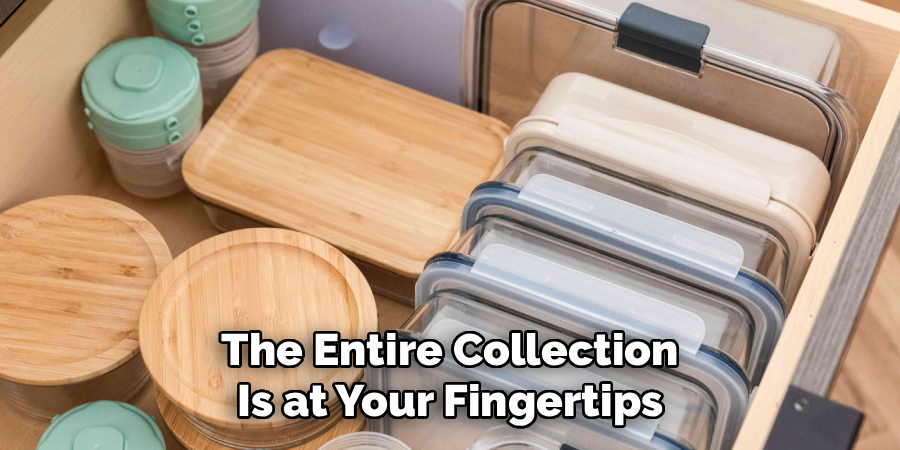
For cabinets, especially those that are deep and hard to reach, pull-out wire baskets or sliding shelves offer a dramatic upgrade. By installing these, you can transform deep, cluttered cabinets into accessible, organized spaces. Store lids in one pull-out bin, containers in another, or place both in the same basket, but separate their areas. When you need a lid, just pull the basket forward and the entire collection is at your fingertips—no need to hunch over and fish through the back of the cabinet.
Leveraging Cabinet Door Racks
Think vertically—cabinet doors are often overlooked sources of storage. Slim racks affixed to the inside of a cabinet door (originally designed for magazines, foil boxes, or even cleaning supplies) elegantly hold Tupperware lids upright. This solution works particularly well for smaller kitchens since it uses otherwise wasted space. Just ensure the rack is deep enough to keep the lids from tumbling out, and avoid overloading it to ensure the door closes smoothly.
Thinking Vertically: Wall and Pegboard Options
Not all kitchens come with an abundance of cabinet or drawer space. Sometimes, making more room for how to store Tupperware lids means looking to the walls or the backs of doors—the “vertical” real estate within your kitchen.
Adhesive Organizers for Instant Storage
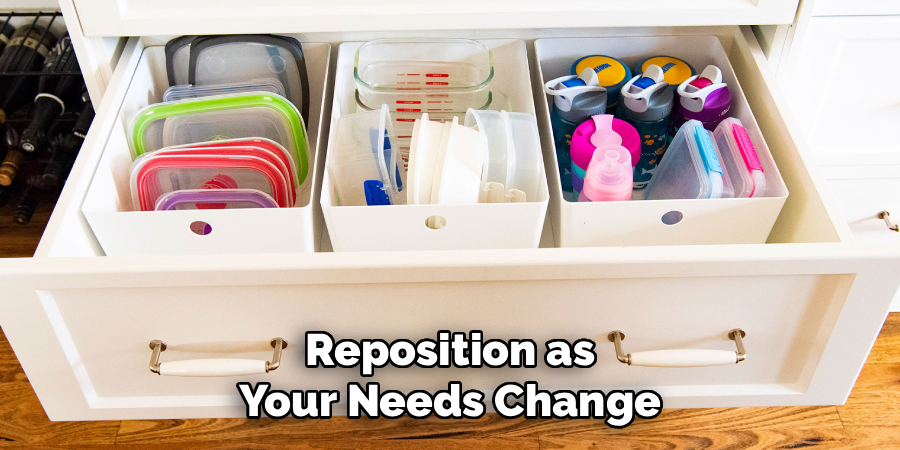
For a rental-friendly and non-permanent storage fix, adhesive lid organizers offer a quick solution. These compact plastic holders mount to walls or the inside of cabinet doors with strong yet removable adhesive strips. Slip a few lids into the slots and enjoy targeted, easily accessible storage. This method works well for lightweight and commonly used lids, plus it’s a breeze to move or reposition as your needs change.
The Ultimate Customization with a Pegboard
If you have an empty patch of wall or the inside of a pantry door available, a pegboard promises endless organizational possibilities. With just a few pegs, hooks, and small baskets—available at any hardware store—you can design a fully custom station to hang, stack, or categorize all your Tupperware lids. This gets them out of the way entirely and can serve as an eye-catching kitchen feature, too. Pegboard systems are especially flexible, allowing for changes as your collection grows or shrinks.
Small Kitchen and Rental-Friendly Hacks
Compact kitchens and rentals with strict rules on permanent installations require extra creativity for storing Tupperware lids. Here are two strategies that transform overlooked spaces into lid storage goldmines.
The Tension Rod Trick
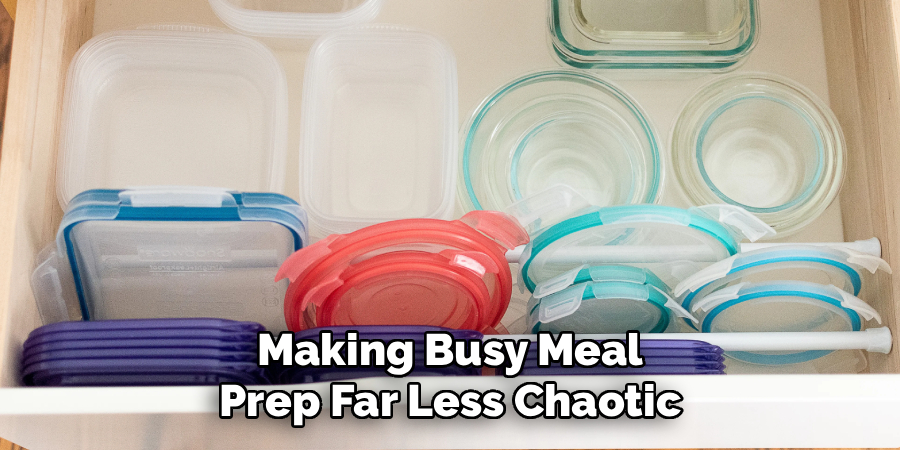
For renters or those seeking a non-invasive fix, tension rods are a game-changer. Purchase a slim, adjustable tension rod and install it vertically inside a cabinet or pantry. Slide lids between the rod and the side wall; the rod holds them upright just like files, keeping even the smallest lids visible and accessible. This approach is inexpensive, easy to install, and can be adjusted or removed anytime.
Using an Over-the-Door Shoe Caddy
If cabinets are in short supply, think outside the box—an over-the-door shoe caddy (the kind with clear pockets) transforms a closet or pantry door into a massive lid organizer. Each pocket holds one or more lids, and the clear design keeps everything visible at a glance. Organize lids by size or shape and use a permanent marker on the pocket to label common types. This solution is especially helpful for families with large plasticware collections.
The Power of Labeling and Color-Coding
Even the best storage systems can fall apart if you’re constantly struggling to match lids to containers. That’s where labeling and color-coding come in. These techniques add an extra layer of effortless organization so you always know which lid goes with which container.
Creating Simple Size Codes
For larger collections, a quick coding system can save time and reduce frustration. Try using a permanent marker or small waterproof sticker to label every container base and its matching lid with a corresponding letter or number—for example, all “A” lids fit “A” containers. You can even create a quick reference chart inside your cabinet door if you want to train the whole household to use the system.
The Visual Cue of Matching Stickers
If you prefer a more visual approach, stick with color. Purchase a pack of small, colored dot stickers. Place a blue sticker on a container, then another blue sticker on the lid that fits. Repeat with other colors for different sizes or types. This turns storage and sorting into a quick, almost playful task, ideal for busy families or anyone who prefers visual cues over letters and numbers.
Building Maintenance Routines to Stay Organized
Setting up an organizational system is only half the battle; maintaining it requires small but consistent habits. These routines ensure your Tupperware and lids stay orderly, no matter how busy life gets.
The 5-Minute Weekly Reset
Make it a habit to reset your storage system each week. After your weekly grocery shop or big meal prep day, spend just five minutes making sure containers and lids are dry, stacked in their correct places, and that no rogue pieces have slipped through the cracks. This minor investment in time pays off by preventing the buildup of unnecessary clutter and making busy meal prep far less chaotic.
The Quarterly Purge
About once every three months, conduct a more thorough audit. Pull out your collection and re-match lids and containers. Separate any orphans or damaged pieces, check for new stains or warping, and recycle or discard anything that no longer works well. This small, regular purge means your system never gets derailed by a gradual influx of mystery pieces or broken plasticware.
Troubleshooting Common Lid Storage Problems
Even the best systems can run into issues. Here’s how to tackle some of the most persistent Tupperware lid storage headaches.
What to Do with Warped Lids
Plastic lids can lose their shape thanks to frequent trips through the dishwasher or exposure to high heat. If you find a lid is slightly warped, try soaking it in hot water for a few minutes—just enough to soften the plastic. Then, press it firmly onto its matching container and allow it to cool in place. Sometimes this trick helps lids regain their shape. However, if the fit is still loose or the seal is compromised, it’s time to recycle the lid for good.
Handling Missing Sizes and a Mismatched Collection
If your collection is a mix of different brands and sizes, it’s worth considering an upgrade to a standardized set. Investing in containers that are all the same make and model ensures seamless nesting and generally means lids are interchangeable or the variety is minimized. Over time, phasing out odd pieces in favor of a consistent set will streamline both storage and use.
Solving the Slippery Stack Problem
Stacked horizontally, lids slide everywhere. If this is an ongoing battle, revert to vertical storage methods as described earlier. Filing lids upright in a bin or drawer, or storing them in a rack, keeps even the slipperiest stacks stable, visible, and under control. Sometimes, a slight shift in how you stack can resolve years of daily frustration.
Conclusion
You don’t need a giant kitchen or a major renovation to solve the Tupperware lid dilemma. With a clear, step-by-step framework—and a system that fits your unique space—you can create an organized, accessible, and stress-free solution for how to store Tupperware lids. Start by decluttering and matching up your collection, then choose the right system (like a drawer divider, pull-out bin, or rack), and commit to simple maintenance routines to keep everything neat. Remember, the real secret to success is not in the size of your kitchen but in the strategy you choose and the habits you build. Tackle your lid clutter today and unlock a more serene, efficient, and functional kitchen tomorrow.

About
Diane Lo is a distinguished figure in the world of kitchen innovation and culinary design, with over a decade of expertise creating functional and sustainable kitchen environments. Her professional focus lies in merging ergonomic spatial planning with modern culinary technology, fostering kitchen layouts that are both highly practical and aesthetically refined. As the lead expert at Kitchenub, Diane Lo delves into the art and science of kitchen organization, appliance selection, and workflow efficiency, inspiring home cooks and professional designers alike.
Education
Royal Melbourne Institute of Technology (RMIT University) (Melbourne, Australia) Associate Degree in Interior Design and Spatial Planning Focus on sustainable kitchen layouts, user-centric design, and ergonomic efficiency. Gained hands-on experience in high-traffic commercial kitchen modeling and advanced space-saving architecture.
Nottingham Trent University (United Kingdom) Bachelor’s in Product Design and Culinary Architecture (Honors) Specialized in the intersection of kitchen technology and lifestyle design. Participated in major industry collaborations, working with premium appliance manufacturers and cabinetry firms to gain real-world insights into modern kitchen workflows.
Publications and Impact
At Kitchenub, Diane Lo shares her expert insights on kitchen renovation processes, material durability, and strategies for achieving peak culinary productivity. Her writing effectively bridges the gap between professional culinary needs and home design, making it an essential resource for those looking to transform their kitchen into a highly efficient and welcoming heart of the home.