

Storing sourdough bread in the freezer is a great way to preserve its freshness and unique flavor for an extended period. Whether you have baked your own loaf or purchased it from a bakery, freezing sourdough properly can ensure that it maintains its texture and taste. By following the right steps, you can enjoy delicious sourdough bread anytime without worrying about it going stale or losing its quality. In this blog post, we’ll walk you through the steps on how to store sourdough bread in freezer so that you can get back to using it in no time! So grab your tools, and let’s get started!
Why Freezing Sourdough Bread?
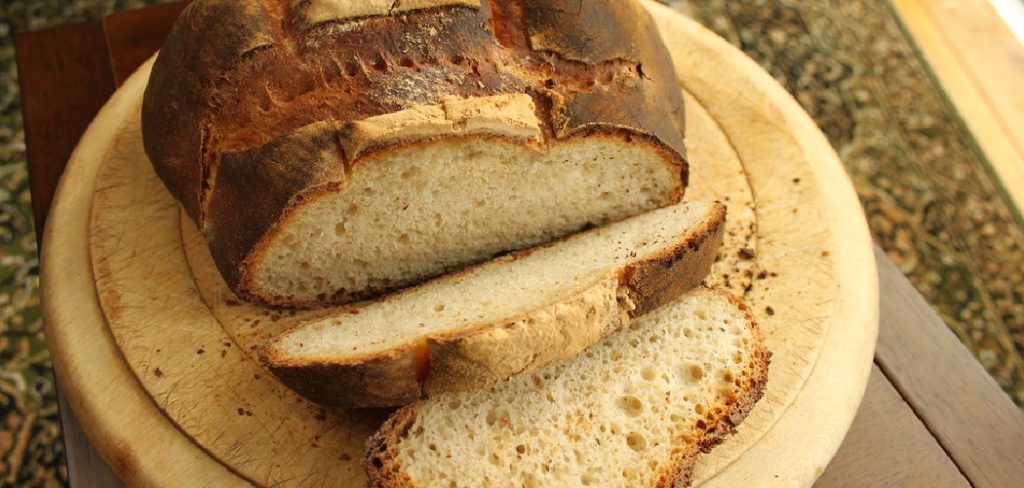
Freezing sourdough bread is an excellent way to preserve its freshness and taste for a longer period. Unlike other types of bread, sourdough has a naturally long shelf life due to its fermentation process, but it can still become dry or stale over time if not stored correctly. Freezing halts the aging process, locking in the bread’s moisture and flavor until you’re ready to use it. This method is especially useful for those who bake in large batches or purchase artisan loaves that they want to savor over several weeks. By freezing sourdough, you can reduce food waste, save time, and always have fresh-tasting bread on hand for meals, sandwiches, or snacks.
What You’ll Need for Proper Freezer Storage
To freeze sourdough bread effectively and maintain its quality, you’ll need a few essential items. First, ensure you have a supply of airtight freezer bags or reusable silicone storage bags. These are vital for protecting the bread from freezer burn and preserving its texture and flavor. Second, plastic wrap or aluminum foil can be used to tightly seal individual slices or whole loaves before placing them in the bags for an extra layer of protection. Lastly, make sure to have a permanent marker on hand to label the packaging with the date of freezing. This will help you keep track of freshness and ensure you enjoy the bread at its best.
10 Methods How to Store Sourdough Bread in Freezer
1. Let the Bread Cool Completely Before Freezing
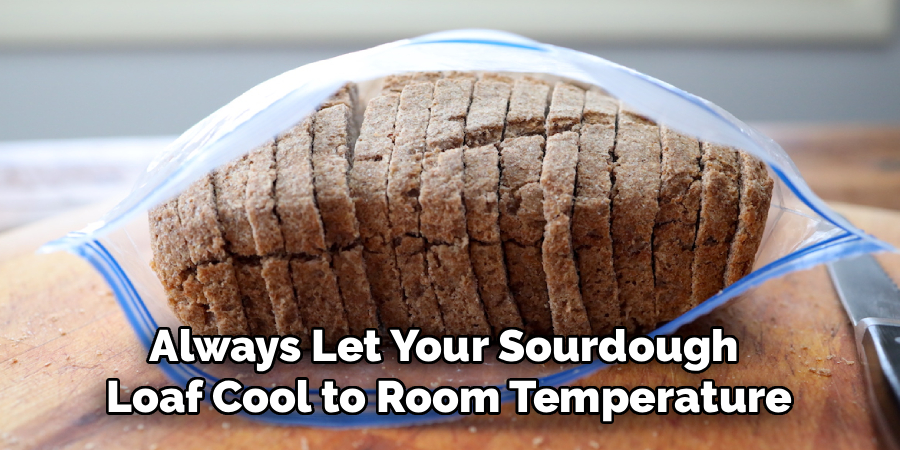
One of the most important steps before freezing sourdough bread is allowing it to cool completely. Bread continues to release steam long after it comes out of the oven, and trapping this steam in a freezer bag or wrapping can result in ice crystals that degrade the bread’s texture. Always let your sourdough loaf cool to room temperature—this can take up to two hours depending on the loaf size. Skipping this step may lead to soggy or freezer-burnt bread when you reheat it later.
2. Freeze Whole Loaves for Bulk Storage
If you prefer to defrost and use a full loaf at a time, freezing it whole is the most efficient method. After the bread has cooled, wrap the entire loaf tightly in plastic wrap or beeswax paper. Then, place it inside a heavy-duty freezer bag or wrap it again in aluminum foil to provide an extra layer of protection. This double-wrapping technique prevents freezer burn and preserves both the crust and crumb. Label the loaf with the date so you can track how long it has been stored.
3. Slice the Bread Before Freezing for Convenience
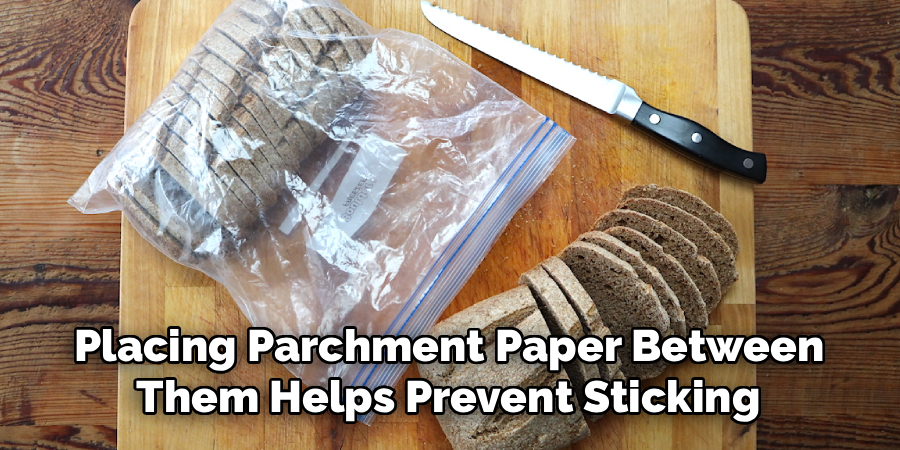
For easier portioning, consider slicing the bread before freezing it. This method allows you to take out only what you need without having to thaw the whole loaf. Use a sharp bread knife to slice the loaf evenly, then place parchment paper or wax paper between each slice to prevent sticking. Stack the slices neatly in a freezer-safe zip-top bag or airtight container. When stored properly, sliced sourdough bread can maintain its quality in the freezer for up to three months.
4. Use a Vacuum Sealer for Long-Term Storage
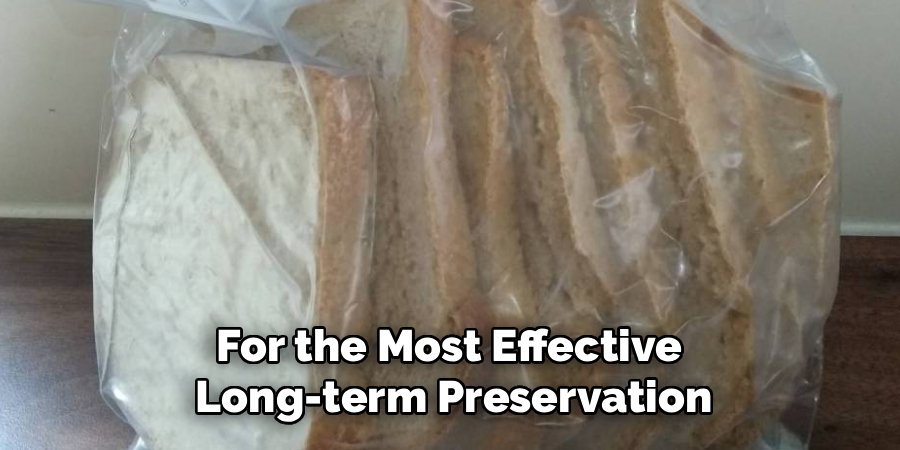
For the most effective long-term preservation, a vacuum sealer removes all air around the bread, helping to avoid freezer burn and maintain freshness. Once the sourdough bread is cooled (and sliced, if preferred), vacuum seal it in a BPA-free freezer-safe bag. If using a whole loaf, wrap it first in parchment or plastic wrap to keep the crust from getting crushed under the vacuum pressure. Label and date the bag before freezing. This method can keep sourdough bread in excellent condition for up to six months.
5. Wrap with Foil and Place in a Resealable Freezer Bag
If you don’t have a vacuum sealer, a combination of foil and a high-quality freezer bag can also work well. First, wrap the sourdough bread—whole or sliced—in aluminum foil, pressing it firmly to eliminate any air pockets. Then slide the foil-wrapped bread into a thick, resealable freezer bag, squeezing out excess air before sealing. This double-layer storage method helps preserve the moisture inside the bread while preventing ice from forming on the crust.
6. Store in Freezer-Safe Containers to Protect Shape
For those concerned about the bread losing its shape, using a freezer-safe container is a good option. Choose a rigid plastic container large enough to hold the bread without squishing it. Line the container with parchment paper and place the bread inside, either whole or sliced. Seal the container with a tight-fitting lid and store it in the freezer. This method is especially useful for artisan-shaped sourdough boules or loaves with delicate scoring.
7. Use Parchment Paper for Stackable Slices
When freezing multiple slices, placing parchment paper between them helps prevent sticking and allows you to remove one or two pieces at a time. Arrange the slices in a stack with a small square of parchment between each, then wrap the entire stack in plastic wrap. Follow up by placing the wrapped stack inside a freezer bag. This keeps the slices in order and prevents freezer odors from affecting the flavor of your sourdough bread.
8. Flash Freeze Slices for Individual Storage
Flash freezing is an excellent way to prevent sourdough slices from sticking together. Spread individual slices on a baking sheet lined with parchment paper and place them in the freezer for about one to two hours. Once frozen solid, transfer the slices to a freezer bag or container. This method allows you to pull out individual slices without having to separate them, and it ensures faster and more even thawing when you’re ready to use them.
9. Label with Freezing Date and Bread Type
Proper labeling may seem like a minor detail, but it is crucial when managing freezer inventory. Use a permanent marker or freezer label to write the type of bread (e.g., “Whole Sourdough Loaf” or “Sliced Rye Sourdough”) and the freezing date. Most sourdough bread maintains its best flavor and texture for up to three months in the freezer, though it can last longer with vacuum sealing. Keeping a labeled system helps avoid confusion and waste by ensuring you use the oldest items first.
10. Freeze Smaller Portions for Single Servings
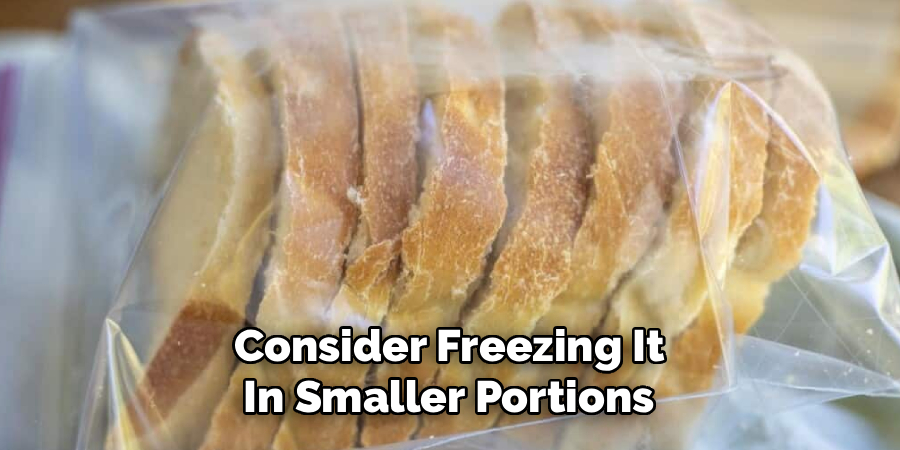
If you often eat sourdough alone or in small amounts, consider freezing it in smaller portions. Cut the bread into halves or quarters before freezing, using the same wrapping or sealing methods as mentioned earlier. This strategy reduces thawing time and eliminates the need to refreeze unused portions, which can degrade the bread’s quality. Smaller portions also thaw more evenly, making them perfect for quick breakfasts or lunches.
Troubleshooting Common Issues
Even with the best care, you might occasionally encounter issues with frozen sourdough. Here are some common problems and tips for resolving them:
- Dry or Stale Texture After Thawing
If your sourdough feels dry or stale after thawing, it may not have been wrapped tightly enough before freezing. Ensure that you double-wrap the bread in plastic wrap or foil and seal it in an airtight bag to preserve its moisture. For slightly stale bread, try refreshing it in the oven by wrapping it in foil and warming it at 300°F (150°C) for 10-15 minutes.
- Off-Taste or Freezer Burn
Freezer burn is caused by air exposure and can leave the bread with an off-taste. To prevent this, always check that the wrapping is secure and airtight. If the bread has an unusual taste, you may need to trim off the affected sections before use.
- Uneven Thawing
Uneven thawing can occur when the bread is frozen in large portions. Cutting the sourdough into smaller pieces before freezing will make the thawing process faster and more consistent.
- Soggy Crust After Reheating
If the crust becomes soggy after reheating, it’s often due to excess moisture. To avoid this, uncover the bread during the final few minutes of reheating to allow the crust to dry and crisp up. For an extra crisp finish, pop it under the broiler for a couple of minutes.
By following these tips, you can address common issues and maintain the delicious taste and texture of your sourdough bread even after freezing.
Conclusion
Storing sourdough bread in the freezer is not just a practical solution—it’s an essential skill for reducing food waste and enjoying delicious, high-quality bread any time you want. From freezing whole loaves to individual slices, there are several effective methods depending on your storage capacity, consumption habits, and tools available. Whether you opt for vacuum sealing, foil wrapping, or stackable slices with parchment paper, each method above is designed to protect the sourdough’s characteristic crust and chewy interior. Thanks for reading our blog post on how to store sourdough bread in freezer! We hope you found it helpful and informative.

About
Diane Lo is a distinguished figure in the world of kitchen innovation and culinary design, with over a decade of expertise creating functional and sustainable kitchen environments. Her professional focus lies in merging ergonomic spatial planning with modern culinary technology, fostering kitchen layouts that are both highly practical and aesthetically refined. As the lead expert at Kitchenub, Diane Lo delves into the art and science of kitchen organization, appliance selection, and workflow efficiency, inspiring home cooks and professional designers alike.
Education
Royal Melbourne Institute of Technology (RMIT University) (Melbourne, Australia) Associate Degree in Interior Design and Spatial Planning Focus on sustainable kitchen layouts, user-centric design, and ergonomic efficiency. Gained hands-on experience in high-traffic commercial kitchen modeling and advanced space-saving architecture.
Nottingham Trent University (United Kingdom) Bachelor’s in Product Design and Culinary Architecture (Honors) Specialized in the intersection of kitchen technology and lifestyle design. Participated in major industry collaborations, working with premium appliance manufacturers and cabinetry firms to gain real-world insights into modern kitchen workflows.
Publications and Impact
At Kitchenub, Diane Lo shares her expert insights on kitchen renovation processes, material durability, and strategies for achieving peak culinary productivity. Her writing effectively bridges the gap between professional culinary needs and home design, making it an essential resource for those looking to transform their kitchen into a highly efficient and welcoming heart of the home.