

Elderberry syrup is a popular natural remedy known for its immune-boosting properties and is often used during cold and flu season. Proper storage is essential to maintain its potency, freshness, and effectiveness over time. Whether you’ve purchased it from a store or made it at home, understanding the best practices for storing elderberry syrup will help ensure its quality and longevity. In this blog post, we’ll walk you through the steps on how to store elderberry syrup so that you can get back to using it in no time! So grab your tools, and let’s get started!
What is Elderberry Syrup?
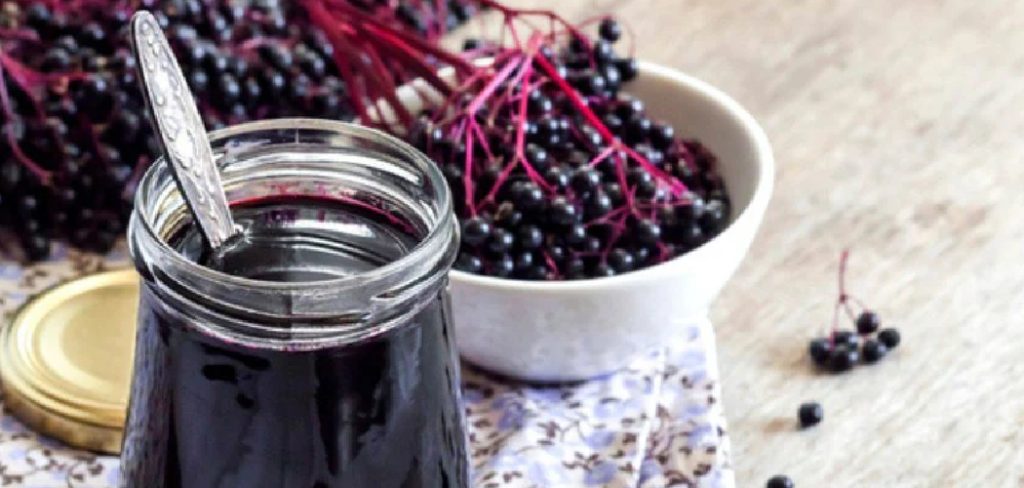
Elderberry syrup is a natural remedy made from the berries of the Sambucus tree, commonly known as elderberry. These small, dark purple berries are renowned for their rich antioxidant content and immune-boosting properties. Elderberry syrup is often used to help reduce the severity of cold and flu symptoms, including sore throat, cough, and congestion. It can also support overall health by providing vitamins such as vitamin C, dietary fiber, and a variety of beneficial plant compounds. This syrup is typically prepared by simmering elderberries with water and sweeteners like honey or sugar, creating a potent and flavorful elixir enjoyed by both adults and children. Safe, natural, and versatile, elderberry syrup has been treasured as a traditional remedy for centuries.
Does Elderberry Syrup Need to Be Refrigerated?
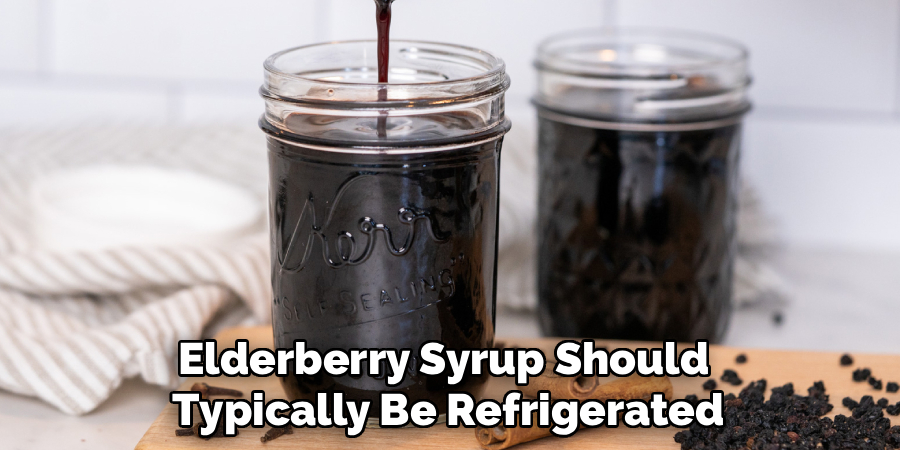
Yes, elderberry syrup should typically be refrigerated to ensure its freshness and extend its shelf life. Since it is made with natural ingredients, including water and sweeteners like honey or sugar, it is prone to spoilage if left at room temperature for extended periods. Storing it in the refrigerator helps to preserve its potency and prevent microbial growth. Homemade elderberry syrup, in particular, should always be refrigerated and used within a few weeks, unless preservatives are added. If you purchase commercially prepared elderberry syrup, always check the label for specific storage instructions, as some may contain stabilizers that allow for different storage requirements.
10 Methods How to Store Elderberry Syrup
1. Store in a Sterilized Glass Jar in the Refrigerator
The most common and effective way to store elderberry syrup is in a sterilized glass jar kept in the refrigerator. Glass containers, especially amber or dark-colored jars, protect the syrup from light and do not react with its natural acidity. Before pouring the syrup in, ensure the jar is thoroughly cleaned and sterilized either by boiling it or washing it with hot, soapy water followed by a rinse in white vinegar. Once filled, secure the jar with a tight-fitting lid and place it in the fridge. This method keeps the syrup fresh for up to three months, preserving its potent medicinal properties and flavor. It’s ideal for homemade batches used regularly during cold and flu season.
2. Use Mason Jars with Tight Seals
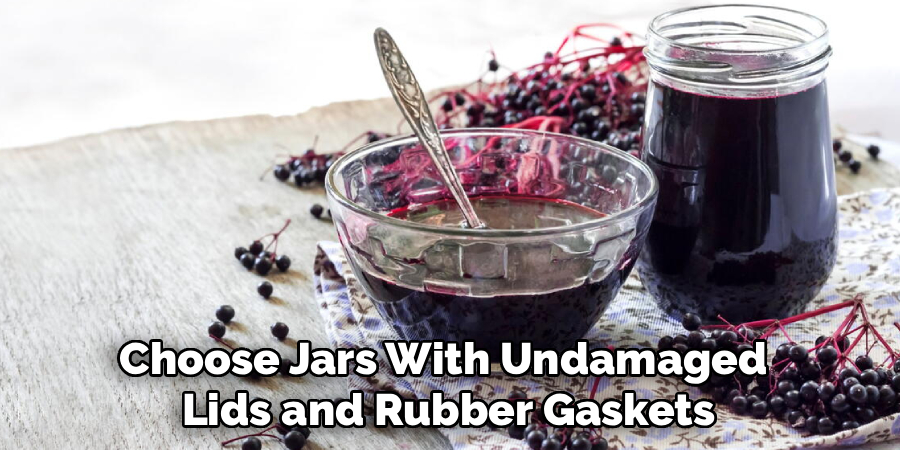
Mason jars are an excellent option for storing elderberry syrup because they provide an airtight seal that keeps contaminants out. Choose jars with undamaged lids and rubber gaskets to ensure a secure closure. After cooling the freshly made syrup, pour it into the jars, leaving about half an inch of headspace at the top to allow for slight expansion. Once sealed, label each jar with the date of preparation before storing it in the refrigerator. This method is especially effective for large batches and helps organize usage, ensuring you use the oldest syrup first.
3. Freeze in Silicone Ice Cube Trays
Freezing elderberry syrup in ice cube trays is a convenient and efficient method for long-term storage. Pour the syrup into a silicone tray, filling each compartment about 90% full. Once frozen solid, remove the cubes and transfer them into a freezer-safe resealable bag or container, clearly labeled with the date. This method allows you to grab a cube at a time, which is especially useful for adding syrup to smoothies, teas, or daily health shots. It also helps preserve the nutrients and potency of the syrup for up to six months without the need for preservatives.
4. Store in Small Glass Bottles for Portion Control
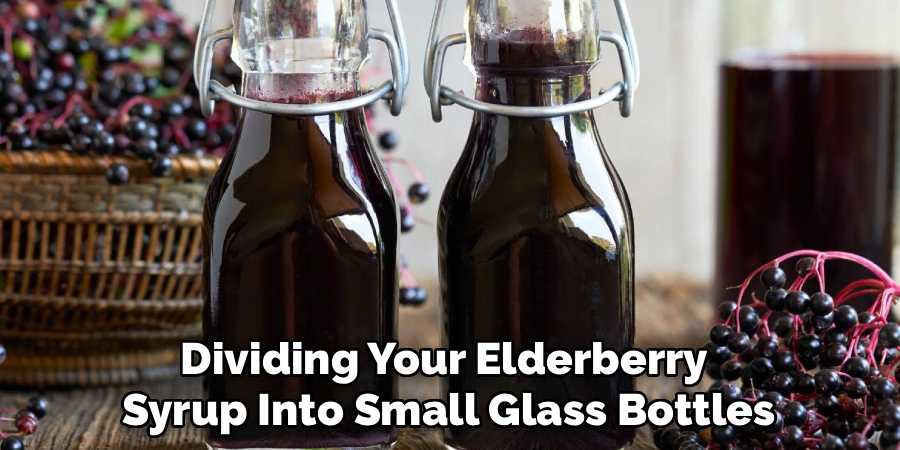
Dividing your elderberry syrup into small glass bottles offers excellent portion control and reduces the risk of contamination from frequent opening. This method is particularly helpful if you’re sharing your syrup with family members or storing servings for school lunches or daily use. Ensure each bottle is clean and sterile, then pour in the syrup while it’s still warm but not hot. Secure the lids tightly and refrigerate. This minimizes exposure to air each time the syrup is used, prolonging shelf life and maintaining quality.
5. Preserve with Natural Preservatives for Extended Shelf Life
To extend the shelf life of your elderberry syrup, especially if refrigeration is limited, consider adding natural preservatives such as citric acid or alcohol. Citric acid lowers the pH level, helping inhibit microbial growth, while a small amount of food-grade alcohol (like brandy or vodka) acts as a natural preservative without significantly altering flavor. Add about 1 tablespoon of alcohol per cup of syrup and mix thoroughly before bottling. With this method, elderberry syrup may last 4 to 6 months refrigerated, making it a practical choice for people who want longer storage without freezing.
6. Vacuum Seal Syrup in Pouches for Freezer Storage
Vacuum sealing is an excellent option for those making elderberry syrup in large quantities and seeking the longest shelf life possible. Pour the syrup into BPA-free vacuum-sealable pouches or bags, seal them using a vacuum sealer, and store flat in the freezer. Removing the air significantly reduces the risk of spoilage and oxidation, preserving both the flavor and immune-boosting compounds of the elderberries. Be sure to label each pouch with the date, and thaw only as needed. This method is ideal for those who prepare seasonal batches and want them to last year-round.
7. Use Amber Dropper Bottles for Daily Dosing
For those who consume elderberry syrup in small, consistent amounts daily, storing the syrup in amber glass dropper bottles is practical and effective. These bottles offer protection from light and provide precise dosing, which is particularly useful for children or individuals with specific health routines. After sterilizing the bottles, fill each one with syrup using a funnel and secure the dropper tops. Store them in the refrigerator for up to two months. This method promotes easy daily use while maintaining the syrup’s integrity and minimizing waste or contamination.

8. Avoid Plastic Containers to Preserve Quality
Though convenient, plastic containers are not ideal for storing elderberry syrup, especially for long-term storage. The acidity of elderberries can interact with certain plastics, potentially leaching chemicals and altering the flavor or nutritional content of the syrup. Additionally, plastic is more porous than glass and may allow air and odors to seep in. If glass is not available, use BPA-free, food-safe plastic as a temporary solution only. For best results, transfer to glass jars or bottles as soon as possible.
9. Label and Date Every Batch
Proper labeling is crucial when storing elderberry syrup, especially if you prepare it in large batches or try multiple recipes. Use waterproof labels to include the date of preparation, ingredients used, and the estimated expiration date. If you’re storing multiple containers or freezing some for future use, accurate labeling ensures you consume them in the correct order and avoid using spoiled syrup. This method also helps track how long your syrup lasts in your storage environment, giving you valuable information for future batch planning.
10. Store in a Cool, Dark Place if Unopened and Sealed
If you’ve properly sealed your elderberry syrup using canning methods (such as hot water bath canning), you may store the unopened jars in a cool, dark pantry or cupboard. Ensure that each jar has sealed properly by checking that the lid does not flex when pressed. A correctly sealed jar can last up to a year without refrigeration, making it suitable for stockpiling. However, once opened, always refrigerate and consume within 2–3 months. This method is best for preserving large quantities and making your syrup shelf-stable, especially useful for seasonal harvests.
Maintenance and Upkeep
Proper maintenance of your preserved syrups is essential to ensure their quality and safety over time. Regularly inspect your stored jars for any signs of spoilage, such as discoloration, mold growth, or an off smell. If a jar becomes unsealed or shows any of these warning signs, discard its contents immediately. Keep the storage area clean, dry, and free from pests to prevent contamination or damage to the jars. It’s also a good habit to label each jar with the date of preservation, allowing you to track freshness and rotate your stock effectively. By following these steps, you can enjoy your syrup reserve safely and for its full potential shelf life.
Conclusion
Storing elderberry syrup properly is essential for preserving its flavor, potency, and safety. Whether you’re preparing syrup as a daily supplement, a remedy for colds, or simply enjoying its unique taste, choosing the right storage method ensures you get the most benefit from every batch. From refrigeration in glass jars to freezing in cubes, and from vacuum sealing to adding natural preservatives, each method offers a unique solution based on your needs and usage frequency. Thanks for reading our blog post on how to store elderberry syrup! We hope you found it helpful and informative.

About
Diane Lo is a distinguished figure in the world of kitchen innovation and culinary design, with over a decade of expertise creating functional and sustainable kitchen environments. Her professional focus lies in merging ergonomic spatial planning with modern culinary technology, fostering kitchen layouts that are both highly practical and aesthetically refined. As the lead expert at Kitchenub, Diane Lo delves into the art and science of kitchen organization, appliance selection, and workflow efficiency, inspiring home cooks and professional designers alike.
Education
Royal Melbourne Institute of Technology (RMIT University) (Melbourne, Australia) Associate Degree in Interior Design and Spatial Planning Focus on sustainable kitchen layouts, user-centric design, and ergonomic efficiency. Gained hands-on experience in high-traffic commercial kitchen modeling and advanced space-saving architecture.
Nottingham Trent University (United Kingdom) Bachelor’s in Product Design and Culinary Architecture (Honors) Specialized in the intersection of kitchen technology and lifestyle design. Participated in major industry collaborations, working with premium appliance manufacturers and cabinetry firms to gain real-world insights into modern kitchen workflows.
Publications and Impact
At Kitchenub, Diane Lo shares her expert insights on kitchen renovation processes, material durability, and strategies for achieving peak culinary productivity. Her writing effectively bridges the gap between professional culinary needs and home design, making it an essential resource for those looking to transform their kitchen into a highly efficient and welcoming heart of the home.