

Properly storing baking sheets is essential for maintaining an organized and efficient kitchen. With their large, flat design, baking sheets can easily become a source of clutter if not stored correctly. By using smart storage techniques, you can save space, protect your baking sheets from damage, and keep your kitchen running smoothly. This guide explores the key aspects of how to store baking sheets.
Why Proper Baking Sheet Storage Matters
Proper storage of baking sheets is important for several reasons. First, it helps extend the lifespan of your bakeware by preventing scratches, dents, or warping that can occur when baking sheets are stacked haphazardly. Second, organizing your baking sheets improves efficiency in the kitchen; when they’re stored neatly, it’s easier to find the right size or type of baking sheet for your needs, saving time during meal prep. Lastly, good storage practices can help maximize your kitchen space, reducing clutter and creating a more functional and enjoyable cooking environment. Taking the time to store baking sheets properly can make a noticeable difference in the overall maintenance and organization of your kitchen.
Assess Your Kitchen Space
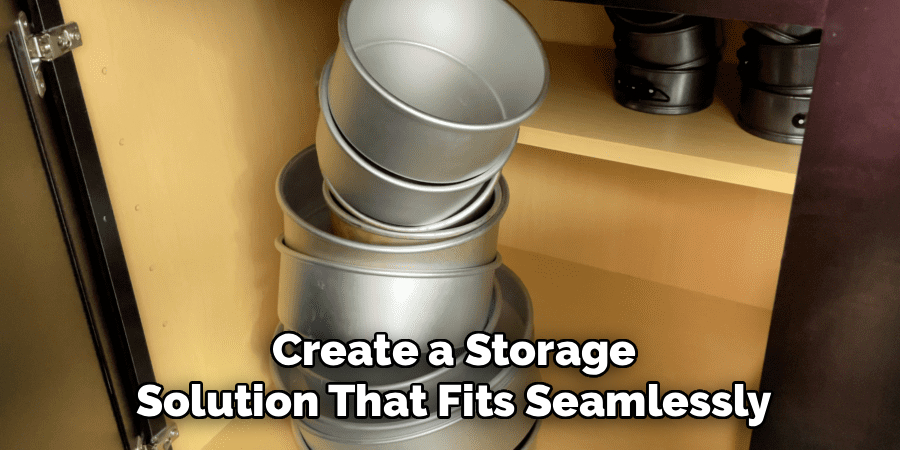
Before organizing your baking sheets, take some time to evaluate your kitchen space. Determine how much storage room is available and identify any underutilized areas, such as vertical space or the back of cabinet doors. Consider the layout of your kitchen and ensure frequently used items are easily accessible. By understanding the limitations and possibilities of your space, you can plan more effectively and create a storage solution that fits seamlessly into your kitchen’s design. A well-assessed space sets the foundation for a more efficient and functional kitchen.
10 Methods How to Store Baking Sheets
1. Utilize a Vertical Organizer for Easy Access
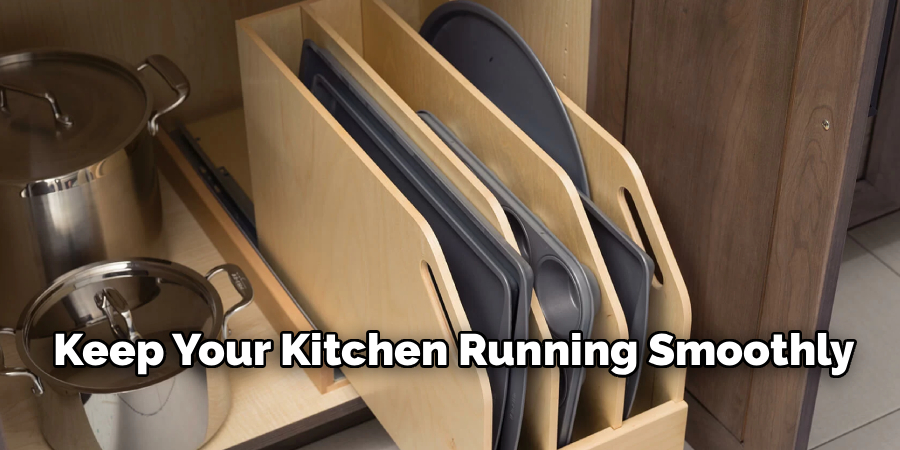
One of the most efficient ways to store baking sheets is by using a vertical organizer, which allows them to stand upright, much like books on a shelf. This method not only saves horizontal space but also makes each tray easily accessible without the need to unstack a heavy pile. A wire or wooden rack with slots can be placed inside a cabinet, on a pantry shelf, or even on the counter if space allows. Vertical storage also helps prevent scratching or warping since the trays do not rest on one another under weight. With this approach, you maintain neatness while streamlining your baking workflow.
2. Install Pull-Out Cabinet Drawers or Racks
For kitchens with deep base cabinets, installing pull-out drawers or sliding racks specifically for baking sheets can be a game-changer. These drawers are often built with rails or dividers to hold each baking sheet individually. This method eliminates the awkward process of reaching into the back of a cabinet and trying to extract trays stacked on top of each other. With a gentle pull, the drawer extends to reveal your entire collection, allowing you to choose what you need quickly. It’s especially helpful for those who bake frequently or have a variety of sheet sizes and types.
3. Repurpose a File Organizer or Office Rack
A simple, budget-friendly, and clever method for storing baking sheets involves repurposing office supplies—specifically a file organizer. These wire or acrylic racks, originally intended for sorting paper files, can be placed inside a cabinet or on a counter to hold baking sheets vertically. Most file organizers are the perfect width for standard-sized trays and can accommodate multiple items. Their open design allows air to circulate, reducing the risk of trapped moisture or odor. This unconventional approach not only saves money but also creatively uses everyday objects for kitchen efficiency.
4. Use a Tension Rod System in Cabinets
Tension rods, commonly used for curtains or closet dividers, can be installed vertically within a cabinet or horizontally under a shelf to create customized storage slots for baking sheets. This method is particularly useful for renters or those who want to avoid drilling into cabinetry. By positioning two or three rods at intervals, you can form snug slots that keep each baking sheet upright and secure. It’s a flexible solution because you can easily adjust or reposition the rods as your storage needs evolve. This approach offers a neat and tidy storage system with minimal effort or expense.
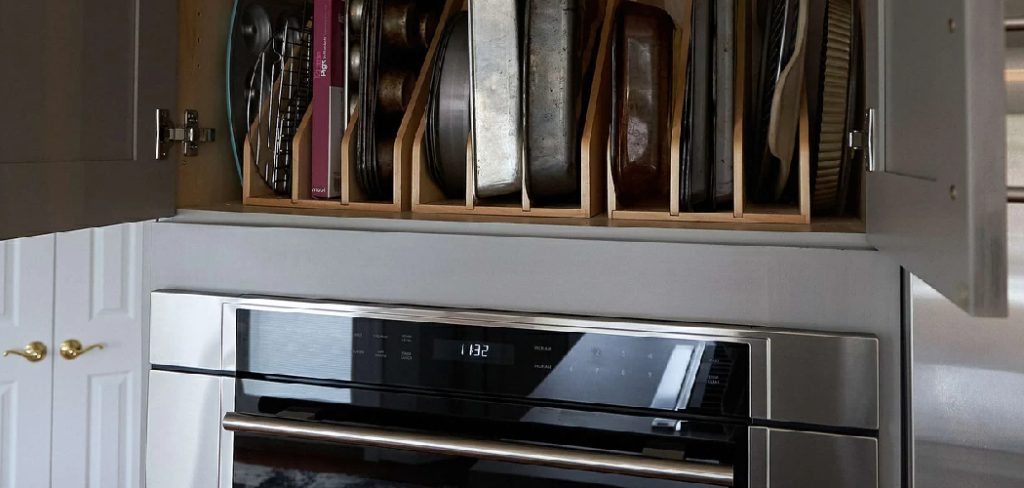
5. Designate a Pull-Out Pan Drawer in the Oven Unit
Many ovens come equipped with a shallow bottom drawer intended for pan storage, yet it’s often underutilized. This drawer can be an ideal spot for storing baking sheets, particularly those used less frequently. Since it’s located directly under the oven, it’s a convenient place to stash the trays you’ll likely need while cooking or baking. Be sure to clean the drawer regularly to prevent grease or debris buildup, and avoid storing anything plastic or flammable. Keeping your baking sheets in this oven drawer allows for quick access and saves valuable cabinet space.
6. Store on a Pegboard with Hanging Hooks
If you prefer to keep your baking sheets visible and within arm’s reach, consider hanging them on a kitchen pegboard. This storage method not only keeps items off the countertop but also adds a visually appealing, professional kitchen aesthetic. Pegboards can be mounted on a wall or the side of a pantry and fitted with heavy-duty hooks to hold baking sheets, cooling racks, and other flat bakeware. Ensure the board is securely attached and capable of handling the weight. This vertical wall storage is perfect for compact kitchens where every inch matters.
7. Stack by Size with Shelf Risers
When vertical space is limited, and you must store baking sheets flat, use shelf risers to create multi-level storage within the same cabinet. Start by grouping sheets by size and type—such as full sheets, half sheets, and cookie trays—then place the riser inside a cabinet to create two levels. The riser acts as a second shelf, making it easy to slide sheets in and out without disturbing the others. This method keeps things orderly and allows you to see all available options without sifting through a stack.
8. Use a Slim Rolling Cart or Shelf Insert
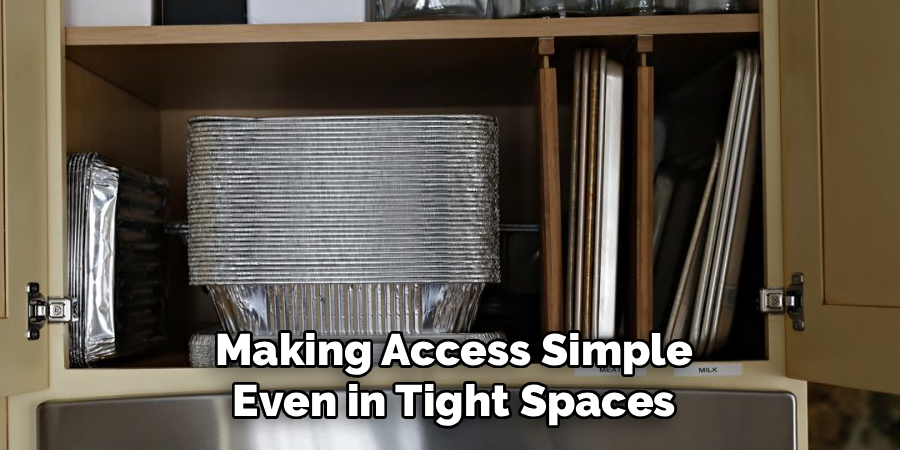
A narrow rolling cart or slim shelf insert designed for small gaps—such as between the refrigerator and wall—can provide a designated spot for baking sheets. These slim carts typically have tall sides and multiple shelves, allowing you to store sheets upright and separate. If your kitchen has a small unused corner or gap, this method transforms it into a functional storage zone. Since the cart is on wheels, it can be pulled out and moved easily, making access simple even in tight spaces. This solution is perfect for small apartments or galley kitchens.
9. Store Behind Cabinet Doors with Custom Racks
The inside of cabinet doors is often wasted space, but it can be used effectively by installing custom racks or wire holders. These holders are designed to accommodate flat items like baking sheets or cutting boards and are secured to the inside of the door with screws or strong adhesive. This method is space-saving and keeps trays out of sight while ensuring they’re always close at hand. It’s especially helpful for small or shallow baking sheets that might otherwise be lost in a large drawer or shelf.
10. Incorporate a Dedicated Cabinet or Vertical Slot Drawer
If you are remodeling your kitchen or have the option to customize cabinetry, consider dedicating a tall narrow cabinet or a vertical slot drawer just for bakeware. These specialized drawers include built-in dividers and can be designed to hold not only baking sheets but also cutting boards, muffin tins, and cooling racks. This type of storage system provides optimal organization, improves kitchen efficiency, and keeps items upright and scratch-free. Though this option requires more planning and investment, it offers the best long-term solution for serious bakers.
Maintenance and Upkeep
Proper maintenance and regular upkeep of your bakeware storage system are essential to ensure its longevity and functionality. Start by periodically cleaning the dividers and surfaces of the drawer or cabinet to remove any accumulated dust, crumbs, or grease. Inspect your bakeware for signs of wear, such as scratches or dents, and replace damaged items to maintain an efficient and well-organized setup. If your storage system has adjustable dividers, occasionally rearrange them to accommodate any new additions to your collection. By dedicating time to these small but meaningful tasks, you can preserve the quality and usability of your storage space for years to come.
Troubleshooting Common Issues
Proper upkeep of your bakeware storage system can minimize problems, but some common issues may still arise. For instance, if you find it difficult to locate specific items, consider labeling your dividers or grouping similar pieces together, such as muffin tins with cupcake liners or baking sheets with cooling racks. If your storage space feels cramped or disorganized, try decluttering by removing items you rarely use or investing in space-saving tools, like vertical racks or stackable containers. Another frequent problem is dealing with stuck or jammed drawers caused by accumulated debris—ensure regular cleaning and consider using drawer liners to reduce friction. Addressing these common concerns proactively will ensure your storage system remains functional and user-friendly.
Conclusion
Storing baking sheets efficiently is about maximizing space, preserving the quality of your bakeware, and ensuring quick access when needed. Whether you opt for a simple file organizer or a custom-built drawer, these ten methods provide practical and creative solutions for every kitchen layout and budget. Thanks for reading our blog post on how to store baking sheets! We hope you found it helpful and informative.

About
Diane Lo is a distinguished figure in the world of kitchen innovation and culinary design, with over a decade of expertise creating functional and sustainable kitchen environments. Her professional focus lies in merging ergonomic spatial planning with modern culinary technology, fostering kitchen layouts that are both highly practical and aesthetically refined. As the lead expert at Kitchenub, Diane Lo delves into the art and science of kitchen organization, appliance selection, and workflow efficiency, inspiring home cooks and professional designers alike.
Education
Royal Melbourne Institute of Technology (RMIT University) (Melbourne, Australia) Associate Degree in Interior Design and Spatial Planning Focus on sustainable kitchen layouts, user-centric design, and ergonomic efficiency. Gained hands-on experience in high-traffic commercial kitchen modeling and advanced space-saving architecture.
Nottingham Trent University (United Kingdom) Bachelor’s in Product Design and Culinary Architecture (Honors) Specialized in the intersection of kitchen technology and lifestyle design. Participated in major industry collaborations, working with premium appliance manufacturers and cabinetry firms to gain real-world insights into modern kitchen workflows.
Publications and Impact
At Kitchenub, Diane Lo shares her expert insights on kitchen renovation processes, material durability, and strategies for achieving peak culinary productivity. Her writing effectively bridges the gap between professional culinary needs and home design, making it an essential resource for those looking to transform their kitchen into a highly efficient and welcoming heart of the home.