

A damaged glass stove top not only affects the aesthetics of your kitchen but can also pose safety risks during cooking. Replacing a glass stove top might seem like a challenging task, but with the right tools and a clear step-by-step guide, it can be done efficiently. This guide will walk you through the process of how to replace glass stove top safely and effectively.
Why You May Need to Replace a Glass Stove Top
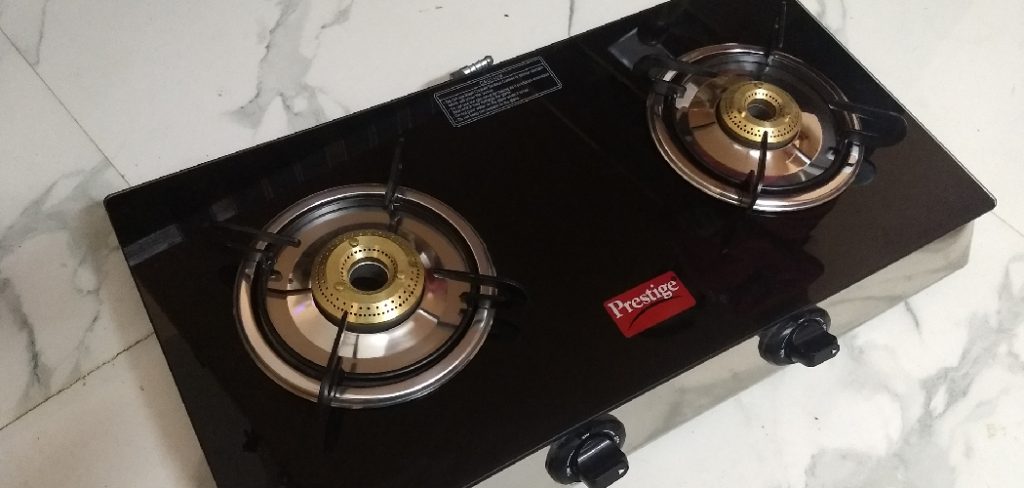
There are several reasons why you might need to replace a glass stove top, ranging from safety concerns to functionality issues. Cracks or chips in the glass surface can create sharp edges and lead to further damage, making the stove hazardous to use. Additionally, severe scratches or discoloration may impact the efficiency of your stove and affect even heat distribution during cooking.
Accidents such as dropping heavy cookware or spills of extreme temperatures can also cause irreparable damage to the glass. If the stove top no longer fits securely or shows signs of wear that affect its performance, replacing it becomes essential for maintaining a safe and efficient cooking environment.
Safety Precautions Before Replacement
Before replacing your stove top, it is crucial to take specific safety measures to prevent accidents and ensure a smooth process. Start by disconnecting the stove from any power source to avoid the risk of electric shock. If your stove is gas-powered, turn off the gas valve to prevent leaks. Allow the stove top to cool completely before handling it, as residual heat can cause burns.
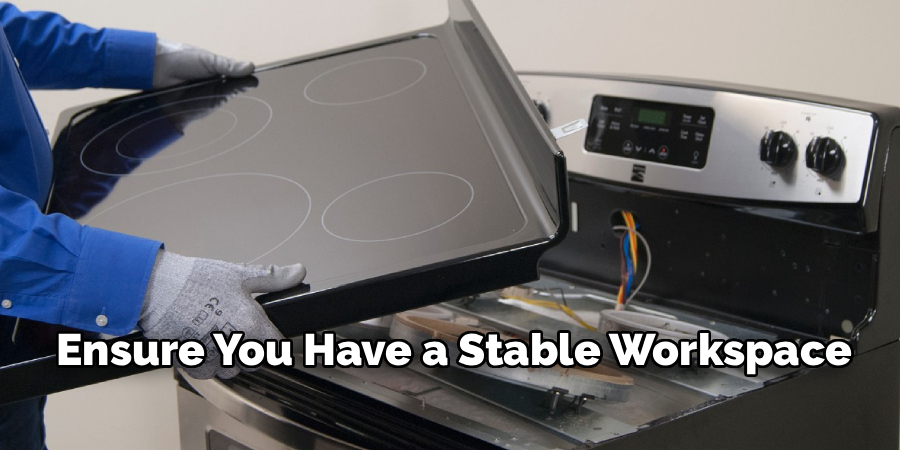
Use protective gloves to safeguard your hands from sharp edges or broken glass. Clear the surrounding area of any obstructions and ensure you have a stable workspace. Following these precautions will help create a safe environment for the replacement process.
Tools and Materials Needed
To successfully replace the stove top, gather the following tools and materials in advance:
- Screwdrivers (both flathead and Phillips) – for removing screws and securing components.
- Wrench or Pliers – to loosen or tighten connections, if necessary.
- Replacement Stove Top – ensure it matches the model and specifications of your stove.
- Protective Gloves – to protect your hands from sharp edges and heat.
- Cleaning Supplies (cloth, mild detergent) – for cleaning the stove before installation.
- Flashlight – to illuminate hard-to-see components during the process.
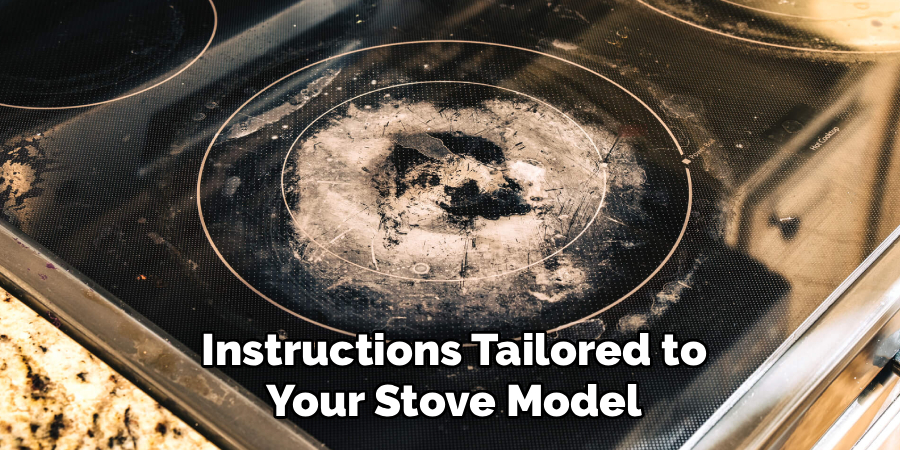
- Owner’s Manual – for specific guidance and instructions tailored to your stove model.
Having these tools and materials ready will streamline the replacement process and reduce the risk of delays or errors.
10 Methods How to Replace Glass Stove Top
1. Ensure Safety by Disconnecting Power
Before attempting to replace a glass stove top, safety must be the highest priority. If your stove is electric, unplug it from the wall outlet or switch off the circuit breaker that powers it. For gas stoves, ensure the gas supply is turned off at the main valve. Handling a glass stove top without disconnecting power can result in electric shock or injury. Confirming that the appliance is completely de-energized ensures a safe working environment and allows you to proceed with confidence.
2. Clear the Area Around the Stove
Remove all items from the stove surface and the surrounding countertop. Take out any cookware, utensils, or decorative objects that could obstruct your work. Adequate space is essential for safely lifting and maneuvering the glass top. Clearing the area also prevents accidental damage to nearby items and reduces the risk of injury when handling heavy or fragile glass components.
3. Remove the Stove’s Screws and Fasteners
Most glass stove tops are secured with screws or brackets beneath the surface. Using a screwdriver, carefully remove these fasteners according to your stove’s manufacturer instructions. Keep all screws in a safe place, as you will need them to install the replacement glass top. Carefully following the manufacturer’s guidelines ensures that the stove top can be removed without damaging internal components or the stove frame.
4. Detach the Glass Stove Top
Once all screws and fasteners are removed, gently lift the glass stove top from the stove base. Depending on the model, the top may be heavy and require assistance to lift evenly. Avoid bending or twisting the glass, as this can cause cracks or shattering. Lifting the stove top evenly and slowly ensures the safe removal of the glass and protects the underlying electrical or gas components from damage.
5. Disconnect Electrical or Gas Connections if Necessary
Some stove tops have sensors, igniters, or heating elements connected beneath the glass surface. Carefully disconnect these connections, taking note of their original positions. Labeling wires or taking photos can help ensure proper reassembly. Properly handling electrical and gas connections prevents damage to sensitive components and allows for a smooth installation of the new glass top.
6. Clean the Stove Base Before Installation
Before placing the new glass stove top, thoroughly clean the stove base to remove dust, grease, and debris. A clean surface ensures proper alignment and secure placement of the replacement glass. Use a damp cloth and mild cleaner, taking care not to wet any electrical connections. Cleaning the base also allows you to inspect for any damage or wear that might need repair before installing the new top.
7. Position the New Glass Stove Top Carefully
With assistance if necessary, place the new glass stove top onto the stove frame, ensuring it aligns with screw holes, brackets, and burners. Gently lower it into position without applying excessive pressure, which could crack the glass. Proper alignment is crucial for the stove to function correctly and to ensure burners or elements sit evenly on the glass surface. Taking your time during this step prevents costly mistakes and damage.
8. Reconnect Electrical or Gas Components
Reconnect any wiring, sensors, or igniters that were detached during removal. Ensure all connections are secure and in the correct orientation. Double-check that no wires are pinched or exposed, and that all connectors are firmly attached. Proper reconnection of these components ensures that the stove will operate safely and efficiently, and prevents malfunctions or hazards once the appliance is powered on.
9. Secure the Glass Stove Top with Screws and Brackets
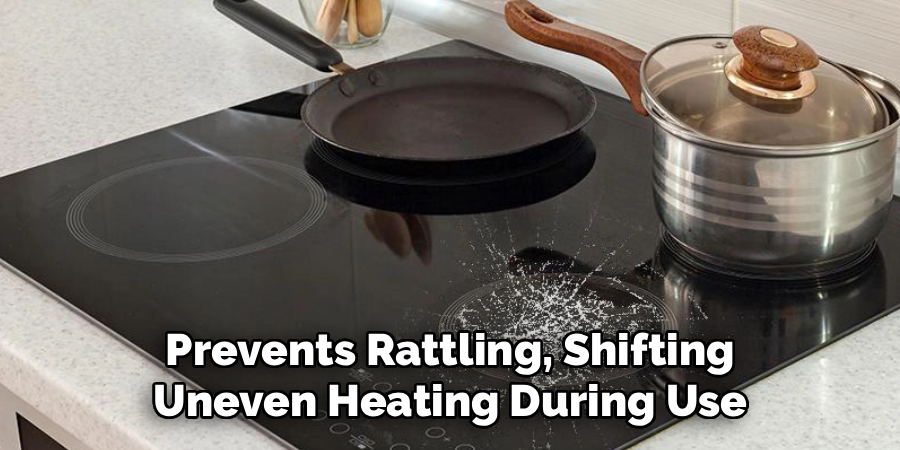
After positioning the new glass top and reconnecting any components, reinstall the screws or brackets that hold the stove top in place. Tighten them evenly and avoid over-tightening, which could crack the glass. Ensuring all fasteners are secure provides stability and prevents movement during cooking. A properly fastened stove top is essential for safe operation and prevents rattling, shifting, or uneven heating during use.
10. Test the Stove for Proper Operation
Finally, restore power or gas to the stove and test each burner or heating element. Verify that burners ignite, heat levels adjust correctly, and any sensors or touch controls function as expected. Observe the stove closely during initial use to ensure stability and proper operation. Testing the stove thoroughly confirms that the new glass top has been installed correctly and that the appliance is safe and fully functional.
Maintenance and Upkeep
To ensure the longevity and efficient performance of your stove’s glass top, regular maintenance is essential. Start by cleaning the surface daily with a non-abrasive cleaner designed specifically for glass tops. Avoid using harsh chemicals or abrasive scrubbing pads, as these can damage the surface. Promptly wipe away spills, especially from sugary or acidic substances, to prevent staining or etching.

Inspect the glass top periodically for cracks or damage, as even small issues can worsen over time. Additionally, use cookware with flat and smooth bottoms to minimize scratches and improve heat transfer. Adhering to these simple upkeep practices will keep your glass stove top in excellent condition for years to come.
Troubleshooting Common Issues
Even with proper care, you may encounter occasional issues with your glass stove top. Here are some common problems and how to address them:
- Burnt-On Residue: If residue is stubborn and difficult to remove, use a specialized glass stove top cleaner and a non-abrasive scraper. Gently scrape at a 45-degree angle to avoid scratching the surface.
- Scratches: Minor scratches are often cosmetic and don’t affect performance. However, deep scratches should be assessed by a professional, as they can weaken the glass and pose a safety risk.
- Uneven Heating: Uneven cooking may result from warped cookware. Ensure your pots and pans have flat bottoms for optimal heat distribution.
- Discoloration: Persistent discoloration or staining can sometimes occur from mineral deposits. Use a mixture of vinegar and baking soda to gently clean the surface and restore its shine.
- Cracks or Breakage: If you notice a crack in the glass, stop using the stove top immediately. Cracks can compromise safety and should be inspected and replaced by a certified technician.
Addressing these issues promptly can prevent further damage and ensure your glass stove top remains functional and safe.
Conclusion
Proper care and maintenance of your glass stove top are essential to ensure its longevity, functionality, and safety. By addressing common issues like scratches, discoloration, and cracks promptly, you can preserve the pristine condition of your stove top and enjoy its sleek design for years to come. Always handle cleaning and repairs with care, and consult professionals when necessary to avoid further damage. Thanks for reading our blog post on how to replace glass stove top! We hope you found it helpful and informative.

About
Diane Lo is a distinguished figure in the world of kitchen innovation and culinary design, with over a decade of expertise creating functional and sustainable kitchen environments. Her professional focus lies in merging ergonomic spatial planning with modern culinary technology, fostering kitchen layouts that are both highly practical and aesthetically refined. As the lead expert at Kitchenub, Diane Lo delves into the art and science of kitchen organization, appliance selection, and workflow efficiency, inspiring home cooks and professional designers alike.
Education
Royal Melbourne Institute of Technology (RMIT University) (Melbourne, Australia) Associate Degree in Interior Design and Spatial Planning Focus on sustainable kitchen layouts, user-centric design, and ergonomic efficiency. Gained hands-on experience in high-traffic commercial kitchen modeling and advanced space-saving architecture.
Nottingham Trent University (United Kingdom) Bachelor’s in Product Design and Culinary Architecture (Honors) Specialized in the intersection of kitchen technology and lifestyle design. Participated in major industry collaborations, working with premium appliance manufacturers and cabinetry firms to gain real-world insights into modern kitchen workflows.
Publications and Impact
At Kitchenub, Diane Lo shares her expert insights on kitchen renovation processes, material durability, and strategies for achieving peak culinary productivity. Her writing effectively bridges the gap between professional culinary needs and home design, making it an essential resource for those looking to transform their kitchen into a highly efficient and welcoming heart of the home.