

Creating a well-lit kitchen is about more than just picking out stylish fixtures. In fact, knowing how to plan kitchen lighting transforms every meal, makes daily chores easier, and elevates the atmosphere when friends and family gather. Successful kitchen lighting doesn’t happen by accident—it’s the result of careful forethought, a function-first mindset, and detailed planning from the very start.
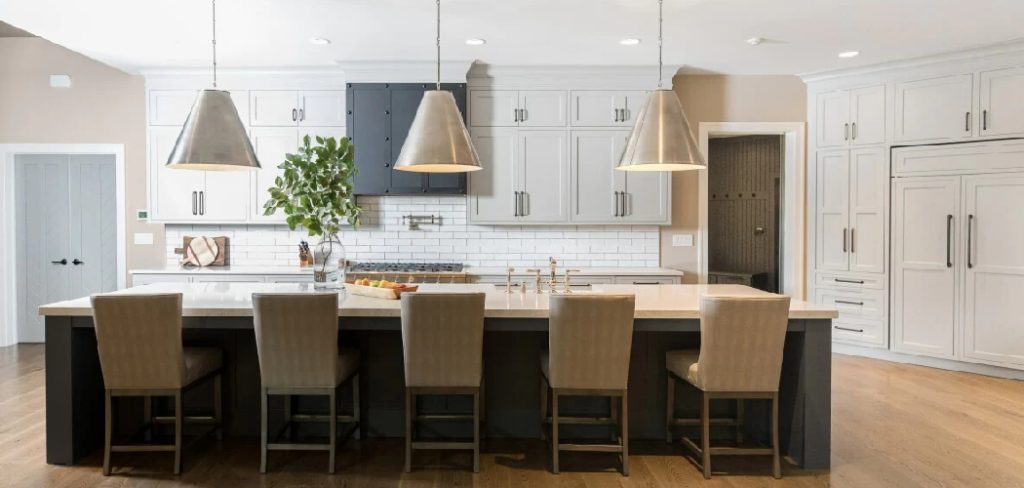
This comprehensive guide walks you through each step, breaking down what might seem overwhelming into manageable stages. By the end, you’ll see that anyone can master how to plan kitchen lighting and illuminate their kitchen beautifully, efficiently, and safely for every possible task and occasion.
Define Goals and Constraints for Planning Kitchen Light
A great lighting plan starts with understanding exactly what you want your kitchen to do and recognizing any limits that might affect the design.
List All Kitchen Activities and Define Your Zones
Begin with your lifestyle. List every activity that regularly happens in your kitchen—not just cooking and eating, but prepping, cleaning, doing homework, entertaining guests, or having morning coffee at the island. This exercise brings clarity to how your kitchen space is used throughout the day and evening.
Once these activities are on paper, divide your kitchen into zones. Primary zones typically include prep, cook, and clean areas. Secondary zones might be for dining, socializing, or working. Identifying zones sets the foundation for a tailored lighting plan that supports every function.
Establish Your Budget and Understand Electrical Limitations
Every effective lighting plan is shaped by practical boundaries. Start by determining your budget, factoring in not just the cost of fixtures and bulbs but also electrical hardware, smart controls, and installation labor if needed. Knowing your budget up front saves time and helps prioritize essential elements.
Next, honestly assess any electrical limitations in your space. Are you working around existing wiring? Is your ceiling accessible, or will moving fixtures be difficult? In rentals or older homes, you may have constraints that require creative solutions. Pinning these details down early ensures your plan stays grounded in reality and avoids costly surprises later.
Map the Room and Existing Electrical Circuits
A successful kitchen lighting plan is built on accurate information about the space and the available electrical infrastructure.
Create a Detailed Sketch with Measurements
Begin by drawing a scale floor plan of your kitchen. It doesn’t have to be fancy—a simple pencil sketch is fine as long as it’s accurate. Include doors, windows, cabinets, appliances, islands, and note the ceiling height. Ceiling height is particularly important, as it will affect how light spreads and whether you’ll need brighter or more numerous fixtures.
Note Existing Outlets, Switches, and Ceiling Joists
Add every existing electrical point to your sketch: outlets, switches, ceiling boxes, even cable runs if visible. If you’re able to, figure out the direction of the ceiling joists. Joist placement can determine where you can run new wiring or install recessed fixtures. Marking these locations gives you a realistic view of your options for adding or reconfiguring lights.
How to Plan Kitchen Lighting: Designing the Three-Layered Lighting Plan
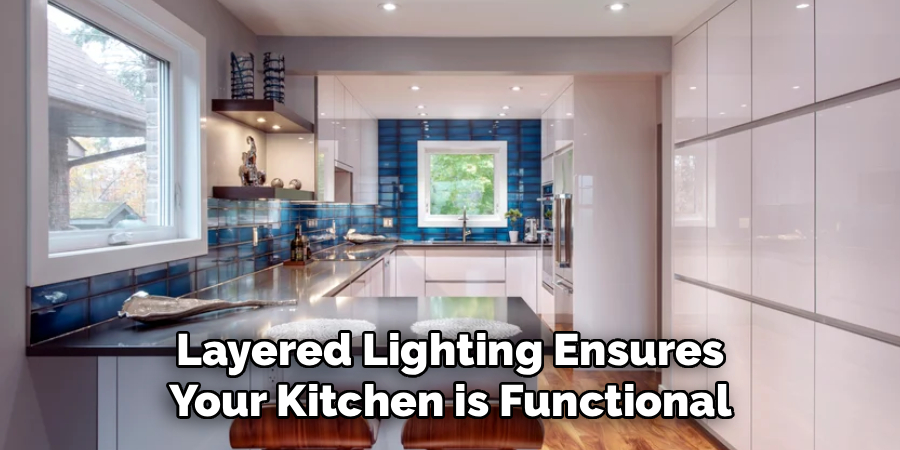
Layered lighting ensures your kitchen is functional, flexible, and visually appealing. Here’s how to structure it for the best results.
Start with the Ambient Lighting Grid
The first lighting layer, ambient lighting, provides overall illumination, making the kitchen safe and comfortable. Most kitchens use recessed downlights, but flush-mounted ceiling fixtures or a well-placed central fixture can also work. Lay out these light points in a symmetrical grid across the ceiling, ensuring that every corner and pathway is evenly lit and free of shadows.
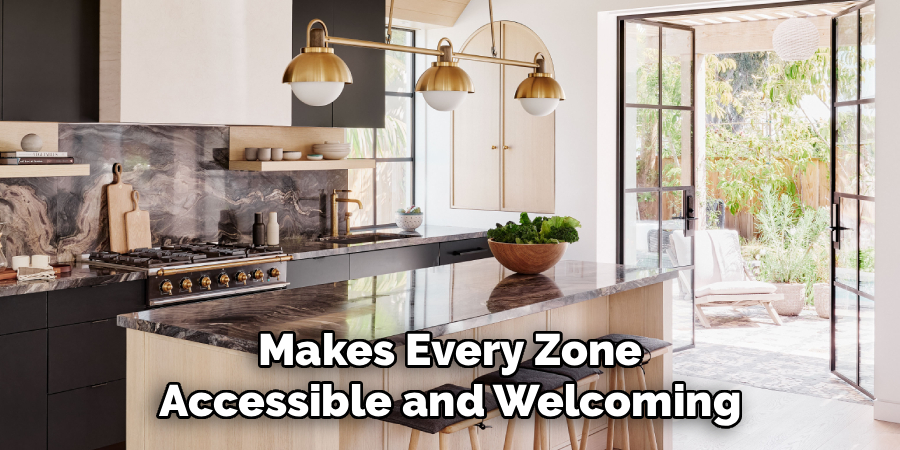
Consider the ceiling height and size of your kitchen when spacing the grid. Taller ceilings or larger kitchens often need more fixtures or brighter bulbs. The goal is to have a bright base level of light that makes every zone accessible and welcoming.
Add Focused Task Lighting Layers
With the general illumination mapped out, turn attention to task lighting—specific fixtures designed to make prepping, cooking, and cleaning as easy and safe as possible. Place under-cabinet lighting along prep counters, pendant lights over an island (especially if used for food prep or homework), and a dedicated fixture over the sink. These lights should be bright and directed so shadows are eliminated while you work.
If your cooktop or range doesn’t already include built-in lighting in the hood, plan to add a purpose-built light fixture above this zone. Task lighting should adapt to shifts in your kitchen routine and ensure every workspace is both safe and comfortable.
Place Strategic Accent Lighting Highlights
Accent lighting is the finishing touch that brings personality and depth to your kitchen. Use it to spotlight glass-front cabinets, add drama to artwork or decorative shelves, or illuminate a striking backsplash. Accent lighting can be subtle—think LED tape in a cabinet—or bold, such as a sconce or directional spotlight. The key is to create visual interest, highlight special features, and evoke a feeling of warmth and dimension.
Fixture Selection by Zone
Choosing the right fixture for every area ensures that function and style go hand-in-hand within your kitchen lighting plan.
Lighting the Island, Sink, and Dining Areas
Islands are multi-functional spaces used for everything from chopping vegetables to serving cocktails. Good lighting here is critical. Pendants are the classic choice, offering plenty of direct downward light and the chance to inject personal style. Install them evenly, spacing them to match the island’s length and purpose.
The sink benefits from a focused pendant or semi-flush fixture, which brightens washing and prepping. For informal dining areas or breakfast nooks, consider a decorative chandelier or semi-flush mount—fixtures that provide welcoming, even light, and help anchor the eating space.
Illuminating the Range and Pantry
For the range, built-in lighting within a hood is often sufficient. If your model lacks this feature, add a ceiling or wall-mounted fixture to provide clear, shadow-free light while cooking.
Pantries need strong, broad illumination. Install a bright ceiling fixture or LED strips that activate when the door opens—door jamb switches are a convenient addition—helping you find ingredients quickly and safely, no matter how deep your shelves go.
Specify Light Levels, Color Temperature, and CRI
Getting the specifications right is essential for a kitchen that’s both inviting and practical.
Calculating Target Lumens for Each Zone
A well-planned kitchen lighting layout is based on delivering the right amount of brightness to each area. For general ambient lighting, a rule of thumb is to aim for 20–30 lumens per square foot. For task zones—like counters, islands, and sinks—target 70–80 lumens per square foot for strong, focused lighting.
Calculate your required lumens by multiplying the room or zone’s square footage by the recommended lumen target. This approach eliminates guesswork and gives you a blueprint for choosing the appropriate bulbs and fixtures.
Choosing a Cohesive Color Temperature (Kelvin)
Uniformity in color temperature across fixtures creates a harmonious ambiance and eliminates jarring shifts in tone. For kitchens, a range between 3000K and 3500K delivers a clear, modern palette of light that’s ideal for both taskwork and gatherings. Too warm (below 2700K) can make food look dull; too cool (above 4000K) can feel clinical.
Demanding a High CRI (90+)
Color Rendering Index (CRI) measures how accurately light reveals colors compared to natural daylight. In the kitchen, a CRI of 90+ is essential. This ensures produce, cooked meals, cabinets, and countertops look vibrant and true-to-life, making your kitchen both more attractive and more functional.
Applying Layout Rules and Spacing Formulas
Precision in placement makes all the difference between a beautifully lit kitchen and one plagued by shadows or glare.
The Rules for Recessed Light Spacing
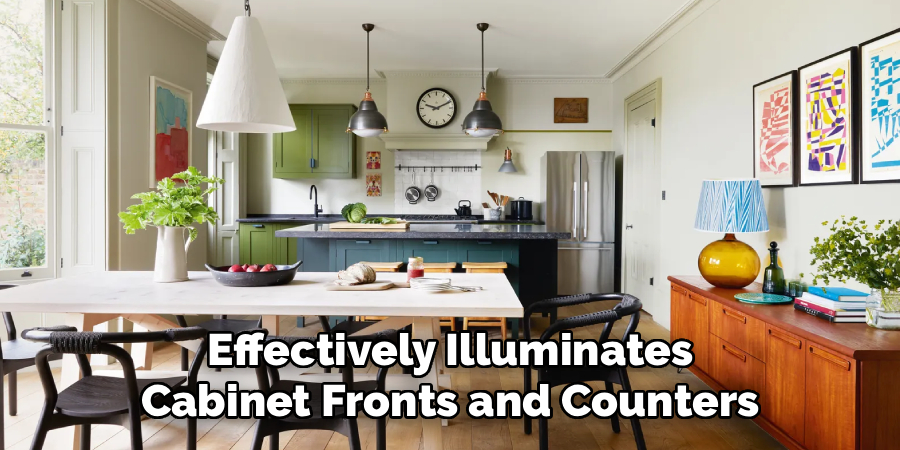
Recessed lights should be spaced relative to their size for the best results. Four-inch cans are typically set about four feet apart; six-inch cans about six feet apart. Avoid placing lights too close to the walls—keeping a distance of 24–30 inches from the wall prevents harsh shadows and effectively illuminates cabinet fronts and counters.
Setting Pendant Height and Under-Cabinet Placement
Pendant lights over an island or counter should hang 30–36 inches above the work surface. This provides a comfortable line of sight and maximizes both illumination and style impact. For under-cabinet lighting, position strips or pucks toward the front edge of the cabinet. This placement lights the work area directly and minimizes glare.
Planning for Controls, Dimming, and Smart Scenes
A smart control strategy makes your lighting flexible and customizable for every moment.
Putting Each Lighting Layer on a Separate, Dimmable Switch
Each lighting layer—ambient, task, accent—should have its own switch, ideally with dimmers. This grants you precise control over the mood and function: brighten everything for cleaning, focus on task lights for cooking, or dim accent lights for a cozy meal.
Incorporating Sensors and Automation
Smart planning goes beyond switches. Install vacancy sensors in pantries, or consider smart home controls that allow you to pre-set lighting “scenes.” For instance, a “Cooking” scene could flood your counters and island with bright light, while a “Dinner” scene dims the overall lighting for comfort and ambiance. Automation expands functionality and energy savings, making your kitchen truly modern.
Factoring in Energy and Local Code Considerations
Responsible planning includes efficiency and code compliance.
Specifying High-Efficacy LEDs
Choose high-efficacy LED fixtures for all applications. LEDs consume less energy, last far longer than incandescent or halogen bulbs, and are available in every brightness and color temperature required. High-quality LEDs ensure your kitchen stays bright without driving up your electricity bill.
Checking Ventilation Clearances and Local Code
Every kitchen lighting plan must meet local safety regulations. If you’re using recessed fixtures that might touch insulation, make sure they are IC-rated (suitable for Insulation Contact). Ventilation clearances for exhaust hoods and other fixtures must be observed. Before beginning installation, consult your municipality regarding permits and inspections—especially if significant rewiring is planned.
Creating a Budget, Phasing, and Installation Plan
A solid plan is backed by practical sequencing and realistic budgeting.
Prioritizing Essentials and Phasing the Project
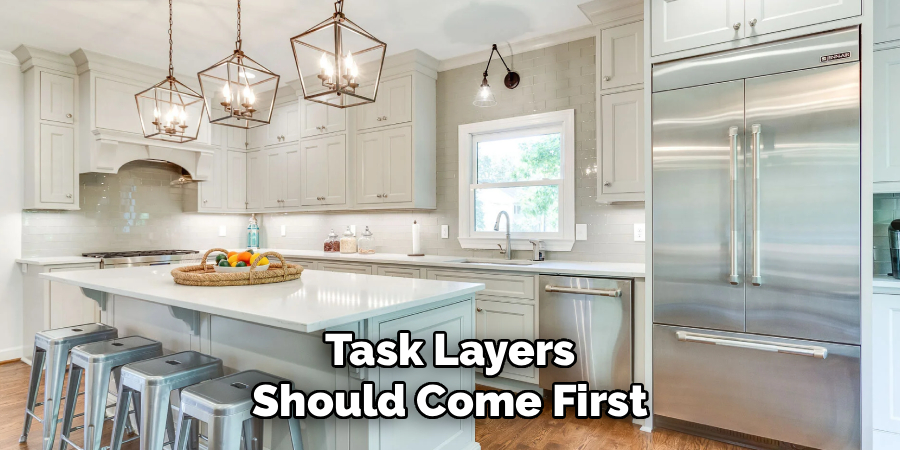
If your budget is limited, prioritize crucial lighting: ambient and task layers should come first. Accent lighting can be added in a future phase once the essentials are covered. This flexible approach ensures every investment yields immediate improvements in functionality.
Deciding Between DIY and a Licensed Electrician
While simple swaps (like changing a fixture) may be suitable for skilled DIYers, running new wiring, installing recessed lighting, or overhauling the electrical system requires a licensed electrician. Safety and code compliance are critical, and professional input helps deliver flawless, risk-free results.
Establishing a Realistic Timeline
Build a timeline for your project, factoring in every phase from demolition to final installation. Lighting installation typically occurs after demolition (for remodels) and before drywall is closed up, making wire runs and fixture placement easier. Allow ample time for inspection, adjustments, and inevitable surprises.
Conclusion
Learning how to plan kitchen lighting unlocks the ability to create a kitchen that’s safe, efficient, beautiful, and enjoyable for years to come. Following a systematic approach—define your goals, map your space, design layered lighting, select fixtures zone by zone, set precise levels and controls, and phase your project to fit your budget—ensures success.
More than just a technical process, an effective kitchen lighting plan is a blueprint for daily joy and memorable gatherings. When you invest in the right plan now, you transform your kitchen into the heart of your home, perfectly illuminated for every moment. Now you know exactly how to plan kitchen lighting—so you can light up not just your space, but every experience that happens within it.

About
Diane Lo is a distinguished figure in the world of kitchen innovation and culinary design, with over a decade of expertise creating functional and sustainable kitchen environments. Her professional focus lies in merging ergonomic spatial planning with modern culinary technology, fostering kitchen layouts that are both highly practical and aesthetically refined. As the lead expert at Kitchenub, Diane Lo delves into the art and science of kitchen organization, appliance selection, and workflow efficiency, inspiring home cooks and professional designers alike.
Education
Royal Melbourne Institute of Technology (RMIT University) (Melbourne, Australia) Associate Degree in Interior Design and Spatial Planning Focus on sustainable kitchen layouts, user-centric design, and ergonomic efficiency. Gained hands-on experience in high-traffic commercial kitchen modeling and advanced space-saving architecture.
Nottingham Trent University (United Kingdom) Bachelor’s in Product Design and Culinary Architecture (Honors) Specialized in the intersection of kitchen technology and lifestyle design. Participated in major industry collaborations, working with premium appliance manufacturers and cabinetry firms to gain real-world insights into modern kitchen workflows.
Publications and Impact
At Kitchenub, Diane Lo shares her expert insights on kitchen renovation processes, material durability, and strategies for achieving peak culinary productivity. Her writing effectively bridges the gap between professional culinary needs and home design, making it an essential resource for those looking to transform their kitchen into a highly efficient and welcoming heart of the home.