

Installing a pellet stove pipe is a crucial step in setting up a pellet stove safely and efficiently in your home. The pipe serves to vent exhaust gases and ensure proper airflow, making it an essential component of the system. Whether you’re looking to reduce heating costs or create a cozy atmosphere, understanding the installation process is key to avoiding potential hazards and ensuring your stove operates at peak performance.
This guide on how to install a pellet stove pipe will walk you through the basics of installing a pellet stove pipe, offering tips to make the process seamless and straightforward.
Safety Considerations
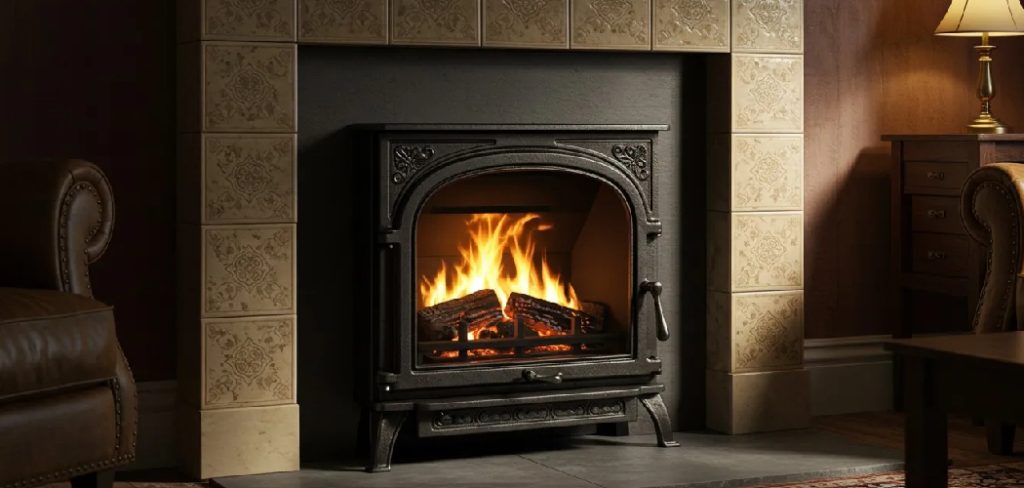
When installing a pellet stove pipe, safety should always be a top priority. Begin by ensuring that the stove and pipe comply with local building codes and manufacturer specifications. Proper clearance around the stove and pipe is essential to prevent heat damage to nearby walls, furniture, or other combustible materials. Always use venting components specifically designed for pellet stoves to avoid compatibility issues that could lead to leaks or malfunctions.
It’s also crucial to install a carbon monoxide detector in the vicinity to monitor air quality and ensure your space remains safe. Finally, schedule regular maintenance and cleaning to remove soot and debris, reducing the risk of blockages or chimney fires. Following these precautions will help you enjoy your pellet stove safely and efficiently.
Types of Pellet Stove Venting
There are several types of venting options available for pellet stoves, each suited to different installation requirements and building layouts. The most common methods include:
Direct Venting
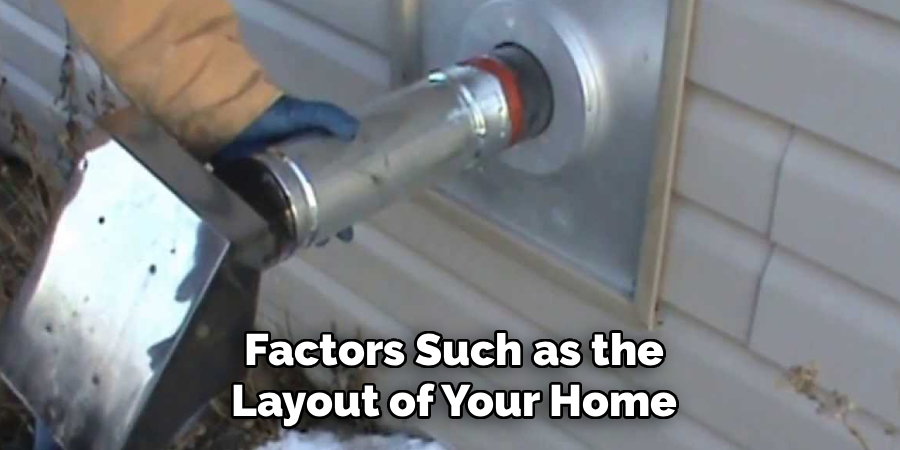
This method uses a horizontal pipe to expel exhaust directly through an exterior wall. It is a popular choice for its simplicity and efficiency, as it requires minimal structural modifications.
Vertical Venting
This involves routing the exhaust vertically through the roof, mimicking a traditional chimney system. Vertical venting is ideal for multi-story homes or situations where a horizontal outlet is not practical.
Combination Venting
Some setups require a combination of vertical and horizontal venting, particularly when the stove’s location prevents a straightforward venting path. This approach maximizes flexibility and adapts to unique building designs.
Masonry Chimney Conversion
Existing masonry chimneys can be adapted for pellet stove use with the installation of a stainless steel liner. This solution is perfect for homes with unused chimneys looking to repurpose them efficiently.
Choosing the appropriate venting type depends on factors such as the layout of your home, safety considerations, and local building codes. Consulting a professional installer ensures your pellet stove is vented correctly and operates efficiently.
Materials and Tools Required
- Pellet Stove Vent Pipe (Type L or Pellet Vent Pipe).
- Wall Thimble Kit.
- Stove Adapter.
- Pipe Elbows and Straight Sections.
- Pipe Clamps or Brackets.
- High-temperature Silicone Sealant.
- Measuring Tape, Drill, Hole Saw, Screwdriver.
7 Step-by-Step Guidelines on How to Install a Pellet Stove Pipe
Step 1: Measure and Plan
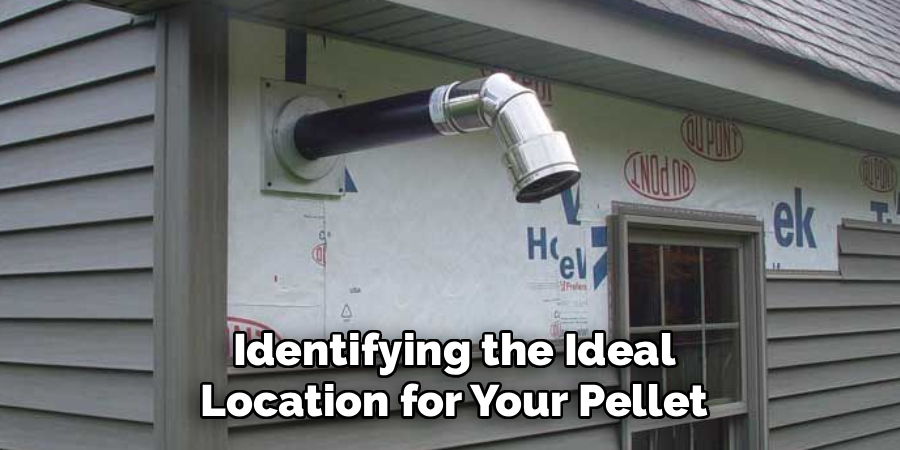
Begin by identifying the ideal location for your pellet stove and its venting system. Choose a location that complies with your local building codes and provides proper clearance from combustible materials, such as walls and furniture. Using a measuring tape, determine the distance from the stove’s exhaust outlet to the desired vent exit, whether it’s through an exterior wall or ceiling.
Consider the number of elbows and straight sections required for the vent pipe, ensuring the shortest and most efficient path for venting. Mark the area where the wall thimble or ceiling pass-through will be installed, double-checking your measurements for accuracy before moving on to the next step.
Step 2: Choose The Right Type of Pipe
Selecting the appropriate type of pipe is crucial for ensuring safe and efficient venting. Start by reviewing the stove manufacturer’s guidelines to identify the recommended pipe type and diameter. Common options include single-wall pipe, double-wall pipe, and insulated chimney pipe, each suited for specific applications.
Single-wall pipes are usually used inside the room, while double-wall or insulated pipes are necessary for venting through walls, ceilings, or roofs to reduce heat transfer. Ensure that all components, such as elbows, joints, and adapters, are compatible with the chosen pipe type. Additionally, verify that the materials meet local building codes and safety standards to prevent hazards and ensure long-term durability.
Step 3: Install Wall Thimble Kit
To safely pass the chimney pipe through an exterior wall, a wall thimble kit must be installed. Begin by marking the location on the wall where the pipe will pass through, ensuring proper alignment with the stove and chimney path. Cut an appropriately sized opening in the wall, following the dimensions specified by the thimble kit manufacturer.
Assemble and secure the wall thimble according to the instructions provided, ensuring it creates a protective barrier between the pipe and combustible materials in the wall. Double-check that the thimble is level and properly secured before proceeding to connect the chimney pipe. This step is crucial for maintaining safety and meeting building code requirements.
Step 4: Connect Vent Pipe
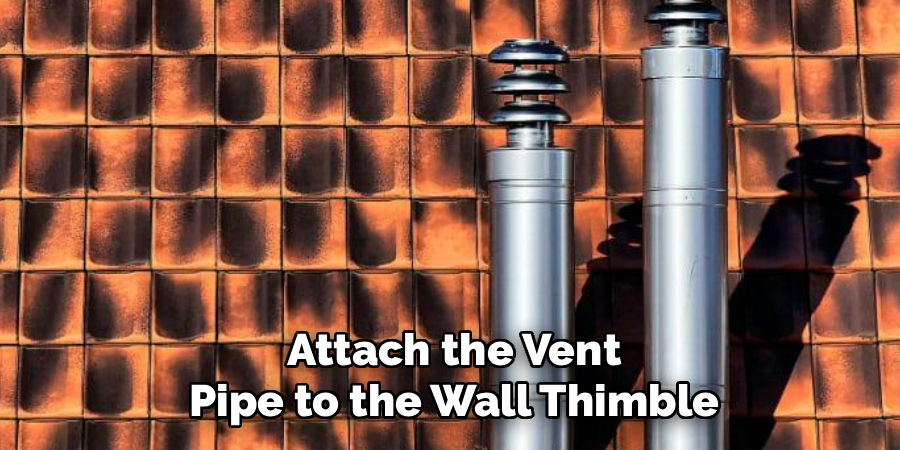
Attach the vent pipe to the wall thimble, ensuring a snug and secure fit. Use the correct pipe connectors and screws recommended by the manufacturer to guarantee a stable connection. Seal all joints with high-temperature silicone or other approved sealants to prevent air leaks and ensure proper ventilation.
Once the vent pipe is connected, double-check for alignment and stability. Finally, inspect the entire assembly to confirm it meets safety standards and adheres to local building codes.
Step 5: Run Pipe Through Wall
Carefully feed the vent pipe through the wall thimble and into the prepared wall opening. Ensure the pipe remains centered within the thimble and does not touch the surrounding materials to avoid potential heat transfer issues. Adjust the pipe as needed to maintain a straight and secure passage.
Once the pipe is in place, firmly secure it on both sides of the wall using the appropriate brackets or mounting hardware as specified by the manufacturer. Check that the exterior portion of the pipe extends the correct distance from the wall, as outlined in the installation guide, to ensure proper ventilation and safety.
Step 6: Install Storm Collar and Flashing
Slide the storm collar over the pipe and position it just above the flashing. Ensure the storm collar fits snugly around the pipe to prevent water infiltration. Secure it in place by tightening the provided screws or clamps, as specified by the manufacturer.
Next, apply a high-quality, weather-resistant silicone sealant around the top edge of the storm collar to create a watertight seal. Verify that the flashing is correctly aligned with the roof slope and securely fastened, following the installation guide. This step is crucial for protecting the installation from potential water damage and ensuring a durable, weatherproof system.
Step 7: Attach Cap and Test Draft
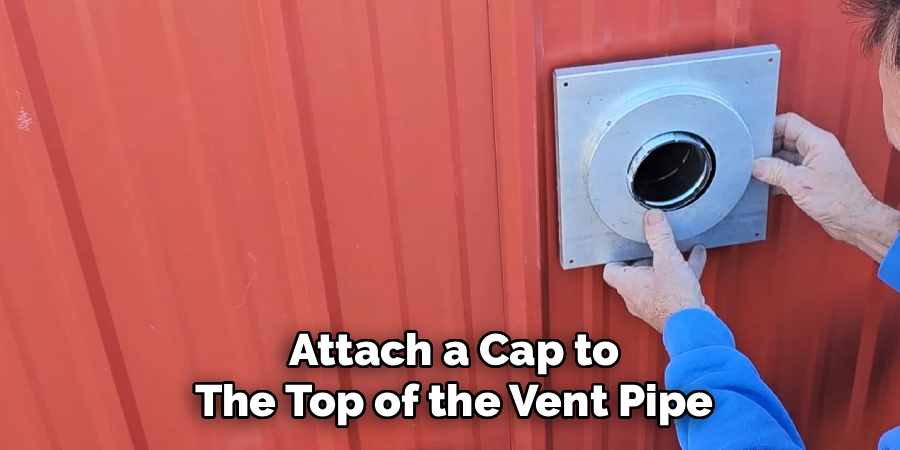
Attach a cap to the top of the vent pipe to prevent debris and pests from entering. Finally, test your draft by lighting a small fire in your pellet stove and checking for proper smoke ventilation through the vent pipe.
Following these steps on how to install a pellet stove pipe will ensure a safe and efficient heating system in your home. It is important to regularly clean and maintain your pellet stove and vent pipe to prevent any potential hazards or malfunctions.
Test for Proper Venting
After completing the installation, it’s crucial to test your pellet stove for proper venting to ensure safety and efficiency. Begin by lighting a small fire in the stove and observing the flow of smoke. All smoke should exit through the vent pipe without backdrafts or leaks into the room. If you notice any irregularities, such as smoke escaping from unexpected areas or difficulty maintaining a consistent flame, inspect the vent pipe connections and cap for any issues.
Additionally, verify that the vent pipe meets the manufacturer’s clearance requirements and is free of obstructions. Proper venting not only improves the stove’s performance but also minimizes health risks by preventing the accumulation of harmful gases inside the home.
Maintenance Tips
Regular maintenance is essential to ensure your stove operates efficiently and safely. Begin by cleaning the stove’s interior and exterior surfaces routinely to remove soot and ash buildup that can hinder performance. Check the gaskets and seals for wear and tear, as damaged seals can result in heat loss and reduced efficiency. Inspect the firebox and burn pot for residue and clean them as needed to maintain optimal combustion.
Additionally, clean or replace the air filters based on the manufacturer’s recommendations to improve airflow and prevent blockages. Schedule an annual professional inspection to evaluate the overall condition of your stove, including its venting system and mechanical components, ensuring long-term reliability and safety. Proper and consistent upkeep will extend the lifespan of your stove while keeping it functioning at its best.
Conclusion
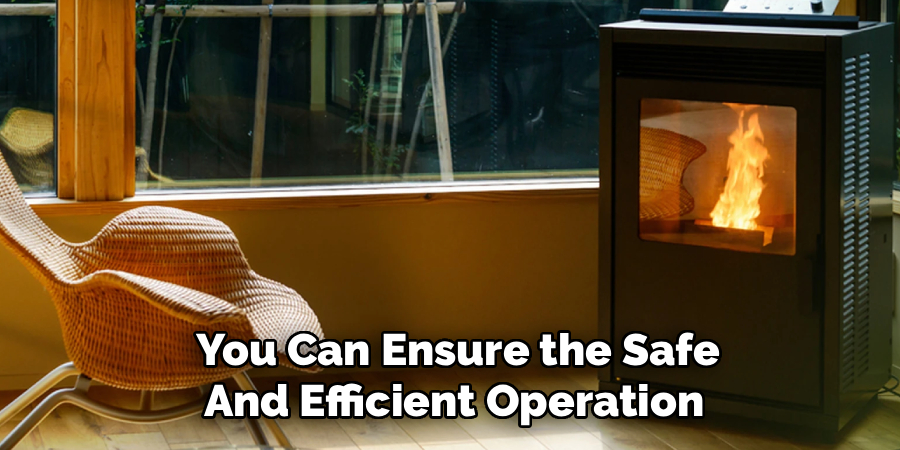
By dedicating time to regular maintenance and inspections, you can ensure the safe and efficient operation of your stove for years to come. Simple yet consistent care not only enhances performance but also helps prevent costly repairs and potential hazards.
Remember, a well-maintained stove translates to better energy efficiency, improved safety, and greater peace of mind. Take the necessary steps to protect your investment and enjoy the continued comfort it provides. Thanks for reading this article on how to install a pellet stove pipe.

About
Diane Lo is a distinguished figure in the world of kitchen innovation and culinary design, with over a decade of expertise creating functional and sustainable kitchen environments. Her professional focus lies in merging ergonomic spatial planning with modern culinary technology, fostering kitchen layouts that are both highly practical and aesthetically refined. As the lead expert at Kitchenub, Diane Lo delves into the art and science of kitchen organization, appliance selection, and workflow efficiency, inspiring home cooks and professional designers alike.
Education
Royal Melbourne Institute of Technology (RMIT University) (Melbourne, Australia) Associate Degree in Interior Design and Spatial Planning Focus on sustainable kitchen layouts, user-centric design, and ergonomic efficiency. Gained hands-on experience in high-traffic commercial kitchen modeling and advanced space-saving architecture.
Nottingham Trent University (United Kingdom) Bachelor’s in Product Design and Culinary Architecture (Honors) Specialized in the intersection of kitchen technology and lifestyle design. Participated in major industry collaborations, working with premium appliance manufacturers and cabinetry firms to gain real-world insights into modern kitchen workflows.
Publications and Impact
At Kitchenub, Diane Lo shares her expert insights on kitchen renovation processes, material durability, and strategies for achieving peak culinary productivity. Her writing effectively bridges the gap between professional culinary needs and home design, making it an essential resource for those looking to transform their kitchen into a highly efficient and welcoming heart of the home.