

A pellet stove is an efficient and environmentally friendly heating option for your home. However, regular maintenance, including cleaning the stove pipe, is essential to ensure optimal performance and safety. Over time, ash and soot can build up in the pipe, potentially causing blockages or reducing the stove’s efficiency.

By dedicating a little time to proper cleaning, you can extend the lifespan of your pellet stove and keep it operating at its best. This guide on how to clean pellet stove pipe will walk you through the steps needed to clean your pellet stove pipe safely and effectively.
Safety Precautions
Before you begin cleaning your pellet stove pipe, it’s crucial to take some safety precautions to protect yourself and your home. First, ensure the pellet stove is completely cool before starting any cleaning or maintenance work. Working on a hot stove can lead to burns or accidental fires. Always wear protective gloves and safety goggles to shield your hands and eyes from soot, ash, and any sharp edges inside the pipe.
Additionally, make sure the stove is unplugged from its power source to prevent accidental activation during cleaning. Finally, ensure the area around the stove is well-ventilated, as dust and debris may become airborne during the process. Taking these precautions will help you clean your pellet stove pipe safely and with confidence.
Tools and Materials Needed
- Pellet Stove Vent Brush (Flexible).
- Vacuum With Hepa Filter or Ash Vacuum.
- Screwdriver (to Remove Pipe Sections if Necessary).
- Drop Cloth or Plastic Sheeting.
- Cleaning Rod Extensions.
- Flashlight.
8 Step-by-Step Guidelines on How to Clean Pellet Stove Pipe:
Step 1: Prepare the Area
Before starting the cleaning process, ensure that the pellet stove is completely cool to avoid any risk of burns. Lay down a drop cloth or plastic sheeting around the area to catch any ash, soot, or debris that may fall during cleaning. Make sure you have all your tools and materials ready and easily accessible.
Additionally, check that the room is well-ventilated to prevent inhaling fine particles, and wear appropriate safety gear such as gloves, safety goggles, and a dust mask. Preparing the area properly will help make the cleaning process easier and cleaner.
Step 2: Remove Pipe Sections (If Necessary)
If your setup includes a removable chimney pipe or sections of piping, carefully disassemble them before proceeding with the cleaning. Start by loosening any screws or clamps that secure the sections together, using the appropriate tools. Gently pull apart each section, ensuring you handle them with care to avoid damage or spreading soot.
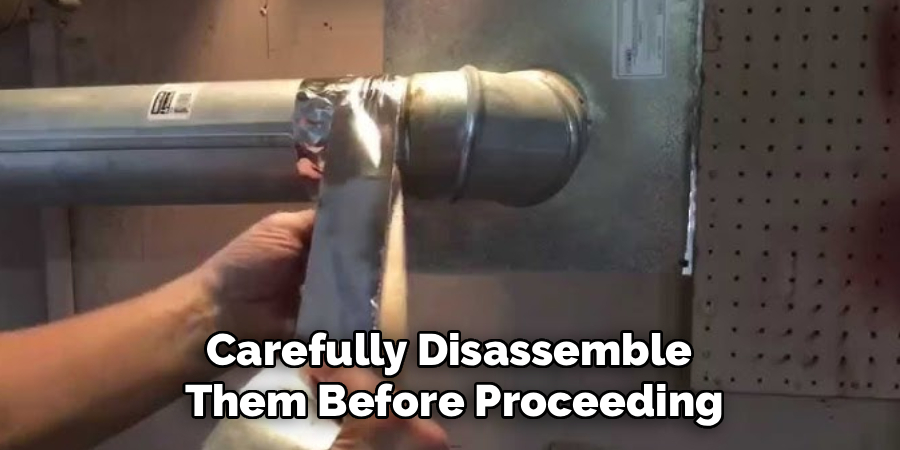
Place the removed pieces on the drop cloth or plastic sheeting to contain the mess. Inspect each section for accumulation of creosote or debris, as these areas will require thorough cleaning. Taking the time to remove and inspect the pipe sections will ensure a more efficient and effective cleaning process.
Step 3: Inspect the Pipe for Any Damages
Once the sections of the stovepipe are removed and placed on the drop cloth or plastic sheeting, carefully examine each piece for signs of wear or damage. Look for cracks, rust, or holes that could compromise the pipe’s structural integrity or efficiency. Pay special attention to the joints and seams, as these areas are more vulnerable to deterioration over time.
If you notice any issues, such as severe corrosion or damage that cannot be repaired, consider replacing the affected sections to ensure the proper functionality and safety of the stovepipe system. Addressing these problems before reassembly can prevent potential hazards and extend the life of your stovepipe.
Step 4: Use a Chimney Brush to Clean the Pipe
To effectively clean the stovepipe, use a chimney brush that matches the diameter of the pipe. Insert the brush into the pipe and work it back and forth to dislodge any soot, creosote, or debris that has built up over time. Be thorough in your cleaning, paying extra attention to any sections that appear heavily coated or obstructed.
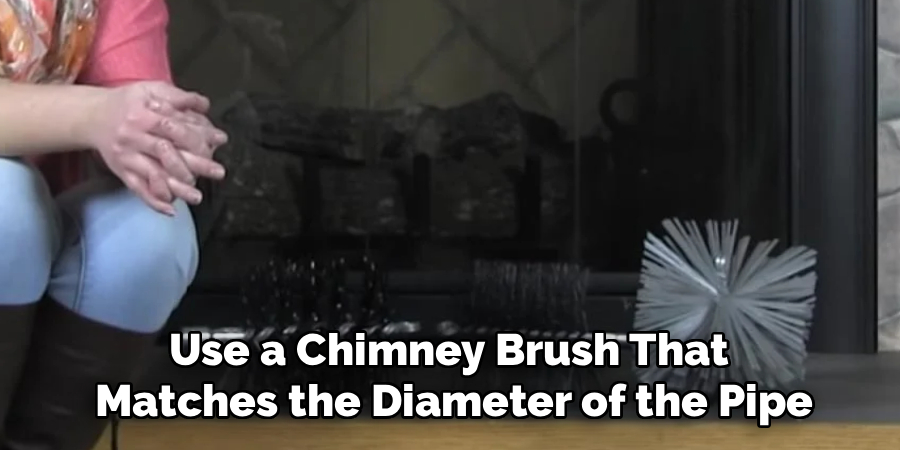
Cleaning the pipe not only improves airflow but also reduces the risk of chimney fires caused by creosote buildup. Once you’ve finished brushing, use a vacuum or sweep up any debris that may have fallen out during the process.
Step 5: Remove Loose Debris and Soot
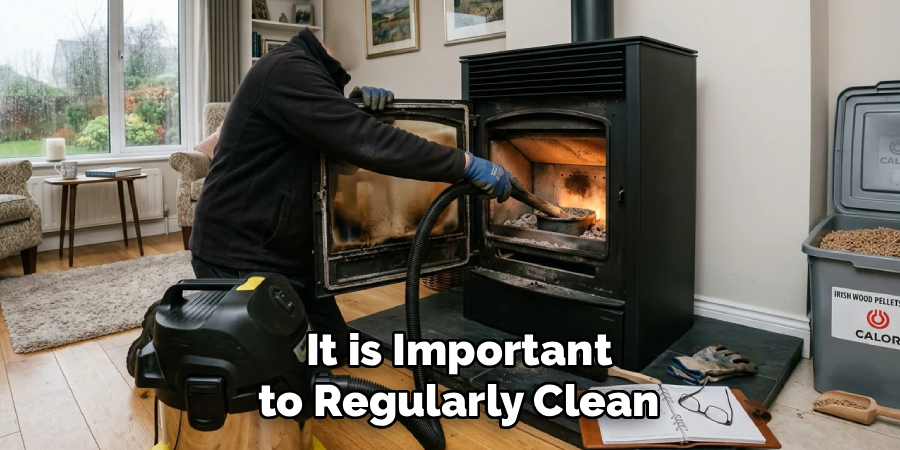
After thoroughly brushing the interior of the pipe, it’s time to clean up the remaining loose debris and soot. Begin by using a sturdy shop vacuum with a hose attachment to remove any material that has fallen to the base of the pipe or the surrounding area. Carefully move the hose around the base and ensure all soot and residue are fully cleared away.
If you don’t have a vacuum, you can also use a dustpan and brush to collect the debris—just be mindful of creating dust clouds. Properly disposing of the soot and debris in a sealed bag will prevent any mess from spreading. Taking this step ensures the pipe is thoroughly cleaned and ready for safe use.
Step 6: Clean Flue Baffles (If Applicable)
If your stove or fireplace is equipped with flue baffles, it’s important to clean them to maintain proper airflow and efficiency. Begin by consulting your appliance manual to locate the baffles and determine how to remove them safely. Once removed, use a wire brush or scraper to dislodge any soot, creosote, or debris that may have accumulated. For stubborn residue, you can apply a mild cleaning solution designed for stove maintenance.
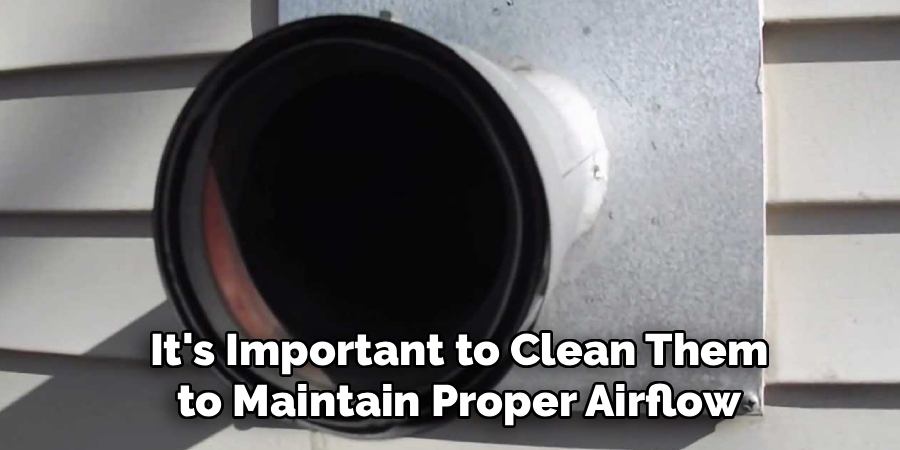
After cleaning, inspect the baffles for signs of wear or damage, such as cracks or warping, and replace them if necessary. Reinstall the clean baffles securely before proceeding to the next step. Keeping the flue baffles clean helps optimize performance and prevents potential blockages.
Step 7: Clean the Exterior of the Stove
With the internal components cleaned and reinstalled, turn your attention to the stove’s exterior. Use a soft cloth or sponge dampened with warm, soapy water to gently wipe down the outside surfaces. Avoid abrasive cleaners or tools that could damage the stove’s finish. Pay special attention to areas around the door, handles, and vents, as these spots often accumulate grime.
For stoves with a painted or enameled finish, check the manufacturer’s guidelines for recommended cleaning products. Once cleaned, dry the exterior thoroughly using a clean, dry cloth to prevent water spots or rust from forming. Regular exterior cleaning helps maintain the stove’s appearance and ensures it remains a focal point in your space.
Step 8: Reassemble and Test
After cleaning and drying all components, carefully reassemble the stove. Ensure all parts, such as grates, burners, or removable panels, are securely in place and aligned properly. Once reassembled, turn on the stove and conduct a quick test to verify that everything is functioning as it should. Check for proper burner ignition, even flame distribution, and any signs of irregularities. This final step confirms that the cleaning process was successful and ensures your stove is ready for use.
Following these steps on how to clean pellet stove pipe and the stove will not only improve the efficiency of your stove but also prolong its lifespan. It is important to regularly clean and maintain your pellet stove to prevent any potential safety hazards or malfunctions.
When to Call a Professional?
While regular cleaning and maintenance of your pellet stove can often be managed on your own, certain situations may require the expertise of a professional. If you notice excessive soot buildup, persistent smoke issues, or unusual odors during operation, it’s best to consult a trained technician.
Additionally, difficulties with the ignition system, inconsistent heating, or trouble with the motor are signs that professional servicing may be necessary. Annual inspections by a certified technician can also ensure that your stove remains in optimal condition, helping to identify any hidden issues before they become major problems.
Frequently Asked Questions
Q: How Often Should I Have My Wood-Burning Stove Inspected?
A: It is recommended to have your wood-burning stove inspected and serviced by a certified technician annually. This will help ensure that your stove is functioning safely and efficiently. However, if you notice any unusual changes in the performance of your stove or have concerns about its condition, it is always best to call for a professional inspection.
Q: What Are Some Signs That my Burning Stove Needs Servicing?
A: Some common signs that your wood-burning stove may need servicing include difficulty starting a fire, smoke entering your home instead of going up the chimney, and an unusual buildup of creosote. If you experience any of these issues, it is important to have your stove inspected by a certified technician as soon as possible.
Q: Can I Service My Burning Stove Myself?
A: While there are some routine maintenance tasks that you can perform on your wood-burning stove, it is recommended to have a professional technician service it at least once a year. They are trained to identify potential issues and ensure that your stove is operating safely and efficiently.
Q: How Often Should I Have My Wood-Burning Stove Serviced?
A: It is generally recommended to have your wood-burning stove serviced at least once a year, preferably before the start of winter. This allows any necessary repairs or adjustments to be made before you rely on your stove for heat during the colder months.
Q: What Can I Expect During a Burning Stove Service Appointment?
A: During a wood-burning stove service appointment, a certified technician will inspect all components of the stove, including the chimney and flue. They will also clean out any built-up creosote or debris, check for any leaks or damage, and ensure that all parts are functioning properly. The technician may also provide you with tips on how to properly maintain your stove throughout the year.
Conclusion
Regular maintenance of your wood-burning stove is crucial for ensuring its efficiency, safety, and longevity. By scheduling routine service appointments and following proper usage guidelines, you can enjoy the warmth and ambiance of your stove with peace of mind.
Taking these steps not only helps to prevent potential hazards but also optimizes your stove’s performance, making it a reliable and efficient heating solution for years to come. Thanks for reading this article on how to clean pellet stove pipe.

About
Diane Lo is a distinguished figure in the world of kitchen innovation and culinary design, with over a decade of expertise creating functional and sustainable kitchen environments. Her professional focus lies in merging ergonomic spatial planning with modern culinary technology, fostering kitchen layouts that are both highly practical and aesthetically refined. As the lead expert at Kitchenub, Diane Lo delves into the art and science of kitchen organization, appliance selection, and workflow efficiency, inspiring home cooks and professional designers alike.
Education
Royal Melbourne Institute of Technology (RMIT University) (Melbourne, Australia) Associate Degree in Interior Design and Spatial Planning Focus on sustainable kitchen layouts, user-centric design, and ergonomic efficiency. Gained hands-on experience in high-traffic commercial kitchen modeling and advanced space-saving architecture.
Nottingham Trent University (United Kingdom) Bachelor’s in Product Design and Culinary Architecture (Honors) Specialized in the intersection of kitchen technology and lifestyle design. Participated in major industry collaborations, working with premium appliance manufacturers and cabinetry firms to gain real-world insights into modern kitchen workflows.
Publications and Impact
At Kitchenub, Diane Lo shares her expert insights on kitchen renovation processes, material durability, and strategies for achieving peak culinary productivity. Her writing effectively bridges the gap between professional culinary needs and home design, making it an essential resource for those looking to transform their kitchen into a highly efficient and welcoming heart of the home.