

Cleaning your Ninja Dual Air Fryer regularly is vital for maintaining its performance and the flavor of your food. Grease and food particles can build up over time, making your appliance less efficient and possibly leading to unwanted odors or even smoke while cooking.
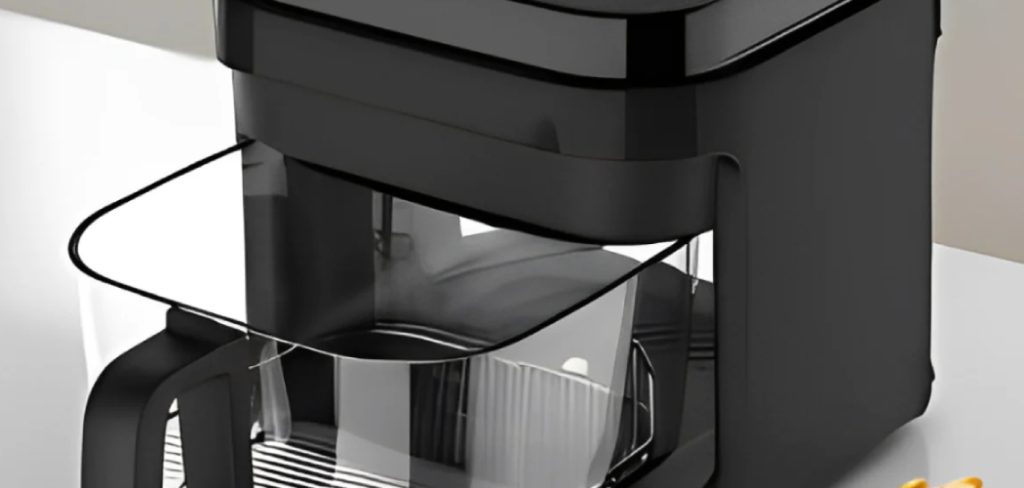
By following a consistent cleaning routine on how to clean ninja dual air fryer, you can prevent long-term issues and keep your air fryer looking and functioning like new. The process doesn’t have to be intimidating—it’s simple when you break it down into steps. With a little attention after each use and deeper cleaning on occasion, you’ll enjoy delicious meals and a longer lifespan for your appliance.
Why is Cleaning Important?
Regular cleaning of your air fryer is essential for several reasons. First, it ensures the safety of your food by removing grease and food residue that might harbor bacteria or contaminants. This helps to maintain a hygienic cooking environment, reducing the risk of foodborne illnesses.
Secondly, cleaning prevents the buildup of grease and debris, which can cause your air fryer to emit unpleasant smells or even produce smoke during use. Additionally, a clean air fryer operates more efficiently, promoting even cooking and extending the life of the appliance. By making cleaning a priority, you not only protect your health but also get the most out of your investment.
Tools and Materials You’ll Need
- Mild Dish Soap
- Warm Water
- Soft Sponge or Non-abrasive Scrub Brush
- Microfiber Cloth or Paper Towels
- Soft-bristled Toothbrush (for Hard-to-reach Spots)
- Baking Soda (Optional for Stubborn Stains)
- Silicone Spatula (Optional)
- Clean, Dry Towel
8 Step-by-step Guidelines on How to Clean Ninja Dual Air Fryer:
Step 1: Unplug and Cool Down
Make sure your Ninja Dual Air Fryer is unplugged before you start cleaning. This is crucial for your safety and prevents any electrical accidents. Let the appliance cool down completely before you begin handling any of its parts.
Never attempt to clean the air fryer while it is still hot. Waiting for it to cool not only protects your hands but also prevents damage to the non-stick coatings. This first step sets the foundation for a thorough and safe cleaning experience.
Step 2: Remove Baskets and Trays
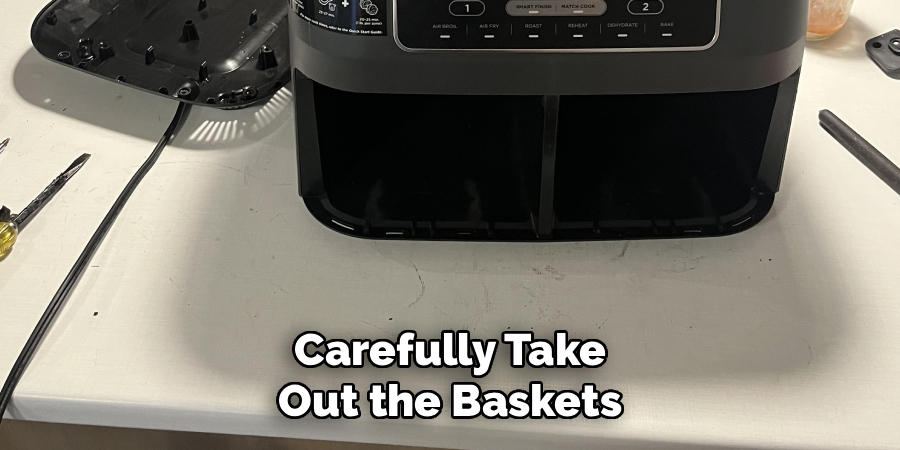
Carefully take out the baskets, crisper plates, and any removable trays from the air fryer. These are the parts that usually collect the most food debris and grease during cooking.
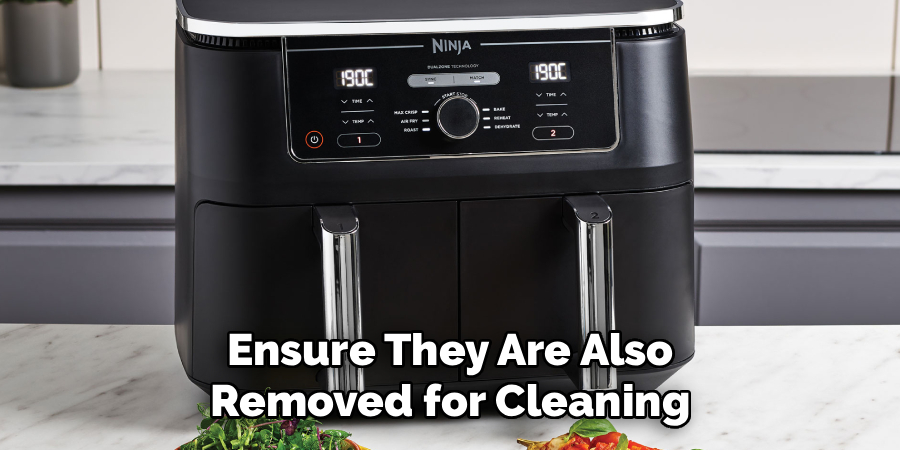
Place the baskets and trays in your sink or on a towel for the next step. Pay attention to any small parts or accessories that may be included with your model and ensure they are also removed for cleaning.
Step 3: Soak Removable Parts
Fill your sink with warm, soapy water and soak the baskets, trays, and other removable items for at least 10–15 minutes. Soaking helps to loosen any stuck-on food and grease, making scrubbing much easier later on.
If there are particularly stubborn spots, consider adding a sprinkle of baking soda to the water. This natural cleaner helps break down tough residue without damaging the surfaces of your air fryer accessories.
Step 4: Wash with a Soft Sponge
After soaking, use a soft sponge or non-abrasive brush to thoroughly wash each part. Avoid using steel wool or harsh scrubbers as they can scratch the non-stick surfaces and make future cleaning more difficult.
Gently scrub away any remaining residue, paying special attention to corners and crevices. If food is still stuck, a soft-bristled toothbrush can help you reach those tricky areas.
Step 5: Rinse and Dry
Rinse each piece thoroughly under running water to remove all soap. It’s important to ensure no residue is left behind, as leftover soap can impact the taste of your food during your next use.
Once rinsed, dry all parts with a clean, lint-free towel or let them air dry on a rack. Make sure all pieces are completely dry before reassembling to prevent moisture buildup inside your appliance.
Step 6: Clean the Main Unit
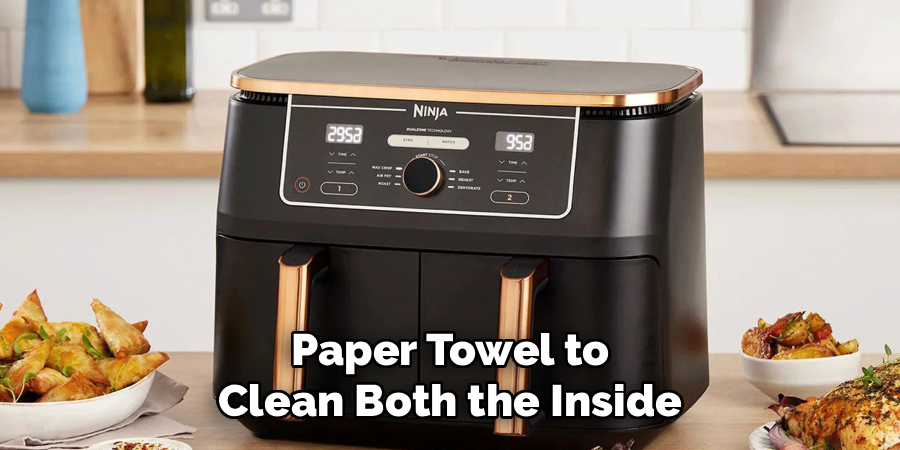
While the baskets and accessories are drying, wipe down the main unit of your air fryer. Use a slightly damp microfiber cloth or paper towel to clean both the inside and outside surfaces.
Avoid using excessive water and never submerge the main unit in liquid; this part houses electrical components. For stubborn spots inside, use a soft-bristled toothbrush or a silicone spatula to gently dislodge debris.
Step 7: Reassemble the Air Fryer
Once all components are dry, reassemble your Ninja Dual Air Fryer. Make sure each tray, basket, and plate fits securely in place.
Double-check that no parts are still wet and that everything is correctly positioned before plugging the unit back in. This ensures it’s ready for your next cooking adventure and operates safely.
Step 8: Run a Test Cycle
Before you start cooking again, it’s a good practice to run the air fryer empty for a short cycle (about 3–5 minutes). This helps evaporate any lingering moisture and clears out any remaining cleaning odors.
Running a test cycle also gives you peace of mind that your air fryer is functioning correctly after being cleaned. Once the cycle is complete and everything smells fresh, you’re ready to start cooking again.
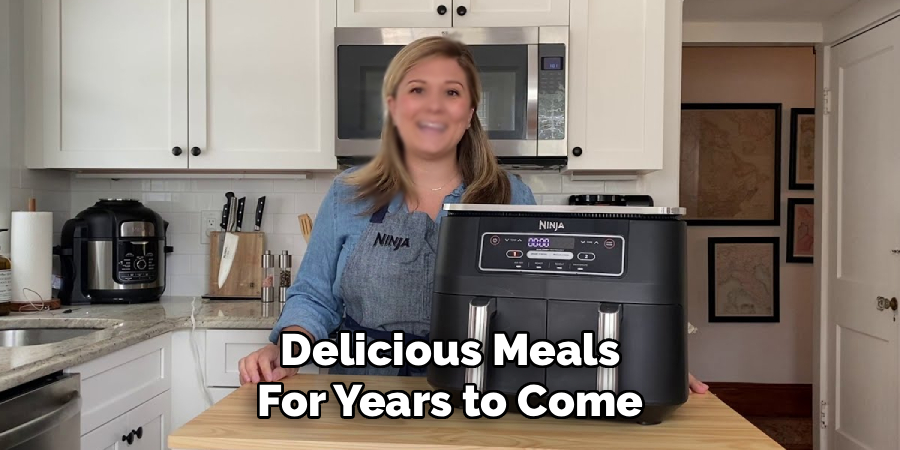
Following these steps on how to clean ninja dual air fryer will ensure that your air fryer stays in top shape and continues to provide healthy and delicious meals for years to come.
Tips
- Clean your air fryer after every use to prevent buildup and keep it operating smoothly.
- For persistent odors, wipe the inside of the main unit with a mix of water and a bit of vinegar.
- Avoid harsh chemicals or abrasive scrubbers that can damage the non-stick surface.
- If your baskets are dishwasher safe, take advantage of this for an even easier clean.
- Regularly check for food particles stuck in heating elements or vents and gently brush them away.
Do You Need To Use Professionals?
Most users find that regular at-home maintenance is more than sufficient for keeping a Ninja Dual Air Fryer clean. However, if you notice persistent odors, malfunctioning parts, or deep stains that you can’t remove, a professional appliance cleaning service may be helpful.
Professional cleaners have access to specialized tools and products, and they understand how to disassemble and reassemble kitchen appliances without causing damage. Still, for everyday cleaning and upkeep, you should feel confident accomplishing the task yourself with basic tools and techniques. Save professionals for more serious maintenance issues or repairs.
How Much Will It Cost?
Cleaning your Ninja Dual Air Fryer at home is very budget-friendly. Nearly all of the necessary supplies—such as dish soap, sponges, and towels—are items most people already have in their kitchens. Even investing in extras like a microfiber cloth or a soft-bristled toothbrush shouldn’t cost more than a few dollars.
If you opt for professional cleaning, the cost can vary widely depending on your location and the extent of service needed. Expect to pay anywhere from $25 to $75, or more if repairs are included. Routine maintenance by yourself will save money and help you avoid unnecessary expenses.
Frequently Asked Questions
Q1: How Often Should I Clean My Ninja Dual Air Fryer?
For the best results and to ensure food safety, you should clean your air fryer after every use. This includes washing the baskets and trays as well as wiping down the main unit. Regular cleaning prevents the buildup of food residue and grease, which helps your appliance perform better and last longer.
Q2: Can I Put My Ninja Dual Air Fryer Parts in the Dishwasher?
Many Ninja Dual Air Fryer models have removable parts that are dishwasher safe, like baskets and trays. However, always check your user manual to confirm which items can go in the dishwasher. Placing non-dishwasher-safe items in the machine may cause them to warp or lose their non-stick coating.
Q3: What Should I Do If There Is a Strong Odor After Cleaning?
If your air fryer still has a strong odor after cleaning, try wiping the interior with a mixture of water and vinegar, or air it out for several hours. Sometimes, residues can build up in hard-to-reach areas. Running a short, empty cycle at a high temperature can also help eliminate lingering smells.
Q4: Do I Need Special Cleaning Agents for Stubborn Stains?
In most cases, stubborn stains can be removed using a paste of baking soda and water applied directly to the spot. Let it sit for a few minutes before scrubbing gently with a soft sponge or toothbrush. Avoid using chemical cleaners that are not food safe, as these could damage the finish or leave harmful residues.
Conclusion
Keeping your Ninja Dual Air Fryer clean ensures better-tasting food and extends the life of your appliance. With the right tools and a systematic approach, the cleaning process can be simple and stress-free.
Whether you clean after every use or schedule periodic deep cleans, your efforts will pay off with a reliable, high-performing air fryer. Regular maintenance doesn’t just protect your investment—it also helps you cook healthier, more delicious meals every time. Thanks for reading this guide on how to clean ninja dual air fryer.

About
Diane Lo is a distinguished figure in the world of kitchen innovation and culinary design, with over a decade of expertise creating functional and sustainable kitchen environments. Her professional focus lies in merging ergonomic spatial planning with modern culinary technology, fostering kitchen layouts that are both highly practical and aesthetically refined. As the lead expert at Kitchenub, Diane Lo delves into the art and science of kitchen organization, appliance selection, and workflow efficiency, inspiring home cooks and professional designers alike.
Education
Royal Melbourne Institute of Technology (RMIT University) (Melbourne, Australia) Associate Degree in Interior Design and Spatial Planning Focus on sustainable kitchen layouts, user-centric design, and ergonomic efficiency. Gained hands-on experience in high-traffic commercial kitchen modeling and advanced space-saving architecture.
Nottingham Trent University (United Kingdom) Bachelor’s in Product Design and Culinary Architecture (Honors) Specialized in the intersection of kitchen technology and lifestyle design. Participated in major industry collaborations, working with premium appliance manufacturers and cabinetry firms to gain real-world insights into modern kitchen workflows.
Publications and Impact
At Kitchenub, Diane Lo shares her expert insights on kitchen renovation processes, material durability, and strategies for achieving peak culinary productivity. Her writing effectively bridges the gap between professional culinary needs and home design, making it an essential resource for those looking to transform their kitchen into a highly efficient and welcoming heart of the home.