

Your mixer is a trusted partner in the kitchen, but its attachments—the beaters, whisks, and dough hooks—do all the heavy lifting. After whipping up a batch of cookies or kneading bread dough, these tools are often caked in residue. While it’s tempting to just give them a quick rinse, proper cleaning is essential for both your health and the longevity of your appliance. Knowing the right techniques can make this chore quick, easy, and effective.
This guide will provide you with simple, step-by-step instructions on how to clean mixer attachments thoroughly. We’ll cover everything from daily rinsing to tackling stubborn, dried-on grime, ensuring your baking tools remain in perfect condition for every recipe.
Why Cleaning Mixer Attachments is Important
Regularly cleaning your mixer attachments is a fundamental aspect of good kitchen hygiene and appliance maintenance. When food residue like batter, dough, and oils are left on the attachments, they can become a breeding ground for bacteria, which poses a health risk. This buildup can also affect the flavor of your next creation, as old food particles can flake off into your fresh ingredients.
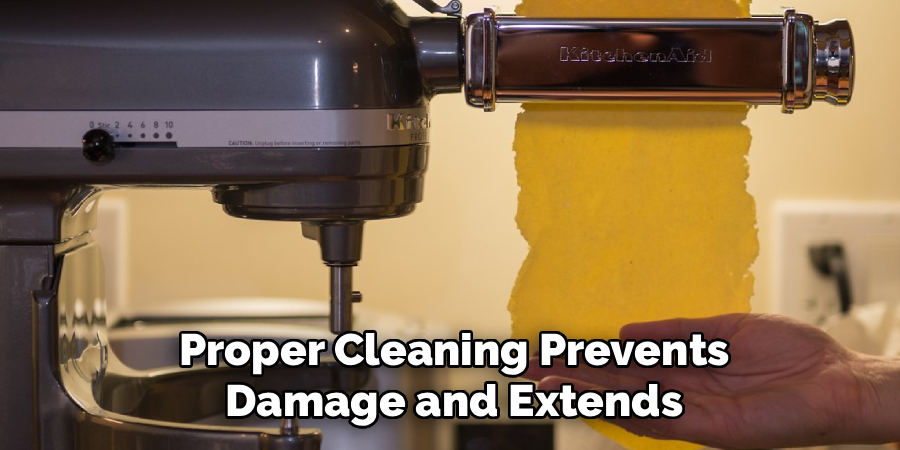
Beyond hygiene, proper cleaning prevents damage and extends the life of your attachments. Dried-on food can be difficult to remove and may require harsh scrubbing that can scratch or damage the finish, especially on coated beaters. Over time, residue can also work its way into the crevices where the attachment connects to the mixer, potentially impacting the machine’s performance. Consistent cleaning is a small time investment that protects your health and your baking equipment.
Tools and Materials You’ll Need
You don’t need any special equipment to get your mixer attachments sparkling clean. Most of the necessary items are likely already in your kitchen.
- Dish Soap: A gentle, effective degreasing soap.
- Warm Water: For soaking and rinsing.
- A Soft Sponge or Cloth: To avoid scratching the finish.
- A Clean, Dry Towel: For thorough drying to prevent rust.
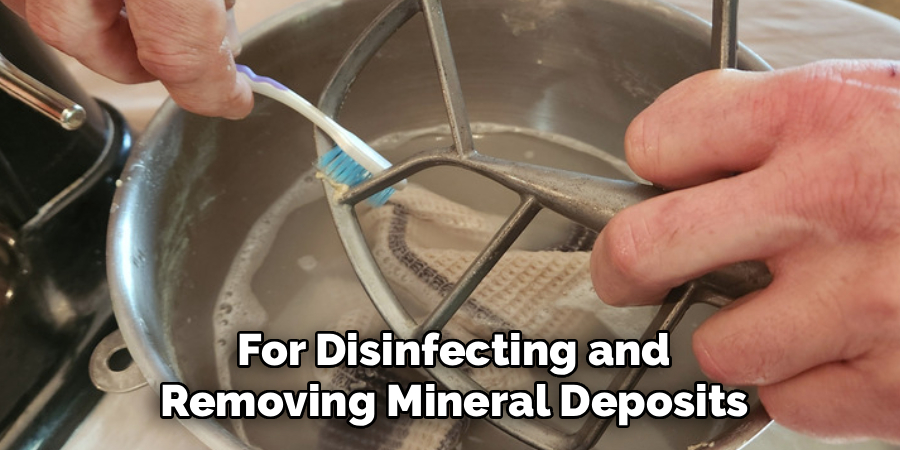
- A Toothbrush (Optional): An old, clean toothbrush is perfect for scrubbing hard-to-reach crevices.
- Baking Soda (Optional): For making a paste to tackle tough stains or odors.
- White Vinegar (Optional): For disinfecting and removing mineral deposits.
- A Small Basin or Sink: For soaking the attachments.
Step-by-Step Guide: How to Clean Mixer Attachments
Step 1: Unplug and Remove the Attachments
Before you begin any cleaning, safety comes first. Always unplug your mixer from the electrical outlet. This prevents any possibility of the mixer accidentally turning on while you are handling the attachments. Once it is unplugged, remove the beater, whisk, or dough hook from the mixer head. Detaching the tool allows you to clean it thoroughly from all angles and prevents water from getting into the mixer’s motor housing during the cleaning process. This simple first step is crucial for safe and effective baking tools maintenance.
Step 2: Rinse Immediately After Use
The single most effective cleaning tip is to act fast. As soon as you are finished using an attachment, give it an immediate rinse under warm running water. This will wash away the majority of the wet batter or dough before it has a chance to dry and harden. Letting food residue sit on the attachments is what makes cleaning difficult later. A quick, 30-second rinse can save you ten minutes of scrubbing down the line and is a cornerstone of efficient food residue removal.
Step 3: Soak for Stubborn Residue
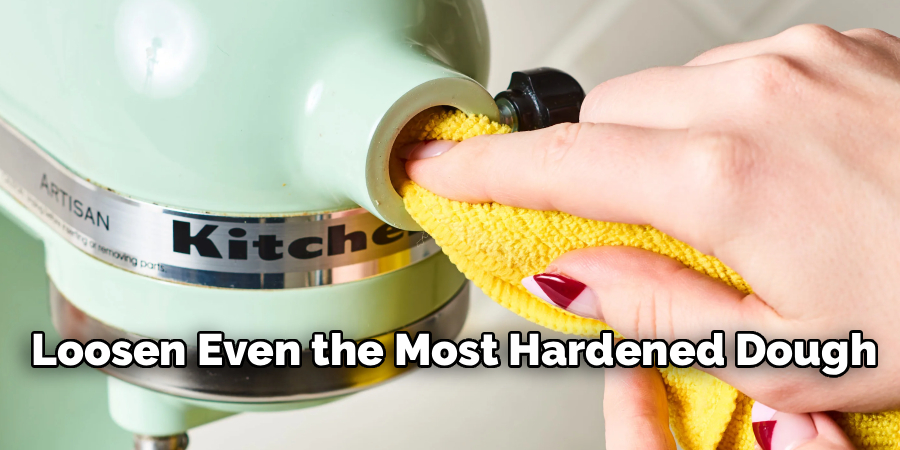
If you weren’t able to rinse the attachments right away and are now faced with dried-on, stubborn gunk, don’t resort to aggressive scrubbing. Instead, let a warm soak do the work for you. Fill a sink or a small basin with warm water and a few drops of dish soap. Submerge the attachments and let them soak for about 15-20 minutes. This will soften and loosen even the most hardened dough, making it easy to wipe away without needing to apply a lot of force, which helps in proper stainless steel care and protects coated surfaces.
Step 4: Gently Scrub with a Soft Sponge
After rinsing or soaking, use a soft sponge or cloth with a little dish soap to wash the attachments. Scrub gently to remove any remaining food particles. It’s important to avoid using abrasive scrubbers like steel wool or the rough side of a sponge, as these can easily scratch the surface of your attachments. Scratches can damage the finish, especially on coated aluminum beaters, and can create tiny crevices where bacteria can hide in the future. A gentle approach is always best for kitchen hygiene.
Step 5: Use a Toothbrush for Hard-to-Reach Areas
Mixer attachments, especially whisks and the top part of beaters, have tight spaces and crevices where food loves to hide. A sponge often can’t reach these areas effectively. This is where an old, clean toothbrush becomes your best cleaning tool. Its small bristles are perfect for getting into the nooks and crannies around the wires of a whisk or the collar of a dough hook. A quick scrub with a toothbrush ensures a truly thorough clean and is an essential part of detailed food residue removal.
Step 6: Tackle Stains with a Baking Soda Paste
Over time, your attachments might develop stains or lingering odors from ingredients like spices or molasses. Baking soda is a fantastic, non-abrasive cleaner that can solve this problem. Create a thick paste by mixing a few tablespoons of baking soda with a small amount of water. Apply this paste to the stained areas of the attachment and let it sit for a few minutes. Then, gently scrub with your soft sponge or cloth. The mild abrasive quality of the baking soda will lift the stain without damaging the surface.
Step 7: Dry Thoroughly and Immediately
This is one of the most important steps in learning how to clean mixer attachments correctly, yet it is often overlooked. After washing and rinsing, you must dry your attachments completely. Use a clean, dry towel to wipe away all moisture. Leaving metal attachments to air dry can lead to water spots or, even worse, rust, especially on any un-coated parts or seams. Taking a moment to dry them properly ensures they remain in pristine condition and ready for your next baking project.
Store Safely
Once your mixer attachments are thoroughly cleaned and dried, proper storage is the next key step. Keep them in a dry and protected location to avoid exposure to moisture or dust. Consider using a designated storage container or drawer to keep all attachments organized and prevent them from getting lost or damaged. Separating them from other utensils can also help prevent scratches or unnecessary wear. By storing them correctly, you’ll extend their lifespan and ensure they’re always ready for your next culinary creation.
Another important aspect of maintaining kitchen utensils is regular maintenance. This includes cleaning and inspecting them for any signs of wear or damage. It’s recommended to clean utensils after every use, as this will prevent a buildup of food particles and bacteria. Use hot soapy water and a non-abrasive sponge to gently scrub the utensil, then rinse thoroughly with warm water. For tougher stains or grime, let the utensil soak in hot soapy water before scrubbing.
Frequently Asked Questions
Can I Put My Mixer Attachments in the Dishwasher?
This is a very common question, and the answer is: it depends. Most modern stainless steel attachments (whisks, dough hooks) are dishwasher-safe on the top rack. However, many standard flat beaters are made of burnished or coated aluminum, which should never go in the dishwasher. The harsh detergents will cause the aluminum to oxidize, leaving a gray, powdery residue. Always check your user manual to be sure.
How Do I Clean a Whisk Attachment Properly?
A whisk can be the trickiest attachment to clean. The best method is to rinse it immediately after use. If food has dried, fill a tall glass with warm, soapy water and place the whisk inside to soak. After soaking, you can swish it vigorously in the water to dislodge particles. Use a toothbrush to get between the individual wires for a thorough clean.
My Aluminum Beater Turned Gray and Chalky. Can I Fix It?
This gray, chalky residue is oxidation, which happens when burnished aluminum is washed in a dishwasher. Unfortunately, this change is permanent. The beater is still technically safe to use, but the gray residue can rub off into your food. To prevent this, always hand-wash any attachments that are not explicitly labeled as dishwasher-safe stainless steel.
How Can I Remove Rust from My Mixer Attachments?
If you spot a small amount of rust, you can often remove it. Make a paste of baking soda and water, apply it to the rust spot, and scrub gently with a soft sponge or toothbrush. For more stubborn rust, you can try scrubbing with a paste made from lemon juice and salt. To prevent rust, the most important step is to always dry your attachments thoroughly immediately after washing.
How Often Should I Be Cleaning My Mixer Attachments?
You should clean your attachments after every single use. This is non-negotiable for food safety and kitchen hygiene. Leaving food residue, even for a short time, can allow bacteria to grow and makes the attachments much harder to clean later. A quick rinse and wash after each use is the best practice for proper baking tools maintenance.
Conclusion
Keeping your mixer attachments clean is a simple but essential task that pays off in the long run. It ensures your food is safe and tastes great, helps your attachments perform at their best, and protects your investment from damage and wear. By incorporating these easy steps into your post-baking routine, you can make sure your tools are always ready for action.
Now that you know how to clean mixer attachments effectively, you can tackle any post-baking cleanup with confidence. A little bit of care after each use will keep your beaters, whisks, and dough hooks in perfect shape, ready to help you create delicious treats for years to come.

About
Diane Lo is a distinguished figure in the world of kitchen innovation and culinary design, with over a decade of expertise creating functional and sustainable kitchen environments. Her professional focus lies in merging ergonomic spatial planning with modern culinary technology, fostering kitchen layouts that are both highly practical and aesthetically refined. As the lead expert at Kitchenub, Diane Lo delves into the art and science of kitchen organization, appliance selection, and workflow efficiency, inspiring home cooks and professional designers alike.
Education
Royal Melbourne Institute of Technology (RMIT University) (Melbourne, Australia) Associate Degree in Interior Design and Spatial Planning Focus on sustainable kitchen layouts, user-centric design, and ergonomic efficiency. Gained hands-on experience in high-traffic commercial kitchen modeling and advanced space-saving architecture.
Nottingham Trent University (United Kingdom) Bachelor’s in Product Design and Culinary Architecture (Honors) Specialized in the intersection of kitchen technology and lifestyle design. Participated in major industry collaborations, working with premium appliance manufacturers and cabinetry firms to gain real-world insights into modern kitchen workflows.
Publications and Impact
At Kitchenub, Diane Lo shares her expert insights on kitchen renovation processes, material durability, and strategies for achieving peak culinary productivity. Her writing effectively bridges the gap between professional culinary needs and home design, making it an essential resource for those looking to transform their kitchen into a highly efficient and welcoming heart of the home.