

A clean stove top is crucial not only for the look of your kitchen but also for the overall safety and lifespan of your appliance. LG stove top grates, in particular, play a significant role in ensuring efficient heat distribution and maintaining your cooking experience at its best.
Taking the time to understand the unique features of LG stove grates can help you clean and care for them more effectively. With the right approach, you can keep them looking new and operating efficiently. This guide on how to clean LG stove top grates will walk you through the correct steps and tips to achieve sparkling clean stove top grates every time.
Safety Precautions Before Cleaning
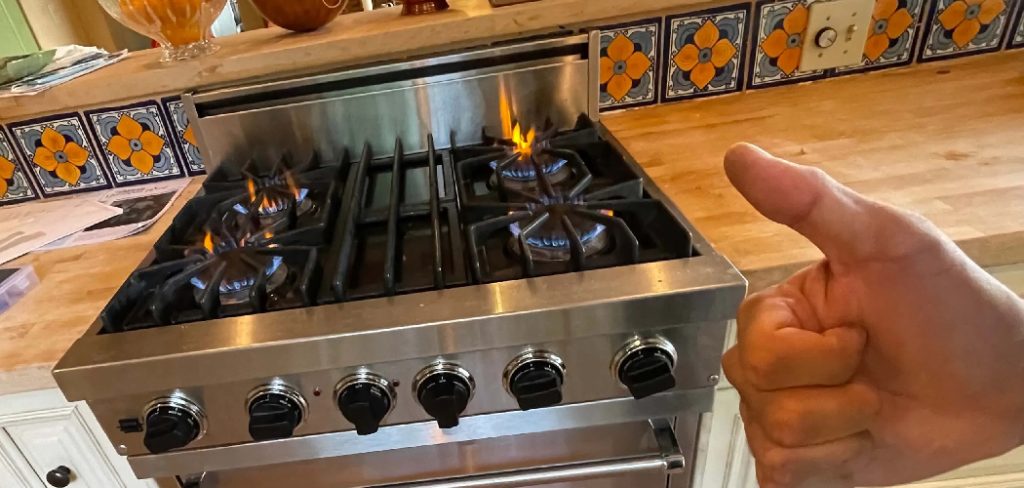
Before you get started, it’s essential to take several safety precautions. First, make sure all burners are turned off and completely cool to the touch before attempting any cleaning. This prevents accidental burns and ensures your safety as you work around the appliance.
It’s also a good idea to disconnect the stove from the power source if possible, especially when using water or cleaning solutions near electronic parts. Wear gloves to protect your hands from strong cleaning agents, and ensure your workspace is well-ventilated to avoid inhaling fumes. Lastly, keep young children and pets away from the kitchen during the cleaning process to prevent accidents.
Tools and Materials You’ll Need
- Soft scrub brush or sponge
- Non-abrasive cleaner or mild dish soap
- Baking soda
- Vinegar
- Old toothbrush
- Microfiber cloths or paper towels
- A bucket or sink with warm water
- Rubber gloves
Having all the right tools ready makes the process smoother and helps you tackle even the toughest grime without damaging your grates. Using non-abrasive materials is especially important to preserve the finish and ensure longevity.
7 Step-by-step Guidelines on How to Clean LG Stove Top Grates:
Step 1: Remove the Grates
Start by ensuring the stove top and grates are completely cool. Carefully lift each grate off the stove and set it aside on a protected surface, such as a towel or large tray, to prevent scratching your countertops.
Removing the grates allows you to access all the nooks and crannies that might not be reachable during a simple wipe-down. This step is essential for a deep and thorough cleaning, helping you get rid of hidden grease and debris.
Step 2: Soak the Grates
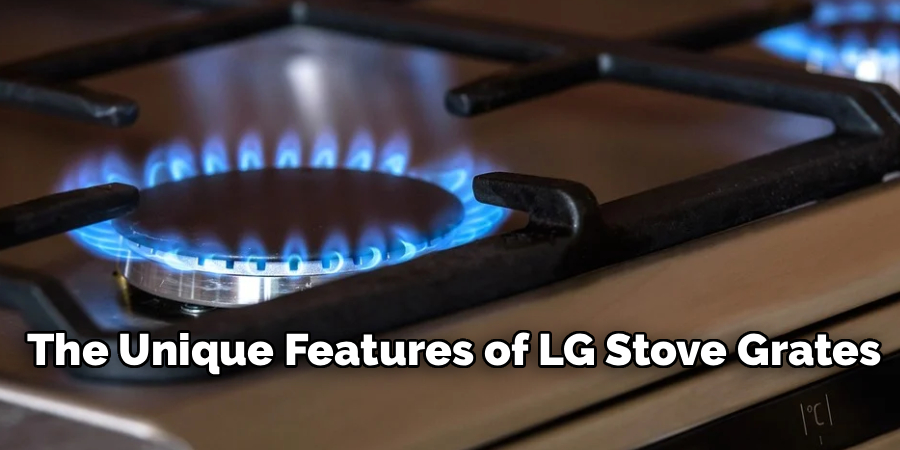
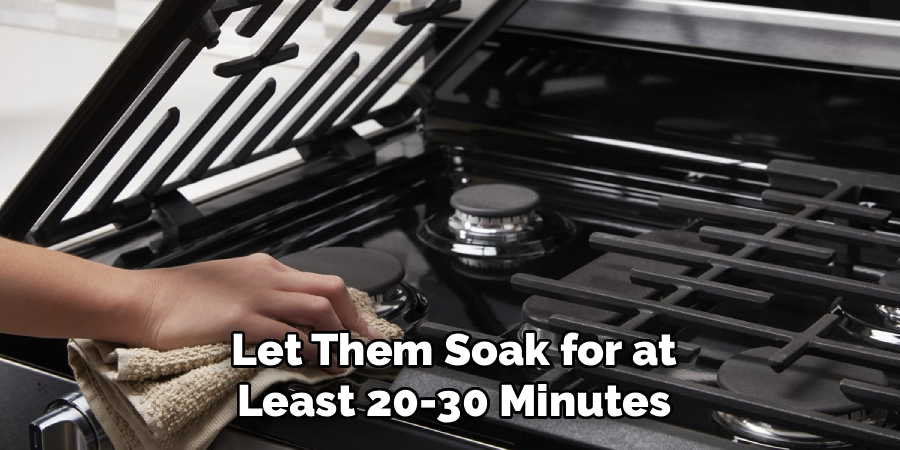
Fill your sink or a large bucket with warm water and add a few drops of mild dish soap. Place the grates in the solution, ensuring they are fully submerged, and let them soak for at least 20-30 minutes. This will help loosen stubborn grease and baked-on food residues.
Allowing grates to soak softens debris that accumulates from frequent cooking. After soaking, you’ll find it much easier to remove residues without exerting too much effort, making the cleaning process more efficient and less labor-intensive.
Step 3: Scrub with a Brush
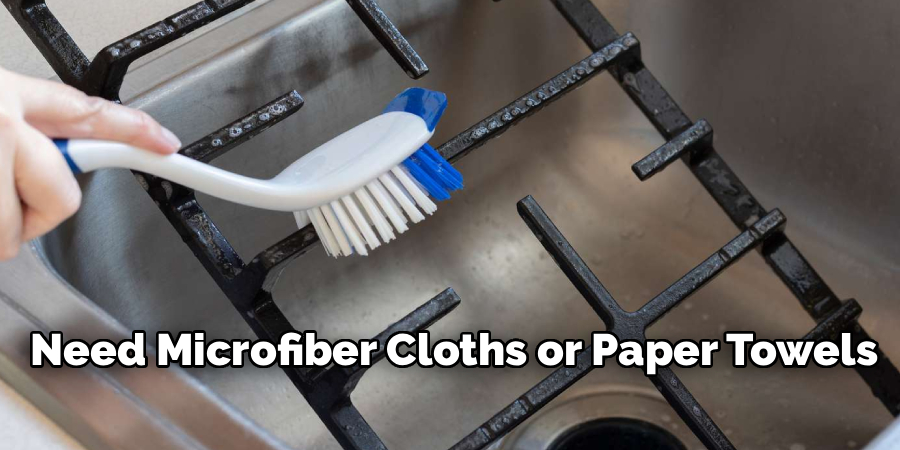
After soaking, use a soft scrub brush or sponge to gently clean the grates. Focus on areas with built-up grime, scrubbing in circular motions. For tight spots and corners, an old toothbrush works wonders to reach intricate parts.
Be patient and thorough, making sure you don’t use metal scouring pads or anything that could scratch the surface. Rinse the grates with clean water as you go to inspect your progress, ensuring all debris is removed before moving to the next step.
Step 4: Tackle Stubborn Stains with Baking Soda
If you notice stubborn stains or burnt-on residue, sprinkle baking soda generously over those areas. Add a small amount of water to create a paste, then let it sit for 15 minutes. The baking soda acts as a gentle abrasive, helping to lift tough stains without damaging the finish.
After the paste rests, scrub the stained areas again using your brush or toothbrush. Rinse thoroughly with water to remove all traces of the baking soda mixture, making sure the grates are free of residue before drying.

Step 5: Rinse and Dry Thoroughly
Once all residue is gone, use warm water to give the grates a thorough rinse. Ensure no soap, baking soda, or cleaner remains on their surfaces, as leftover residue can burn and discolor your grates when heated.
After rinsing, dry the grates completely with a microfiber cloth or paper towels. Leaving them wet can promote rust and cause unwanted wear, so make sure they’re completely dry before reinstalling.
Step 6: Inspect and Clean the Stove Surface
With the grates removed, take the opportunity to clean the stove top itself. Use a non-abrasive cleaner to wipe away grease, crumbs, and spills, paying attention to the burner areas and edges where buildup can hide.
Thoroughly cleaning the surface ensures your stove will function properly and look great when you replace the grates. Let the surface air-dry or use a clean towel to remove any lingering moisture.
Step 7: Reinstall the Grates
After ensuring both the grates and the stove surface are completely dry, gently place the grates back onto the stove. Make sure each grate is aligned correctly and sits securely in its position.
Double-check that nothing is out of place before resuming cooking. Proper reinstallation ensures your burners will operate safely and helps maintain even heat distribution for your culinary creations.
Following these steps on how to clean LG stove top grates will help prolong the life of your stove and keep it looking like new. Remember to always refer to the manufacturer’s instructions for specific cleaning recommendations and never use abrasive materials or harsh chemicals when cleaning your grates.
Maintenance Tips
To keep your LG stove top grates in top condition, clean them regularly after spills and splatters—don’t wait for heavy buildup. Performing quick weekly wipe-downs is much easier than dealing with months of grease and burnt-on food. Always let the grates cool before handling, and avoid using abrasive cleaners or metal scouring tools that can damage the finish.
Consider soaking the grates in soapy water once a month for deeper cleaning. After each cleaning, make sure the grates are thoroughly dry before replacing them to prevent rust. By maintaining your stove top grates, you’ll ensure a clean, efficient, and inviting cooking space.
Common Mistakes to Avoid
- Using harsh chemicals that can damage the grate’s coating.
- Skipping the soak which makes scrubbing off residue much harder.
- Scrubbing with abrasive pads or steel wool can lead to scratches.
- Not fully drying the grates before installation, promoting rust.
- Ignoring regular maintenance allows grime buildup over time.
Do You Need To Use Professionals?
While cleaning LG stove top grates is a task most people can handle at home, there are instances when hiring a professional might be wise. If you’re dealing with severe buildup, rust that won’t come off, or stuck-on grime that typical methods can’t remove, expert help can protect your investment and save time.
Professionals use specialized equipment and solutions to deep-clean your grates without causing harm. They can also inspect for underlying issues, such as damaged coatings or mechanical problems, ensuring your stove operates safely. For busy households or individuals who prefer not to handle tough cleaning jobs, professional services offer peace of mind.
How Much Will It Cost?
The cost of cleaning stove top grates varies based on your chosen method. DIY cleaning usually requires only basic supplies like dish soap and baking soda, costing less than $10 per session. These materials last for multiple uses, making the process budget-friendly.
If you choose a professional cleaning service, prices can range from $50 to $150, depending on your location and the complexity of the job. While this is more expensive, it may be worthwhile for tough jobs or busy lifestyles. Consider your budget, cleaning needs, and available time to decide the best approach for you.
Frequently Asked Questions
Q1: How Often Should I Clean LG Stove Top Grates?
It’s best to clean your LG stove top grates once a week for light maintenance. Deep cleaning is recommended monthly, especially if you cook frequently or deal with tough stains. Regular upkeep prevents buildup and makes the cleaning process easier each time.
Maintaining a cleaning schedule also extends the life of your grates and keeps your kitchen smelling fresh. If you notice spills or burnt-on food, address them as soon as possible to avoid hard-to-remove residues.
Q2: Can I Put LG Stove Top Grates in the Dishwasher?
Most LG stove top grates are not dishwasher safe, as the intense heat and harsh detergents may damage the finish. It’s usually best to follow the manufacturer’s care guide. Hand-washing with mild soap and soft brushes is the safest method.
Check your LG stove’s user manual for specific instructions. When in doubt, err on the side of caution and clean your grates by hand to maintain their integrity.
Q3: What Should I Do If My Grates Have Rust Spots?
If you notice small rust spots, gently scrub the affected area with a baking soda paste and a non-abrasive brush. After cleaning, dry the grates thoroughly and consider applying a light coat of vegetable oil to protect the surface.
Prevent rust by always drying grates completely before reinstalling and avoiding prolonged exposure to moisture. If rust persists, consult a professional for restoration or replacement advice.
Q4: Are There Any Cleaners I Should Avoid?
Avoid using harsh chemical cleaners, oven cleaners, or steel wool, as these can strip the protective coating and cause permanent damage. Mild dish soap, baking soda, and white vinegar are safe and effective for most cleaning needs.
Always read product labels and test any new cleaner in a small area first. Stick with non-abrasive solutions to ensure your LG stove top grates stay looking and working their best.
Conclusion
Keeping your LG stove top grates clean doesn’t have to be a daunting task. By following these simple steps and regular maintenance tips on how to clean LG stove top grates, you can ensure your grates remain in excellent condition, your kitchen stays hygienic, and your stove continues to function efficiently.
Proper care not only extends the lifespan of your appliance but also enhances your overall cooking experience. Take the time to clean regularly, avoid common mistakes, and seek professional help if needed for the best results.

About
Diane Lo is a distinguished figure in the world of kitchen innovation and culinary design, with over a decade of expertise creating functional and sustainable kitchen environments. Her professional focus lies in merging ergonomic spatial planning with modern culinary technology, fostering kitchen layouts that are both highly practical and aesthetically refined. As the lead expert at Kitchenub, Diane Lo delves into the art and science of kitchen organization, appliance selection, and workflow efficiency, inspiring home cooks and professional designers alike.
Education
Royal Melbourne Institute of Technology (RMIT University) (Melbourne, Australia) Associate Degree in Interior Design and Spatial Planning Focus on sustainable kitchen layouts, user-centric design, and ergonomic efficiency. Gained hands-on experience in high-traffic commercial kitchen modeling and advanced space-saving architecture.
Nottingham Trent University (United Kingdom) Bachelor’s in Product Design and Culinary Architecture (Honors) Specialized in the intersection of kitchen technology and lifestyle design. Participated in major industry collaborations, working with premium appliance manufacturers and cabinetry firms to gain real-world insights into modern kitchen workflows.
Publications and Impact
At Kitchenub, Diane Lo shares her expert insights on kitchen renovation processes, material durability, and strategies for achieving peak culinary productivity. Her writing effectively bridges the gap between professional culinary needs and home design, making it an essential resource for those looking to transform their kitchen into a highly efficient and welcoming heart of the home.