

Keeping your Gowise air fryer clean is essential for ensuring its longevity and maintaining optimal performance. Over time, grease and food particles can accumulate, leading to unwanted odors and even affecting the taste of your food.
Regular cleaning not only keeps your appliance running smoothly but also helps prevent the buildup of germs and bacteria. With the right steps and tools, you can make the cleaning process a seamless part of your kitchen routine. In this guide on how to clean gowise air fryer, we’ll cover the essential steps and tips to keep your appliance in top condition.
Why Regular Cleaning is Important
As mentioned earlier, regular cleaning of your Gowise air fryer is crucial for its longevity and performance. Here are a few reasons why you should make it a part of your routine:
Prevents Buildup of Grease and Food Particles:
As with any cooking appliance, the Gowise air fryer can accumulate grease and food particles over time. If left uncleaned, this buildup can affect the cooking process and even become a fire hazard.
Maintains Optimal Performance:
A clean air fryer will function at its best, ensuring evenly cooked and crispy food every time. Any residue or debris inside the appliance can interfere with the heating element and affect the quality of your food.
Extends Lifespan:
Regular cleaning prevents wear and tear on your air fryer’s components, helping it last longer. It also reduces the need for frequent deep cleaning, which can be a hassle.
Tools and Materials You’ll Need
- Soft Sponge or Cloth
- Mild Dish Soap
- Non-abrasive Brush or Toothbrush
- Microfiber Towel
- Warm Water
- Toothpicks or Cotton Swabs
- Baking Soda (Optional for Tough Stains)
- Paper Towels
8 Simple Step-By-Step Guidelines on How to Clean Gowise Air Fryer
Step 1: Unplug and Cool Down
Always start by unplugging your air fryer and allowing it to cool down completely. This is crucial to avoid burns and electrical hazards when handling the unit.
Once the appliance is comfortably cool, move it to a stable, flat surface near your sink where cleaning can be done easily and safely.
Step 2: Remove Basket and Pan
Carefully take out the air fryer basket and pan. These components typically collect the most grease and food residue during cooking.
Place them in your sink, and if there’s an excess of grease, gently wipe it away with a paper towel before washing.
Step 3: Soak Removable Parts
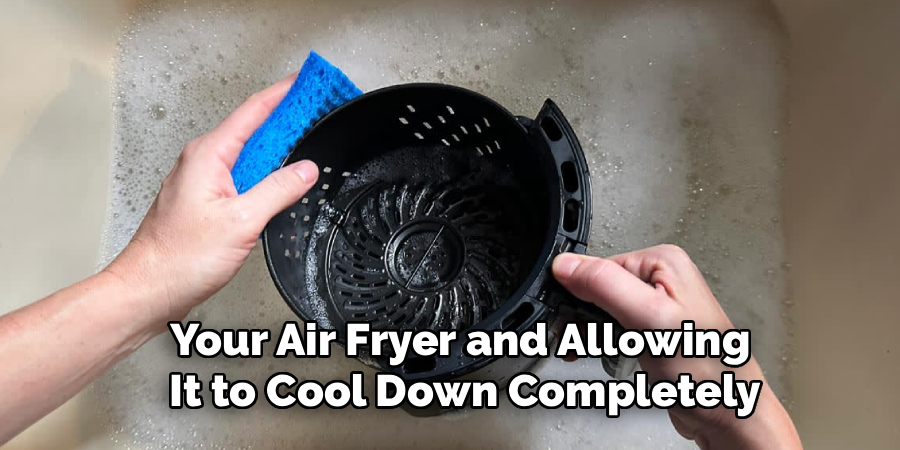
Fill your sink with warm, soapy water and submerge the basket and pan. Let them soak for 10-15 minutes to loosen stuck-on food.
This soaking period makes it much easier to remove any residue without having to scrub too aggressively, preserving the non-stick surface.
Step 4: Clean With a Soft Sponge
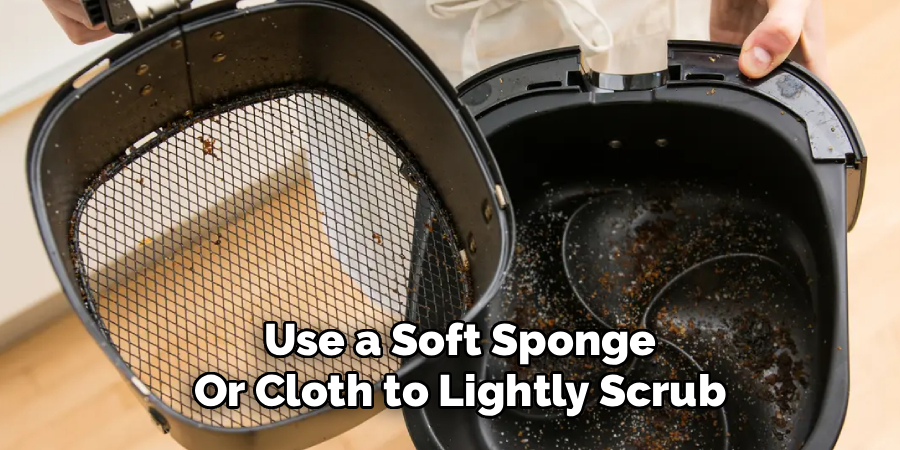
After soaking, use a soft sponge or cloth to lightly scrub the basket and pan. Avoid using steel wool or abrasive pads, as these can damage the non-stick coating.
Make sure to reach into all corners and crevices to remove oil or food particles for a thorough clean.
Step 5: Address Tough Stains
For stubborn stains or sticky residue, make a paste with baking soda and a bit of water. Apply it to the affected areas and let it sit for several minutes.
Use a non-abrasive brush or an old toothbrush to gently scrub the paste away. This method is effective without scratching or damaging your air fryer parts.
Step 6: Wipe Down the Heating Element
Turn the main unit upside down for easier access to the heating element. Wipe it gently with a damp cloth or a soft brush, being careful not to bend or damage the element.
If there are any stubborn spots, use a cotton swab or toothpick to delicately remove any debris or buildup.
Step 7: Clean the Exterior
Use a slightly damp microfiber towel to wipe down the outside of your air fryer. Avoid excessive water near the control panel or openings to prevent electrical issues.
Dry the exterior immediately with a clean towel to prevent water spots or streaks, keeping your appliance looking new.
Step 8: Reassemble and Store
Make sure all parts are completely dry before reassembling the air fryer. Allow each piece to air dry or use a clean towel for faster drying.
Reassemble the basket and pan, then store your air fryer in a clean, dry space, ready for your next delicious meal.
Following these steps on how to clean gowise air fryer will not only keep your appliance functioning properly, but also help extend its lifespan.
Common Mistakes to Avoid
When cleaning and maintaining your air fryer, it’s important to steer clear of common mistakes that could lead to damage or reduced performance. Here are a few pitfalls to avoid:
Using Abrasive Cleaning Tools
Scrubbing the non-stick surface of your air fryer with abrasive tools like steel wool or harsh brushes can cause scratches and damage. Always use soft sponges or cloths designed for delicate surfaces.
Submerging the Entire Appliance in Water
Never immerse the main body of the air fryer in water. This can damage the electrical components and render the appliance unsafe to use.
Skipping Regular Cleaning
Failing to clean your air fryer after each use can lead to the buildup of grease and food residue, affecting the taste of your meals and potentially causing smoke during cooking.
Reassembling Wet Parts
Reassembling the air fryer before all parts are completely dry can lead to moisture buildup, encouraging mold or causing electrical issues.
Using Harsh Chemicals
Strong chemicals or cleaners not designed for kitchen appliances can corrode the air fryer’s surface and impact its longevity. Stick to mild detergents and water for cleaning.
By avoiding these mistakes, you can ensure your air fryer remains in excellent condition, providing you with tasty and hassle-free meals for years to come.
Do You Need To Use Professionals?
For most routine cleaning, professional services are not required as long as you follow the outlined steps. The design of the Gowise air fryer allows for easy disassembly and access to all key components. Professional cleaning may be considered if there are significant, hardened deposits that can’t be removed with household tools. However, such cases are rare with regular maintenance. By taking a few moments after each use, you can typically avoid the need for costly professional intervention and ensure your air fryer remains in top shape.
How Much Will It Cost?
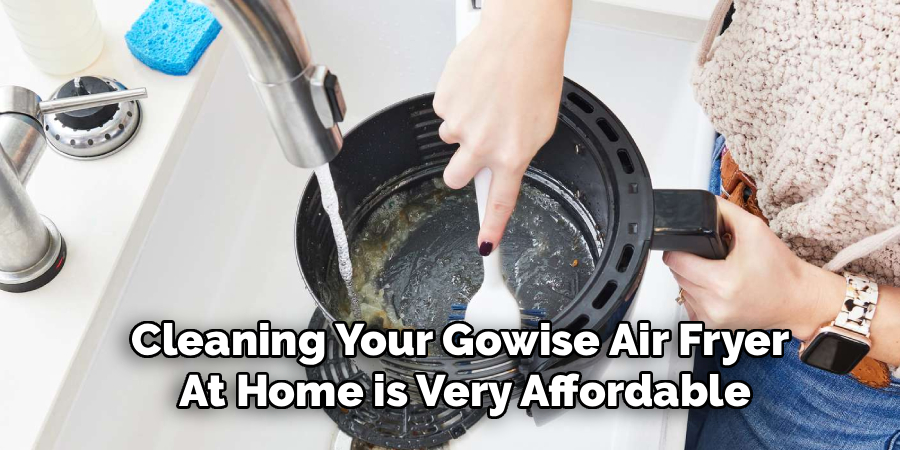
Cleaning your Gowise air fryer at home is very affordable. Most of the tools and materials needed—like dish soap, sponges, and towels—are standard household items. Occasional use of baking soda for stains is inexpensive and readily available. You might need to replace cleaning tools over time, but this is a minimal expense. If you ever decide to use professional cleaning services, costs could range from $30 to $60, depending on your location and the level of cleaning required. However, with regular maintenance, you can avoid these extra expenses and keep costs low.
Frequently Asked Questions
Q1: How Often Should I Clean My Gowise Air Fryer?
Regular cleaning should be done after every use to maintain performance and hygiene. If you notice any unusual odors or excessive smoke, it is advisable to clean it immediately. Deep cleaning of the basket, pan, and heating element should be done weekly or after particularly messy cooking sessions. Proper cleaning ensures your food tastes fresh and your appliance lasts longer. Setting a routine helps avoid buildup and simplifies the process.
Q2: Can I Put the Basket and Pan in the Dishwasher?
Yes, most Gowise air fryer baskets and pans are dishwasher-safe. However, consult your user manual to confirm before placing them in the dishwasher. Dishwashers can help remove stubborn grease and save you time. Handwashing is still effective if you use the right technique and mild dish soap. Avoid using harsh chemicals to preserve the non-stick surface and longevity of your air fryer parts.
Q3: What Should I Do If There’s a Lingering Odor?
A lingering odor can often be resolved by cleaning all removable parts thoroughly and wiping down the interior. If odors persist, try running the air fryer empty with a mixture of water and lemon juice in the basket. The natural acidity can neutralize smells and freshen the appliance. Regularly cleaning the heating element and checking for residue are key steps. Proper drying after each wash also helps prevent lingering scents.
Q4: Is It Safe To Use Baking Soda on the Non-Stick Surface?
Yes, baking soda is generally safe for cleaning non-stick surfaces when used correctly. Make a gentle paste by mixing with water and apply it with a soft sponge or non-abrasive brush. Avoid using it with hard scrubbing tools that could scratch the coating. Baking soda is effective for tackling tough stains without harsh chemicals. Always rinse thoroughly and dry after cleaning for the best results.
Conclusion
Cleaning your Gowise air fryer is an easy way to ensure great-tasting meals and extend the life of your appliance. By following these detailed steps on how to clean gowise air fryer, gathering the right tools, and avoiding common mistakes, you’ll keep your air fryer performing like new.
A little effort after every use pays off in the long run, saving you time and money. With regular maintenance, your air fryer will remain a reliable kitchen companion for delicious, healthy meals.

About
Diane Lo is a distinguished figure in the world of kitchen innovation and culinary design, with over a decade of expertise creating functional and sustainable kitchen environments. Her professional focus lies in merging ergonomic spatial planning with modern culinary technology, fostering kitchen layouts that are both highly practical and aesthetically refined. As the lead expert at Kitchenub, Diane Lo delves into the art and science of kitchen organization, appliance selection, and workflow efficiency, inspiring home cooks and professional designers alike.
Education
Royal Melbourne Institute of Technology (RMIT University) (Melbourne, Australia) Associate Degree in Interior Design and Spatial Planning Focus on sustainable kitchen layouts, user-centric design, and ergonomic efficiency. Gained hands-on experience in high-traffic commercial kitchen modeling and advanced space-saving architecture.
Nottingham Trent University (United Kingdom) Bachelor’s in Product Design and Culinary Architecture (Honors) Specialized in the intersection of kitchen technology and lifestyle design. Participated in major industry collaborations, working with premium appliance manufacturers and cabinetry firms to gain real-world insights into modern kitchen workflows.
Publications and Impact
At Kitchenub, Diane Lo shares her expert insights on kitchen renovation processes, material durability, and strategies for achieving peak culinary productivity. Her writing effectively bridges the gap between professional culinary needs and home design, making it an essential resource for those looking to transform their kitchen into a highly efficient and welcoming heart of the home.