

Keeping your Cuisinart air fryer clean is essential for both performance and hygiene. Regular cleaning not only helps maintain the appliance’s efficiency but also ensures the food you prepare is safe and tastes great. Many users find that a clean fryer lasts longer and requires fewer repairs.
If you’re new to air fryer ownership or just want to learn the best practices, this guide offers everything you need. We’ll walk through recommended tools, detailed steps, safety tips, and common pitfalls to avoid. By following these instructions on how to clean cuisinart air fryer, you’ll keep your air fryer in top shape for years to come.
Why Clean Your Air Fryer Regularly?
Cleaning your air fryer regularly has several benefits. First, it prevents food residue and grease buildup, which can cause unpleasant smells and affect the taste of your food. This is especially important if you use your air fryer frequently or cook foods with strong odors.
Second, regular cleaning ensures that your air fryer maintains its efficiency.
When the heating element and fan are coated in grease, they have to work harder to circulate hot air, resulting in longer cooking times and potentially unevenly cooked food.
Lastly, a clean air fryer is safer to use. Grease buildup can be a fire hazard if left unchecked. Additionally, keeping the appliance free from food remnants reduces the risk of cross-contamination and foodborne illness.
Tools and Materials You’ll Need
- Soft Sponge or Cloth
- Mild Dishwashing Soap
- Soft-bristle Brush or Old Toothbrush
- Non-abrasive Scrubbing Pad
- Warm Water
- Paper Towels or Microfiber Cloths
- Toothpicks or Cotton Swabs
- Oven-safe Degreasing Spray (Optional)
8 Simple Step-by-step Guidelines on How to Clean Cuisinart Air Fryer:
Step 1: Unplug and Cool Down
Before starting, always unplug your Cuisinart air fryer and let it cool completely. This simple step helps prevent accidental burns and electric shocks during cleaning. Make sure that each part is safe to touch before you handle the appliance.
Allowing the air fryer to cool also ensures that grease and oils have settled, making them easier to remove. Never attempt to clean the unit while it’s still hot, as this could lead to injury or damage to the internal components.
Step 2: Remove Basket and Accessories
Take out the basket, tray, and any accessories your air fryer may have. Removing these parts allows for thorough cleaning and prevents food residue from building up. Place them on a flat surface near your sink for easy washing.

Pay special attention to removable parts, as these areas often accumulate crumbs and oil. Regularly cleaning them will not only improve food quality but also extend the life of your accessories.
Step 3: Soak Removable Parts
Fill your sink or a large basin with warm, soapy water and let the removable parts soak for 10-15 minutes. This helps loosen stuck-on food and grease, making scrubbing much easier. Use a gentle dishwashing soap to protect nonstick coatings.
Soaking ensures a deeper clean and minimizes the need for vigorous scrubbing. It also reduces the risk of scratching or damaging the components, which is important for maintaining their nonstick properties.
Step 4: Clean the Basket and Tray
Use a soft sponge or brush to scrub the basket and tray, focusing on crevices where food might be trapped. For stubborn residue, a non-abrasive pad can help, but avoid anything too harsh that might scratch the surfaces.
Rinse thoroughly with clean water once all food particles are removed. Dry the items completely with a paper towel or microfiber cloth before reassembling to prevent moisture from harboring bacteria.
Step 5: Wipe Down the Interior
Dampen a cloth or sponge with warm, soapy water, and carefully wipe the inner walls and heating element shield. Be gentle near the heating element—never scrub directly on it, as this can cause damage.
Use toothpicks or cotton swabs to reach into tight corners if needed. Rinse your cloth frequently while cleaning to avoid spreading grease or crumbs around the interior.
Step 6: Clean the Exterior
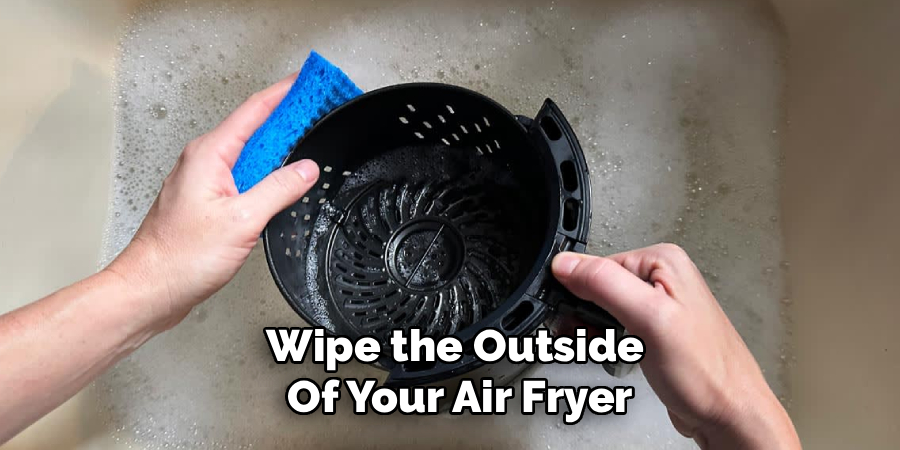
Wipe the outside of your air fryer with a soft damp cloth. Pay extra attention to areas that accumulate fingerprints or sticky residues, such as the handle and control panel. Avoid getting water into vents or electrical components.
Dry the exterior thoroughly with a clean cloth to restore its finish and prevent streaks. Keeping the outside clean also prevents debris from working its way inside the appliance.
Step 7: Inspect and Dry All Parts
Check each component to ensure no food or moisture remains. Allow all parts to air dry completely or use a paper towel to speed up the process. Proper drying helps prevent bacteria growth and keeps your air fryer fresh for each use.
Double-check hard-to-reach spots, as lingering moisture can lead to unpleasant odors or future cleaning issues. Once satisfied, you can begin reassembling your air fryer.
Step 8: Reassemble and Test
Put the basket and accessories back into their rightful places. Plug in the air fryer and run it empty for a few minutes to ensure everything is working and there’s no residual moisture left behind.
A quick dry run also helps remove any leftover cleaning scent. Once complete, your Cuisinart air fryer is ready for delicious, hassle-free cooking again.
Following these steps on how to clean cuisinart air fryer, your appliance will remain in good condition, ensuring that your food is cooked perfectly every time.
Safety Tips
When cleaning your Cuisinart air fryer, always make sure the appliance is unplugged and completely cool before beginning. Avoid letting water or cleaning solutions seep into the electrical components, as this can pose serious safety hazards. Use mild soaps and soft cloths to prevent any abrasive damage to nonstick surfaces.
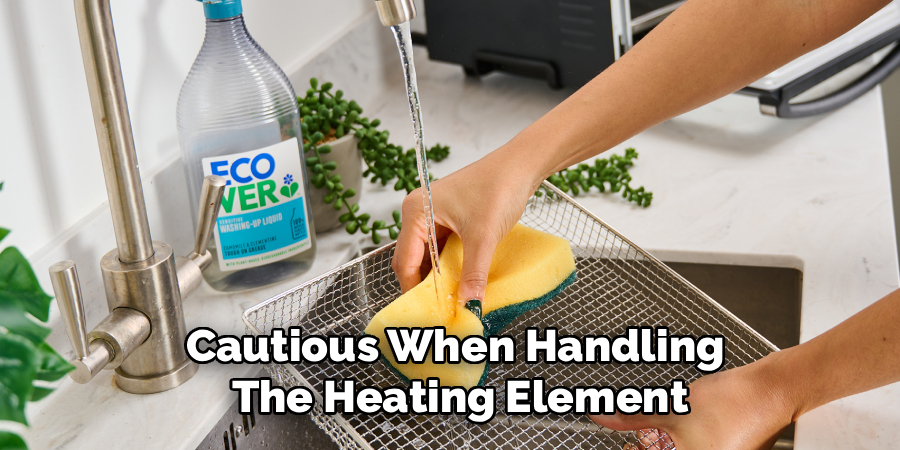
Be especially cautious when handling the heating element, as it’s both fragile and essential to the air fryer’s operation. Always dry all parts thoroughly before plugging the unit back in to prevent electrical shorts or mold growth. Lastly, keep sharp objects away from the appliance interior, as scratches can create spaces for bacteria to hide.
Common Mistakes to Avoid
It’s important not to submerge the main unit in water or use harsh chemicals that could damage internal components. Avoid abrasive scrubbers, which can wear down coatings. Don’t rush the drying process, as trapped moisture can lead to mold.
Forgetting to clean the heating element cover is a frequent oversight. Always double-check for leftover food particles after cleaning.
How Much Will It Cost?
Cleaning your Cuisinart air fryer is generally inexpensive, as most required tools are typical household items like sponges, dish soap, and towels. You may want to invest in a soft-bristle brush or a non-abrasive pad, which usually cost only a few dollars. If you choose an oven-safe degreaser for stubborn buildup, this could add a small cost, but it is seldom necessary.
The biggest investment is really your time. By regularly maintaining your fryer, you avoid repairs or replacements down the line, which saves substantial money. Ultimately, keeping your fryer clean is a budget-friendly way to prolong its life and performance.
Frequently Asked Questions
Q1: How Often Should I Clean My Air Fryer?
It’s recommended to clean your Cuisinart air fryer after each use for optimal performance and hygiene. Frequent cleaning prevents the buildup of grease and crumbs that can affect both taste and safety. If used daily, a thorough deep clean once a week is ideal. Neglecting cleaning can lead to stubborn stains and unpleasant odors over time.
Q2: Can I Put Cuisinart Air Fryer Parts in the Dishwasher?
Most removable parts, like baskets and trays, are dishwasher safe, but always consult your user manual first. Using the dishwasher can be a convenient way to save time and ensure a thorough clean. However, washing by hand may extend the life of nonstick coatings. If your dishwasher has a gentle cycle, that’s generally best for air fryer accessories.
Q3: What Should I Do If There’s a Burnt Smell After Cleaning?
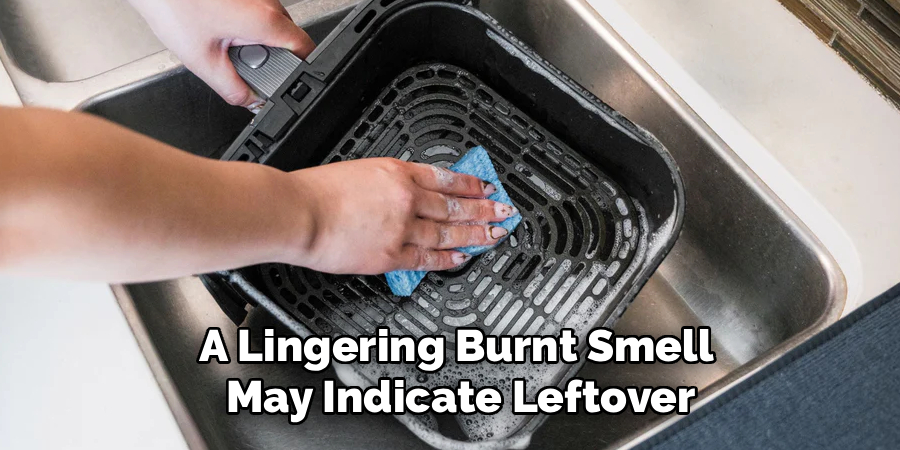
A lingering burnt smell may indicate leftover residue on heating elements or inside surfaces. Wipe down the interior again, paying attention to hard-to-reach spots. Run the fryer empty for a few minutes to burn off lingering odors if necessary. Regular cleaning usually eliminates these smells, but persistent odors may require a more thorough deep clean.
Q4: Is It Safe to Use Oven Cleaners on My Air Fryer?
Traditional oven cleaners are too harsh for nonstick surfaces and should be avoided unless specified as safe for air fryers. Instead, stick to mild dish soaps and gentle degreasers approved for kitchen appliances. Using the wrong cleaners can damage coatings and void your warranty. Always read labels and manufacturer guidelines before applying any cleaning product.
Conclusion
A clean Cuisinart air fryer not only looks and smells better but also works more efficiently and delivers tastier food. By following these step-by-step guidelines on how to clean cuisinart air fryer, you safeguard your investment and ensure every meal is cooked to perfection.
Take a few extra minutes after each use, and you’ll enjoy years of convenient, healthy cooking.

About
Diane Lo is a distinguished figure in the world of kitchen innovation and culinary design, with over a decade of expertise creating functional and sustainable kitchen environments. Her professional focus lies in merging ergonomic spatial planning with modern culinary technology, fostering kitchen layouts that are both highly practical and aesthetically refined. As the lead expert at Kitchenub, Diane Lo delves into the art and science of kitchen organization, appliance selection, and workflow efficiency, inspiring home cooks and professional designers alike.
Education
Royal Melbourne Institute of Technology (RMIT University) (Melbourne, Australia) Associate Degree in Interior Design and Spatial Planning Focus on sustainable kitchen layouts, user-centric design, and ergonomic efficiency. Gained hands-on experience in high-traffic commercial kitchen modeling and advanced space-saving architecture.
Nottingham Trent University (United Kingdom) Bachelor’s in Product Design and Culinary Architecture (Honors) Specialized in the intersection of kitchen technology and lifestyle design. Participated in major industry collaborations, working with premium appliance manufacturers and cabinetry firms to gain real-world insights into modern kitchen workflows.
Publications and Impact
At Kitchenub, Diane Lo shares her expert insights on kitchen renovation processes, material durability, and strategies for achieving peak culinary productivity. Her writing effectively bridges the gap between professional culinary needs and home design, making it an essential resource for those looking to transform their kitchen into a highly efficient and welcoming heart of the home.