

Keeping a commercial oven clean is essential, not just for hygiene and food safety, but also to prolong the lifespan of your equipment. Regular cleaning ensures your oven functions efficiently and helps prevent contamination or unwanted flavors in your baked goods.
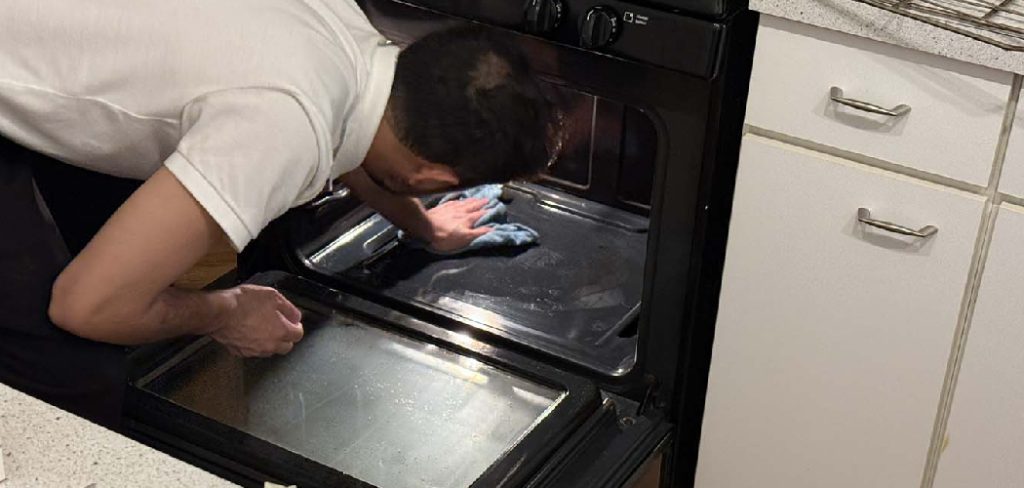
Many business owners and kitchen managers worry that cleaning a commercial oven is time-consuming or difficult. However, following a clear process and using the right tools can make this routine much easier than you might expect. In this article on how to clean a commercial oven, we’ll provide step-by-step instructions to help you maintain a clean and efficient oven in your commercial kitchen.
Why is it Important to Clean a Commercial Oven Regularly?
Regularly cleaning a commercial oven is crucial for maintaining kitchen efficiency, ensuring food safety, and extending the lifespan of the appliance. Over time, grease, food residue, and carbon buildup can accumulate inside the oven, which can negatively impact its performance. A dirty oven may take longer to reach desired temperatures or distribute heat unevenly, potentially compromising the quality of your dishes.
Additionally, residue and buildup can become a breeding ground for harmful bacteria, posing a safety risk to your customers. Regular cleaning not only helps prevent unpleasant odors and cross-contamination of flavors but also minimizes the risk of equipment malfunctions or costly repairs. By prioritizing oven cleanliness, kitchen managers can uphold a higher standard of hygiene and maximize the productivity of their commercial operations.
Tools and Materials You’ll Need
- Commercial Oven Cleaner (Approved for the Oven Type)
- Protective Gloves and Safety Goggles
- Soft Scrub Brushes and Non-abrasive Scrub Pads
- Plastic or Silicone Spatula
- Microfiber Cloths or Clean Rags
- Bucket of Warm Soapy Water
- Spray Bottle With Water (for Rinsing)
- Garbage Bags (for Debris and Used Rags)
7 Simple Step-By-Step Guidelines on How to Clean a Commercial Oven
Step 1: Prepare the Oven and Workspace
Before beginning, always ensure the oven is turned off and fully cooled to avoid burns and injuries. Clear the surrounding area of any items that may get in the way, and lay down old towels or protective mats around the oven to catch drips and debris.
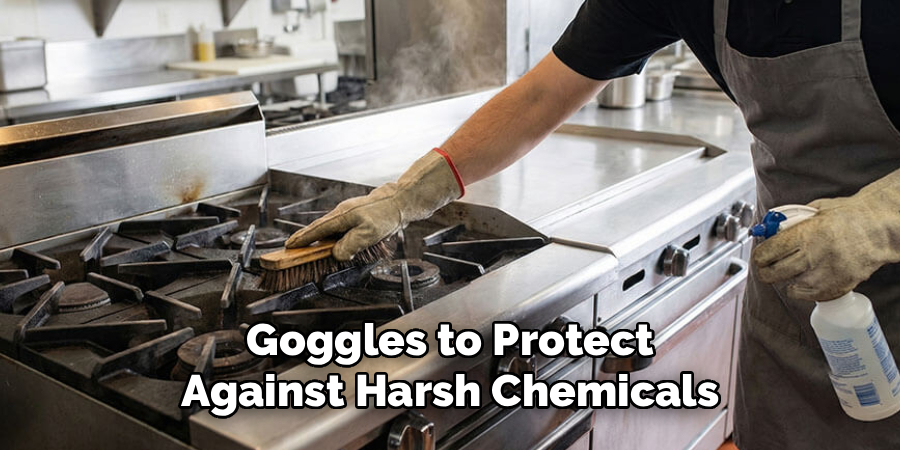
You should put on safety gloves and goggles to protect against harsh chemicals in oven cleaners. Gather all your tools within easy reach to avoid unnecessary trips across the kitchen while cleaning.
Step 2: Remove Racks and Accessories
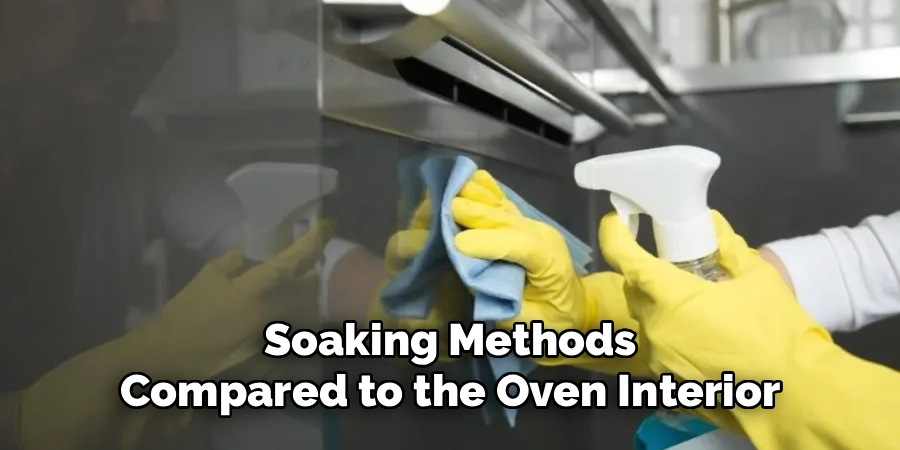
Carefully take out all oven racks, trays, thermometers, and other removable accessories. Set them aside for separate cleaning, as they will require different cleaning products or soaking methods compared to the oven interior.
By removing these items, you not only make cleaning easier but also ensure you’re able to access every corner of the oven. This step prevents residue from building up in hard-to-reach spots.
Step 3: Loosen Large Debris
Using a plastic or silicone spatula, gently scrape away large food particles or baked-on residue from the oven floor, walls, and door. Take care not to damage heating elements or sensitive surfaces during this process.
Collect debris in a garbage bag and dispose of it properly. Removing large chunks before applying the cleaner helps the cleaning product work more effectively and reduces the amount of scrubbing needed.
Step 4: Apply Oven Cleaner
Spray the inside of the oven with a commercial cleaner, following the manufacturer’s instructions carefully. Be sure to apply it evenly to all interior surfaces, including the walls, ceiling, and floor of the oven.
Let the cleaner sit for the recommended dwell time (usually 10–30 minutes), so it can break down tough grease and grime. This step is crucial for minimizing effort and getting the best results from your cleaning session.
Step 5: Scrub and Wipe Down
After the cleaner has had time to work, use a soft scrub brush or a non-abrasive pad to scrub interior surfaces thoroughly. Focus on corners, seams, and other areas that often collect stubborn grease deposits.
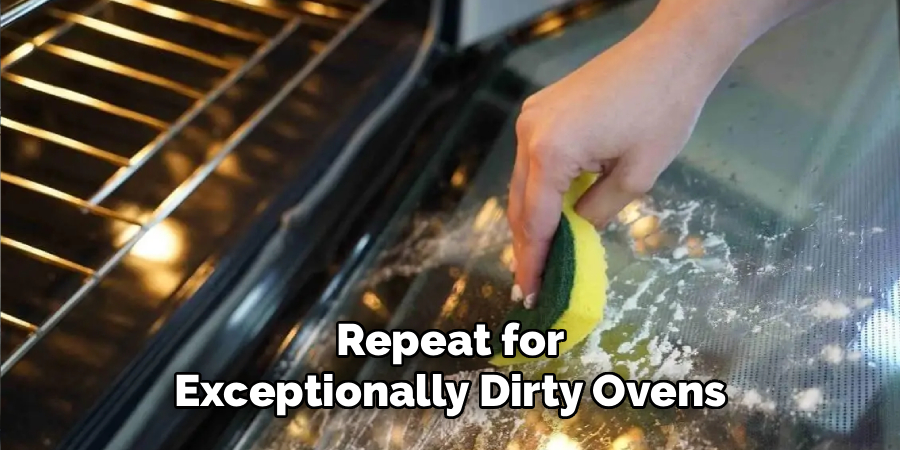
Once scrubbing is complete, wipe down all surfaces with a damp microfiber cloth to remove loosened grime and leftover cleaner. You may need to rinse and repeat for exceptionally dirty ovens.
Step 6: Clean Oven Racks and Accessories
Submerge racks and accessories in warm, soapy water in a sink or utility tub. Allow them to soak for 15–30 minutes to loosen stuck-on residue.
After soaking, scrub each piece with a soft brush or pad, rinse thoroughly in clean water, and let them air-dry or dry with a towel. This ensures every component that goes back into the oven is as clean as the oven itself.
Step 7: Reassemble and Inspect
When all internal surfaces and accessories are clean and dry, reassemble your oven by placing racks and trays back inside. Wipe down the exterior surfaces, buttons, and handles with a damp cloth to finish the job.
Perform a final inspection to make sure every area is clean, residue-free, and functioning correctly. Address any persistent spots or missed debris before using the oven again.
Following these steps on how to clean a commercial oven will not only keep your oven looking like new, but it will also ensure safe and efficient cooking for your business. Regular maintenance and cleaning can prevent build-up and potential health hazards, leading to a longer lifespan for your oven.
Tips
- Always check the oven manufacturer’s guidelines before using any chemical cleaners.
- Clean up small spills or splatters immediately to prevent buildup.
- Schedule routine deep cleanings, aiming for at least once a week in busy kitchens.
- Ventilate the area well during cleaning to avoid inhaling fumes.
- Consider using eco-friendly or non-toxic cleaning agents if possible.
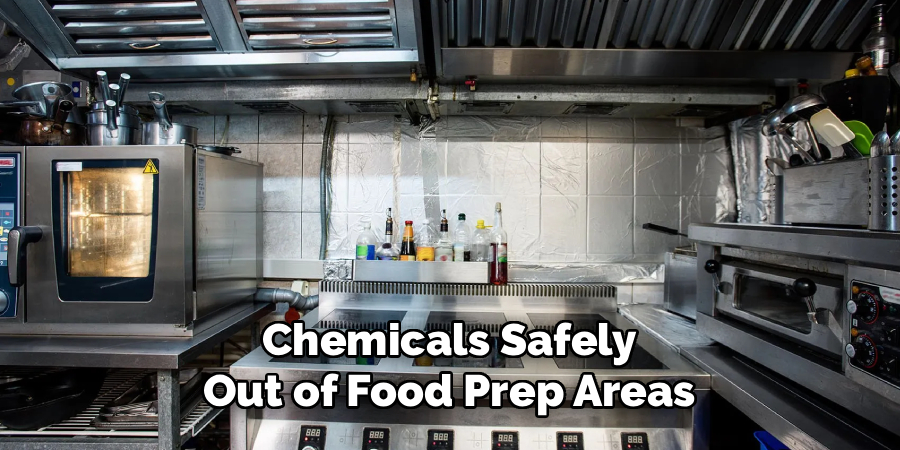
- Store all cleaning materials and chemicals safely out of food prep areas.
- Inspect gaskets and seals regularly to make sure they don’t have grease buildup.
Common Mistakes to Avoid
- Neglecting to clean hard-to-reach areas, such as beneath appliances or behind equipment, can lead to hidden grease and dirt buildup.
- Using abrasive tools or harsh chemicals can damage surfaces or equipment over time.
- Skipping routine maintenance checks on kitchen equipment results in inefficient performance or safety risks.
- Overlooking proper storage of cleaning tools leads to cross-contamination.
- Failing to follow the manufacturer’s guidelines for cleaning specific appliances way void warranties or reduce their lifespan.
- Cleaning in poorly ventilated areas increases the risk of inhaling harmful fumes.
- Not wearing protective gear, such as gloves or masks, during cleaning tasks, exposing yourself to chemicals or bacteria.
Do You Need To Use Professionals?
Hiring professionals is useful when the oven is heavily soiled or you lack time or staff to do a thorough job. Trained cleaners have the right equipment and expertise to deep clean industrial ovens quickly and safely. They can access hidden or difficult components that regular staff might overlook.
However, for routine cleaning, your own staff can typically handle the process by following guidelines. Just ensure everyone is properly trained and understands chemical safety. In some cases, scheduling periodic deep cleans by professionals ensures health codes are met and keeps the oven in top shape.
How Much Will It Cost?
Cleaning costs vary depending on whether you do it in-house or hire a professional. DIY cleaning mainly involves the cost of supplies and labor, which is typically lower if you already have trained staff. Professional deep cleaning can range from $100 to $500 or more, depending on oven size and the amount of work required.
It’s also important to factor in the potential cost savings of regular cleaning—well-maintained ovens run more efficiently and suffer fewer breakdowns, saving money in the long run. Neglecting maintenance could result in expensive repairs or replacements.
Frequently Asked Questions
Q1: How Often Should a Commercial Oven Be Cleaned?
It’s best to clean a commercial oven on a daily basis to remove food residue and prevent the buildup of grease and grime. Deep cleaning should be carried out at least once a week, depending on usage. By establishing a regular cleaning schedule, you can keep your oven running smoothly and efficiently. Consistent cleaning practices also help maintain health and safety standards in your kitchen.
Q2: Can I Use Household Cleaners on a Commercial Oven?
While some household cleaners can remove minor stains, most are not formulated for the heavy-duty residue found in commercial ovens. Commercial-grade cleaners are usually stronger and designed to break down industrial grease. Always read both product labels and your oven’s manual before use. Using the wrong cleaner may void warranties or damage sensitive components.
Q3: What Safety Precautions Should I Take When Cleaning?
Safety is crucial—always wear protective gloves and goggles, and work in a well-ventilated area to avoid chemical fumes. Make sure the oven is unplugged or cooled before starting the cleaning process to prevent burns or electrical hazards. Read the instructions on all cleaning products and never mix chemicals. Keeping a first aid kit and emergency contacts handy is also a smart practice in case of accidental exposure.
Q4: What Should I Do If Grease or Smells Remain After Cleaning?
If your oven still has grease spots or lingering smells after cleaning, repeat the cleaning steps with extra attention to problem areas. Sometimes, stubborn buildup can take more than one session to remove completely. Consider using an odor-neutralizing cleaner or natural methods like baking soda to address persistent smells. Ongoing maintenance will help prevent future accumulations and odors.
Conclusion
Regularly cleaning your commercial oven is vital to maintaining high levels of hygiene, safety, and performance in your kitchen. By using the right tools and following these step-by-step guidelines on how to clean a commercial oven, you can make the process straightforward and manageable. Preventative care not only extends the lifespan of your equipment but also ensures your food quality stays top-notch.
Remember to avoid common mistakes, know when to bring in a professional, and follow best practices for safety and efficiency. With a little effort, your commercial oven can remain spotless and dependable—ready to serve your business for years to come.

About
Diane Lo is a distinguished figure in the world of kitchen innovation and culinary design, with over a decade of expertise creating functional and sustainable kitchen environments. Her professional focus lies in merging ergonomic spatial planning with modern culinary technology, fostering kitchen layouts that are both highly practical and aesthetically refined. As the lead expert at Kitchenub, Diane Lo delves into the art and science of kitchen organization, appliance selection, and workflow efficiency, inspiring home cooks and professional designers alike.
Education
Royal Melbourne Institute of Technology (RMIT University) (Melbourne, Australia) Associate Degree in Interior Design and Spatial Planning Focus on sustainable kitchen layouts, user-centric design, and ergonomic efficiency. Gained hands-on experience in high-traffic commercial kitchen modeling and advanced space-saving architecture.
Nottingham Trent University (United Kingdom) Bachelor’s in Product Design and Culinary Architecture (Honors) Specialized in the intersection of kitchen technology and lifestyle design. Participated in major industry collaborations, working with premium appliance manufacturers and cabinetry firms to gain real-world insights into modern kitchen workflows.
Publications and Impact
At Kitchenub, Diane Lo shares her expert insights on kitchen renovation processes, material durability, and strategies for achieving peak culinary productivity. Her writing effectively bridges the gap between professional culinary needs and home design, making it an essential resource for those looking to transform their kitchen into a highly efficient and welcoming heart of the home.