

A well-organized spice collection can transform your kitchen routines, making cooking faster, easier, and less stressful. When spices are easy to find and neatly displayed, you’re far less likely to lose valuable time digging through cluttered cabinets or buying duplicates.
Building your own spice rack is not just a practical DIY project, but also an opportunity to customize your storage so it perfectly suits your kitchen and your unique cooking habits. This guide will show you exactly how to build a spice rack that fits your space and style, offering step-by-step directions for a project both accessible and rewarding.
Why Build Your Own Spice Rack?
Choosing to build your own spice rack puts you in control of your kitchen organization and design, far beyond what mass-produced racks offer. Unlike generic store-bought options, you can craft your rack to fit a particular space—whether that’s a narrow strip of wall, the inside of a cabinet door, or a spot next to your stove.
This degree of customization means your rack will accommodate exactly the jars you love and use most, eliminating wasted space and keeping your favorite spices within easy reach. The process itself is also satisfying: it’s a chance to create something useful with your own hands, add a personal touch to your kitchen, and feel a genuine sense of accomplishment each time you reach for a spice.
Customization for Your Space
DIY spice rack projects shine in their adaptability. You have the freedom to design something for a tricky spot that otherwise goes unused—such as under cabinets, along a backsplash, or inside pantry doors. Tailoring the size and style to your kitchen ensures seamless integration and avoids clutter.
Designed for Your Spice Collection
Every cook has their own set of go-to spices. By building your own rack, you can size the shelves to perfectly fit your favorite jars—no more cramming or wasted gaps. If you expand your collection in the future, you’ll know how to modify your rack or add extra shelves.
A Sense of Accomplishment
There’s a special satisfaction in using something you built yourself. Beyond the organizational benefits, your handmade rack becomes part of your kitchen’s story and a daily reminder of your own handiwork.
Plan and Design Your Spice Rack
Careful planning lays the groundwork for a successful DIY project. Start by thinking through where your rack will live and how it will be used.
Choose a Location
Identifying the best spot is crucial for both convenience and aesthetics. Think about where you most often reach for your spices—near the cooking area, perhaps, or where they won’t be exposed to direct sunlight or steam. Options include wall-mounting, placing the rack on the counter, or fitting it inside a kitchen drawer or cabinet.
Measure Your Spice Jars
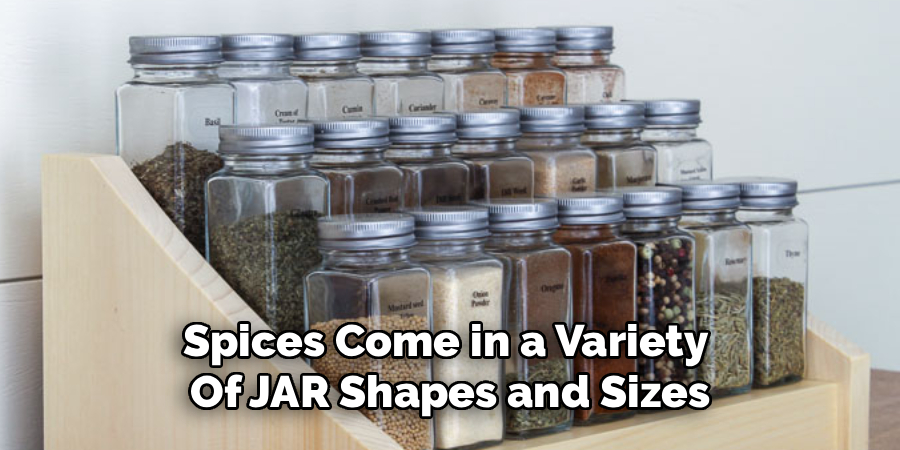
Spices come in a variety of jar shapes and sizes. Take the time to measure the height and diameter of the jars you use most. This ensures your shelves provide enough clearance, preventing bottles from toppling over or sticking out.
Sketch a Simple Design
Don’t worry about artistic skill—a basic sketch showing dimensions, shelf placement, and the overall footprint will do. This visual reference will guide your material cuts and assembly, making your project more straightforward and minimizing errors mid-build.
Gather Your Tools and Materials
Before starting construction, make sure you have all necessary materials and tools. This step reduces interruptions and ensures a smooth process.
Recommended Tools
You’ll need a tape measure, pencil, saw (options include a miter saw, circular saw, or even a hand saw for straightforward cuts), a drill for assembling the rack, and sandpaper (both medium and fine grit) to achieve a polished finish. Wood clamps are helpful for holding pieces steady as you assemble.
Materials List
Solid but affordable lumber like pine works well for most spice racks. One-by-three or one-by-four boards provide enough surface for sturdy frames and shelves. Wood glue will help secure joints, while screws (about 1.25-inch length works for most applications) provide additional strength. For the front rail, a thin strip of wood or a dowel keeps jars from tumbling forward.
Finishing Supplies
If you’d like a stained look, choose a wood stain that complements your kitchen. For painted racks, pick a kitchen-friendly paint. A clear protective topcoat streamlines cleaning and protects wood from kitchen moisture and stains.
A Guide on How to Build a Spice Rack by Cutting Your Pieces
With your plan and supplies ready, move to precise cutting.
Cut the Main Frame Pieces
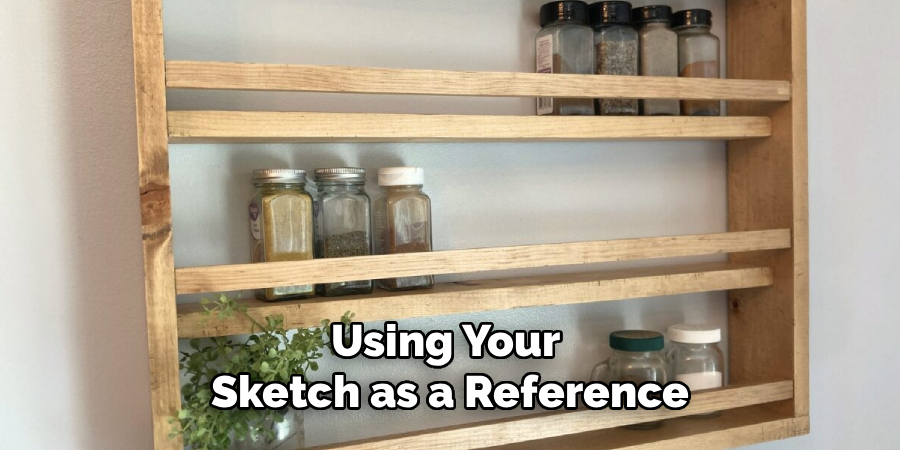
Using your sketch as a reference, cut the side pieces and the top and bottom boards to the desired length. Accuracy at this stage will pay off at assembly.
Cut the Shelves
Each shelf must match the width of your intended rack. Double-check your measurements against your jars before cutting—custom shelving is one of the joys of DIY spice racks.
Cut the Front Rails
Front rails prevent jars from falling as you handle and use the rack. Cut dowels or thin strips of wood to the width of each shelf. Keeping them at a consistent height provides a tidy look and practical function.
Assemble the Spice Rack Frame
Bringing together your main frame pieces is the foundational part of your project.
Join the Side, Top, and Bottom Pieces
Begin by attaching the sides to the bottom piece using wood glue and drilling pilot holes for screws. Repeat for the top piece. Working in this sequence helps maintain ‘squareness’—the crucial right angles that ensure later shelves fit neatly.
Ensure the Frame is Square
Before the glue dries, use a carpenter’s square to double-check your corners. If something is off, clamps can help nudge pieces into alignment as you secure them.
Install the Shelves and Rails
Next, fit the internal elements that customize the rack for your spice collection.
Mark the Shelf Locations
Use a pencil and tape measure to make evenly spaced marks for each shelf inside the frame. Consistency keeps the finished product sleek and prevents jars from being crowded.
Attach the Shelves
For each shelf, apply wood glue to the ends, position it on the marked lines, and drill screws through the frame into the shelf. This method boosts stability and durability, even with daily use.
Add the Front Rails
After securing shelves, glue and nail or screw the front dowels or rails across each shelf. These rails should be positioned just high enough to hold jars but low enough that labels are easy to read and jars are accessible.
Sand and Finish Your Spice Rack
A great finish elevates your spice rack from ‘DIY’ to ‘professional.’
Sand Everything Smooth
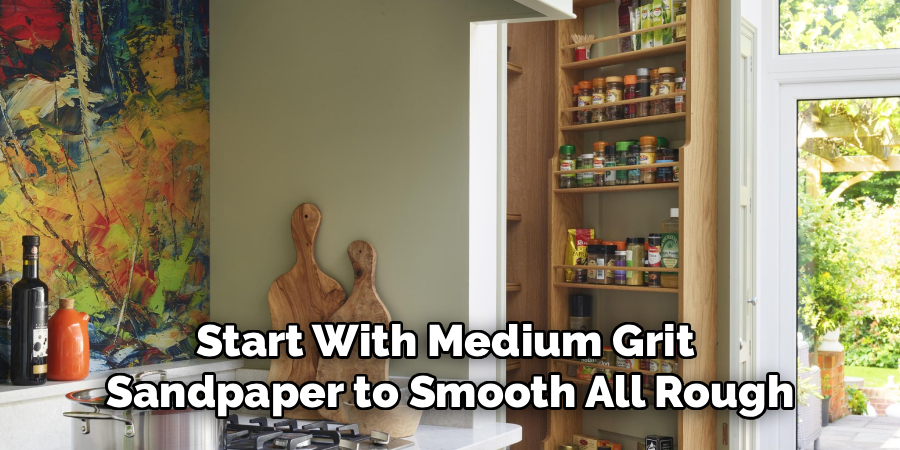
Start with medium-grit sandpaper to smooth all rough edges, joints, and screw holes. Finish with fine-grit paper for a silky, splinter-free surface, paying extra attention to shelf surfaces and the tops of the side pieces, where hands are likely to make contact.
Apply Your Chosen Finish
Whether you opt for wood stain or paint, follow product instructions for the best results. Painting or staining before adding a protective coat prevents drips and gives a consistent appearance.
Add a Protective Topcoat
Protecting your rack from kitchen moisture and grease is just as important as aesthetics. Two thin coats of clear polyurethane or polycrylic offer washability and long-term durability.
Mount Your New Spice Rack
Proper installation ensures your work is displayed securely and functions perfectly.
Choose the Right Hardware
Select wall anchors and screws appropriate for your wall material and the weight of a fully loaded spice rack. If attaching inside a cabinet, make sure screws do not poke through the opposite side.
Level and Secure
Use a level to set your rack straight and mark where to drill pilot holes. Secure the rack, checking that it doesn’t wobble and is fully supported—especially important if the rack is tall or heavily loaded.
Common Mistakes to Avoid
Like any DIY project, a few pitfalls can complicate your build.
Inaccurate Measurements
Take time with your measurements, especially for shelf placement and the distance between rails. Even a small error can mean jars won’t fit or the rack won’t sit flush against the wall.
Not Pre-Drilling Holes
Always drill pilot holes before screwing into wood, especially at the ends of boards. This reduces the risk of splitting and makes assembly much easier.
Skipping the Sanding and Sealing Steps
If the surface isn’t smoothly sanded, you risk splinters and a less polished appearance. Without a protective topcoat, moisture and grease can stain and warp the wood, undermining your efforts.
Conclusion
Building your own spice rack is a fulfilling home project, combining organization and design in a single piece. With careful planning and attention to detail—measuring, cutting, assembling, finishing, and mounting—you’ll create a custom solution that fits your kitchen and lifestyle. Handmade additions like these offer daily satisfaction and can become a beloved part of your cooking routine. Now that you know how to build a spice rack, you’re ready to enjoy a clutter-free, stylish, and truly functional kitchen upgrade.

About
Diane Lo is a distinguished figure in the world of kitchen innovation and culinary design, with over a decade of expertise creating functional and sustainable kitchen environments. Her professional focus lies in merging ergonomic spatial planning with modern culinary technology, fostering kitchen layouts that are both highly practical and aesthetically refined. As the lead expert at Kitchenub, Diane Lo delves into the art and science of kitchen organization, appliance selection, and workflow efficiency, inspiring home cooks and professional designers alike.
Education
Royal Melbourne Institute of Technology (RMIT University) (Melbourne, Australia) Associate Degree in Interior Design and Spatial Planning Focus on sustainable kitchen layouts, user-centric design, and ergonomic efficiency. Gained hands-on experience in high-traffic commercial kitchen modeling and advanced space-saving architecture.
Nottingham Trent University (United Kingdom) Bachelor’s in Product Design and Culinary Architecture (Honors) Specialized in the intersection of kitchen technology and lifestyle design. Participated in major industry collaborations, working with premium appliance manufacturers and cabinetry firms to gain real-world insights into modern kitchen workflows.
Publications and Impact
At Kitchenub, Diane Lo shares her expert insights on kitchen renovation processes, material durability, and strategies for achieving peak culinary productivity. Her writing effectively bridges the gap between professional culinary needs and home design, making it an essential resource for those looking to transform their kitchen into a highly efficient and welcoming heart of the home.