

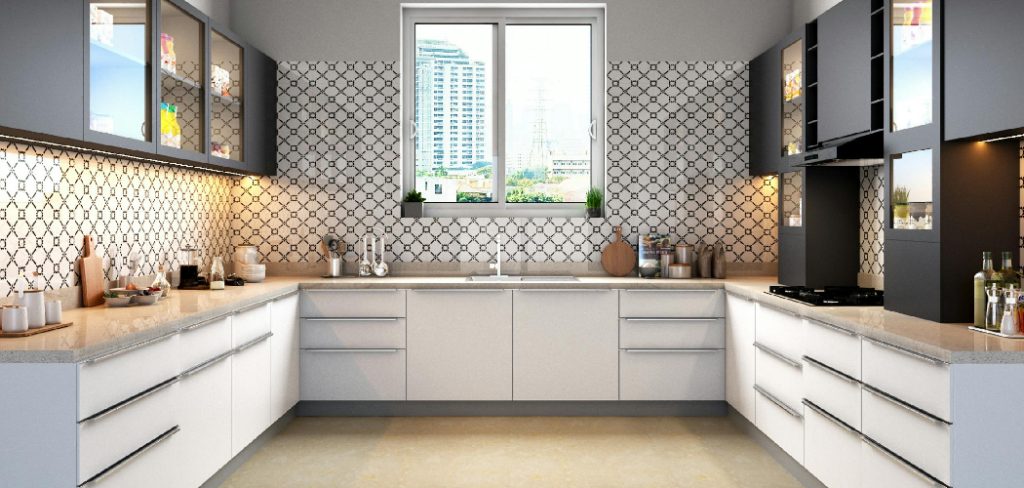
When planning a kitchen remodel or upgrade, one crucial element to consider is the backsplash. Not only does it serve as a functional barrier to protect your walls from splashes and stains, but it also adds a stylish touch to your kitchen’s design.
Before selecting materials or deciding on a pattern, it’s essential to measure your kitchen backsplash space accurately. Proper measurements ensure a seamless installation and help you avoid excess material waste, saving both time and money. This guide explores the key aspects of how to measure for a kitchen backsplash.
Importance of Accurate Measurements
Accurate measurements are crucial when planning and installing a kitchen backsplash. They ensure that the material you purchase fits the space perfectly, reducing the likelihood of errors during installation. Poor measurements can lead to gaps, uneven edges, or the need for last-minute adjustments, which may compromise the overall look and feel of your kitchen.
Additionally, precise measurements help you determine the exact amount of material required, preventing unnecessary overspending or waste. Taking the time to measure carefully allows for a smoother, more efficient installation process and a polished, professional final result.
Gather Your Tools and Materials
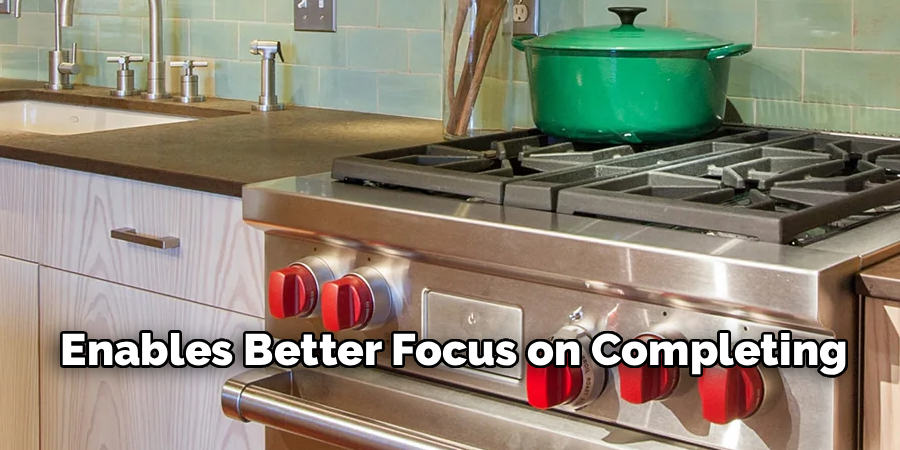
Before beginning your project, it’s essential to gather all the necessary tools and materials to ensure the process runs smoothly. Common tools include a measuring tape, level, screwdriver, drill, and saw, alongside any specialized equipment required for your specific installation needs.
Additionally, have all materials, such as cabinets, hardware, fasteners, and adhesives, readily available and organized. Preparing your workspace with everything in reach minimizes interruptions and enables better focus on completing the task efficiently. Being well-prepared sets the foundation for a successful and hassle-free installation.
10 Methods How to Measure for a Kitchen Backsplash
1. Understand the Scope of the Backsplash Area Before Measuring
The first and most essential step in measuring for a kitchen backsplash is to clearly define the boundaries of the area you want to cover. This includes identifying which walls and sections of your kitchen will receive the backsplash treatment—whether it’s just the space between the countertop and upper cabinets, the area behind the stove, or even an entire accent wall.
Understanding this scope helps prevent waste, underestimation, or the purchase of insufficient material. Take a moment to visualize the layout and determine the full extent of your design plan before reaching for your tape measure.
2. Use a Steel Measuring Tape for Precision and Accuracy
When it comes to measuring, the right tools matter. Use a steel measuring tape rather than a fabric or retractable plastic one, as it holds its shape and provides more precise readings. Begin by ensuring the tape is properly calibrated, and always measure in inches to match most backsplash tile specifications.
It’s best to work with a tape that includes 1/16-inch increments for improved accuracy, especially if you’re working with small tile or intricate designs. Always double-check each measurement, as even the slightest miscalculation can impact the fit and look of the finished backsplash.
3. Measure the Length of Each Wall Section to be Covered
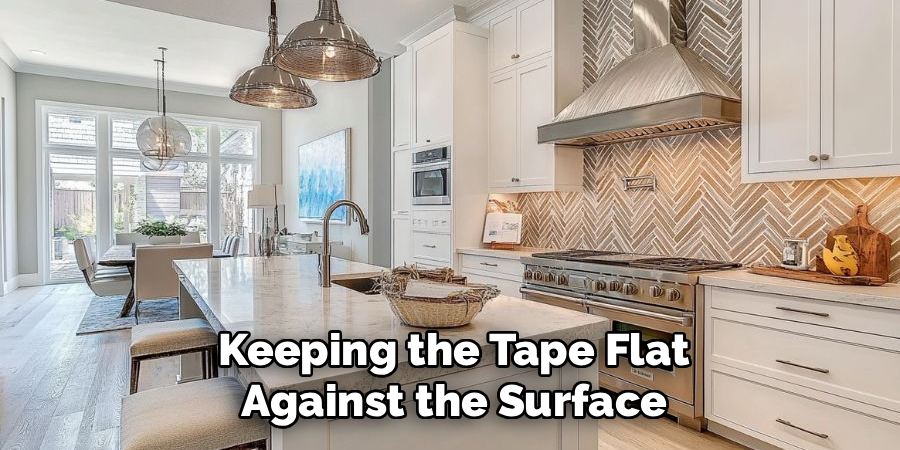
To begin, measure the horizontal length of each wall where the backsplash will be installed. Start at one edge—typically from the edge of a countertop or cabinet—and run the measuring tape along the wall to the opposite edge. Be sure to measure in straight lines, keeping the tape flat against the surface.
Record each measurement separately, especially if your kitchen includes multiple wall sections or alcoves. These dimensions will later be added together to determine the total length of material required. If there are any jogs or corners, measure each linear segment individually for a comprehensive view.
4. Measure the Height Between the Countertop and the Bottom of the Cabinets
Next, determine the vertical height of your backsplash area, which usually lies between the countertop and the bottom of the upper cabinets. Place the tape vertically and record the measurement at several points along the wall, as the height can sometimes vary slightly due to inconsistencies in installation.
Use the smallest height measurement to ensure that your backsplash fits cleanly under the cabinets without gaps. If your backsplash is to extend above the cabinets or around windows or stove hoods, take additional vertical measurements for those specific areas.
5. Account for Appliances and Fixtures When Measuring
Many kitchens feature interruptions in the wall space, such as outlets, light switches, range hoods, or built-in microwaves. While these items may appear to limit backsplash coverage, you will still need to measure around them carefully.
Measure the dimensions of any large fixtures (such as a range hood) and subtract them from the total if you’re not tiling behind them. Smaller elements like outlets are usually tiled around, so no deductions are necessary. However, noting their locations is crucial for planning cuts in your tile or backsplash material.

6. Calculate the Total Square Footage Required
After you have recorded all your measurements, multiply the length and height of each section to get the area in square inches, then divide by 144 to convert to square feet. For instance, a wall section that measures 72 inches long and 18 inches high equals 1,296 square inches, or 9 square feet. Repeat this process for all sections and add them together to find the total square footage. This number will guide you in purchasing enough tile or backsplash material to complete the job without unnecessary overages or shortages.
7. Add Extra Material for Waste and Cutting Allowances
Once you’ve calculated the exact square footage, it’s wise to purchase a little extra to account for cutting errors, tile breakage, or future repairs. A common recommendation is to buy an additional 10% over the total square footage for standard designs, or up to 15% for more complex patterns like herringbone or mosaic.
This safety buffer ensures continuity in tile color and pattern in case a tile is damaged during installation or later use. Always round up your final quantity rather than down to avoid last-minute runs to the store.
8. Create a Diagram or Sketch for Reference
A visual reference can simplify the installation process and help avoid mistakes. Sketch a rough outline of your kitchen wall, labeling each segment with its measurements. Mark the locations of outlets, switches, windows, and appliances for accurate tile layout and cuts. This diagram will help you or your installer determine tile orientation, grout lines, and symmetry—particularly important for decorative tiles or when trying to center a pattern above a cooktop. Even a simple hand-drawn plan makes a huge difference in execution and accuracy.
9. Verify Wall Flatness and Surface Conditions Before Finalizing Measurements
In some cases, the wall surface may have bows, bumps, or imperfections that can affect the final backsplash fit. Using a straightedge or level, check the flatness of the surface across different areas.
Note any irregularities and adjust your measurements accordingly. Uneven walls may require extra adhesive, wall prep, or even trimming of tile edges, especially when working with rigid or pre-cut materials. Correcting these imperfections ahead of time ensures your backsplash adheres properly and maintains an even appearance.
10. Recheck All Measurements Before Purchasing Materials
As a final step, revisit each measurement with fresh eyes and re-measure to confirm your original calculations. It’s not uncommon to misrecord or transpose numbers, particularly when measuring multiple wall sections or working under time pressure. Cross-check your notes and sketch, and ensure that your total square footage aligns with the physical space. Taking a few extra minutes to verify your data can save hours of installation frustration and avoid costly material returns or shortages. Confidence in your measurements lays the groundwork for a beautiful, precise backsplash installation.
Troubleshooting Common Issues
Even with careful planning and precise measurements, issues can sometimes arise during backsplash installation. One common problem is uneven or misaligned tiles, which can occur if the wall surface is not properly prepared.
Ensure the wall is clean, smooth, and free of debris before starting the installation. Another frequent issue is adhesive setting too quickly, making adjustments difficult. To avoid this, work in small sections and use spacers to maintain even gaps. Additionally, grout lines that crack or discolor over time may result from using improper grout or failing to seal it correctl.
Always select the appropriate type of grout for your tiles and apply a high-quality sealant after the grout cures. These proactive steps can help address common challenges, ensuring a flawless and professional result.

Conclusion
Measuring for a kitchen backsplash is a detailed process that requires thoughtful planning and accurate execution. By taking the time to clearly define your backsplash area, using reliable tools, accounting for obstacles, and double-checking every measurement, you lay the foundation for a seamless installation. Whether you’re handling the tiling yourself or hiring a professional, these ten methods ensure you approach your kitchen backsplash project with clarity, confidence, and precision. Thanks for reading our blog post on how to measure for a kitchen backsplash! We hope you found it helpful and informative.
About
Diane Lo is a distinguished figure in the world of kitchen innovation and culinary design, with over a decade of expertise creating functional and sustainable kitchen environments. Her professional focus lies in merging ergonomic spatial planning with modern culinary technology, fostering kitchen layouts that are both highly practical and aesthetically refined. As the lead expert at Kitchenub, Diane Lo delves into the art and science of kitchen organization, appliance selection, and workflow efficiency, inspiring home cooks and professional designers alike.
Education
Royal Melbourne Institute of Technology (RMIT University) (Melbourne, Australia) Associate Degree in Interior Design and Spatial Planning Focus on sustainable kitchen layouts, user-centric design, and ergonomic efficiency. Gained hands-on experience in high-traffic commercial kitchen modeling and advanced space-saving architecture.
Nottingham Trent University (United Kingdom) Bachelor’s in Product Design and Culinary Architecture (Honors) Specialized in the intersection of kitchen technology and lifestyle design. Participated in major industry collaborations, working with premium appliance manufacturers and cabinetry firms to gain real-world insights into modern kitchen workflows.
Publications and Impact
At Kitchenub, Diane Lo shares her expert insights on kitchen renovation processes, material durability, and strategies for achieving peak culinary productivity. Her writing effectively bridges the gap between professional culinary needs and home design, making it an essential resource for those looking to transform their kitchen into a highly efficient and welcoming heart of the home.