

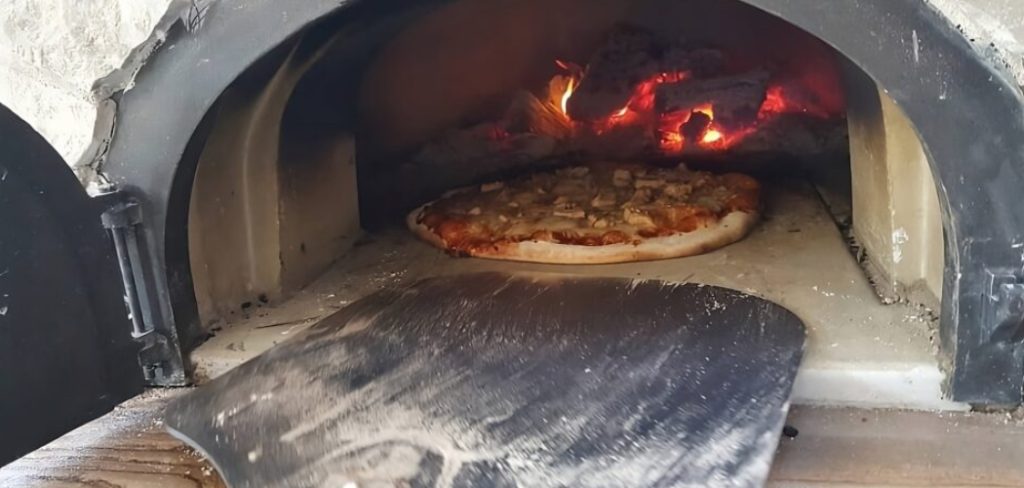
Building a clay pizza oven is a rewarding DIY project that combines creativity, craftsmanship, and a love for outdoor cooking. Not only does it provide a rustic and efficient way to bake delicious, wood-fired pizzas, but it also adds a unique and functional feature to your backyard or garden. Whether you’re a seasoned builder or a beginner, constructing a clay pizza oven is an achievable project that can bring friends and family together for unforgettable meals and memories. This guide is designed to help you with how to make a clay pizza oven.
Why Choose a Clay Pizza Oven?
A clay pizza oven offers a combination of practicality, versatility, and timeless charm that sets it apart from conventional cooking methods. Its ability to retain and evenly distribute heat ensures pizzas with perfectly crispy crusts and deliciously cooked toppings. Beyond pizza, these ovens can be used to bake bread, roast vegetables, or even cook meats, making them a multifunctional addition to your outdoor cooking setup.
Additionally, clay pizza ovens are made from natural materials, making them an eco-friendly option that blends seamlessly into an outdoor environment. Finally, the craftsmanship involved in building a clay pizza oven imbues it with a personal and artisanal quality, turning it into a conversation piece that can elevate your outdoor gatherings.
Planning Your Clay Oven Project
Building a clay pizza oven requires thoughtful planning to ensure both functionality and longevity. Start by determining the size and location of the oven. Consider factors such as available space, proximity to seating or dining areas, and local building regulations. Next, gather the necessary materials, including clay, sand, straw, and fire bricks, which will serve as the foundation and insulation for your oven.
You’ll also need basic tools like a shovel, trowel, and level. Sketch out a design that balances aesthetics with practicality, keeping in mind the dimensions required for efficient cooking. Finally, allocate sufficient time for construction, drying, and curing, as these steps are essential for creating a durable and safe oven. With proper planning, your clay oven will become a centerpiece for culinary creativity and outdoor enjoyment.
Tools and Materials Needed
To construct your clay oven successfully, gather the following tools and materials before you begin:
Tools:
- Shovel
- Trowel
- Level
- Wheelbarrow (for mixing materials)
- Handsaw (for cutting wood, if required)
- Tape measure
Materials:
- Clay soil (preferably natural and free of impurities)
- Sand (as an additive for the clay mixture)
- Straw or hay (for reinforcing the clay mixture)
- Bricks or stones (for the base and insulation layer)
- Fire bricks (for the oven floor to retain heat)
- Timber or firewood (optional, for constructing a dome mold)
Having these essentials on hand will streamline the building process and ensure that your clay oven is sturdy, efficient, and ready to provide excellent functionality.
10 Methods How to Make a Clay Pizza Oven
1. Choose the Right Location for Your Oven
The first step in building a clay pizza oven is selecting an appropriate location. Choose a spot with level ground and adequate space for both the oven and surrounding working area. Make sure it’s at a safe distance from flammable structures such as wooden fences, sheds, or overhanging trees. The site should have proper drainage and, if possible, some shelter from wind and rain. Keep in mind the direction of prevailing wind, as smoke should not blow back toward your home or gathering area. Accessibility to firewood and proximity to your kitchen are additional factors to consider when finalizing the spot.
2. Lay a Solid and Level Base
A strong, level foundation ensures the longevity and functionality of your clay oven. Begin by marking out a square or circular footprint, typically 3 to 4 feet wide. Excavate a few inches of soil and fill the area with crushed stone or gravel for drainage. On top of this layer, build a base using bricks, concrete blocks, or cob (a clay-sand-straw mix). The base should raise the oven to waist height—about 36 inches—for convenient access. Ensure the base is level on all sides and compacted well to support the oven’s weight.
3. Build the Insulated Sub-Floor
The sub-floor is the layer between the oven base and the cooking surface. It helps retain heat and prevents energy loss. Create an insulated sub-floor using empty glass bottles or beer cans laid flat and covered with a mix of sand and clay. The air trapped inside the bottles acts as insulation. Once the bottles are arranged tightly together, cover them with a thick layer of wet sand and smooth it flat. Allow it to dry slightly to create a firm, level surface for the firebricks or earthen oven floor.
4. Lay the Oven Floor Bricks
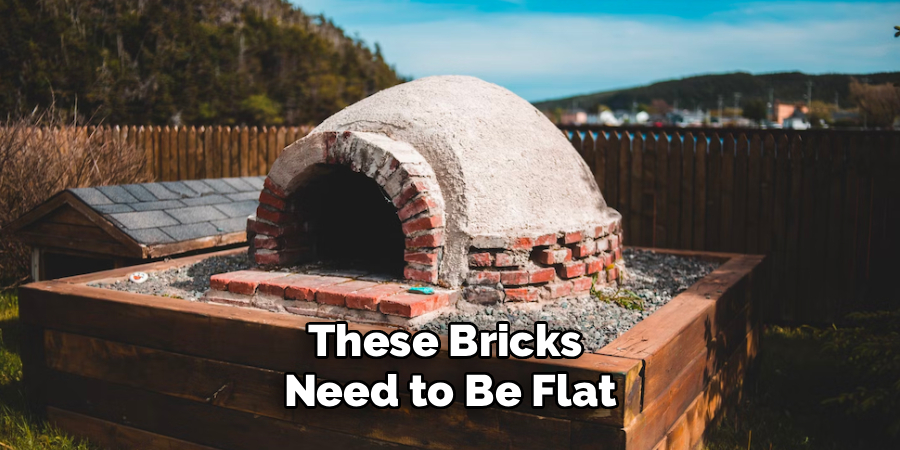
On top of the sub-floor, lay firebricks or solid clay bricks to create the oven’s cooking surface. These bricks need to be flat, tightly spaced, and un-mortared to allow for heat expansion. Use a rubber mallet to gently tap them into place and ensure the surface is even. This layer will be in direct contact with your pizza, so make sure it’s free of gaps and debris. Arrange the bricks in a herringbone or staggered pattern to minimize movement and enhance structural stability. This floor stores heat and cooks food directly, so precision matters here.
5. Form the Sand Dome Mold
To shape the oven’s interior, build a sand dome that will act as a mold for the clay. Moisten clean builder’s sand and pack it into a dome shape directly on top of the firebrick floor. The size of your dome should allow for both proper airflow and adequate cooking space—usually about 18 inches high and 28 inches in diameter. Compact the sand tightly and smooth the surface using a trowel. Once the dome is formed, insert a small stick or wooden dowel into the top center to act as a chimney marker. Cover the entire sand mold with damp newspaper to prevent it from sticking to the clay later.
6. Mix and Apply the First Clay Layer
Create your clay mix by combining clay soil, coarse sand, and straw or chopped grass in a ratio of about 1:2:1. Mix thoroughly by foot-stomping on a tarp or using a hoe. The result should be a sticky yet firm mixture that holds its shape. Begin applying the clay over the sand dome, starting at the base and working your way up. This layer should be about 3 inches thick. Press and mold the clay firmly into place, smoothing the surface as you go. Take care not to press too hard on the dome, which might distort the shape.
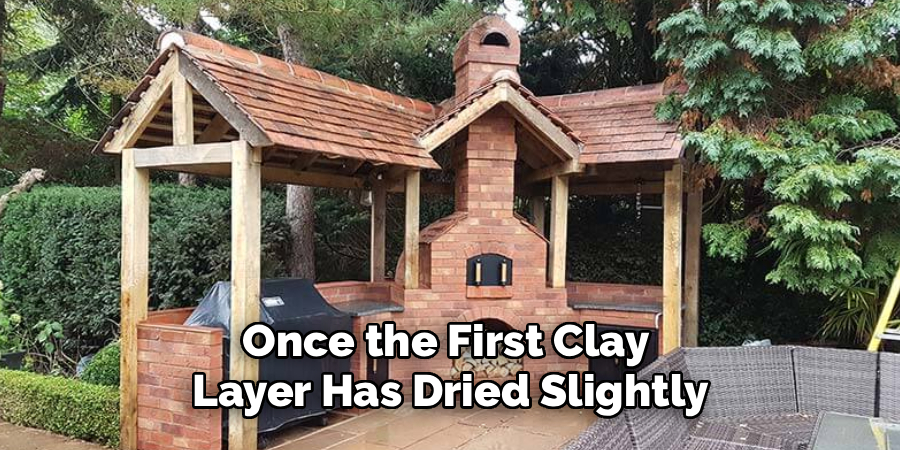
7. Cut Out the Oven Door Opening
Once the first clay layer has dried slightly (after 24–48 hours), use a sharp knife or trowel to cut the door into the dome. The door should be about 63% of the dome’s height to maintain efficient airflow and heat retention—usually around 10–12 inches high and 16 inches wide. Remove the newspaper and begin scooping out the sand inside the dome. Allow the inner cavity to dry slowly over several days, keeping it covered from rain but well-ventilated. Once dry, light small fires inside to harden the interior and begin the curing process.
8. Apply Additional Insulation Layers
To retain heat more effectively, apply an insulating layer over the first clay shell. Mix sawdust or perlite with more clay to create a lightweight and porous material. This layer should be around 2 inches thick and can be molded directly onto the hardened clay shell. Once applied, let it dry thoroughly. This insulation helps the oven maintain high cooking temperatures longer, reducing the need for frequent refueling and making the oven more efficient for baking.
9. Add a Weatherproof Outer Shell
To protect your clay pizza oven from the elements, apply a final outer shell made from lime plaster, waterproof clay, or cement-based render. You can decorate this layer with tiles, mosaic patterns, or earthen pigments to give your oven character and charm. Some builders choose to build a small roof or shelter over the oven for added protection. The outer shell should be smooth, crack-free, and properly sealed to prevent water from penetrating and damaging the interior layers.
10. Cure the Oven Slowly Before Use
Before using your oven at full heat, it must be properly cured to drive out moisture and harden the clay. Begin by lighting small fires each day for about a week, gradually increasing the size and duration. This process prevents cracking and strengthens the structure. Start with kindling and build small fires that burn for 30 minutes, increasing to longer, hotter burns over time. Once the oven has gone through several full curing fires and no steam rises from the clay, it is ready to be used for baking pizzas, bread, or roasting vegetables.
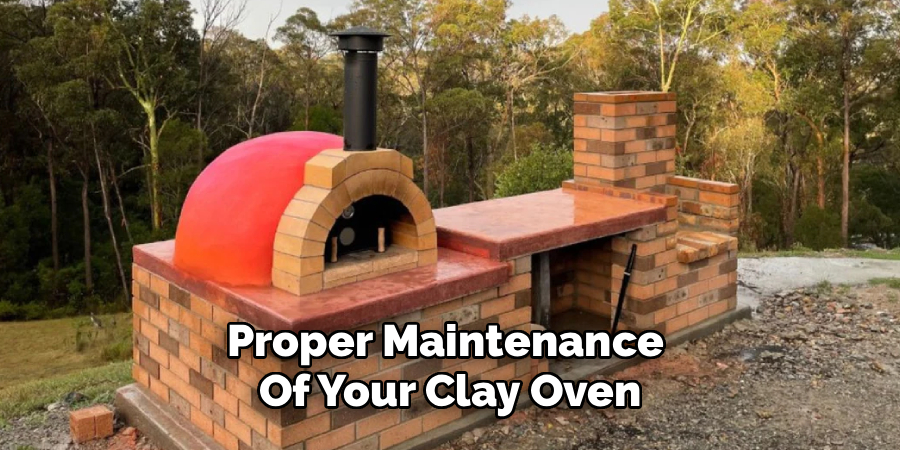
Maintenance and Upkeep
Proper maintenance of your clay oven ensures its longevity and optimal performance. Regularly inspect the oven for any cracks or damage that may have developed over time, especially after heavy use or during changes in weather. Small cracks can often be filled with a mixture of clay and sand to prevent further expansion. Always keep the oven dry by using a protective cover when not in use, particularly during rainy or snowy seasons. Additionally, clear out ash and debris after each use to maintain airflow and prevent buildup that could hinder the oven’s efficiency. With consistent care and attention, your clay oven will remain a reliable tool for all your cooking needs.
Conclusion
Building a clay pizza oven is an enriching project that blends traditional building techniques with modern utility. Though it requires patience, attention to detail, and physical effort, the reward is a fully functional and sustainable outdoor oven that provides delicious meals and long-lasting memories. Thanks for reading our blog post on how to make a clay pizza oven! We hope you found it helpful and informative.
About
Diane Lo is a distinguished figure in the world of kitchen innovation and culinary design, with over a decade of expertise creating functional and sustainable kitchen environments. Her professional focus lies in merging ergonomic spatial planning with modern culinary technology, fostering kitchen layouts that are both highly practical and aesthetically refined. As the lead expert at Kitchenub, Diane Lo delves into the art and science of kitchen organization, appliance selection, and workflow efficiency, inspiring home cooks and professional designers alike.
Education
Royal Melbourne Institute of Technology (RMIT University) (Melbourne, Australia) Associate Degree in Interior Design and Spatial Planning Focus on sustainable kitchen layouts, user-centric design, and ergonomic efficiency. Gained hands-on experience in high-traffic commercial kitchen modeling and advanced space-saving architecture.
Nottingham Trent University (United Kingdom) Bachelor’s in Product Design and Culinary Architecture (Honors) Specialized in the intersection of kitchen technology and lifestyle design. Participated in major industry collaborations, working with premium appliance manufacturers and cabinetry firms to gain real-world insights into modern kitchen workflows.
Publications and Impact
At Kitchenub, Diane Lo shares her expert insights on kitchen renovation processes, material durability, and strategies for achieving peak culinary productivity. Her writing effectively bridges the gap between professional culinary needs and home design, making it an essential resource for those looking to transform their kitchen into a highly efficient and welcoming heart of the home.