

Drying chillies in the oven is a simple and effective way to preserve their flavor and extend their shelf life. Whether you’ve harvested fresh chillies from your garden or bought a batch from the market, this method ensures they can be stored for months and used in a variety of dishes. It’s a practical solution for anyone who enjoys cooking with spices and wants to reduce food waste. This guide is designed to help you with how to dry chillies in the oven.
Choosing the Right Chillies for Drying
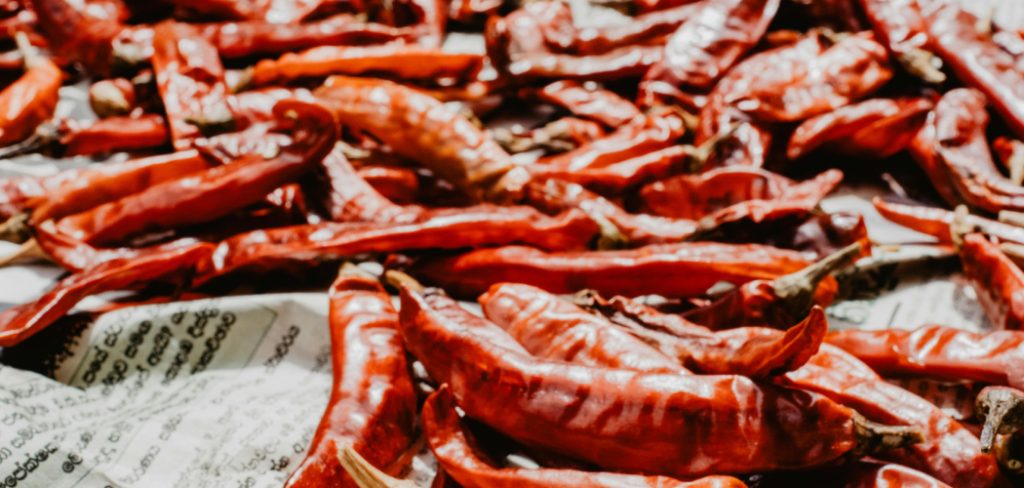
The first step to successfully drying chillies in the oven is selecting the right type. Ideally, choose chillies that are fresh, firm, and free from blemishes or signs of spoilage. Smaller varieties, such as cayenne, Thai, or bird’s eye chillies, tend to dry faster and more evenly due to their thinner walls.
However, larger chillies like jalapeños or habaneros can also be dried, though they may require additional preparation, such as slicing, to ensure proper drying. Avoid using chillies that are overly soft, wrinkled, or moldy, as these will not yield the best results. Starting with high-quality chillies will help preserve their flavor and ensure a vibrant, shelf-stable spice for your cooking.
Preparing Chillies for Oven Drying
To prepare chillies for oven drying, begin by thoroughly washing them to remove any dirt or debris. Pat them dry with a clean kitchen towel or paper towel to eliminate surface moisture. Next, decide whether to dry the chillies whole or slice them.
For smaller varieties, such as cayenne or bird’s eye chillies, drying them whole is often sufficient. Larger chillies, like jalapeños or habaneros, should be sliced in half or into smaller pieces to allow for faster and more consistent drying. Be sure to remove the seeds if you want to reduce the heat level. Arrange the prepared chillies in a single layer on a baking sheet lined with parchment paper, ensuring they are not overlapping. This will promote even airflow and uniform drying throughout the process.
Equipment and Supplies Needed
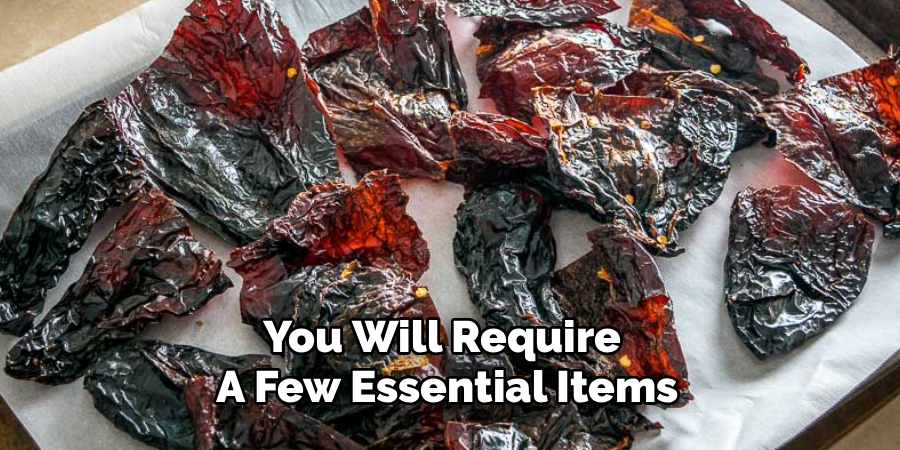
To successfully dry chillies, you will require a few essential items. These include fresh chillies of your choice, a sharp knife for slicing, and a cutting board for preparation. Additionally, parchment paper and a baking sheet are necessary for arranging the chillies. If you are using an oven, ensure it has a low-temperature setting. For those opting to dry chillies naturally, a clean, dry space with good ventilation or a sunny location along with a mesh screen is ideal. Alternatively, a food dehydrator is a convenient option for consistent results. Having airtight containers or jars ready for storage will help preserve the dried chillies for extended use.
10 Methods How to Dry Chillies in the Oven
1. Select Fresh, Firm Chillies for Drying
The first step in oven drying chillies is selecting the right kind. Choose chillies that are ripe, firm, and free from blemishes or soft spots. Fully matured red chillies are ideal for drying as they contain less moisture and have fully developed flavor. Avoid using chillies that are wrinkled, moldy, or damaged, as they may rot during the drying process. Popular varieties for drying include cayenne, Thai bird’s eye, jalapeño (when smoked or made into chipotle), and habanero. Washing the chillies thoroughly in cool water removes dust, dirt, and any residual pesticides. Once cleaned, dry them with a soft towel or paper towel before proceeding.
2. Slice or Puncture Thick-Skinned Chillies
Thicker chillies take longer to dry and may retain internal moisture that causes spoilage if not handled correctly. To speed up the drying process and ensure even dehydration, slice the chillies in half lengthwise or pierce them with a small knife to allow airflow into the flesh. This method also helps reduce drying time for larger varieties such as jalapeños or anaheim peppers. For smaller, thin-walled chillies like Thai or cayenne, you may leave them whole, but be sure to monitor them closely during the process. Slicing chillies also makes it easier to remove the seeds if you prefer a milder result.
3. Arrange Chillies Evenly on a Baking Tray
Prepare a baking tray by lining it with parchment paper or a silicone baking mat to prevent sticking and make cleanup easier. Spread the chillies out in a single, even layer with adequate spacing between each piece to allow proper air circulation. Do not overcrowd the tray, as overlapping chillies can trap moisture and lead to uneven drying. If drying multiple trays at once, ensure the oven has enough space between racks to allow air to flow freely, or rotate the trays during the drying process to promote uniform results.

4. Preheat the Oven to a Low Temperature
To preserve the flavor and color of your chillies, it’s essential to use a low drying temperature. Set your oven to its lowest possible setting—ideally between 120°F and 140°F (approximately 50°C to 60°C). If your oven does not go below 170°F (75°C), prop the oven door open slightly using a wooden spoon or heat-safe utensil to reduce the internal temperature and allow moisture to escape. Higher temperatures can cause the chillies to cook or burn rather than dry, resulting in a bitter taste and reduced quality.
5. Rotate and Stir for Even Drying
During the drying process, it is important to rotate the trays every 30 to 60 minutes and gently stir or flip the chillies to ensure even exposure to heat. This prevents any pieces from becoming too crisp or scorched while others remain soft. Stirring also exposes different surfaces of the chilli to air, which promotes thorough dehydration. Monitoring the progress regularly allows you to adjust the temperature slightly if needed and prevent over-drying or burning.
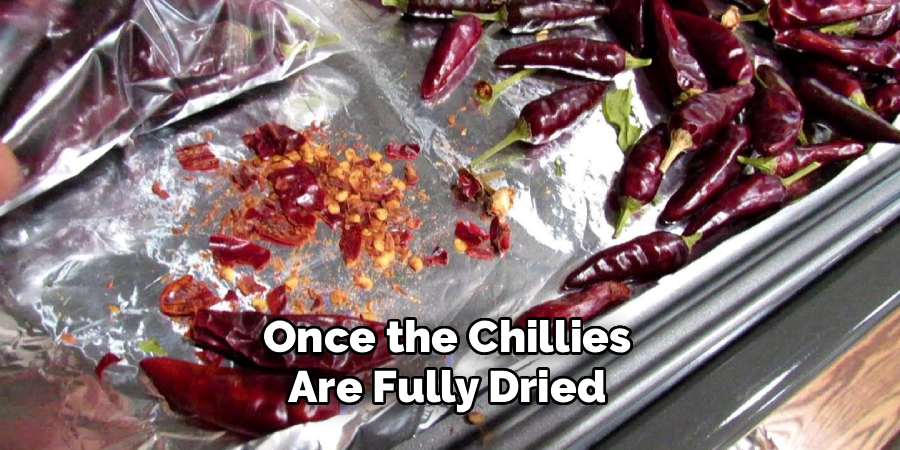
6. Dry Until Brittle and Crisp
The drying time for chillies varies depending on their size, thickness, and moisture content but generally takes between 4 and 8 hours. Chillies are considered fully dried when they are brittle, crisp, and snap easily between your fingers. If they still feel soft or leathery, they need more time in the oven. Thorough drying is important to prevent mold during storage. Pay extra attention during the final stages of drying, as chillies can quickly go from perfectly dried to scorched if left unattended.
7. Cool Completely Before Storing
Once the chillies are fully dried, remove the trays from the oven and allow them to cool completely at room temperature. Do not place warm chillies into containers, as trapped heat and moisture can lead to condensation and spoilage. Spread them out on a clean surface, such as a wire rack or a paper towel-lined tray, and let them sit for 30 to 60 minutes until they are completely cool to the touch. This ensures they are ready for long-term storage without compromising quality.
8. Store in Airtight Containers Away from Light
Proper storage is key to maintaining the flavor and potency of dried chillies. Transfer the cooled chillies into airtight containers such as glass jars, vacuum-sealed bags, or food-safe plastic containers. Store them in a cool, dry place away from direct sunlight, which can degrade the color and flavor over time. Label the containers with the drying date and variety for easy identification. Properly stored dried chillies can last up to one year or longer while retaining their heat and aroma.
9. Grind into Flakes or Powder as Needed
Once dried, chillies can be left whole or ground into flakes or powder depending on your culinary needs. Use a spice grinder, coffee grinder, or mortar and pestle to crush the dried chillies into your desired texture. Wear gloves and a mask if grinding very spicy chillies to avoid skin or respiratory irritation. Dried chilli powder and flakes can be added to spice blends, sauces, marinades, or sprinkled directly on food. Grinding chillies just before use retains maximum freshness and flavor.
10. Experiment with Flavor Variations
Oven-dried chillies are incredibly versatile and can be customized to create unique flavors. For a smoky taste, consider roasting the chillies at a slightly higher temperature (about 180°F or 80°C) for a short time before reducing the heat for drying. You can also combine dried chillies with other herbs and spices to make personalized seasoning blends. Try mixing dried chillies with garlic powder, cumin, or oregano for a flavorful homemade rub or taco seasoning. These variations add a creative touch to your culinary repertoire.
Maintenance and Upkeep
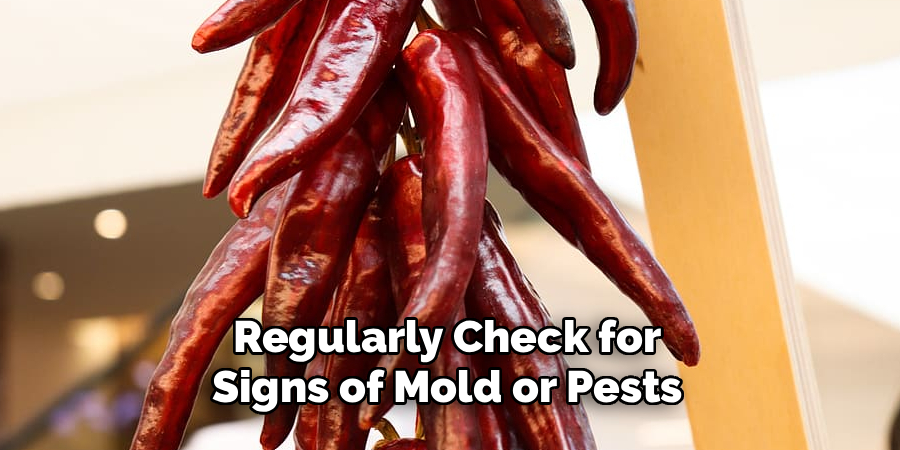
Proper storage is essential to maintaining the quality and potency of dried chillies. Keep them in airtight containers, such as glass jars or vacuum-sealed bags, to prevent exposure to moisture and air, which can lead to loss of flavor and spoilage. Store the containers in a cool, dark place, away from direct sunlight and heat sources, to ensure they remain fresh for an extended period.
Regularly check for signs of mold or pests to ensure your supply stays safe for consumption. For long-term storage, consider freezing dried chillies, which helps retain their vibrant flavor and aroma without compromising their texture. By following these simple upkeep practices, your dried chillies can remain a valuable ingredient in your kitchen for months or even years.
Conclusion
Drying chillies in the oven is a simple and rewarding process that requires only a few hours and some basic kitchen tools. By following these ten detailed methods, you can successfully preserve chillies with rich flavor and lasting shelf life. From selecting fresh chillies to carefully monitoring the drying temperature, every step contributes to producing high-quality dried chillies that can enhance your cooking for months. Whether left whole, crushed into flakes, or ground into powder, oven-dried chillies are a versatile pantry staple perfect for every spicy food lover.
About
Diane Lo is a distinguished figure in the world of kitchen innovation and culinary design, with over a decade of expertise creating functional and sustainable kitchen environments. Her professional focus lies in merging ergonomic spatial planning with modern culinary technology, fostering kitchen layouts that are both highly practical and aesthetically refined. As the lead expert at Kitchenub, Diane Lo delves into the art and science of kitchen organization, appliance selection, and workflow efficiency, inspiring home cooks and professional designers alike.
Education
Royal Melbourne Institute of Technology (RMIT University) (Melbourne, Australia) Associate Degree in Interior Design and Spatial Planning Focus on sustainable kitchen layouts, user-centric design, and ergonomic efficiency. Gained hands-on experience in high-traffic commercial kitchen modeling and advanced space-saving architecture.
Nottingham Trent University (United Kingdom) Bachelor’s in Product Design and Culinary Architecture (Honors) Specialized in the intersection of kitchen technology and lifestyle design. Participated in major industry collaborations, working with premium appliance manufacturers and cabinetry firms to gain real-world insights into modern kitchen workflows.
Publications and Impact
At Kitchenub, Diane Lo shares her expert insights on kitchen renovation processes, material durability, and strategies for achieving peak culinary productivity. Her writing effectively bridges the gap between professional culinary needs and home design, making it an essential resource for those looking to transform their kitchen into a highly efficient and welcoming heart of the home.