

Keeping your Aroma rice cooker lid clean is essential for maintaining its performance and ensuring hygienic cooking conditions. Over time, residue and steam buildup can accumulate on the lid, potentially affecting the taste and quality of your meals. Regular cleaning prevents buildup, extends the life of your rice cooker, and ensures that each dish you prepare is both delicious and safe. This guide will walk you through the simple steps of how to clean aroma rice cooker lid.
Importance of Cleaning the Lid Regularly
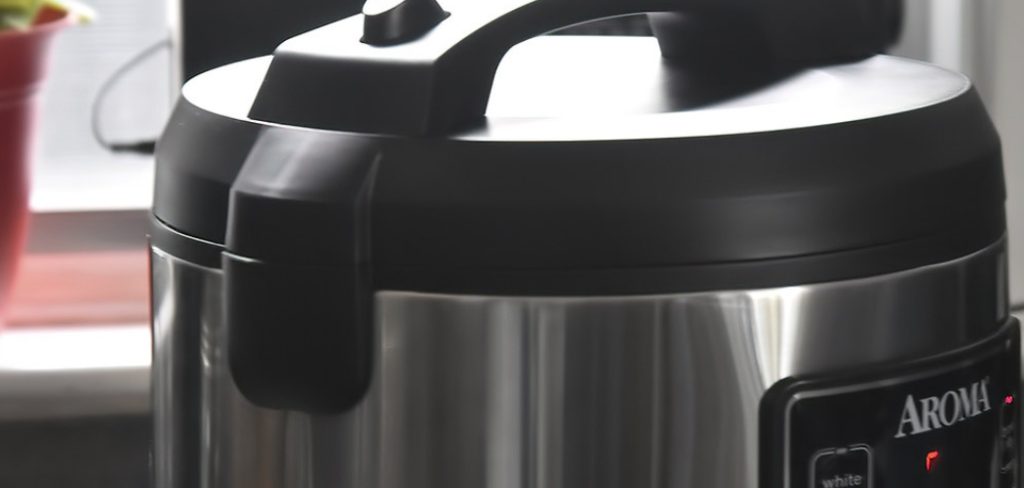
Regularly cleaning the lid of your Aroma rice cooker is crucial for several reasons. First, it helps to remove food particles, grease, and residue that can accumulate during cooking, preventing unpleasant odors or contamination. A clean lid ensures that steam circulates properly, allowing your rice cooker to perform at its best and cook your food evenly. Furthermore, neglecting to clean the lid can lead to buildup of mold or bacteria, compromising the hygiene and safety of your meals. By making lid cleaning a consistent habit, you can protect your health, extend the life of your rice cooker, and enjoy meals that retain their full flavor and freshness.
Types of Lids
Rice cookers come with various types of lids, each designed to cater to specific cooking needs and preferences. The most common types include:
- Removable Lids
These lids can be easily detached from the rice cooker, making them convenient for thorough cleaning. They are typically found in smaller or mid-range rice cookers and are ideal for users who prioritize ease of maintenance. - Hinged Lids
Hinged lids are attached to the main body of the rice cooker, allowing them to open and close effortlessly. This design helps retain heat and reduce spillage while cooking. However, cleaning may require more effort as they are not fully detachable. - Glass Lids
Glass lids provide a clear view of the cooking process, enabling users to monitor progress without having to lift the lid. These are commonly found in more basic rice cooker models and are easy to clean but may not seal as tightly as other options.
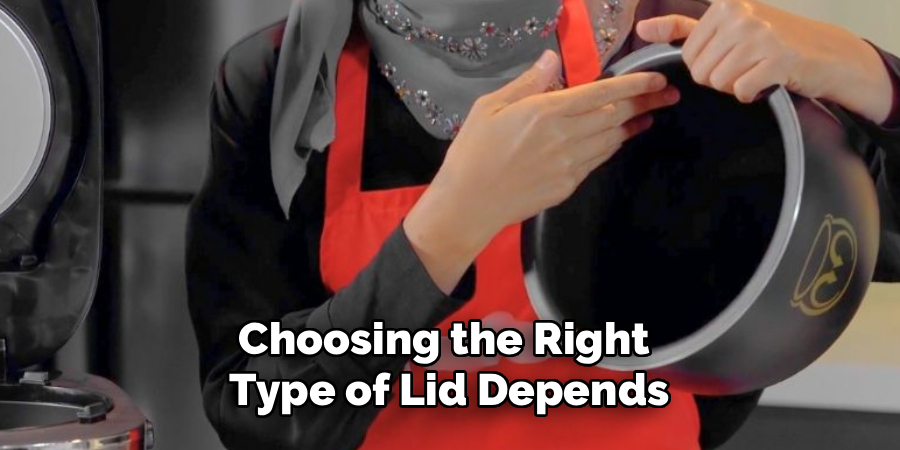
Choosing the right type of lid depends on your cooking habits, cleaning preferences, and the level of convenience you desire from your rice cooker.
10 Methods How to Clean Aroma Rice Cooker Lid
Method 1: Unplug the Rice Cooker and Allow It to Cool Completely
Before beginning any cleaning procedure, ensure that the rice cooker is unplugged and has fully cooled. Even if the appliance has been turned off, the lid can retain heat for several minutes after cooking. Attempting to clean a hot lid can lead to burns, or worse, damage to the plastic, non-stick coatings, or internal mechanisms. It is recommended to wait at least 15–30 minutes after cooking to allow all parts, especially the lid, to cool sufficiently. This initial precaution ensures both safety and proper handling of delicate components during the cleaning process.
Method 2: Remove the Lid and Its Detachable Components
Most Aroma rice cookers feature lids that are either removable or partially disassemblable. To clean thoroughly, carefully detach the lid according to the manufacturer’s instructions. Many models include removable parts such as the condensation collector, inner cover, and sealing ring. Separating these components allows you to access all hidden crevices where rice starch, moisture, and grease accumulate. Removing and cleaning each part individually ensures that no food particles or residue are left behind, which could otherwise lead to odor buildup, bacterial growth, or malfunction over time.
Method 3: Rinse with Warm Water to Remove Loose Residue
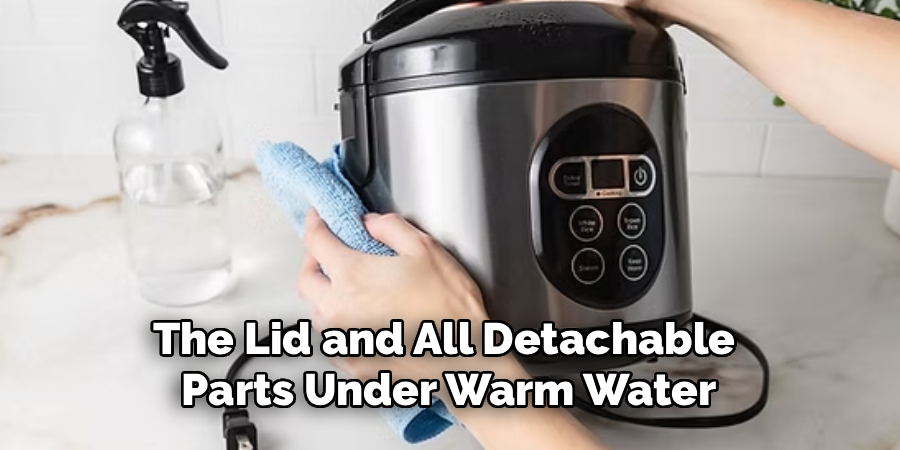
Begin the cleaning process by rinsing the lid and all detachable parts under warm running water. Warm water softens dried rice particles, grease, and any remaining liquid residue, making it easier to clean them later. For non-removable lids, use a damp sponge or cloth to wipe accessible surfaces. Warm water is particularly effective in loosening starch and sticky residues without causing damage. This initial rinse is a preparatory step that reduces the need for aggressive scrubbing and prepares the components for deeper cleaning with a cleaning solution.
Method 4: Prepare a Gentle Cleaning Solution
To clean the lid effectively, prepare a mild solution of warm water with a few drops of dish soap. Alternatively, a natural solution of equal parts white vinegar and water can be used, which is particularly effective for neutralizing odors and removing mineral deposits from hard water. Avoid strong chemical cleaners or abrasive solutions, as they can damage the plastic, non-stick coating, or metal components. A gentle cleaning solution not only cleans thoroughly but also preserves the integrity of the lid’s delicate materials, ensuring long-term durability.
Method 5: Soak Removable Components to Loosen Stubborn Residue
Submerge the removable parts such as the condensation collector, inner cover, and sealing ring in the cleaning solution for 10–15 minutes. Soaking loosens hardened rice, starch, and grease, making it easier to scrub these parts thoroughly without using excessive force. Avoid soaking plastic or rubber components for too long, as prolonged exposure to water or vinegar may weaken the materials over time. Soaking is especially effective for parts with grooves, seams, or textured surfaces, which are prone to trapping moisture and debris.
Method 6: Scrub Gently with a Soft Brush or Sponge
After soaking, use a soft sponge, cloth, or small brush to scrub the lid and its components gently. Focus on corners, grooves, and the areas around the hinge or locking mechanism, as these spots often collect grease and starch residue. For the sealing ring, scrub both the inner and outer surfaces carefully to remove all trapped debris. Avoid abrasive scrubbers or steel wool, as they can scratch plastic or metal surfaces and compromise the effectiveness of non-stick coatings. Gentle scrubbing combined with prior soaking ensures that even stubborn stains and residue are effectively removed.
Method 7: Pay Special Attention to the Sealing Ring
The sealing ring is a critical component of the Aroma rice cooker lid, as it creates an airtight seal that allows the cooker to build steam and pressure efficiently. Remove the ring and wash it thoroughly with warm soapy water or the vinegar solution. Inspect it for cracks, stiffness, discoloration, or any signs of wear, as a damaged ring can result in steam leaks or improper cooking. After washing, rinse thoroughly and allow it to air-dry completely before reassembly. A clean, flexible sealing ring ensures that the rice cooker maintains proper pressure, preventing leaks, odors, and cooking inconsistencies.
Method 8: Clean the Exterior Lid Surface
While most attention is focused on the inner lid, the exterior surface can also accumulate grease, fingerprints, and minor stains. Use a damp cloth or sponge with mild soap to wipe down the outer lid. Take care to avoid introducing excessive water near hinges, buttons, or any electrical components, as this could cause damage. Dry thoroughly with a soft cloth. Maintaining the exterior cleanliness not only improves the overall appearance of the appliance but also prevents grime from entering the cooker when the lid is closed, enhancing both hygiene and performance.
Method 9: Rinse and Dry All Components Thoroughly
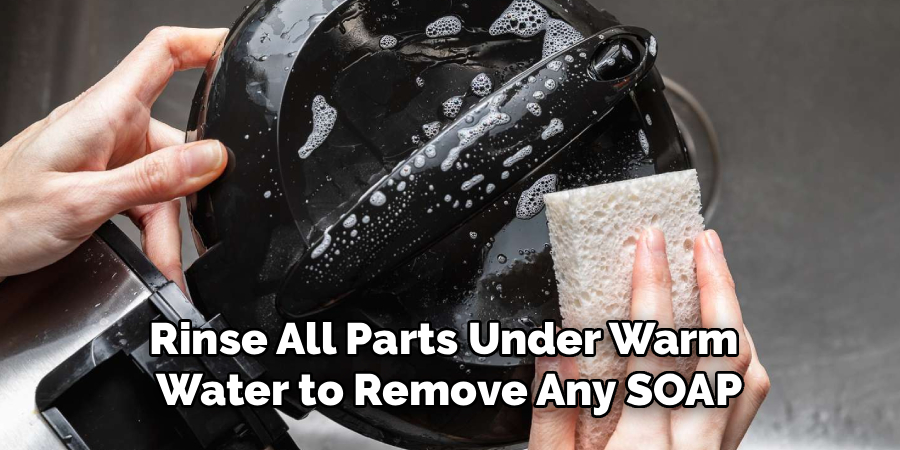
After scrubbing, rinse all parts under warm water to remove any soap or vinegar residue. Residual cleaning agents can alter the taste of rice or other foods cooked in the appliance. Dry each part thoroughly with a soft towel or allow them to air-dry completely in a clean area. Ensuring that every component is completely dry prevents moisture accumulation, which can lead to mold, mildew, or corrosion. Proper drying is essential to maintain the hygiene and durability of both the lid and the rice cooker as a whole.
Method 10: Reassemble and Inspect for Proper Fit
Once all components are clean and dry, carefully reassemble the lid, making sure the sealing ring and any removable parts are properly positioned. Test the lid by closing it on the inner pot to ensure a secure, airtight fit. A properly reassembled lid maintains efficient cooking, prevents steam leaks, and ensures that the rice cooker operates safely and effectively. Regular inspection and cleaning help maintain optimal performance, prevent odors, and extend the lifespan of the appliance.
Maintenance and Upkeep
Proper maintenance is essential to keep your rice cooker in excellent working condition. Regularly inspect the power cord and plug for any signs of wear or damage, and avoid using the appliance if these issues are present. Store the rice cooker in a cool, dry place when not in use, ensuring that all components are thoroughly dried to prevent mold or mildew.
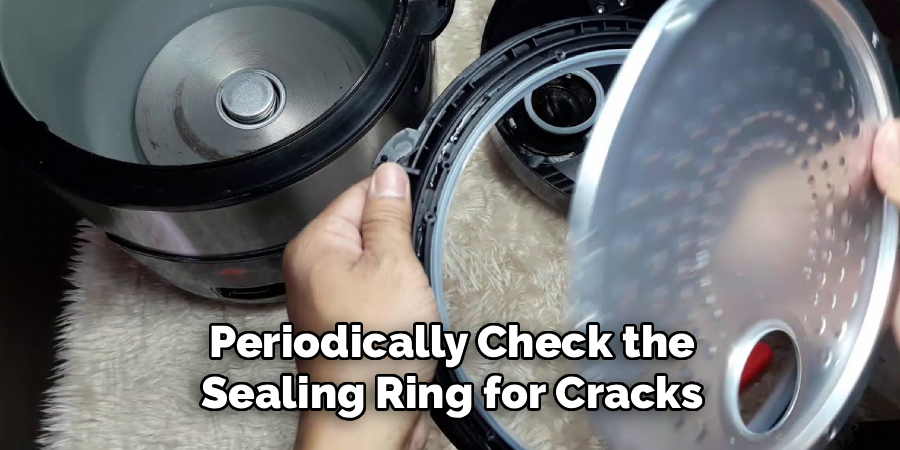
Periodically check the sealing ring for cracks or deterioration, replacing it as needed to maintain an airtight seal. Additionally, avoid using abrasive cleaners or utensils on the inner pot, as this may damage the non-stick coating. By following these practices, you can ensure the longevity of your rice cooker and continue to enjoy perfectly cooked meals for years to come.
Conclusion
Cleaning an Aroma rice cooker lid involves more than just wiping the surface. It requires disassembling removable components, soaking, gentle scrubbing, and thorough drying. Special attention to the sealing ring and condensation collector ensures that the cooker maintains proper pressure and efficiency. So, there you have it – a quick and easy guide on how to clean aroma rice cooker lid.

About
Diane Lo is a distinguished figure in the world of kitchen innovation and culinary design, with over a decade of expertise creating functional and sustainable kitchen environments. Her professional focus lies in merging ergonomic spatial planning with modern culinary technology, fostering kitchen layouts that are both highly practical and aesthetically refined. As the lead expert at Kitchenub, Diane Lo delves into the art and science of kitchen organization, appliance selection, and workflow efficiency, inspiring home cooks and professional designers alike.
Education
Royal Melbourne Institute of Technology (RMIT University) (Melbourne, Australia) Associate Degree in Interior Design and Spatial Planning Focus on sustainable kitchen layouts, user-centric design, and ergonomic efficiency. Gained hands-on experience in high-traffic commercial kitchen modeling and advanced space-saving architecture.
Nottingham Trent University (United Kingdom) Bachelor’s in Product Design and Culinary Architecture (Honors) Specialized in the intersection of kitchen technology and lifestyle design. Participated in major industry collaborations, working with premium appliance manufacturers and cabinetry firms to gain real-world insights into modern kitchen workflows.
Publications and Impact
At Kitchenub, Diane Lo shares her expert insights on kitchen renovation processes, material durability, and strategies for achieving peak culinary productivity. Her writing effectively bridges the gap between professional culinary needs and home design, making it an essential resource for those looking to transform their kitchen into a highly efficient and welcoming heart of the home.