

When it comes to cleaning or repairing your GE oven, removing the oven door can make the process much easier and more manageable. Fortunately, detaching the oven door is a straightforward task that requires minimal tools or effort.
This guide will provide step-by-step instructions on how to remove ge oven door to help you safely remove your GE oven door, ensuring that the process is both quick and hassle-free.
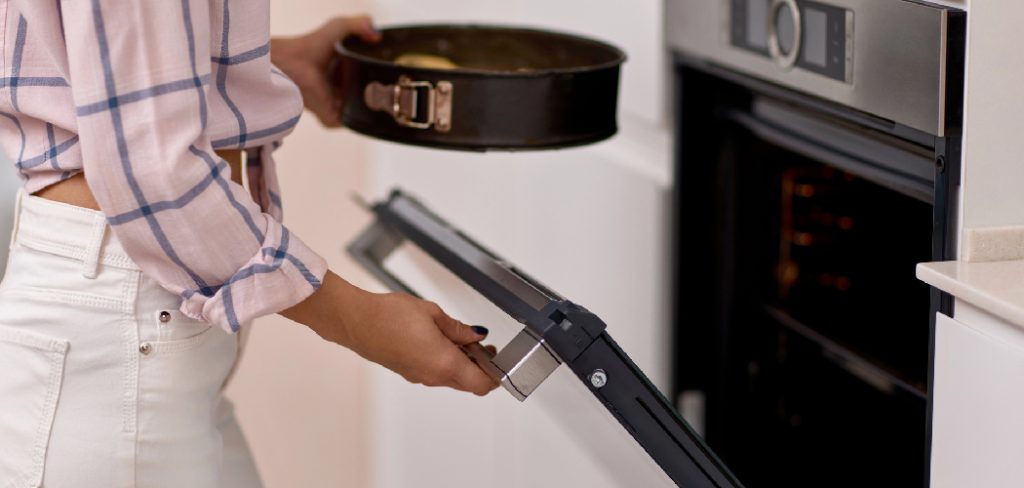
Safety Precautions
Before you begin removing your GE oven door, it’s important to follow these safety precautions to prevent injury or damage to your appliance:
Turn Off the Power:
Make sure the oven is completely powered off. If your oven is hardwired, consider shutting off the circuit breaker to ensure no electricity is flowing to the appliance.
Allow the Oven to Cool:
Ensure the oven has fully cooled down before attempting to remove the door. Handling a hot appliance can result in burns or other injuries.
Protect Your Hands:
Wear protective gloves to provide a better grip on the oven door and to protect your hands from sharp edges.
Use Caution with Hinges:
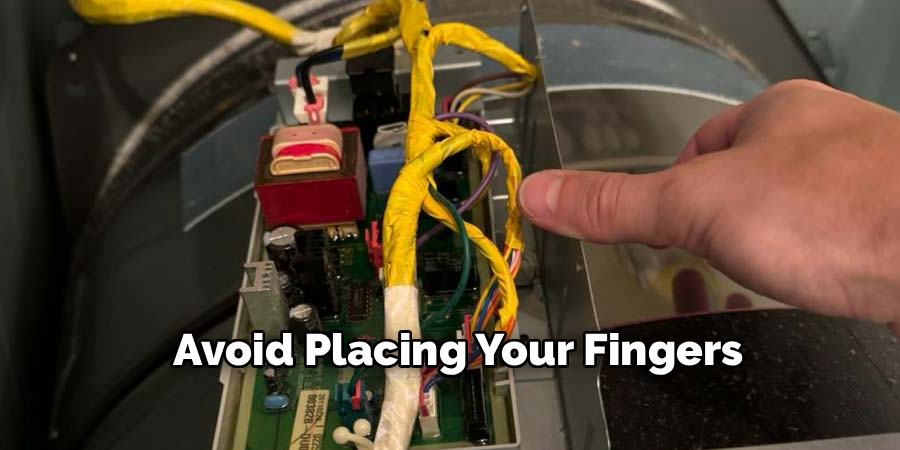
The hinges on the oven door can spring back if not handled correctly. Be mindful of their position and avoid placing your fingers near the hinge mechanism.
Work on a Stable Surface:
If you need to set the door down after removal, have a stable, padded surface ready to prevent scratches or damage to the door.
By adhering to these precautions, you can safely proceed with the removal process and avoid potential risks.
Tools Needed (If Any)
- Typically No Tools Required.
- Optional: Flathead Screwdriver (for Stubborn Hinge Locks).
6 Simple Steps on How to Remove Ge Oven Door:
Step 1: Open the Door Fully
To begin the removal process, pull the oven door all the way open until it is in a fully horizontal position.
This ensures that you have full access to the hinge locks and can work comfortably without obstruction. Ensure the door is stable in this position before proceeding.
Step 2: Locate and Release Hinge Locks
Identify the hinge locks located at the base of the oven door, near where the door connects to the oven frame.
These small metal latches are usually in a locked position to secure the door. Using your fingers or an optional flathead screwdriver for added ease, carefully flip the hinge locks up to release them. Make sure both hinge locks are fully disengaged before moving on to the next step.
Step 3: Support the Door with One Hand
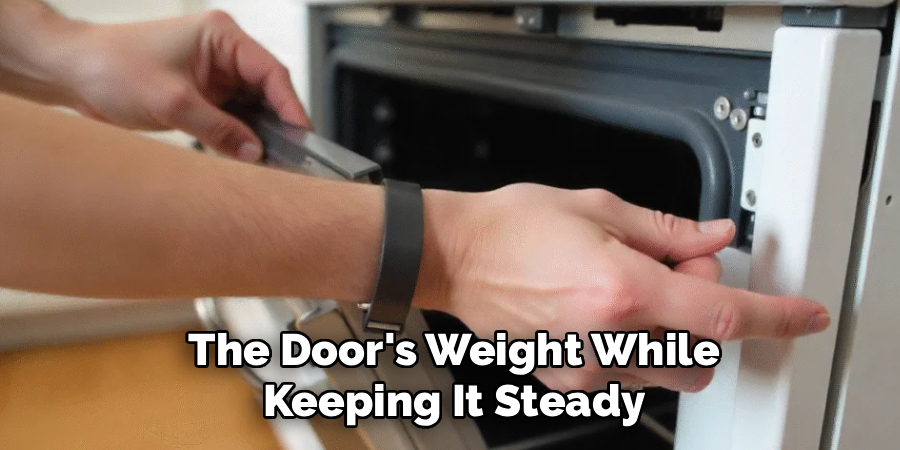
With the hinge locks released, gently grip the sides of the oven door. Use one hand to support the door’s weight while keeping it steady. This ensures the door does not suddenly shift or drop as you prepare to remove it.
Maintaining a firm but gentle hold will help prevent any accidental damage to the door or the hinges.
Step 4: Set on a Stable Surface (If Needed)
If you need to place the oven door down, carefully set it on a stable, level surface with the inside facing up. Ensure the surface is clean and covered with a soft towel or protective padding to prevent scratches or damage to the door.
Avoid putting pressure on the hinges to maintain their proper alignment and functionality. This step will allow you to safely proceed with any cleaning or maintenance tasks.
Step 5: Remove Screws from Hinges
Using a screwdriver that matches the screws on your oven door hinges, carefully loosen and remove them. Make sure to keep track of the screws by placing them in a small container or a secure location to avoid losing them.
Gently support the hinge mechanism as you remove the screws to prevent any sudden movements or damage. Take your time during this step to ensure all screws are fully removed while maintaining the integrity of the hinges.
Step 6: Detach Hinges from Door
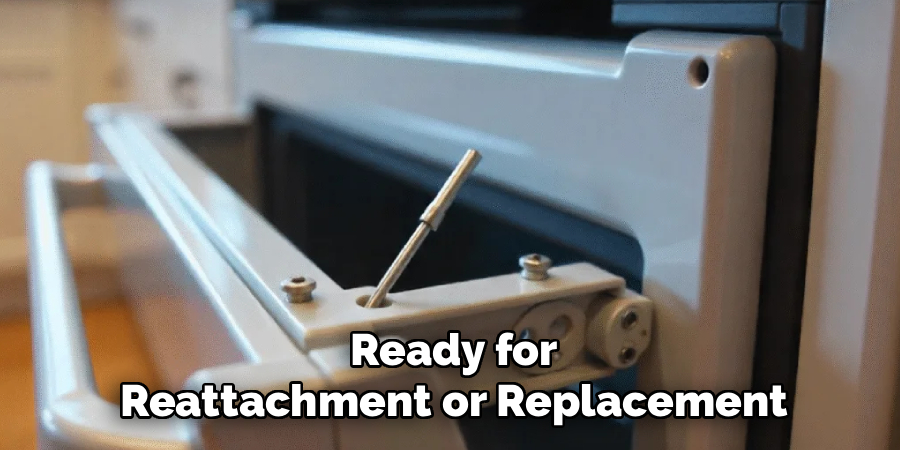
Once the screws are fully removed, carefully slide the hinges out of their slots on the oven door. Hold the door steady to avoid any unnecessary strain or damage to the remaining components.
Check for any additional fasteners or clips that might be securing the hinges in place, and gently release them if necessary. Place the detached hinges in a safe location, ensuring they remain undamaged and ready for reattachment or replacement.
Following these steps on how to remove ge oven door will allow you to easily access the inner components for cleaning or maintenance.
Cleaning and Maintenance Tips
Cleaning and maintaining your oven door is crucial for ensuring its longevity and optimal performance. Here are some tips to keep in mind:
- Regularly wipe down the exterior of the oven door with a mild cleaner and a soft cloth to remove any grease or food residue.
- For tougher stains, use a mixture of baking soda and water as a natural cleaning solution.
- Avoid using harsh chemicals or abrasive sponges on the oven door as they can damage the surface.
- Inspect the hinges and gasket regularly for any signs of wear and tear. Replace them if necessary to prevent heat loss and ensure proper functioning.
- Clean the inner components of the oven door such as the glass panels and frame, to keep them free from dirt and grime buildup.
- Always refer to your manufacturer’s manual for specific instructions on how to clean and maintain your oven door.
Common Mistakes to Avoid
Using Excess Water During Cleaning:
Avoid using too much water when cleaning the oven door, as it can seep into the internal components and cause damage or streaking between glass panels.
Skipping Regular Maintenance:
Neglecting to check the gasket, hinges, or other crucial components can lead to inefficient operation and costly repairs over time.
Not Allowing the Oven to Cool Completely:
Cleaning the oven door while it is still hot can cause burns or damage to cleaning tools. Always wait until it has fully cooled before starting any cleaning process.
Using the Wrong Cleaning Products:
Harsh cleaners or those not recommended for your specific oven model can degrade surfaces or leave unsightly residue. Always use appropriate, manufacturer-approved cleaning products.
Forgetting to Reassemble Properly:
When removing parts like the glass panels for cleaning, ensure they are correctly reinstalled to avoid loose components or heat leakage.
When to Contact GE Support?
While regular cleaning and maintenance can resolve many issues, there are times when you may need to contact GE Support for assistance. If your oven is not heating correctly, displays error codes, or has physical damage like cracked glass or faulty wiring, professional help is essential.
Additionally, if you’re unsure about reassembling components after cleaning or notice unusual noises or smells during operation, reaching out to GE Support can prevent further complications. Always refer to your oven’s user manual for specific guidance and keep your model number handy when contacting support to ensure efficient assistance.
Frequently Asked Questions:
Q: How Often Should I Clean My Oven?
A: It is recommended to clean your oven at least once a month for general maintenance. However, if you use your oven frequently or notice excessive buildup of food or residue, it may be necessary to clean it more often. It is important to always follow the cleaning instructions in your oven’s user manual for best results.
Q: Can I Use Regular Household Cleaners on My Oven?
A: No, it is not recommended to use regular household cleaners on your oven. These cleaners may contain harsh chemicals that can damage the interior of your oven or leave behind unwanted residue. It is best to use a cleaner specifically designed for ovens and follow the instructions carefully.
Q: My Oven Has a Self-Cleaning Feature. Do I Still Need to Clean It Manually?
A: While self-cleaning features are convenient, they do not eliminate the need for regular manual cleaning. Self-cleaning cycles only remove built-up food and grease, but they do not completely clean the entire oven or remove tough stains. It is still important to regularly wipe down your oven with a cleaner and clean any spills or messes immediately to prevent them from becoming more difficult to remove later on. Additionally, self-cleaning cycles can produce strong odors and smoke, so it is important to properly ventilate your kitchen while using this feature.
Q: How Often Should I Clean My Oven Manually?
A: It is recommended to manually clean your oven once every 3-6 months, depending on how frequently you use it and the amount of buildup inside. If you cook regularly and often use the self-cleaning feature, you may need to clean it more frequently. However, if you rarely use your oven, cleaning it once or twice a year may suffice.
Conclusion
While self-cleaning ovens offer a convenient way to reduce the effort needed to maintain a clean appliance, they are not a substitute for regular upkeep. By combining the occasional use of the self-cleaning feature with consistent manual cleaning and prompt attention to spills, you can keep your oven in optimal condition.
Proper care not only ensures your oven continues to function effectively but also extends its lifespan, making it a worthwhile investment for any kitchen. Thanks for reading this article on how to remove ge oven door.

About
Diane Lo is a distinguished figure in the world of kitchen innovation and culinary design, with over a decade of expertise creating functional and sustainable kitchen environments. Her professional focus lies in merging ergonomic spatial planning with modern culinary technology, fostering kitchen layouts that are both highly practical and aesthetically refined. As the lead expert at Kitchenub, Diane Lo delves into the art and science of kitchen organization, appliance selection, and workflow efficiency, inspiring home cooks and professional designers alike.
Education
Royal Melbourne Institute of Technology (RMIT University) (Melbourne, Australia) Associate Degree in Interior Design and Spatial Planning Focus on sustainable kitchen layouts, user-centric design, and ergonomic efficiency. Gained hands-on experience in high-traffic commercial kitchen modeling and advanced space-saving architecture.
Nottingham Trent University (United Kingdom) Bachelor’s in Product Design and Culinary Architecture (Honors) Specialized in the intersection of kitchen technology and lifestyle design. Participated in major industry collaborations, working with premium appliance manufacturers and cabinetry firms to gain real-world insights into modern kitchen workflows.
Publications and Impact
At Kitchenub, Diane Lo shares her expert insights on kitchen renovation processes, material durability, and strategies for achieving peak culinary productivity. Her writing effectively bridges the gap between professional culinary needs and home design, making it an essential resource for those looking to transform their kitchen into a highly efficient and welcoming heart of the home.