

Cleaning a gas stove is an essential household task to ensure it functions efficiently and looks spotless. Over time, grease, food particles, and stains can build up, making the stove less effective and potentially hazardous. With the right steps and tools, you can keep your gas stove in excellent condition, extending its lifespan and maintaining a safe cooking environment. This guide will walk you through a simple and effective process of how to clean gas stove thoroughly.
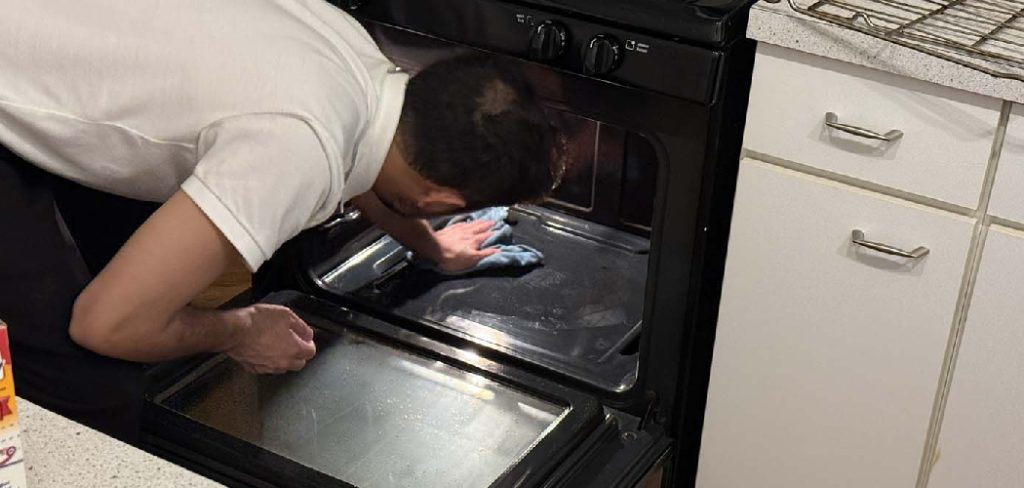
Why Regular Cleaning of a Gas Stove is Important
Regular cleaning of a gas stove is crucial for several reasons. First and foremost, it ensures the appliance operates efficiently by preventing clogs in the burners caused by grease or food debris. A clean stove also promotes safety, reducing the risk of grease fires and the buildup of harmful bacteria that can contaminate food. Additionally, maintaining the stove’s cleanliness helps to preserve its appearance and functionality, preventing long-term damage from stubborn stains and corrosion. By incorporating regular cleaning into your routine, you can create a healthier cooking environment and extend the lifespan of your gas stove.
Safety Precautions Before Cleaning
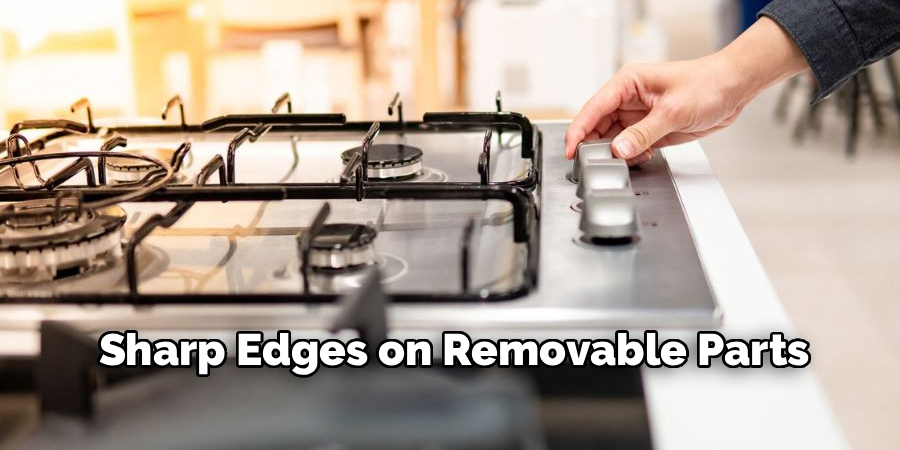
Before cleaning your gas stove, it is essential to take a few safety precautions to protect yourself and ensure the process is risk-free. First, make sure all burners are turned off and the stove has completely cooled down to avoid burns or accidents. Disconnect the gas supply if possible, or ensure the knobs are in the “off” position to prevent gas leaks during cleaning. Wear gloves to protect your hands from harsh cleaning agents and sharp edges on removable parts. Additionally, always use cleaning products that are safe for your specific stove material to avoid damage. Following these precautions will help you clean your gas stove safely and effectively.
Tools and Cleaning Supplies Needed
To clean your gas stove thoroughly and safely, you will need the following tools and cleaning supplies:
- Soft Sponge or Microfiber Cloth: For wiping down surfaces without causing scratches.
- Dish Soap: To remove grease and grime effectively.
- Baking Soda: A natural cleaning agent for tackling tough stains and burnt-on residue.
- White Vinegar: Useful for cutting through grease and disinfecting surfaces.
- Scrub Brush or Toothbrush: For cleaning hard-to-reach areas and stubborn grime.
- Paper Towels or Dry Cloths: To dry the stove after cleaning.
- Metal Utensil Cleaner or Razor Blade (optional): For scraping off burnt residue from grates or burners—use cautiously to avoid damage.
- Rubber Gloves: To protect your hands from cleaning agents and debris.
Having these items on hand will ensure a smooth and efficient cleaning process while preserving the condition of your gas stove.
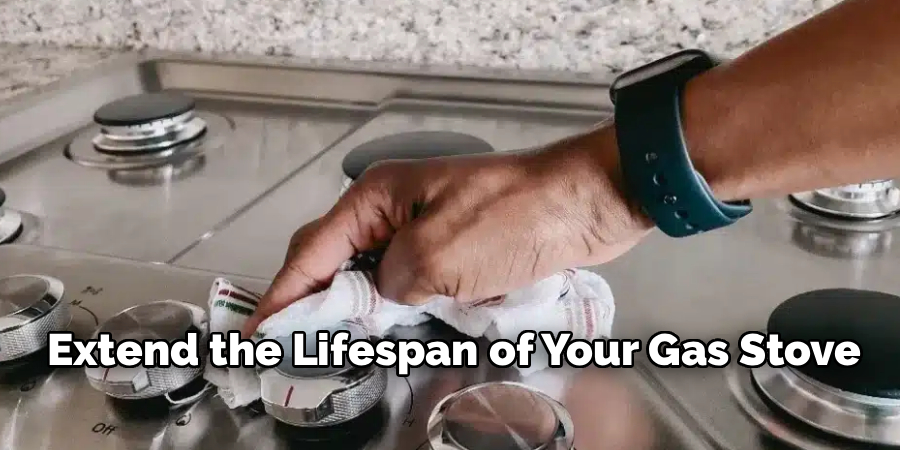
10 Methods How to Clean Gas Stove
1. Ensure Safety Before Cleaning
Before beginning any cleaning on a gas stove, safety is the top priority. Make sure all burners are turned off and that the stove is completely cool. For added safety, turn off the gas supply at the main valve. This prevents accidental ignition and protects you from burns or gas leaks while cleaning. Taking these precautions establishes a safe environment for a thorough and effective cleaning session.
2. Remove Grates, Burner Caps, and Knobs
To access all surfaces, remove the stove’s grates, burner caps, and control knobs. Most grates can be lifted directly off the burners, while burner caps may need gentle prying. Knobs can usually be pulled off by hand. Placing these components aside allows you to clean every crevice and ensures that no dirt, grease, or food debris is left behind, making the stove more hygienic and efficient.
3. Soak Removable Parts in Warm, Soapy Water
Fill a sink or basin with warm water and mild dish soap. Soak the grates, burner caps, and knobs for at least 15 to 30 minutes. Soaking loosens hardened grease and food residue, making it easier to scrub away. This step not only saves time but also prevents scratching or damaging the surfaces during manual cleaning. For stubborn stains, a mixture of vinegar and water can enhance grease removal.
4. Wipe Loose Debris from the Stove Surface
Before scrubbing, use a dry cloth, soft brush, or paper towel to sweep away loose crumbs, dust, and food particles from the stove surface. Pay special attention to corners and around the burners, where debris tends to accumulate. Removing loose particles prevents scratching the surface during scrubbing and prepares the stove for deeper cleaning with solutions or detergents.
5. Apply a Suitable Cleaning Solution
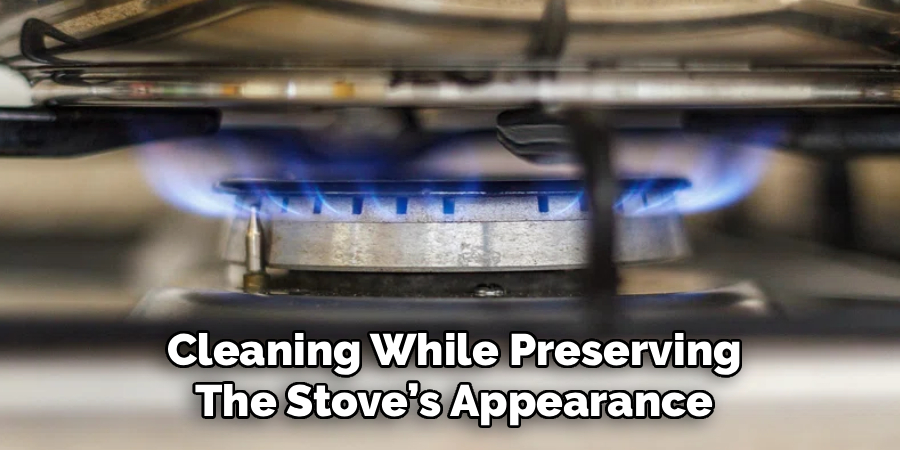
Choose a cleaning solution appropriate for your stove’s material. For stainless steel surfaces, a mixture of vinegar and water or a gentle stainless steel cleaner works well. For enamel-coated or porcelain surfaces, use mild dish soap and warm water. Avoid abrasive cleaners or steel wool, as they can scratch or damage the finish. Applying the right solution ensures effective cleaning while preserving the stove’s appearance and integrity.
6. Scrub Burners and Stove Surface
Using a non-abrasive sponge or soft brush, scrub the stove surface and burners carefully. Focus on areas with built-up grease, spills, or stubborn stains. Circular motions help lift residue without leaving scratches. For tough spots, let the cleaning solution sit for a few minutes before scrubbing. Thorough scrubbing restores the stove’s cleanliness and enhances the burners’ efficiency by removing any obstructions.
7. Clean Burner Holes and Ignition Ports
Over time, burner holes and ignition ports can become clogged with food debris or grease, leading to uneven flames. Use a soft brush, toothbrush, or a straightened paperclip to gently clear each burner hole. Be careful not to enlarge or damage the openings. Keeping these parts clean ensures proper gas flow, safe operation, and consistent heat output during cooking.
8. Rinse and Dry Removable Components
After soaking and scrubbing, rinse the grates, burner caps, and knobs thoroughly with clean water to remove soap residue. Dry them completely using a soft cloth or allow them to air dry. Proper drying prevents rust formation on metal parts and maintains the longevity of the stove components. Drying also ensures that the parts are ready to be safely reassembled without slipping or misalignment.
9. Wipe the Stove Surface and Reassemble Components
Once the stove surface is cleaned and dried with a soft, lint-free cloth, reassemble all components. Replace burner caps, grates, and control knobs, making sure each part is properly seated and aligned. Ensuring correct reassembly prevents burner misalignment, uneven heating, or accidental tipping of cookware, maintaining both safety and efficiency in cooking.
10. Maintain Regular Cleaning and Preventive Practices
To keep your gas stove in optimal condition, adopt regular cleaning practices. Wipe down the stove after each use to prevent grease buildup, and perform a deeper cleaning weekly or as needed. Using spill guards and cleaning up spills immediately helps minimize stains and reduces the effort required for thorough cleaning sessions. Consistent maintenance prolongs the life of the stove and ensures it remains safe, hygienic, and visually appealing.

Inspect and Replace Crucial Components
Regular inspection of your gas stove’s components is essential for maintaining its performance and safety. Check the burners, igniters, and gas connections periodically for any signs of wear, clogging, or damage. Clean burner openings to ensure an even flame and clear out any debris that may obstruct gas flow. Replace worn-out or damaged parts promptly to prevent malfunctions or hazardous situations. Keeping the stove’s components in good condition not only ensures efficient cooking but also reduces the risk of accidents.
Troubleshooting Common Issues
Even with regular maintenance, stoves may occasionally encounter problems that require troubleshooting. Below are some common issues and their potential solutions:
- Uneven Flame or Burner Not Igniting: Ensure the burner openings are clean and free of debris. Check that the igniter is functioning properly and not obstructed. For gas stoves, verify that the gas supply is turned on and the connections are secure.
- Gas Odor: If you detect a strong gas smell, immediately turn off the gas supply and open windows for ventilation. Avoid using electrical switches or open flames, and contact a professional to inspect for potential gas leaks.
- Low Flame Output: Check for clogged burner openings or regulator blockages. Clean any buildup using a soft brush or pin. If this persists, the issue might be a problem with the gas pressure, which should be addressed by a qualified technician.
- Electric Stove Not Heating Properly: Confirm that the heating elements are securely connected and not damaged. If the issue continues, it could indicate a faulty element or wiring, which may need replacement.
- Unusual Noises or Clicking Sounds: For gas stoves, continuous clicking could mean the igniter is dirty or damaged. Clean the igniter carefully, and if the noise persists, consult a professional.
By addressing these issues promptly and following safety precautions, you can ensure the longevity and reliability of your stove. If problems persist, seeking professional assistance is strongly recommended.
Conclusion
Regular maintenance and timely attention to potential issues are key to keeping your stove in optimal working condition. Always prioritize safety when handling repairs or troubleshooting problems. By identifying minor issues early, you can prevent more significant, costly repairs and extend the lifespan of your appliance. Remember, when in doubt or if you’re unsure how to proceed, don’t hesitate to seek help from a qualified professional. Thanks for reading our blog post on how to clean gas stove! We hope you found it helpful and informative.

About
Diane Lo is a distinguished figure in the world of kitchen innovation and culinary design, with over a decade of expertise creating functional and sustainable kitchen environments. Her professional focus lies in merging ergonomic spatial planning with modern culinary technology, fostering kitchen layouts that are both highly practical and aesthetically refined. As the lead expert at Kitchenub, Diane Lo delves into the art and science of kitchen organization, appliance selection, and workflow efficiency, inspiring home cooks and professional designers alike.
Education
Royal Melbourne Institute of Technology (RMIT University) (Melbourne, Australia) Associate Degree in Interior Design and Spatial Planning Focus on sustainable kitchen layouts, user-centric design, and ergonomic efficiency. Gained hands-on experience in high-traffic commercial kitchen modeling and advanced space-saving architecture.
Nottingham Trent University (United Kingdom) Bachelor’s in Product Design and Culinary Architecture (Honors) Specialized in the intersection of kitchen technology and lifestyle design. Participated in major industry collaborations, working with premium appliance manufacturers and cabinetry firms to gain real-world insights into modern kitchen workflows.
Publications and Impact
At Kitchenub, Diane Lo shares her expert insights on kitchen renovation processes, material durability, and strategies for achieving peak culinary productivity. Her writing effectively bridges the gap between professional culinary needs and home design, making it an essential resource for those looking to transform their kitchen into a highly efficient and welcoming heart of the home.