

Air fryers have quickly become kitchen essentials, offering a convenient way to prepare crispy meals with less oil. However, lingering odors can sometimes spoil the excitement of cooking your next meal. Addressing unwanted smells is important not just for your senses, but also for keeping your air fryer in top condition.
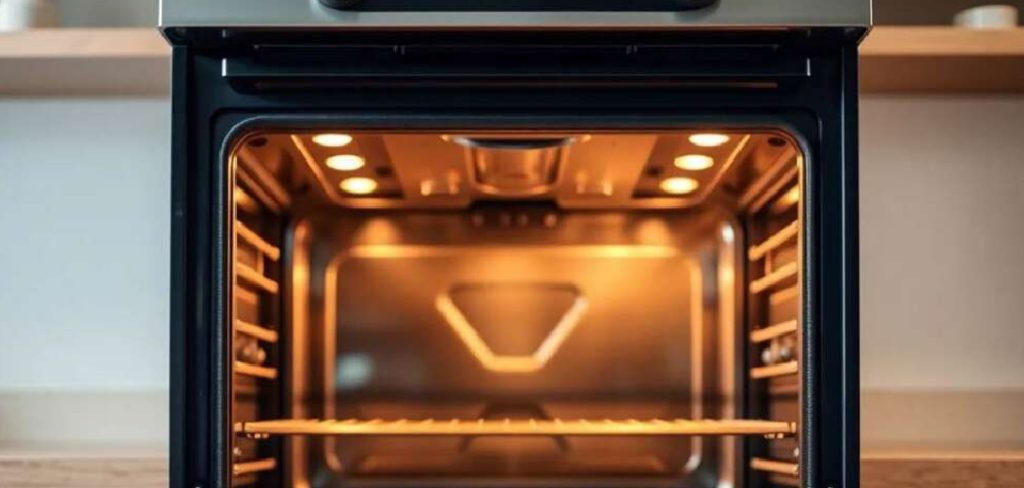
Understanding why air fryers develop odors—and learning how to get rid of them—can greatly improve your cooking experience. In this guide on how to remove smell from air fryer, we’ll break down the sources of common smells, safe cleaning practices, and detailed steps for a fresher appliance.
Understanding the Source of the Smell
Air fryer odors often come from leftover food particles, oils, or residue that remain inside the unit. When these remnants are exposed to heat repeatedly, they can produce strong, unpleasant smells. Sometimes, certain foods—like fish and spicy dishes—can leave behind stronger odors that are harder to remove.
Additionally, if the air fryer’s basket, pan, or heating element isn’t cleaned thoroughly after each use, smells can build up over time. Bacterial or mold growth due to trapped moisture can also contribute to unwanted odors. Identifying the source is the first step toward finding the right solution and keeping your air fryer fresh.
Safety Precautions Before Cleaning
Before you begin cleaning your air fryer, always unplug the appliance and let it cool down completely. Working with a hot air fryer can result in burns or other accidents. Remove any detachable parts, such as the basket and tray, to ensure safe and thorough cleaning.
Check your user manual for care and cleaning tips specific to your model. Avoid using harsh chemicals or abrasive cleaning tools that might damage nonstick surfaces. Wear gloves if you use any strong cleaning agents, and ensure your workspace is well-ventilated.
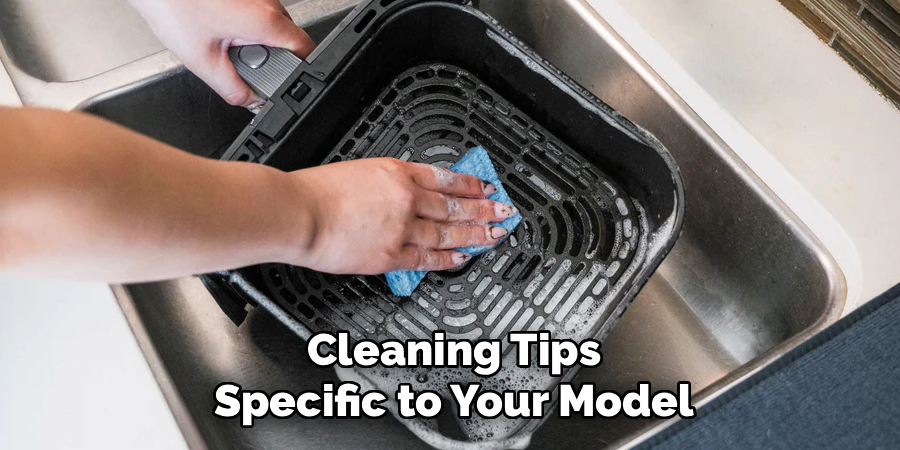
8 Step-by-step Guidelines on How to Remove Smell From Air Fryer:
Step 1: Unplug and Disassemble Your Air Fryer
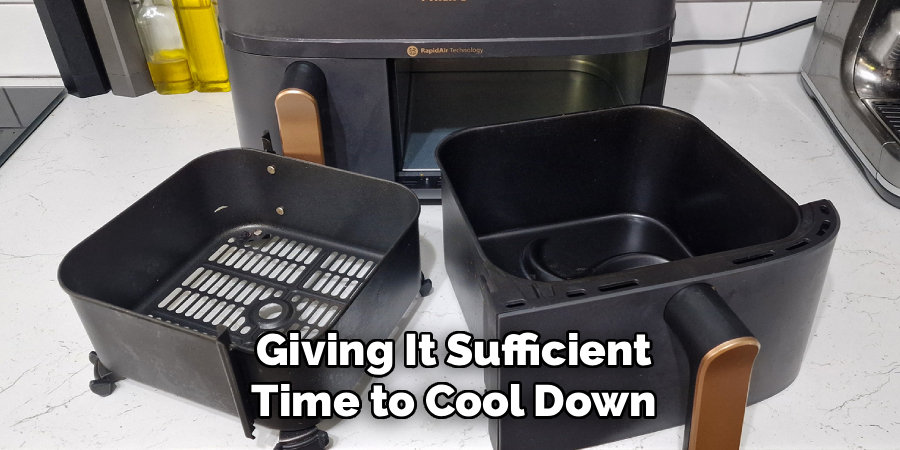
Begin by unplugging the appliance and giving it sufficient time to cool down. Carefully disassemble all removable parts, including the basket, tray, and pan.
This ensures that you can clean each component thoroughly, as odors often hide in hard-to-reach places. Take note of how the pieces fit together so reassembly is quick and simple later on.
Step 2: Wash Removable Parts With Warm Soapy Water
Fill a basin with warm, soapy water. Place all the removable parts inside and let them soak for about 10 minutes to loosen stubborn residue.
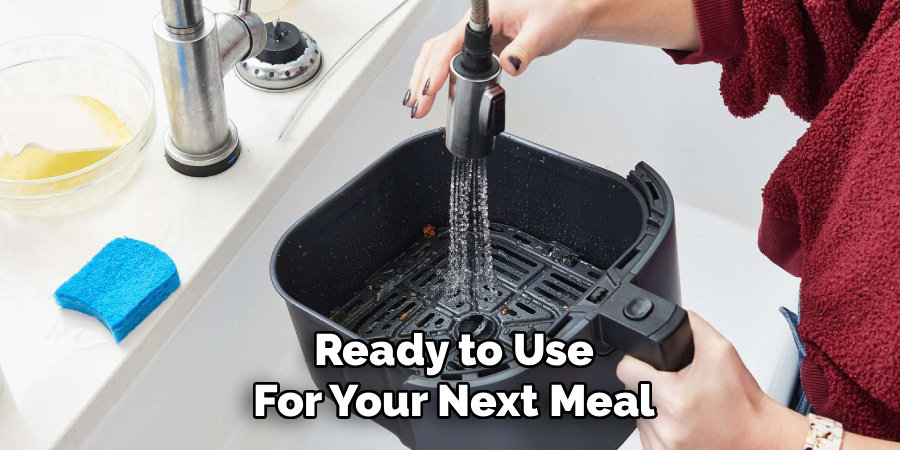
Use a non-abrasive sponge or brush to gently scrub the surfaces, paying extra attention to corners and crevices. Rinse all components well and allow them to air dry completely before reassembling.
Step 3: Clean the Interior of the Air Fryer
Using a damp cloth or sponge, wipe down the interior walls and base of the air fryer. Make sure not to let water drip into the electrical components.
If you encounter stuck-on residue, a mixture of baking soda and water can help lift it. Never immerse the main unit in water; always keep moisture away from the heating element.
Step 4: Deodorize With Baking Soda
Sprinkle a thin layer of baking soda onto a damp cloth, then gently wipe the interior surfaces. Baking soda helps neutralize odors naturally and is safe for most finishes.
After wiping, leave the baking soda on for 15 minutes, then gently clean it off with a damp cloth. This step is particularly useful for persistent smells.
Step 5: Use Vinegar for Tough Odors
If odors persist, fill a heatproof dish with equal parts water and white vinegar, and place it in the air fryer basket. Run the air fryer at 350°F (175°C) for 5 to 10 minutes.
The steam produced will help break down grease and neutralize strong smells. Allow the unit to cool, then wipe down any surfaces that may have been exposed to moisture.
Step 6: Check and Clean the Heating Element
Turn the air fryer upside-down (if safe to do so according to your manual) to access the heating element. Use a soft brush or a damp cloth to gently remove any visible debris or buildup.
Be cautious not to damage the element or get it too wet, as this can affect performance. Ensuring the heating element is clean can greatly reduce persistent odors.
Step 7: Dry All Parts Thoroughly
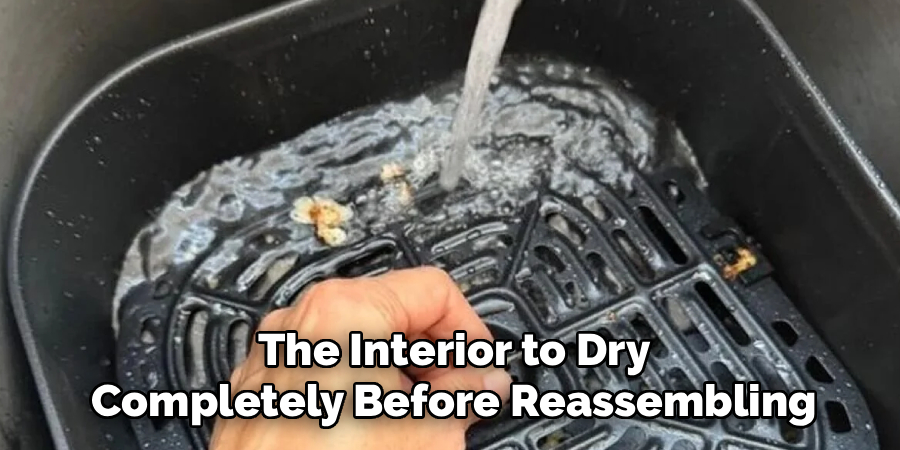
Allow all cleaned components and the interior to dry completely before reassembling. Moisture left inside can lead to future odors or even damage the air fryer.
Consider leaving the disassembled parts on a drying rack for at least an hour. Proper drying is an important step that is often overlooked.
Step 8: Reassemble and Run a Blank Cycle
After ensuring everything is dry, put your air fryer back together. Run the air fryer empty at a high temperature (about 400°F or 200°C) for 5-10 minutes.
This helps remove any lingering cleaning agents and evaporates remaining moisture, leaving your appliance fresh and ready to use for your next meal.
Following these steps on how to remove smell from air fryer will help keep your air fryer smelling fresh and ensure the best taste for your food.
Preventing Future Odors
Regular cleaning after each use is the best way to prevent odors from building up. Avoid cooking overly greasy or heavily spiced foods too often without thorough cleaning in between. Make it a habit to empty and wash the basket and tray after every meal.
Allow all parts to dry thoroughly before reassembling to prevent mold and bacteria growth. Consider placing a small bowl of baking soda in the basket between uses to absorb residual smells. Keeping your air fryer well-maintained will ensure it always smells clean and works efficiently.
When to Replace Parts or Seek Help?
If odors persist despite cleaning, inspect the condition of removable parts like the basket, pan, and filter. Over time, nonstick coatings can wear down, harboring odors that won’t wash out. Replacement baskets and accessories are often available from the manufacturer.
Unusual smells, smoke, or performance issues may signal a more serious problem. In such cases, refer to your warranty or contact customer support for advice. Don’t attempt to fix electrical components yourself if you’re not experienced, as this can be dangerous.
It’s important to regularly clean and maintain your air fryer to ensure it continues to work efficiently. You should clean the exterior of your air fryer with a damp cloth and mild soap. Avoid using harsh chemicals or abrasive materials that may damage the surface.
To clean the inside of your air fryer, allow it to cool down completely before removing any removable parts such as baskets and trays. These can be washed in warm soapy water or placed in the dishwasher if stated as safe by the manufacturer. For tougher stains or buildup, you can use a non-abrasive sponge or brush to gently scrub the interior of the air fryer. Be sure to rinse thoroughly and dry completely before reassembling and using again.
How Much Will It Cost?
Cleaning your air fryer with household materials like baking soda and vinegar is very affordable, usually costing less than a few dollars. Replacement parts like baskets or trays may range from $10 to $40, depending on your air fryer model and brand.
Professional repair or replacement of the entire unit may be necessary for older or damaged appliances, which can cost $50 to $200 or more. Regular maintenance can help you avoid these higher expenses. Always check your warranty before making a purchase or service decision.
Frequently Asked Questions
Q1: Why Does My Air Fryer Smell Even After Cleaning?
A1: Persistent odors may be due to residue trapped in hard-to-clean areas or worn nonstick coatings. Bacterial growth or buildup on the heating element can also cause smells. Double-check each component for cleanliness and consider deeper cleaning or part replacement if the problem continues.
Q2: Can I Use Lemon to Remove Odors From My Air Fryer?
A2: Yes, running your air fryer with slices of lemon or a shallow dish of lemon water can help neutralize odors naturally. Lemon has deodorizing properties that work well with lingering smells. However, be sure to clean the appliance thoroughly before and after this process for the best results.
Q3: How Often Should I Clean My Air Fryer to Prevent Smell?
A3: To prevent odors, it’s best to clean your air fryer after every use. Washing removable parts and wiping down the interior regularly keeps smells from developing. A deep clean, including the heating element, can be done once a month or as needed for frequent users.
Q4: Is It Safe to Use Commercial Cleaners on My Air Fryer?
A4: Most manufacturers recommend using mild dish soap and avoiding harsh chemicals that could damage nonstick surfaces. Always check your user manual before using commercial cleaners. If you do use a store-bought cleaner, rinse the parts thoroughly and allow them to dry before reassembly.
Conclusion
Unpleasant odors don’t have to become a normal part of using your air fryer. With regular care, thorough cleaning, and simple household remedies, you can keep your appliance smelling fresh and functioning well.
Remember to check parts periodically and consult your manual for specific instructions. By following these guidelines on how to remove smell from air fryer, you’ll enjoy delicious, odor-free air-fried meals anytime you want.

About
Diane Lo is a distinguished figure in the world of kitchen innovation and culinary design, with over a decade of expertise creating functional and sustainable kitchen environments. Her professional focus lies in merging ergonomic spatial planning with modern culinary technology, fostering kitchen layouts that are both highly practical and aesthetically refined. As the lead expert at Kitchenub, Diane Lo delves into the art and science of kitchen organization, appliance selection, and workflow efficiency, inspiring home cooks and professional designers alike.
Education
Royal Melbourne Institute of Technology (RMIT University) (Melbourne, Australia) Associate Degree in Interior Design and Spatial Planning Focus on sustainable kitchen layouts, user-centric design, and ergonomic efficiency. Gained hands-on experience in high-traffic commercial kitchen modeling and advanced space-saving architecture.
Nottingham Trent University (United Kingdom) Bachelor’s in Product Design and Culinary Architecture (Honors) Specialized in the intersection of kitchen technology and lifestyle design. Participated in major industry collaborations, working with premium appliance manufacturers and cabinetry firms to gain real-world insights into modern kitchen workflows.
Publications and Impact
At Kitchenub, Diane Lo shares her expert insights on kitchen renovation processes, material durability, and strategies for achieving peak culinary productivity. Her writing effectively bridges the gap between professional culinary needs and home design, making it an essential resource for those looking to transform their kitchen into a highly efficient and welcoming heart of the home.