

Using an air fryer function on a Samsung oven can transform your cooking experience, letting you enjoy crispy, delicious meals with less oil. This method is not only healthier but also faster and more convenient for many home cooks. Whether you’re new to air frying or upgrading from a countertop model, learning to use this feature on your Samsung oven unlocks a world of possibilities.
In this guide on how to use air fryer on samsung oven, we’ll cover everything you need to know to get started. You’ll find a list of essential tools and materials, as well as a detailed, step-by-step approach to maximize your results. With a little practice and the right knowledge, mastering air frying on your Samsung oven is easy and rewarding.
Tools and Materials You’ll Need
- Samsung oven with air fryer function
- Air fry tray or a suitable wire rack
- Baking sheet to catch crumbs or drips
- Tongs or a heat-resistant spatula
- Cooking oil spray or a brush (optional)
- Food to air fry (such as chicken wings, fries, or veggies)
- Oven mitts or heat-resistant gloves
- Timer or use the oven’s built-in timer
- Thermometer (optional, for checking doneness)
10 Step-by-step Guidelines on How to Use Air Fryer on Samsung Oven:
Step 1: Prepare Your Oven and Accessories
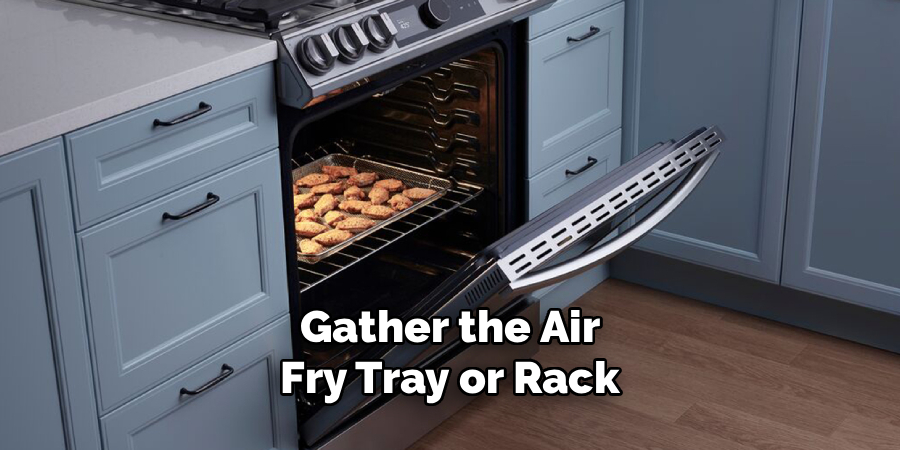
Before you start air frying, ensure your Samsung oven is clean and free of any leftover crumbs or grease from previous use. Gather the air fry tray or rack, and place a baking sheet on the lower oven rack position to catch any drips or crumbs. This simple preparation step keeps your oven clean and ensures even air circulation during cooking.
Take a moment to review your oven’s user manual, especially the section about using the air fryer function. Each Samsung model may have unique features or button configurations, so understanding your specific appliance is essential for safety and optimal results.
Step 2: Choose and Prepare Your Food
Select foods that work well with air frying, such as chicken pieces, vegetables, or potato wedges. Rinse and dry your ingredients thoroughly to remove excess moisture. For a crispier finish, lightly coat your food with a small amount of oil using a spray or brush, making sure not to oversaturate.
Evenly cut or arrange your food into similar-sized pieces to ensure uniform cooking. Overcrowding the tray should be avoided; give each piece space so air can circulate around them for the signature crispy texture air frying is known for.
Step 3: Preheat the Oven on Air Fry Mode
Turn your oven on and select the Air Fry mode according to your model’s interface. Set the desired temperature based on your recipe, which often ranges between 350°F to 450°F for air frying. Preheating usually takes 5–10 minutes but allows for even, consistent cooking.
Preheating is particularly important for certain proteins like chicken or fish, as it ensures the food will start crisping as soon as it enters the oven. Proper preheating leads to better texture and improved flavor in the end product.
Step 4: Arrange Food on the Air Fry Tray
Carefully place your prepared food in a single layer on the air fry tray or wire rack. Make sure there is space between pieces for optimal air flow—crowding can cause uneven results or sogginess. If needed, cook food in batches for the best results.
Use oven mitts to slide the air fry tray into the recommended rack position in your oven, usually the middle or upper-middle, based on your manual. This placement puts the food in the optimal zone for heated air to circulate and create a crispy exterior.
Step 5: Monitor and Adjust Cooking Time
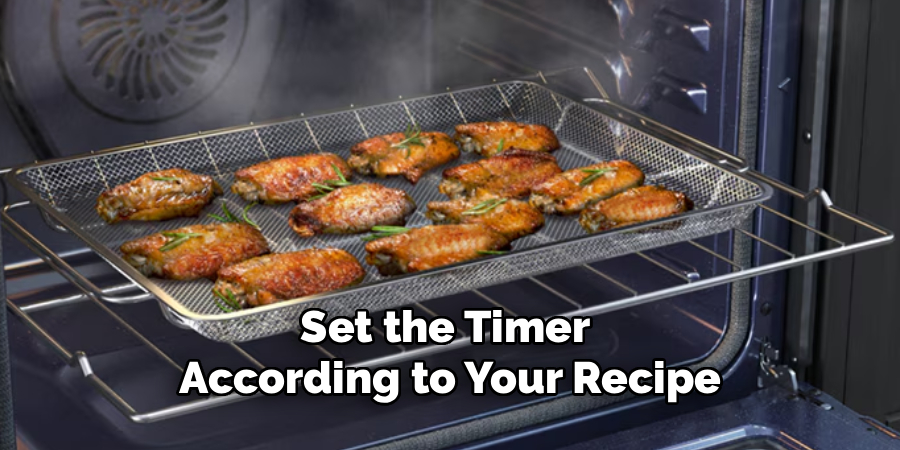
Close the oven door, set the timer according to your recipe, and let the air frying process start. While air frying is generally faster than baking, keep an eye on your food. Some items may cook quickly, while others need extra minutes to finish.
Pausing halfway through to check for doneness is a good habit. Use tongs or a spatula to turn or shake the food for even browning. Monitoring also helps avoid overcooking or burning, especially when learning oven-specific quirks.
Step 6: Flip or Shake for Even Cooking
About halfway through the cooking time, carefully open the oven and flip your food with tongs. If you’re making smaller items, shake the tray gently to mix them up. This technique helps achieve a golden, crisp finish on all sides.
Don’t rush this step—oven heat escapes when opened, so work quickly but safely. Proper handling ensures every piece cooks evenly, leading to the satisfying crunch that makes air frying so popular.
Step 7: Check for Doneness
As your timer gets close to completion, check the food for doneness. Use a thermometer for thick or protein-rich foods, ensuring meats have reached a safe internal temperature. Vegetables and smaller items should be browned and crisp.
If extra time is needed, add minutes in small increments to prevent over-drying or burning. This personalization step helps you adjust based on food type, thickness, and desired texture.
Step 8: Remove and Serve
When cooking is complete, use oven mitts to remove the tray from the oven. Place cooked food on a clean plate or cooling rack to rest briefly. This allows excess steam to escape and preserves crispy corners.
Presentation matters—arrange your food attractively and, if desired, season with herbs or finishing salts. Enjoy your meal immediately for the best texture and flavor.
Step 9: Clean Your Oven and Accessories
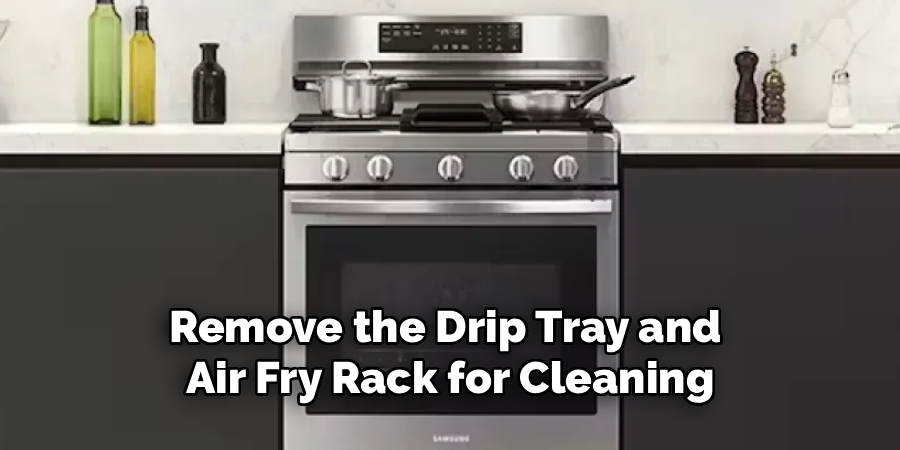
After the oven cools, remove the drip tray and air fry rack for cleaning. Wash them with warm, soapy water or in the dishwasher, if safe per your user manual. Wipe down the oven interior as needed.
Regular maintenance not only extends the life of your appliance but also guarantees fresh, uncontaminated flavors for your next air fryer adventure. Build a habit of cleaning up soon after each use for convenience.
Step 10: Experiment with Recipes and Settings
Expand your air frying horizons by experimenting with new ingredients and recipes. Try different marinades, breadings, or seasonings to discover your family’s favorite meals. Take notes on cook times and temperatures for future reference.
Samsung ovens offer a range of features—explore convection settings, air fry presets, or even multi-level cooking. Each experiment brings you closer to mastering your oven and impressing guests with your culinary results.
Following these steps on how to use air fryer on samsung oven will not only enhance your cooking experience but also save you time and energy in the kitchen.
Frequently Asked Questions
Q1: What Types of Foods Can I Air Fry in My Samsung Oven?
You can air fry a wide variety of foods, including chicken wings, fish fillets, vegetables, frozen fries, and even baked treats. Foods that benefit from a crispy exterior without deep frying work especially well with this function. Some delicate foods, like battered items, may require extra care or adjustments for best results.
The oven’s air fry function is versatile, letting you experiment beyond classic snacks. Just be sure to check the manual for any specific recommendations or restrictions for your oven model.
Q2: Do I Need to Use Oil When Air Frying?
While the air fryer function minimizes the need for oil, using a small amount can enhance crispiness and flavor. Spraying or brushing foods lightly keeps them from sticking and helps with browning. However, avoid soaking ingredients in oil, as this can lead to greasy results and smoke.
The goal is to use just enough oil to promote crisping—much less than traditional frying—resulting in healthier, lighter dishes that still have an irresistible crunch.
Q3: How Do I Prevent the Oven From Smoking?
Preventing smoke mainly requires keeping your oven and trays clean. Excess oil, crumbs, or leftover grease can burn during air frying and create smoke. Using a drip pan to catch grease and avoiding overly fatty foods can also help.
If you do see smoke, safely pause cooking and check to make sure nothing is burning. Once you address the cause, you can resume air frying with confidence and peace of mind.
Q4: Can I Air Fry on Multiple Racks at the Same Time?
Some Samsung ovens support multi-rack air frying, but optimal results are usually obtained using a single rack to allow air circulation. If your oven offers specific instructions or accessories for multi-level cooking, be sure to follow them closely.
Crispy, uniform results depend on allowing hot air to move freely around each piece of food. When in doubt, air fry in multiple batches for the best possible outcome.
Conclusion
Mastering the air fryer function on your Samsung oven opens the door to healthier, tastier meals with a satisfying crunch. With the right tools, careful preparation, and a little creativity, your oven can become the centerpiece of delicious home-cooked dishes.
Continue experimenting with ingredients and techniques as you gain confidence. With each meal, you’ll discover how convenient and versatile air fryer cooking can be, making it an essential part of your kitchen routine. Thanks for reading this guide on how to use air fryer on samsung oven.

About
Diane Lo is a distinguished figure in the world of kitchen innovation and culinary design, with over a decade of expertise creating functional and sustainable kitchen environments. Her professional focus lies in merging ergonomic spatial planning with modern culinary technology, fostering kitchen layouts that are both highly practical and aesthetically refined. As the lead expert at Kitchenub, Diane Lo delves into the art and science of kitchen organization, appliance selection, and workflow efficiency, inspiring home cooks and professional designers alike.
Education
Royal Melbourne Institute of Technology (RMIT University) (Melbourne, Australia) Associate Degree in Interior Design and Spatial Planning Focus on sustainable kitchen layouts, user-centric design, and ergonomic efficiency. Gained hands-on experience in high-traffic commercial kitchen modeling and advanced space-saving architecture.
Nottingham Trent University (United Kingdom) Bachelor’s in Product Design and Culinary Architecture (Honors) Specialized in the intersection of kitchen technology and lifestyle design. Participated in major industry collaborations, working with premium appliance manufacturers and cabinetry firms to gain real-world insights into modern kitchen workflows.
Publications and Impact
At Kitchenub, Diane Lo shares her expert insights on kitchen renovation processes, material durability, and strategies for achieving peak culinary productivity. Her writing effectively bridges the gap between professional culinary needs and home design, making it an essential resource for those looking to transform their kitchen into a highly efficient and welcoming heart of the home.