

A clean deep fryer is fundamental to any successful restaurant kitchen. It directly impacts food quality, operational safety, and the longevity of your equipment. Consistently following a proper cleaning routine ensures that your fried foods taste fresh and are free from the burnt flavors of old oil and carbon buildup.
Beyond just taste, regular maintenance prevents dangerous grease accumulation, which is a significant fire hazard. A well-maintained fryer also operates more efficiently, saving energy and reducing the frequency of costly repairs or replacements. Making fryer cleaning a non-negotiable part of your kitchen’s closing duties is a smart business decision. In this guide on how to clean a fryer in restaurant kitchens, we’ll take you through the step-by-step process to ensure your fryer is always in top condition.
Tools and Materials You’ll Need:
- Heat-resistant Gloves
- Safety Goggles
- Pot or Container for Used Oil
- Fryer Cleaning Brush or Long-handled Scrub Pad
- Skimmer or Fryer Basket Scraper
- Commercial-grade Fryer Cleaning Solution or Boil-out Powder
- Clean Cloths or Paper Towels
- Water Source and Hose (if Available)
- Vinegar (Optional, for Neutralizing)
8 Simple Step-by-step Guidelines on How to Clean a Fryer in Restaurant:
Step 1: Turn Off and Unplug the Fryer
Before beginning any cleaning procedure, your first priority must be safety. Turn off the fryer completely and, if it is an electric model, unplug it from the power source. For gas fryers, ensure the pilot light is off and the gas line is shut down according to the manufacturer’s instructions. You must allow the oil to cool to a safe temperature, ideally below 150°F (65°C), before handling it. Attempting to drain hot oil is extremely dangerous and can cause severe burns.
This cooling period is a critical step that should never be rushed. Depending on the size of your fryer and the ambient temperature of your kitchen, this can take several hours. Plan your cleaning schedule accordingly, often at the end of the day, to allow for adequate cooling overnight. Use this time to gather all your necessary cleaning tools and prepare the area for the cleaning process, ensuring a clear and safe workspace.
Step 2: Drain the Old Oil
Once the oil has cooled to a safe temperature, it’s time to drain it from the fry pot. Place a large, durable container or a dedicated oil caddy under the fryer’s drain valve. Slowly open the valve to let the oil flow out. Be mindful of potential splashing and continue to wear your heat-resistant gloves and safety goggles. As the oil drains, use a skimmer or scraper to push any loose food particles and sediment toward the drain to ensure the pot is as empty as possible.
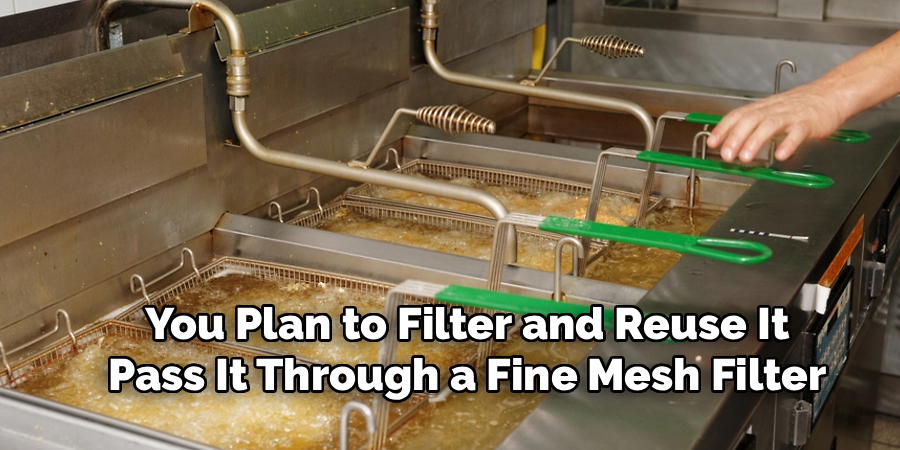
After draining, inspect the oil. If you plan to filter and reuse it, pass it through a fine mesh filter or a specialized oil filtering machine to remove impurities. If the oil is old, discolored, or has a rancid smell, it should be disposed of properly according to local health and environmental regulations. Never pour old cooking oil down a standard drain, as it can cause severe plumbing blockages and environmental harm.
Step 3: Scrape Away Large Debris
With the fryer empty, you can now address the solid food debris and hardened grease stuck to the interior surfaces. Use a fryer scraper or a stiff-bristled brush to carefully scrape down the sides, bottom, and heating elements. Pay special attention to corners and around the elements, where carbon deposits tend to build up most heavily. The goal here is to remove as much of the loose and caked-on gunk as possible before the deep cleaning begins.
This initial scraping makes the subsequent chemical cleaning much more effective. By removing the top layer of residue, you allow the cleaning solution to work directly on the toughest, most stubborn grime. Take your time during this step to be thorough, as it will save you significant scrubbing effort later. Dispose of all the scraped-out debris in the trash.
Step 4: Fill the Fryer with Cleaning Solution
Now it’s time to perform a “boil out.” Close the drain valve securely. Fill the fry pot with water up to the oil fill line. Add a commercial-grade fryer cleaning solution or boil-out powder, following the product’s instructions for the correct ratio of cleaner to water. These specialized cleaners are formulated to break down polymerized grease and carbon deposits that regular soap cannot remove. Stir the solution gently to ensure it is well-mixed.
Be very careful when handling concentrated cleaning chemicals, as they are often caustic. Always wear your gloves and goggles to protect your skin and eyes from splashes. Using the right amount of cleaner is crucial; too little will be ineffective, while too much can be difficult to rinse out and may even damage the fryer’s surface over time.
Step 5: Boil the Solution
Turn the fryer back on and bring the cleaning solution to a slow, gentle boil. Do not allow it to boil over. Let the solution simmer for about 20-30 minutes, or as recommended by the cleaning product’s manufacturer. The heat and chemical action will work together to dissolve and lift the stubborn, baked-on grease and carbon from the fryer’s interior surfaces. You will likely see the grime loosening and floating in the water.
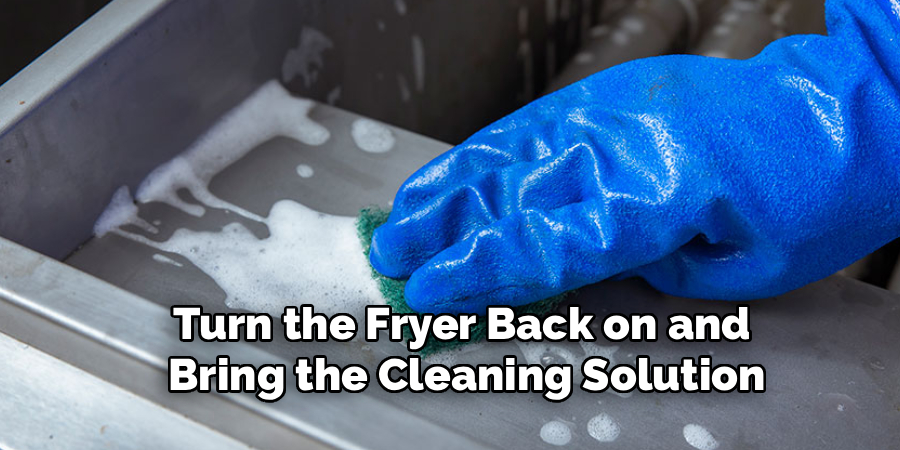
During the boiling process, you can use a long-handled brush to gently scrub the sides and heating elements to help loosen any particularly tough spots. Be cautious to avoid splashing the hot liquid. This step does the heavy lifting for you, breaking down grease that would otherwise require intense manual scrubbing. Keep a close eye on the fryer to maintain a controlled simmer.
Step 6: Drain and Rinse the Fryer
After the boil-out is complete, turn off the fryer and let the hot water cool down to a safe temperature before draining. Once cooled, carefully drain the dirty cleaning solution into a floor drain or an appropriate container. You will be left with a much cleaner fryer, but it is not finished yet. The next critical step is to rinse the fry pot thoroughly to remove all traces of the chemical cleaner. Any residual cleaner can contaminate your cooking oil and food.
Fill the fryer with clean, hot water and use a brush to scrub the interior once more. This helps remove any remaining loosened debris and cleaning solution. Drain the rinse water completely. It is best practice to rinse the fryer at least two or three times to ensure it is completely free of any chemical residue. Some kitchen staff follow the rinse with a quick vinegar wash (a solution of one part vinegar to ten parts water) to neutralize any alkaline cleaner residue before a final water rinse.
Step 7: Dry and Season the Fryer
Once the fryer is thoroughly rinsed, it’s essential to dry it completely. Use clean, dry cloths or paper towels to wipe down the entire interior, including the heating elements, ensuring no moisture is left behind. Any remaining water will cause hot oil to splatter violently when you refill the fryer, creating a serious safety hazard. Take your time to be meticulous in this drying step.
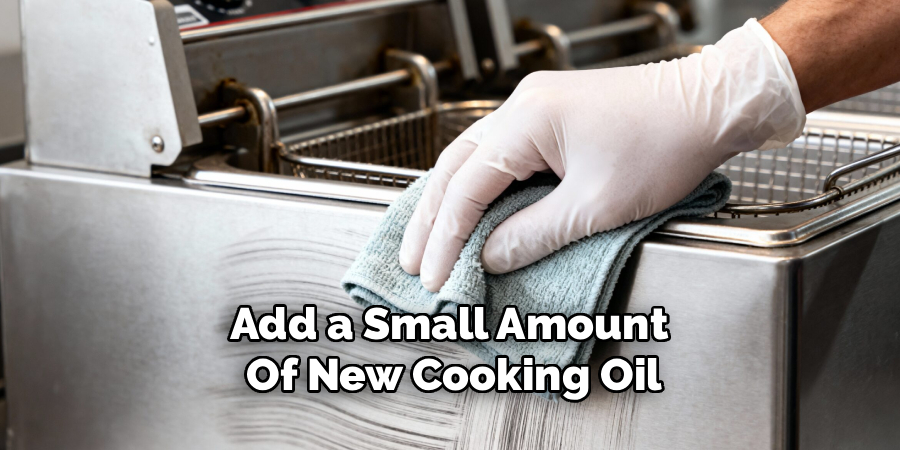
After drying, it is a good idea to “season” the fryer. Close the drain valve, add a small amount of new cooking oil, and use a cloth to wipe a thin layer of oil over all interior surfaces. This process, similar to seasoning a cast-iron skillet, creates a non-stick surface that helps prevent food from sticking and makes future cleanings easier. It also protects the metal from oxidation and rust.
Step 8: Refill with Fresh Oil
With the fryer clean, dry, and seasoned, you are ready for the final step. Close the drain valve securely one last time. Refill the fry pot with fresh cooking oil up to the designated fill line. Be careful not to overfill, as this can cause the oil to bubble over when you add food. Once filled, you can turn the fryer back on and set it to your desired cooking temperature.
Bringing a freshly cleaned and refilled fryer back into service is a satisfying moment. Your equipment is now ready to cook delicious, high-quality fried foods safely and efficiently. By integrating these eight steps into your regular kitchen maintenance routine, you ensure compliance with health standards and extend the life of your valuable cooking equipment, protecting your investment and your restaurant’s reputation.
Following these steps on how to clean a fryer in restaurant will also reduce the risk of contamination and maintain the quality of your food. Properly maintaining your fryer can make a big difference in how long it lasts, how well it cooks, and ultimately, how satisfied your customers are with their meals.
Extra Tips
Always consult your fryer’s user manual for manufacturer-specific cleaning instructions, as different models may have unique requirements. To make daily cleaning easier, filter your oil at the end of every day to remove food particles before they burn and create carbon buildup. Implement a strict schedule for regular boil-outs, rather than waiting for the fryer to become excessively dirty. Using a cover for the fryer when it is not in use can also prevent dust and other contaminants from falling into the oil. Finally, consider using a specialized oil testing kit to know precisely when your oil needs to be changed, ensuring optimal food quality and cost-effectiveness.
How Much Will It Cost?
The cost of cleaning a restaurant fryer can vary. The primary expenses are for materials, such as commercial-grade boil-out solution, which can range from $20 to $50 per container, and personal protective equipment like heavy-duty gloves. Brushes and scrapers are relatively inexpensive but require periodic replacement.
The most significant cost is often labor. A thorough boil-out can take several hours, including cool-down time, which means paying an employee for that dedicated time. If you use a professional kitchen cleaning service, the cost could be substantially higher, potentially a few hundred dollars per fryer, but it saves on staff time and ensures a professional result.
Frequently Asked Questions:
Q1: How Often Should I Clean My Fryer?
A1: The frequency depends on usage. You should perform a light cleaning, including skimming and filtering the oil, daily. A full boil-out deep clean is recommended at least once a week for moderately busy kitchens. For high-volume restaurants that use their fryers constantly, a deep clean may be necessary every 3-4 days to maintain food quality and hygiene standards.
Q2: Can I Use Degreaser or Soap to Clean My Fryer?
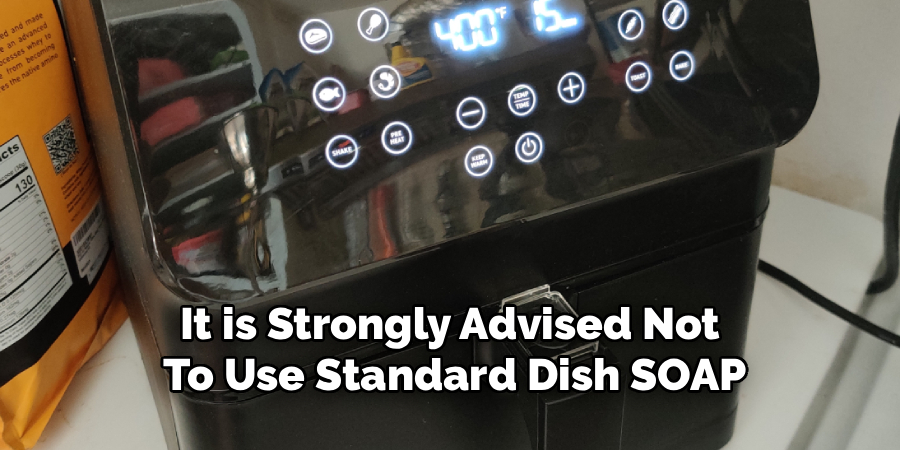
A2: It is strongly advised not to use standard dish soap or all-purpose degreasers. These products can leave behind residue that is difficult to rinse away completely, which will contaminate your cooking oil and give food an unpleasant taste. Always use a dedicated, food-safe commercial fryer cleaner designed for boil-outs, as it is formulated to break down polymerized grease without leaving harmful residues.
Conclusion
Maintaining a clean restaurant fryer is not just a cleaning task; it is an essential practice for ensuring food quality, kitchen safety, and equipment longevity. By following a consistent and thorough cleaning process, from safely draining old oil to performing a proper boil-out and seasoning, you protect your customers and your business.
A clean fryer produces better-tasting food, operates more efficiently, and minimizes fire risk. Making this detailed cleaning routine a standard part of your kitchen’s operations is a direct investment in your restaurant’s success and reputation. Thanks for reading this guide on how to clean a fryer in restaurant.

About
Diane Lo is a distinguished figure in the world of kitchen innovation and culinary design, with over a decade of expertise creating functional and sustainable kitchen environments. Her professional focus lies in merging ergonomic spatial planning with modern culinary technology, fostering kitchen layouts that are both highly practical and aesthetically refined. As the lead expert at Kitchenub, Diane Lo delves into the art and science of kitchen organization, appliance selection, and workflow efficiency, inspiring home cooks and professional designers alike.
Education
Royal Melbourne Institute of Technology (RMIT University) (Melbourne, Australia) Associate Degree in Interior Design and Spatial Planning Focus on sustainable kitchen layouts, user-centric design, and ergonomic efficiency. Gained hands-on experience in high-traffic commercial kitchen modeling and advanced space-saving architecture.
Nottingham Trent University (United Kingdom) Bachelor’s in Product Design and Culinary Architecture (Honors) Specialized in the intersection of kitchen technology and lifestyle design. Participated in major industry collaborations, working with premium appliance manufacturers and cabinetry firms to gain real-world insights into modern kitchen workflows.
Publications and Impact
At Kitchenub, Diane Lo shares her expert insights on kitchen renovation processes, material durability, and strategies for achieving peak culinary productivity. Her writing effectively bridges the gap between professional culinary needs and home design, making it an essential resource for those looking to transform their kitchen into a highly efficient and welcoming heart of the home.