

Your dishwasher is a powerful kitchen ally, but when it stops cleaning effectively, it can be incredibly frustrating. If your dishes are coming out wet, spotty, or still dirty, the problem might not be your detergent or loading technique. Often, the culprit is a faulty thermostat that isn’t telling the heating element to turn How to Test Dishwasher Thermostaton. This small component is crucial for regulating water temperature, which is essential for activating detergent, sanitizing dishes, and aiding the drying process. Learning how to test dishwasher thermostat functionality is a straightforward diagnostic step that can save you from a costly repair call. This guide will empower you to identify the problem yourself.
A Guide on How to Test Dishwasher Thermostat
Step 1: Unplug the Dishwasher
Before beginning any maintenance or repairs on your dishwasher, make sure to unplug it from the power source. This step is crucial for ensuring your safety and preventing damage to the appliance.
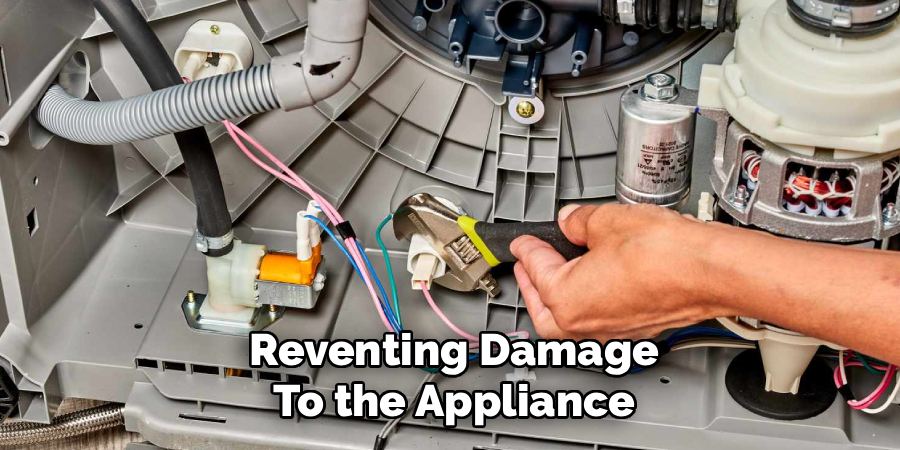
Locate the dishwasher’s thermostat by consulting the appliance’s user manual or schematics. Typically, the thermostat is situated at the bottom of the dishwasher near the heating element. Once found, carefully disconnect any wires attached to it, ensuring you take note of their positions for reassembly later. Use a screwdriver to remove the thermostat for testing.
Step 2: Locate the Thermostat
To locate the thermostat, you will need to consult the appliance’s user manual or schematics. These documents can usually be found online through the manufacturer’s website or by contacting their customer service department.
Once you have located the thermostat, it is important to disconnect any wires attached to it before testing. Be sure to take note of their positions for reassembly later.
Step 3: Remove the Thermostat for Testing
Now that you have located the thermostat and disconnected any wires, you can remove it from its housing. This may involve unscrewing or unclipping the thermostat from its mounting bracket. Once removed, set the thermostat on a flat surface for testing.
Using a multimeter, set it to the continuity or resistance setting to test the thermostat. Place the probes on the thermostat’s terminals. If the multimeter shows continuity or a resistance reading within the acceptable range specified in the thermostat’s manual, it indicates that the thermostat is functioning properly. If there is no continuity or the reading is outside the acceptable range, the thermostat may need to be replaced. Always refer to the specific instructions provided by the manufacturer for accurate testing criteria.
Step 4: Test the Thermostat
To test the thermostat, you will need a multimeter tool. Set your multimeter to measure resistance (ohms) and touch the probes to each of the terminals on the back of the thermostat. If your thermostat is functioning properly, it should show a reading close to zero ohms. If there is no reading or a dramatically different reading, this indicates a faulty thermostat that needs to be replaced
Step 4: Visual Inspection
In addition to testing the thermostat with a multimeter, it is also important to visually inspect it for any physical damage or wear and tear. Look for any cracks, breaks, or loose connections on the thermostat itself and its surrounding wiring. If you notice any issues, this may require professional repair or replacement.
Step 5: Test the Thermostat with a Multimeter
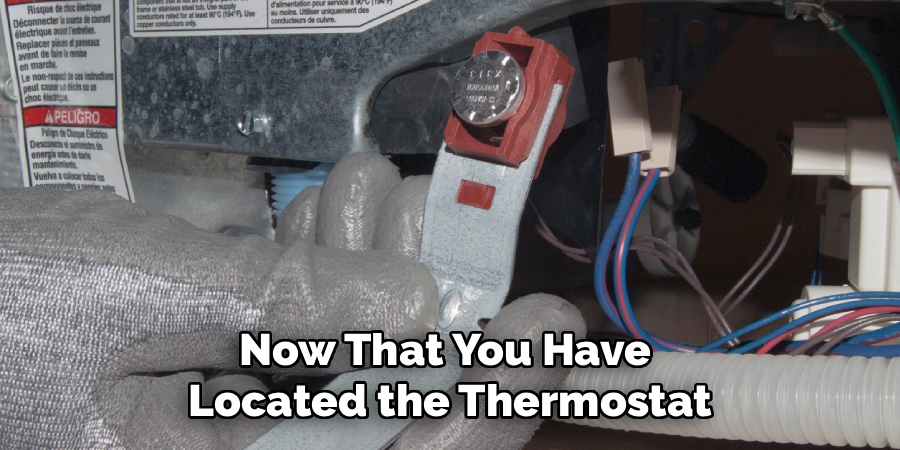
This is the core of the diagnostic process. Set your multimeter to the lowest setting for Ohms of resistance (Ω). If your multimeter has a continuity setting (often indicated by a sound icon), you can use that instead. Touch one probe from the multimeter to each of the two metal terminals on the thermostat. At room temperature, a functioning high-limit thermostat should be a “closed” circuit, meaning electricity can pass through it. Your multimeter should show a reading of zero or near-zero Ohms, or it will emit a continuous beep on the continuity setting.
Step 6: Interpret the Multimeter Reading
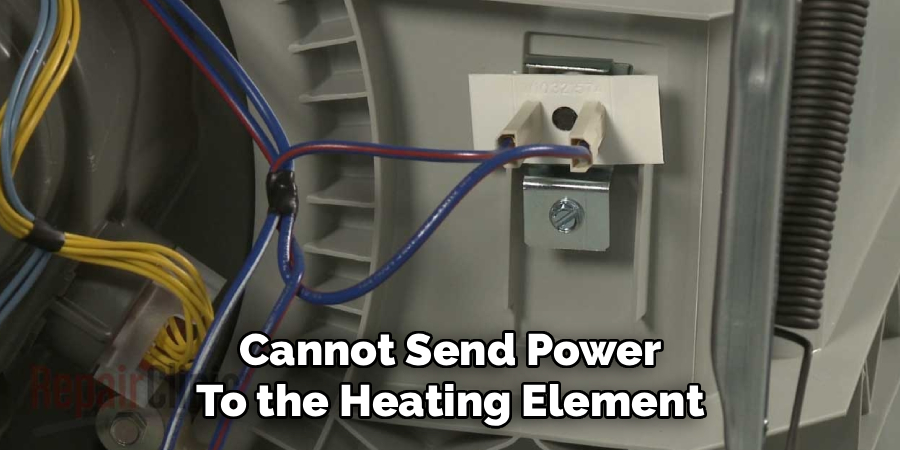
The reading on your multimeter will tell you whether the thermostat has failed. If you get a reading of “OL” (over limit), infinity, or no reading at all, it means the circuit inside the thermostat is broken or “open.” An open circuit at room temperature indicates that the thermostat is faulty and cannot send power to the heating element. In this case, the thermostat must be replaced. A reading of zero or a continuous beep confirms that the thermostat has continuity and is likely functioning correctly, meaning the heating issue lies elsewhere in the system.
Step 7: Test Dishwasher Thermostat
If the thermostat showed continuity at room temperature, you can perform an additional test to ensure it opens the circuit when heated. This confirms it can properly regulate the temperature. Reconnect the multimeter probes to the terminals. Using a hairdryer, carefully apply heat to the thermostat. As it heats up, you should see the multimeter reading change from zero to “OL” (or the beeping should stop). This indicates the circuit has opened, which is its job. If the reading doesn’t change after applying heat for about a minute, the thermostat is stuck closed and needs replacing.
Step 8: Reassemble and Test Your Dishwasher
If the thermostat passed all tests, reconnect its wires and re-secure it in place. If you determined the thermostat was faulty, install the new replacement part by connecting the wires and mounting it in the same position. Once everything is securely back in place, reattach any access panels you removed. You can now restore power to the appliance by plugging it back in or flipping the circuit breaker on. Run a hot wash or sanitizing cycle and listen for the heating element to engage. Check if the dishes are hot and dry at the end of the cycle.
Frequently Asked Questions
What Are the Signs of a Faulty Dishwasher Thermostat?
The most common signs of a bad thermostat are related to water temperature. You may notice:
- Dishes remain wet or are not hot to the touch at the end of a cycle.
- The dishwasher does not seem to complete its drying phase.
- Your detergent tablet only partially dissolves.
- Food residue and grease are left on your dishes because the water never gets hot enough to clean effectively.
Can I Test a Dishwasher Thermostat Without a Multimeter?
While a multimeter provides the only definitive test of electrical function, you can perform a basic visual inspection without one. Check the thermostat for any visible signs of damage, such as cracks, corrosion, or burn marks on the terminals. If you see any of these signs, it’s a strong indicator that the thermostat needs to be replaced. However, a thermostat can fail internally without showing any outward damage, so a multimeter test is the most reliable method.
Is It Safe to Test the Thermostat Myself?
Yes, it is generally safe to test a dishwasher thermostat yourself, provided you follow the most important safety precaution: always disconnect the dishwasher from its power source before you begin. Unplug the appliance or turn off its circuit breaker. This eliminates the risk of electric shock. As long as you take this step and work carefully, it is a manageable DIY task for homeowners comfortable with basic appliance repair. If you are ever unsure, it’s best to call a professional technician.
Where Is the Thermostat Located in Most Dishwashers?
The location can vary between brands and models, but the high-limit thermostat is almost always found in the bottom of the dishwasher tub. You will typically need to remove the lower front access panel to see it. It is usually mounted near the circular heating element. It’s a small, round device with two wires connected to it. For the exact location on your specific model, it’s always a good idea to consult your owner’s manual or look up a parts diagram online.
What Should I Do If the Thermostat Fails the Test?
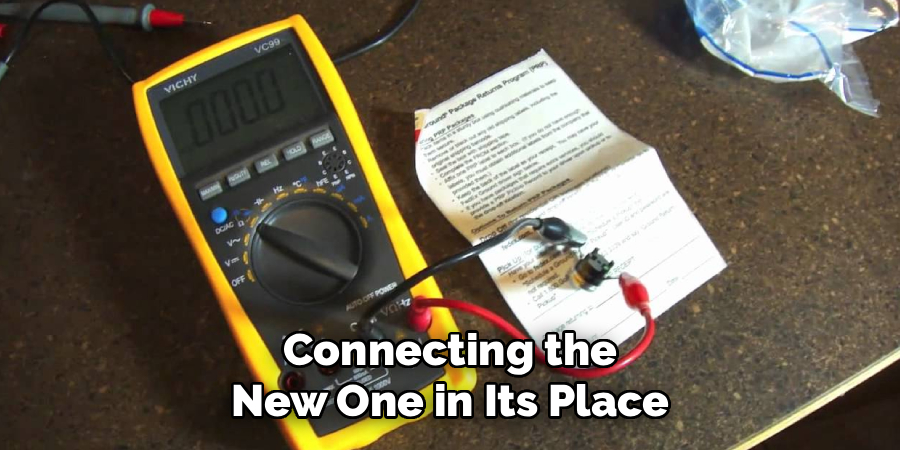
If your multimeter test shows that the thermostat is faulty (it shows an open circuit at room temperature), the only solution is to replace it. Thermostats are not repairable components. You will need to purchase a new thermostat that is compatible with your dishwasher’s make and model. You can find the part number in your user manual or by searching online. Replacing it is as simple as disconnecting the old one and connecting the new one in its place.
Conclusion
Testing your dishwasher’s thermostat is an empowering DIY task that can diagnose one of the most common reasons for poor cleaning performance. By following these steps, you can confidently determine if this small but vital component is the source of your problems. A successful test can rule out the thermostat, while a failed test gives you a clear path to a solution. Taking the time to learn how to test dishwasher thermostat functionality not only helps you restore your appliance to peak condition but also saves you money and teaches you more about how your home appliances work.

About
Diane Lo is a distinguished figure in the world of kitchen innovation and culinary design, with over a decade of expertise creating functional and sustainable kitchen environments. Her professional focus lies in merging ergonomic spatial planning with modern culinary technology, fostering kitchen layouts that are both highly practical and aesthetically refined. As the lead expert at Kitchenub, Diane Lo delves into the art and science of kitchen organization, appliance selection, and workflow efficiency, inspiring home cooks and professional designers alike.
Education
Royal Melbourne Institute of Technology (RMIT University) (Melbourne, Australia) Associate Degree in Interior Design and Spatial Planning Focus on sustainable kitchen layouts, user-centric design, and ergonomic efficiency. Gained hands-on experience in high-traffic commercial kitchen modeling and advanced space-saving architecture.
Nottingham Trent University (United Kingdom) Bachelor’s in Product Design and Culinary Architecture (Honors) Specialized in the intersection of kitchen technology and lifestyle design. Participated in major industry collaborations, working with premium appliance manufacturers and cabinetry firms to gain real-world insights into modern kitchen workflows.
Publications and Impact
At Kitchenub, Diane Lo shares her expert insights on kitchen renovation processes, material durability, and strategies for achieving peak culinary productivity. Her writing effectively bridges the gap between professional culinary needs and home design, making it an essential resource for those looking to transform their kitchen into a highly efficient and welcoming heart of the home.