

A built-in dishwasher offers a sleek, integrated look that can elevate any kitchen design, seamlessly blending in with your cabinetry for a clean, custom finish. While the aesthetic benefits are clear, achieving that perfect fit and ensuring flawless operation depends entirely on a correct installation. Improper setup can lead to frustrating issues like leaks, poor drainage, or even electrical hazards, turning your convenient appliance into a major headache.
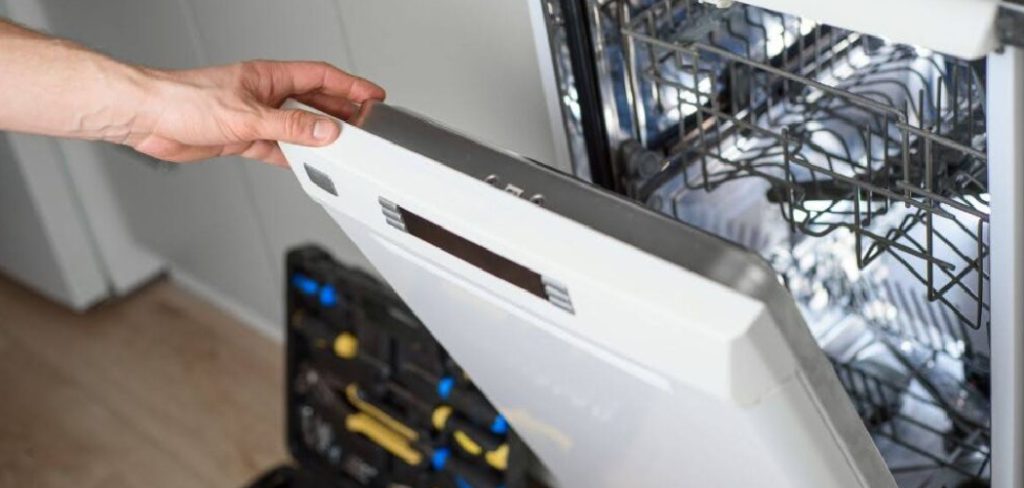
For a successful outcome, it’s essential to understand the key steps involved, from securing the unit in place to making the right water and electrical connections. Learning how to install built-in dishwasher yourself is a manageable DIY project that can save you money and give you the satisfaction of a job well done. This guide will walk you through the entire process, ensuring your new appliance works perfectly from the very first wash.
Materials and Tools Needed
Before starting the installation process, gather all the necessary materials and tools to ensure the job goes smoothly. Here’s a checklist to help you prepare:
Materials
- Dishwasher installation kit (usually includes water supply line, drain hose, and fittings)
- Teflon tape
- Wire nuts
- Strain relief connector
- Screws and brackets (typically provided with the dishwasher)
Tools
- Adjustable wrench
- Screwdriver (Phillips and flathead)
- Drill with bits
- Tape measure
- Level
- Utility knife
- Bucket or towels (for handling water spills)
Having these materials and tools ready will make the installation process more efficient and prevent unnecessary delays.
Steps How to Install Built-in Dishwasher
1.Measure the Space
Start by measuring the space where the dishwasher will be installed to ensure it fits properly. Use a tape measure to record the height, width, and depth of the cabinet opening. Compare these measurements with the dimensions of the dishwasher you have selected. Most standard dishwashers require an opening approximately 24 inches wide, 24 inches deep, and 34 to 35 inches high. Make sure to leave enough room for leveling and alignment adjustments if necessary. Double-check that there are no obstructions, such as pipes or wires, that could interfere with the installation.
2. Turn Off Water and Power Supply
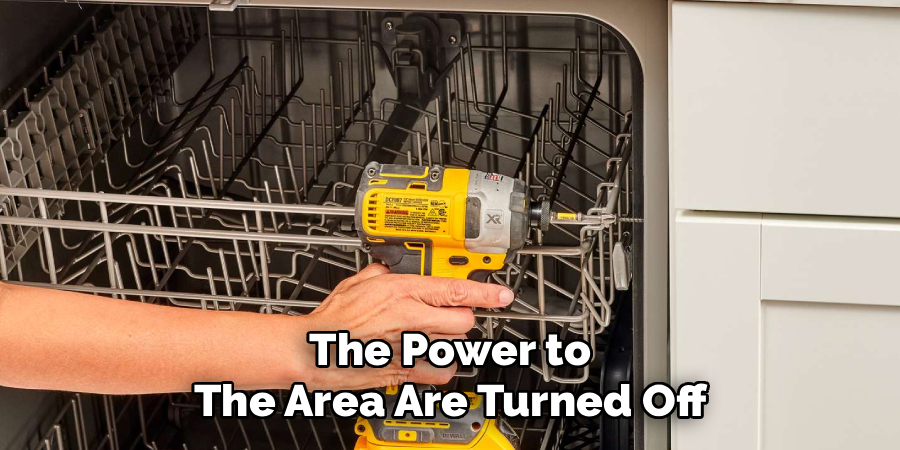
Before beginning the installation, ensure the water supply and the power to the area are turned off. Locate the water shutoff valve, typically under the sink or near the dishwasher, and turn it clockwise to close it. Next, switch off the circuit breaker that supplies power to the dishwasher to prevent any electrical hazards. Double-check that both the water and power are completely off before proceeding to the next steps. This is a crucial safety measure to avoid accidents during the installation process.**
3. Prepare the Plumbing Connections
Begin by attaching a dishwasher drain hose to the appliance’s drain outlet. Secure it firmly with a hose clamp to prevent any leaks during operation. Next, identify the sink drain or garbage disposal inlet where the hose will connect. Remove the plug inside the disposal inlet if necessary, and attach the other end of the drain hose to this connection point, securing it with a clamp.
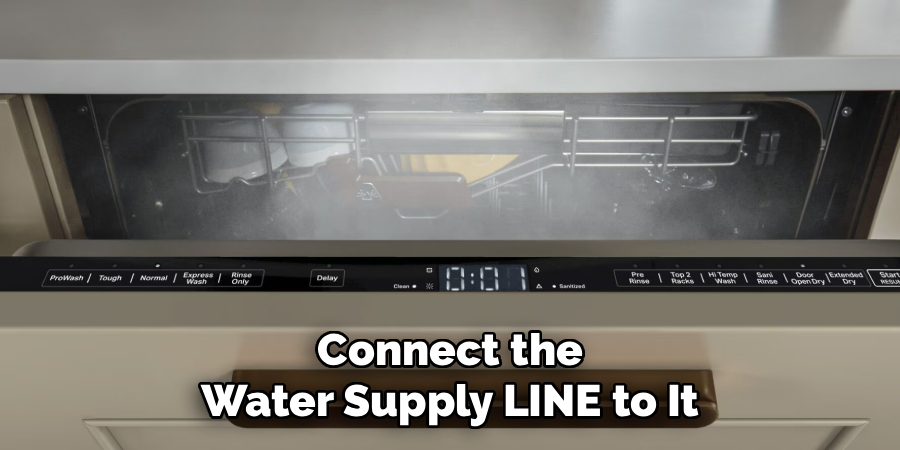
Then, locate the water inlet valve on the dishwasher and connect the water supply line to it, ensuring the fittings are tight using an adjustable wrench. Check all connections for proper alignment and ensure they are secure to avoid leaks when the dishwasher is running. Properly preparing these plumbing connections is essential for the efficient and safe operation of the appliance.
4.Install Electrical Wiring
Before connecting the electrical wiring, ensure that the power supply to the circuit is turned off at the breaker panel. Locate the electrical junction box on the dishwasher, usually found at the base of the appliance. Open the junction box and carefully feed the household electrical cable through the provided strain relief.
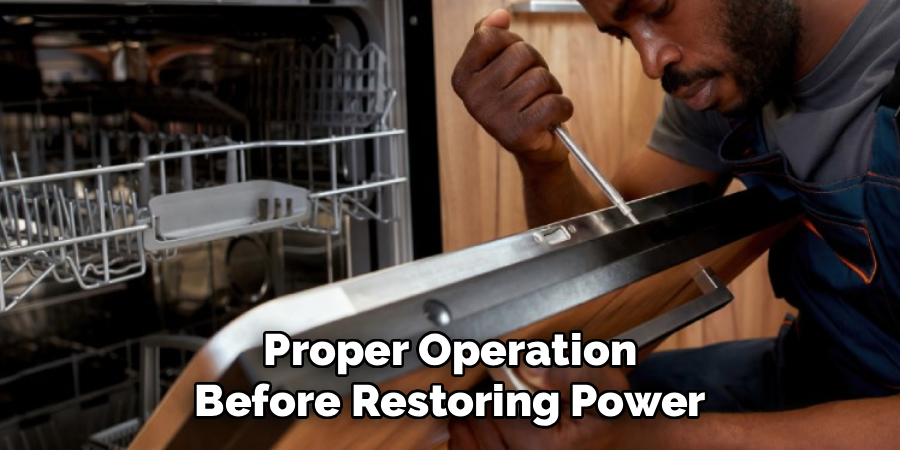
Match the wire colors from the supply cable to those in the dishwasher—typically black for hot, white for neutral, and green or bare for the ground wire. Use wire nuts to secure the connections, ensuring they are tight and well-connected. Once complete, tuck the wires neatly into the junction box and reattach the cover. Double-check all wire connections to guarantee safe and proper operation before restoring power.
5. Position the Dishwasher
Carefully slide the dishwasher into place within the cabinet opening. Align it so it sits evenly, ensuring that there is enough space around the sides for proper ventilation and operation. Use a level to confirm that the dishwasher is perfectly horizontal; adjust the leveling legs as needed to correct any tilts or uneven placement. Be cautious not to kink or strain the water supply line, drain hose, or electrical cable while positioning the appliance. Once the dishwasher is properly aligned, secure it to the countertop or side cabinets using the mounting brackets provided, following the manufacturer’s instructions.
6.Level the Dishwasher
Ensuring that the dishwasher is level is critical for its proper operation and to prevent leaks. Check if the unit is balanced by placing a level across the top front edge of the dishwasher. If adjustments are necessary, use the leveling legs located at the bottom of the appliance. Turn the legs clockwise to lower the dishwasher or counterclockwise to raise it. Make small adjustments on each leg as needed, rechecking with the level after every change. A properly leveled dishwasher will ensure smooth draining and reduce noise during operation.
7. Secure the Dishwasher to the Cabinet
Once the dishwasher is properly leveled, secure it to the cabinet to prevent movement during use. Open the dishwasher door and locate the mounting brackets at the top or sides of the unit. Align these brackets with the pre-drilled holes on the underside of the countertop or the cabinet sides. Use screws to fasten the brackets securely, ensuring the dishwasher is held firmly in place. Avoid overtightening the screws, which could damage the mounting brackets or surrounding cabinetry. Securing the dishwasher properly helps ensure its stability and reliable operation.
Safety Precautions During Installation
- Turn Off Power and Water Supply
Before starting the installation, ensure that the power supply to the dishwasher is turned off at the circuit breaker. Additionally, shut off the water supply to prevent any leaks or accidents during the process. - Use Proper Tools and Equipment
Always use the correct tools specified in the installation instructions. This reduces the risk of damage to the appliance or injury to yourself. - Avoid Overlifting
Dishwashers can be heavy and awkward to move. If necessary, enlist the help of another person to safely lift and position the appliance to avoid strain or injury. - Check for Sharp Edges
Be cautious of sharp edges on the dishwasher or surrounding cabinetry to prevent cuts. Wear work gloves if needed for extra protection. - Ensure Proper Ventilation
Verify that the installation space allows for adequate ventilation to avoid overheating or operational issues during use.
By following these safety precautions, you can minimize risks and ensure a smooth and secure dishwasher installation process.
Frequently Asked Questions
Do I need a professional to install a built-in dishwasher?
While DIY installation is possible, hiring a professional can ensure compliance with local codes and proper hookups to avoid issues.
Can I install a built-in dishwasher without plumbing experience?
Basic plumbing skills are helpful, but improper water connections can lead to leaks or damage. If you’re unsure, consider consulting a professional.
How do I know if my kitchen has the right electrical setup?
A dedicated 120V power outlet or circuit is required for safe operation. If you are uncertain about your kitchen’s electrical wiring, it’s best to consult a licensed electrician.
What tools are needed to install a built-in dishwasher?
Common tools required include a screwdriver, wrench, drill, level, and pliers. Having these tools on hand can make the installation process more efficient.
How long does it typically take to install a built-in dishwasher?
The installation usually takes between 1 to 3 hours. The exact time depends on your level of experience and your kitchen’s setup complexity.

Conclusion
Installing a built-in dishwasher can be a straightforward process when approached with the right tools and preparation. Key steps, such as carefully measuring your kitchen space, ensuring proper electrical and plumbing connections, and securely mounting the appliance, are essential for a safe and efficient setup. Always prioritize following the manufacturer’s instructions and adhering to local building codes to avoid potential issues.
If you feel uncertain at any point during the installation, do not hesitate to seek help from a licensed professional. Their expertise can help prevent costly mistakes and ensure everything is completed to the highest safety standards. Remember, a properly installed dishwasher not only operates efficiently but also contributes to its longevity, providing reliable performance for years to come.**

About
Diane Lo is a distinguished figure in the world of kitchen innovation and culinary design, with over a decade of expertise creating functional and sustainable kitchen environments. Her professional focus lies in merging ergonomic spatial planning with modern culinary technology, fostering kitchen layouts that are both highly practical and aesthetically refined. As the lead expert at Kitchenub, Diane Lo delves into the art and science of kitchen organization, appliance selection, and workflow efficiency, inspiring home cooks and professional designers alike.
Education
Royal Melbourne Institute of Technology (RMIT University) (Melbourne, Australia) Associate Degree in Interior Design and Spatial Planning Focus on sustainable kitchen layouts, user-centric design, and ergonomic efficiency. Gained hands-on experience in high-traffic commercial kitchen modeling and advanced space-saving architecture.
Nottingham Trent University (United Kingdom) Bachelor’s in Product Design and Culinary Architecture (Honors) Specialized in the intersection of kitchen technology and lifestyle design. Participated in major industry collaborations, working with premium appliance manufacturers and cabinetry firms to gain real-world insights into modern kitchen workflows.
Publications and Impact
At Kitchenub, Diane Lo shares her expert insights on kitchen renovation processes, material durability, and strategies for achieving peak culinary productivity. Her writing effectively bridges the gap between professional culinary needs and home design, making it an essential resource for those looking to transform their kitchen into a highly efficient and welcoming heart of the home.