

Silicone baking mats have revolutionized the home kitchen, offering an unbeatable combination of convenience, sustainability, and consistency. If you’ve ever dreaded scraping cookies off a stuck-on pan or tossing yet another sheet of parchment paper in the trash, you’ll find silicone mats to be a game-changer. Designed to replace single-use parchment and eliminate the need for greasing pans, these mats deliver a superior non-stick surface and even bake every time. Understanding how to use silicone baking mats effectively means unlocking their full potential—not just for cookies, but for everything from roasted vegetables to delicate candies.
In this comprehensive guide, we’ll walk through everything you need to know: which mats to buy for your kitchen, the proper way to use and care for them, unexpected applications, and strategies for troubleshooting common challenges. By the end, you’ll not only be comfortable using your silicone baking mats, but you’ll also enjoy more consistent, stress-free, and eco-friendly baking—no matter your skill level.
What to Buy if You Want to Use Silicone Baking Mats
Finding the right silicone baking mat for your needs involves more than grabbing the first option you see at the store. Quality, size, and certifications all play a part in ensuring the mat performs perfectly in your kitchen. Knowing how to use silicone baking mats begins with choosing the best one for your regular baking projects.
Matching Sizes to Your Sheet Pans
Perhaps the most important aspect of purchasing a silicone baking mat is selecting the correct size. Mats are generally manufactured in standard dimensions such as half-sheet and quarter-sheet, corresponding with common baking tray sizes. Before buying, measure your existing bakeware or check the manufacturer’s specs to ensure a snug, flat fit. A mat that rides up the sides or bunches can lead to uneven baking and frustration—so prioritize a perfect match.
Understanding Thickness and Fiberglass Mesh Reinforcement
All silicone mats are not created equal. High-quality mats typically include a fiberglass mesh embedded within the silicone, which is often visible if you look closely. This mesh makes the mat sturdy, enhances heat distribution, and improves its longevity. Thickness matters as well; thicker mats tend to withstand more frequent use and provide more reliable results. Cutting corners on thickness or mesh reinforcement can result in mats that warp, tear, or fail to provide the even nonstick performance you expect.
Checking Temperature Limits and Certifications
Always review the manufacturer’s information regarding maximum temperature—most silicone baking mats are rated for use up to 450-500°F (230-260°C). Exceeding this can cause the silicone to degrade or even leach unpleasant odors. Food-grade certifications such as FDA or LFGB compliance indicate your mat is safe for food contact, so check packaging or product descriptions to confirm. Purchasing a certified, high-temperature-resistant mat protects both your health and your culinary creations.
Proper Placement and Pan Preparation
Success with silicone mats starts before you preheat the oven. Learning how to position and prepare your mat properly is key to optimal results.
Ensuring a Flat, Secure Fit
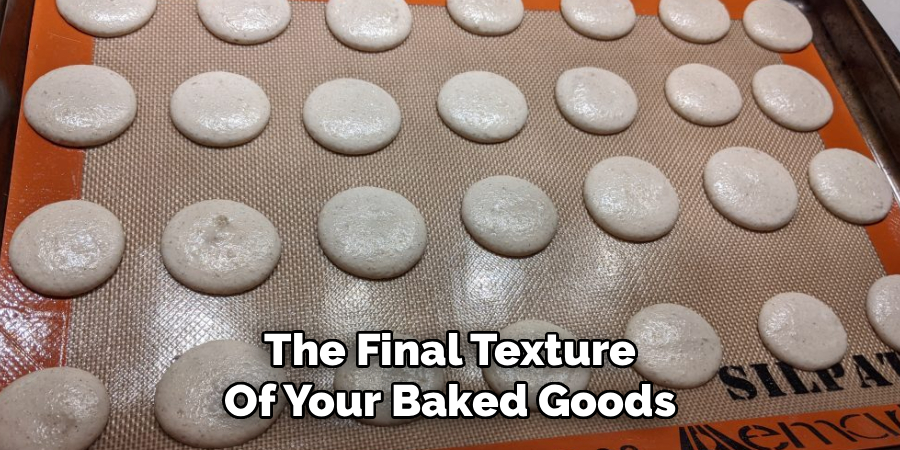
Start by placing the baking mat flat on a clean metal baking sheet. Take a moment to make sure the mat is lying completely flat; there should be no wrinkles or buckled edges. A pan that’s warped or bent can cause the mat to shift, affecting heat distribution and the final texture of your baked goods. If your pans are old or no longer perfectly flat, consider upgrading to get the most from your silicone mats.
To Grease or Not to Grease?
For the vast majority of baking tasks, the defining feature of a silicone baking mat is its non-stick surface—no additional oil, butter, or spray is needed. Simply place cookies, dough, or other items directly onto the mat before baking. The only rare exceptions are sticky, high-sugar recipes such as caramel or marshmallow confections. For these, a faint mist of non-stick spray may provide extra insurance, though most home bakers will still find release effortless without it.
How to Use Silicone Baking Mats: A World of Baking Applications
While cookies might be the most common use, mastering how to use silicone baking mats opens up a host of applications in the kitchen.
For Perfect Cookies and Pastries
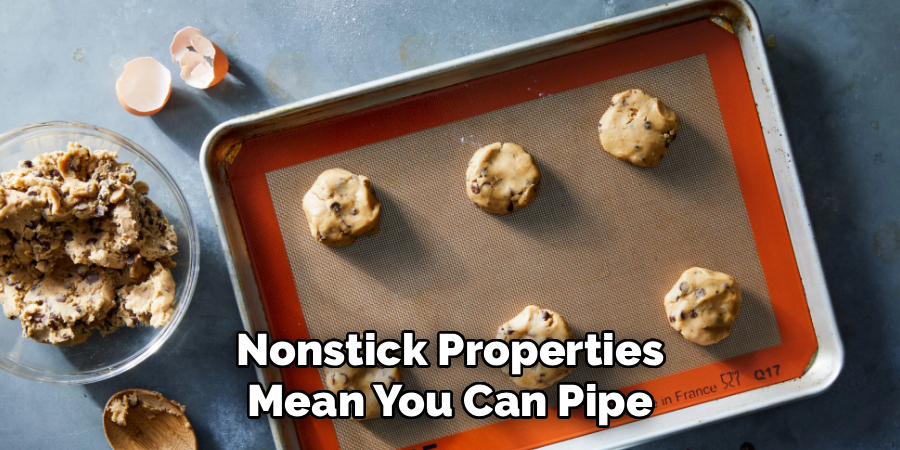
Home bakers often gravitate to silicone mats for cookies due to the even, golden browning and easy release they provide. No more worrying about cookies fusing to the pan or overbaked edges. When making delicate pastries like macarons, eclairs, or choux, the mat’s stability and nonstick properties mean you can pipe and bake with confidence, resulting in perfect shapes and clean removal every time.
For Sticky Candy Making and Chocolate Work
Silicone mats really shine when working with hot sugar or chocolate. Pouring caramel, brittle, or toffee mixtures directly onto the mat lets them cool quickly and peel away cleanly. Tempered chocolate can be spread out, shaped, and removed without residue. Unlike parchment, mats don’t tear or stick, simplifying cleanup and ensuring your candies look as flawless as they taste.
For Roasting Vegetables and Meats
Silicone mats are just as useful for savory dishes. Roasting vegetables like carrots, potatoes, or broccoli on a mat prevents sticking, locks in natural flavors, and makes cleanup simple. Mat surfaces don’t absorb odors or stains easily, which is helpful when swapping between sweet and savory bakes. It’s worth noting, however, that because the silicone insulates somewhat, you may see slightly less browning than with direct metal contact. To compensate, increase your oven temperature slightly or extend cooking time by a few minutes for that classic roasted color.
Using Mats for Rolling and Shaping Dough
Baking is about more than what happens in the oven. Silicone mats play a vital role in the preparation stages, too.
A Reusable, Non-Stick Work Surface
Whether you’re kneading bread, rolling out pizza dough, or shaping batches of cookies, a silicone mat can be your steady companion on the countertop. Its grippy, non-slip surface holds firm on most flat surfaces, providing a clean, reusable workspace that doesn’t require dusting with extra flour. Reducing added flour can keep pie crusts and bread doughs tender rather than tough.
Handling Sticky Doughs with Ease
If you’ve struggled with high-hydration sourdough or notoriously sticky brioche, a silicone mat can make all the difference. Doughs are less likely to adhere to the silicone, making it easier to stretch, fold, or form them into their final shapes. Afterward, cleanup is a cinch—just rinse off any flour or bits of dough, and your surface is ready for its next task.
Essential Cleaning and Care Techniques
To maximize the longevity of your mats, a consistent cleaning routine is essential. This section goes beyond the basics, offering solutions for stubborn residue and extending your mat’s useful life.
Removing the Stubborn Greasy Film
Over time, you might notice a sticky or greasy film developing, especially if you frequently bake with oils or butters. This isn’t a sign the mat is ruined; rather, it’s a natural buildup of baked-on fats. To tackle it, create a paste from baking soda and a small amount of water, scrub the mat gently, and rinse thoroughly. For most routine cleaning, hot water and a drop of grease-fighting dish soap will do the trick.
Dishwasher vs. Hand-Washing
While most silicone mats are safe for the top rack of the dishwasher, many home cooks find that hand-washing is faster and more effective—particularly for greasy residue. As with any kitchen tool, avoid harsh scouring pads that might damage the silicone or embedded mesh. After washing, let the mat air dry before storing.
Storing Mats Flat or Rolled
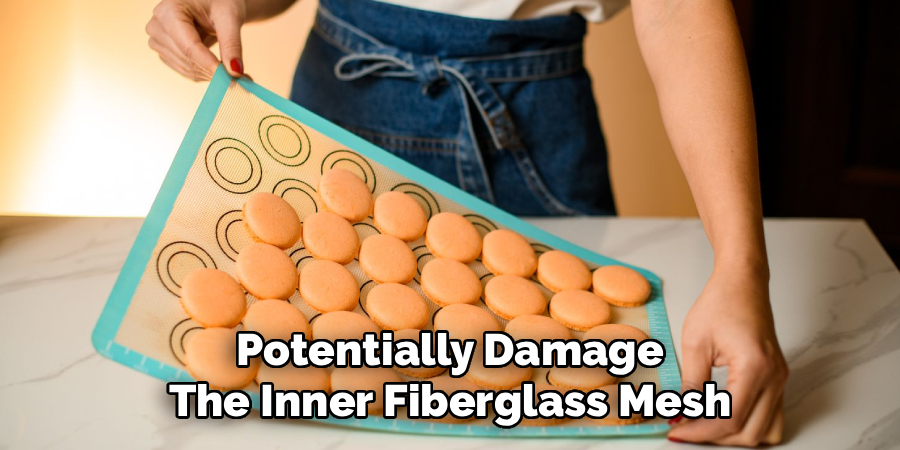
Keeping your mats in good shape involves thoughtful storage. The best approach is to store them flat, such as inside a baking sheet. Alternatively, mats can be gently rolled up and placed in a drawer or upright in a container. Avoid folding a silicone baking mat, as this can create permanent creases and potentially damage the inner fiberglass mesh, reducing the lifespan of your investment.
Safety Rules and Heat Considerations
Understanding the limits of your silicone mat ensures safe use and protects your cooktop, oven, and baked goods.
Respecting the Maximum Temperature
Every mat comes with a listed maximum temperature—usually between 450°F and 500°F. Never exceed this limit, as going higher can cause the silicone to deform, discolor, or emit unwanted smells. Adhering to manufacturer guidelines is a simple but crucial part of using your baking mat safely and prolonging its usefulness.
A Critical Broiler and Direct Flame Warning
Silicone mats are not designed to withstand the intense, direct heat of broilers, stovetops, grills, or open flames. Never place a mat on or under these direct heat sources, as it will degrade rapidly and could potentially become a fire hazard. Always use mats inside a conventional oven and on a metal baking sheet.
Never Use a Knife on Your Mat
Avoid using sharp utensils or slicing directly on your mat, as cuts can compromise the non-stick surface and the integrity of the internal mesh. Transfer food like pizzas or cookie slabs to a cutting board before slicing. Even a gentle pass with a pizza wheel can leave marks that shorten your mat’s effective life.
Troubleshooting Common Silicone Mat Problems
Even experienced bakers occasionally encounter challenges. Here’s how to resolve a few of the most common issues when learning how to use silicone baking mats.
Solving the Persistent Greasy Film
If your mat feels tacky even after washing, it’s likely due to baked-on oils. As mentioned earlier, a paste of baking soda and water can cut through most greasy films. Soaking the mat for several hours in hot, soapy water will also help loosen stubborn residue. Be patient—multiple treatments may be required if the buildup is heavy.
Addressing Browning Issues
Bakers sometimes find that cookies or pastries baked on silicone mats don’t brown as deeply on the bottom. This is a result of silicone’s slight insulating effect against the direct metal pan. To enhance browning, consider lowering the oven rack for more direct heat exposure or extending bake times by a few minutes. For particularly color-sensitive recipes, switching between parchment and silicone mats can help you dial in perfect results.
What to Do If Mats Slide on the Counter
During dough rolling or shaping, some mats may slide on certain countertop materials. Prevent this by placing a damp paper towel or cloth beneath your silicone mat. This adds enough friction to keep everything stable as you work, ensuring neat and frustration-free results.
The Eco-Friendly and Cost-Saving Benefits
Silicone baking mats aren’t just about convenience—they also make a meaningful difference for your budget and the environment.
A Reusable Alternative to Single-Use Parchment
Consider the lifetime of one silicone mat compared to rolls and rolls of parchment or aluminum foil. By using a washable, reusable surface, you reduce kitchen waste and save on the recurring purchase of disposable liners. Over months and years, this simple swap keeps untold numbers of single-use sheets out of landfills, making it an easy step toward a greener kitchen.
Calculating the Long-Term Cost Savings
While a high-quality silicone mat may cost more upfront than a package of parchment, it easily pays for itself after a few dozen uses. Many mats are rated for thousands of cycles, so the initial investment is quickly offset by the savings—especially for avid bakers. Think of it as a kitchen tool that both simplifies your process and boosts your sustainability efforts.
Conclusion
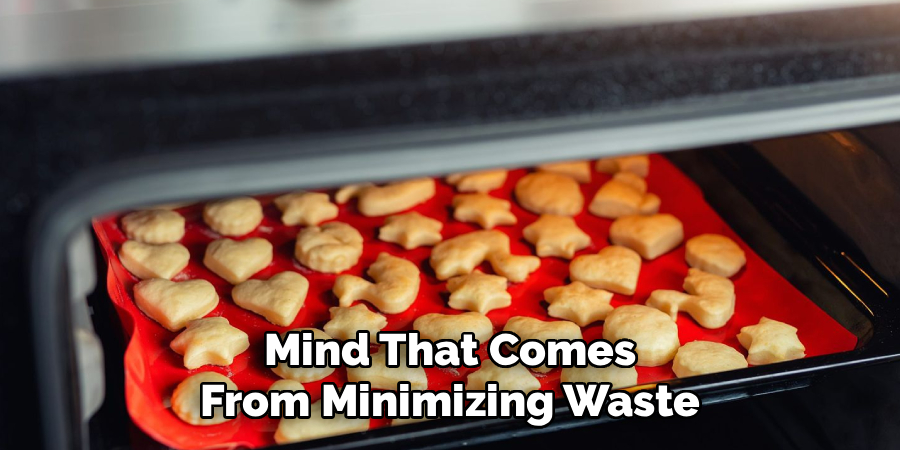
Mastering how to use silicone baking mats is a small change that delivers big rewards for home bakers and cooks of all experience levels. Choose mats that fit your pans and meet food-grade standards, use them on sturdy baking sheets, and follow proper cleaning and storage tips to maximize their lifespan. By embracing these mats, you gain a non-stick, even-baking surface that’s handy for sweet and savory recipes alike—plus the peace of mind that comes from minimizing waste.
Whether you’re rolling out dough, perfecting pastries, or roasting weeknight vegetables, silicone baking mats are a tool that keeps working for you every time you cook. With thoughtful care and the tips in this guide, you can count on dependable, delicious results and a cleaner, greener kitchen for years to come.

About
Diane Lo is a distinguished figure in the world of kitchen innovation and culinary design, with over a decade of expertise creating functional and sustainable kitchen environments. Her professional focus lies in merging ergonomic spatial planning with modern culinary technology, fostering kitchen layouts that are both highly practical and aesthetically refined. As the lead expert at Kitchenub, Diane Lo delves into the art and science of kitchen organization, appliance selection, and workflow efficiency, inspiring home cooks and professional designers alike.
Education
Royal Melbourne Institute of Technology (RMIT University) (Melbourne, Australia) Associate Degree in Interior Design and Spatial Planning Focus on sustainable kitchen layouts, user-centric design, and ergonomic efficiency. Gained hands-on experience in high-traffic commercial kitchen modeling and advanced space-saving architecture.
Nottingham Trent University (United Kingdom) Bachelor’s in Product Design and Culinary Architecture (Honors) Specialized in the intersection of kitchen technology and lifestyle design. Participated in major industry collaborations, working with premium appliance manufacturers and cabinetry firms to gain real-world insights into modern kitchen workflows.
Publications and Impact
At Kitchenub, Diane Lo shares her expert insights on kitchen renovation processes, material durability, and strategies for achieving peak culinary productivity. Her writing effectively bridges the gap between professional culinary needs and home design, making it an essential resource for those looking to transform their kitchen into a highly efficient and welcoming heart of the home.