

Putting out a Solo Stove the right way is crucial for your safety and the stove’s longevity. Whether you’re wrapping up a night of camping or just finished a backyard bonfire, it’s important to follow the correct steps to ensure that no embers are left unattended. Many people assume you can extinguish a Solo Stove like a traditional fire pit, but there are unique considerations with this smokeless design.
Taking your time during this process helps prevent accidents, keeps your stove in great condition, and protects the environment around you. In this guide on how to put out a solo stove, you’ll learn what you need and exactly how to do it safely. Let’s walk through the process to keep your fire fun—and safe—for next time.
Why It’s Important to Properly Extinguish a Solo Stove?
Properly extinguishing a Solo Stove is crucial for several reasons. First and foremost, it significantly reduces the risk of accidental fires that can be devastating to your property and the environment. Even though the Solo Stove is designed to contain heat efficiently, residual warmth can linger and reignite nearby flammable materials if not handled correctly.
Additionally, improper extinguishing can lead to damage to the stove itself, as extreme temperature changes (such as pouring water directly onto hot surfaces) may cause warping or cracking. Lastly, responsibly putting out your Solo Stove ensures you’re minimizing environmental impact by avoiding unnecessary smoke or ash spreading. Taking a few extra minutes to follow the correct extinguishing procedure ensures safety, preserves the life of your stove, and protects the natural surroundings.
Tools and Materials You’ll Need
- Heat-resistant Gloves
- Long Fire Poker or Tongs
- Ash Scoop or Small Metal Shovel
- Metal Bucket With a Lid (for Ashes)
- Fireproof Surface or Pad (Optional)
- Water in a Spray Bottle (for Extra Caution, Not Direct Dousing)
- Protective Eyewear (if Desired)
10 Step-By-Step Guidelines on How to Put Out a Solo Stove
Step 1: Allow the Fire to Burn Down Naturally
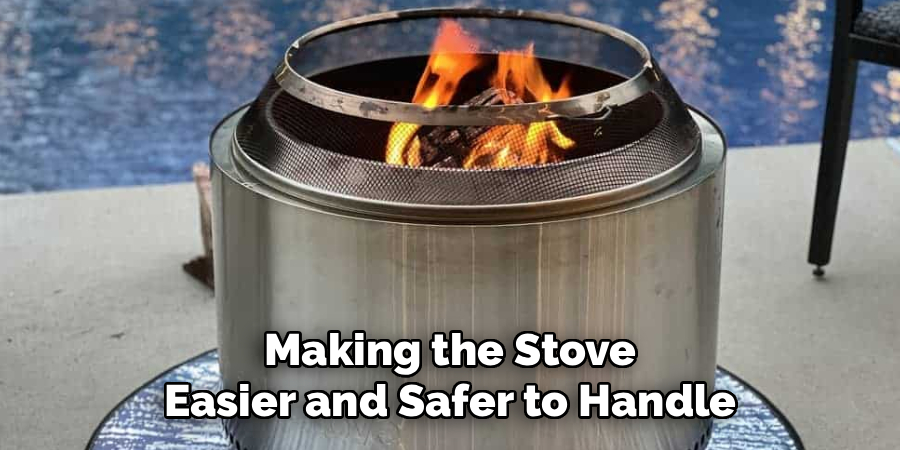
Whenever possible, let the fire burn down on its own. Avoid adding new wood or fuel when you know you’ll want to extinguish the fire soon. As the flames die down, the remaining fuel will turn to ash, making the stove easier and safer to handle.
Keep an eye on the fire as it weakens. By allowing it to subside naturally, you minimize both smoke and leftover embers, making the entire process less hazardous and more environmentally friendly.
Step 2: Gently Stir the Ashes
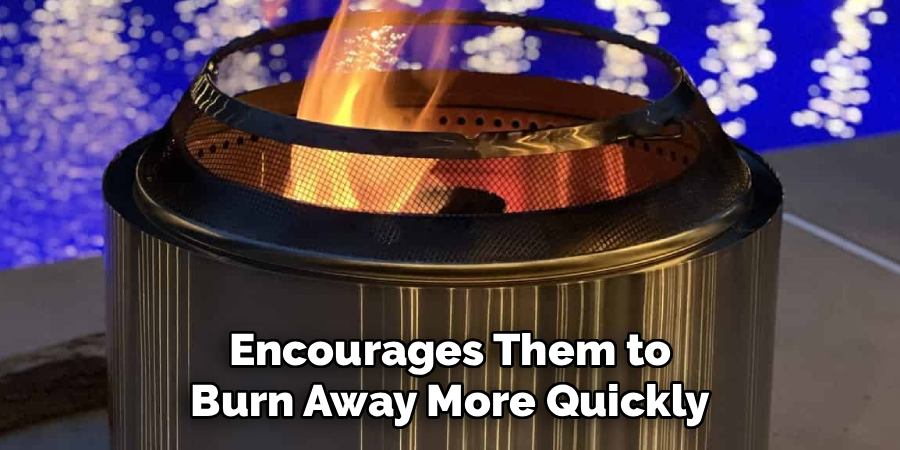
Once the flames are almost out, use a long fire poker or tongs to gently stir the ashes and coals. This helps expose any remaining hot spots and encourages them to burn away more quickly.
Be cautious not to stir too vigorously—this can send hot embers flying. Wear heat-resistant gloves to protect yourself from any residual heat as you ensure all parts of the fire are cooling evenly.
Step 3: Spread Out Any Remaining Coals
After stirring, use your poker to spread the embers into a thin, even layer across the bottom of the stove. Spreading them out helps dissipate heat and cool the coals much faster than leaving them in a pile.
This step is important for reducing the risk of accidental flare-ups. By increasing the surface area, you accelerate the natural cooling process and make it easier for the embers to die out completely.
Step 4: Allow for Adequate Ventilation
Ensure your Solo Stove remains uncovered and well-ventilated as the embers cool. Good airflow helps the last bits of fuel burn away while keeping heat from building up in the stove.
Proper ventilation also prevents moisture buildup inside the stove, which could damage it over time. Place the stove in a safe area where no flammable materials are nearby during this cooling phase.
Step 5: Feel for Remaining Heat Safely
After some time, carefully hover your hand above the ashes (without touching) to check for lingering warmth. If you still feel heat, give the stove more time to cool naturally.
Never attempt to handle or move the stove if any heat remains. This patient step is essential for preventing burns and accidental fires.
Step 6: Carefully Remove Ashes and Debris
Once the ashes are cold to the touch, use an ash scoop or a small metal shovel to remove them from the stove. Place the ashes directly into a metal bucket with a secure lid designed for fire debris.
Do not dispose of ashes in plastic or paper containers, as hidden embers can stay hot for hours. Use only metal containers and keep them away from combustible materials until you’re certain the ashes are fully cool.
Step 7: Wipe Down the Stove’s Interior
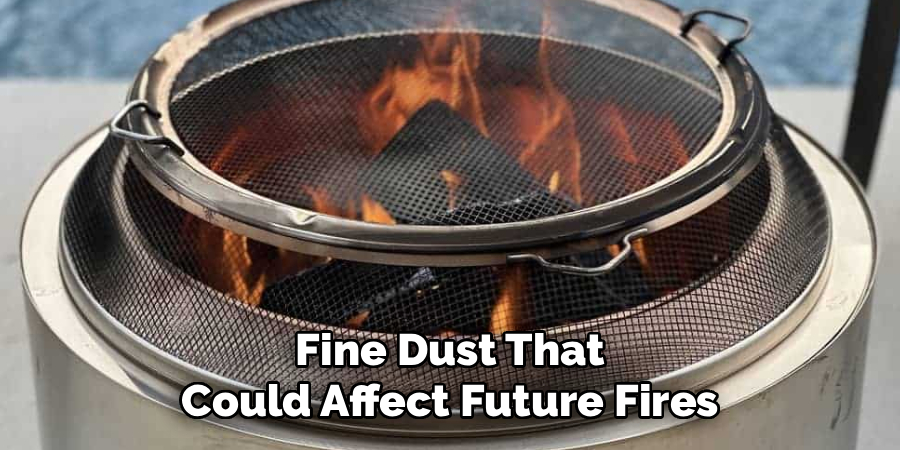
Use a damp cloth (not soaking wet) to gently wipe out the interior of your Solo Stove. This helps remove lingering soot or fine dust that could affect future fires.
Allow the stove to air dry totally before storing. A clean stove not only works better but also lasts longer.
Step 8: Inspect the Stove for Damage
With the ashes removed and the interior clean, take a moment to inspect your stove for signs of wear or damage. Look for warped metal, cracked surfaces, or any abnormal discoloration.
Identifying any problems early ensures that your stove remains safe and functional for the long haul. If you spot any serious issues, follow up with the manufacturer for advice or potential repairs.
Step 9: Store the Stove Properly
Once your Solo Stove is fully cool, store it in a dry, sheltered place. Keeping it away from rain and moisture will help prevent rust and extend the stove’s lifespan.
Use a protective cover or case if provided. Proper storage makes it much easier to set up for your next fire and keeps your stove in top condition.
Step 10: Follow Up with Safety Checks
After the stove and area have cooled and all ashes are cleared, do a final inspection of the surrounding area. Look for any stray embers or signs that heat might still be radiating from nearby surfaces.
A diligent safety check can prevent accidental fires and give you peace of mind as you leave the area. Even with a smokeless stove, always prioritize thoroughness over haste.
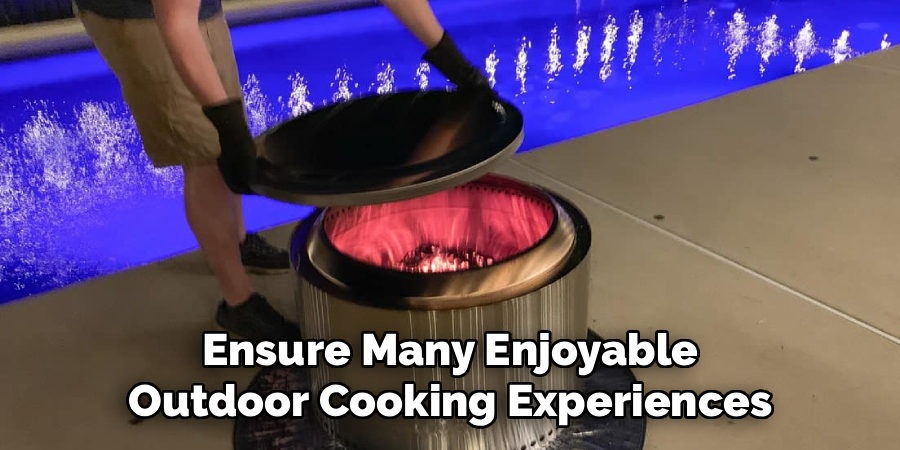
Following these steps on how to put out a solo stove will help prolong its lifespan and keep you safe during and after use. Remember to always prioritize safety and proper maintenance to ensure many enjoyable outdoor cooking experiences with your Solo Stove! Now, let’s dive into some additional tips and tricks for using your Solo Stove.
Additional Tips and Tricks
- To prevent discoloration of the bottom of your stove, place a layer of sand or rocks at the base before starting the fire.
- For optimal performance, make sure to clean out any debris or ash from the stove after each use.
- Use dry, seasoned wood for best results. Wet or green wood can create excess smoke and decrease efficiency.
- Consider using a windscreen around your solo stove in windy conditions to help maintain a strong flame.
- Don’t forget to bring along a pair of heat-resistant gloves for handling the hot stove and removing ashes.
- To keep your Solo Stove looking its best, use stainless steel cleaner to remove any soot or discoloration.
- For added convenience, consider purchasing a carrying case specifically designed for your Solo Stove. This will make it easier to transport and protect your investment.
- Experiment with different types of wood to see which burns best in your Solo Stove. Different woods can create varying levels of heat and burn time.
Frequently Asked Questions
Q1: How Do I Safely Extinguish the Stove?
A1: The safest way to extinguish a Solo Stove is to let the fire die out on its own. Stir the coals gently to help them cool and check that all embers are out before removing ashes. Avoid using water directly on the stove, as it may damage the unit and create safety risks. Always handle ashes with care and store them in a metal container until completely cool.
Q2: Can I Pour Water Onto the Fire to Put It Out Faster?
A2: It is not recommended to pour water directly onto the Solo Stove to extinguish the fire. Doing so can warp the metal and result in excessive steam or even crack the stove. Instead, let the fire cool naturally and disperse any embers. If needed, you can use a fine water mist to dampen ashes, but do so sparingly and with caution.
Q3: How Long Does It Take for the Solo Stove to Cool Down?
A3: The cooling time for a Solo Stove can vary, but you should plan for at least 45 minutes to over an hour for the unit to become safe to touch. Factors such as the amount of fuel used, outdoor temperature, and wind all play a role. Always test for heat with your hand above (not on) the stove, and never handle or store it until it is completely cool and safe.
Conclusion
Putting out a Solo Stove safely requires patience, the proper tools, and attention to detail. By following these thorough guidelines on how to put out a solo stove, you protect yourself, your gear, and the environment.
Remember, taking the right steps every time ensures your stove remains reliable and ready for your next adventure. Enjoy your fires responsibly, and always make safety your top priority.

About
Diane Lo is a distinguished figure in the world of kitchen innovation and culinary design, with over a decade of expertise creating functional and sustainable kitchen environments. Her professional focus lies in merging ergonomic spatial planning with modern culinary technology, fostering kitchen layouts that are both highly practical and aesthetically refined. As the lead expert at Kitchenub, Diane Lo delves into the art and science of kitchen organization, appliance selection, and workflow efficiency, inspiring home cooks and professional designers alike.
Education
Royal Melbourne Institute of Technology (RMIT University) (Melbourne, Australia) Associate Degree in Interior Design and Spatial Planning Focus on sustainable kitchen layouts, user-centric design, and ergonomic efficiency. Gained hands-on experience in high-traffic commercial kitchen modeling and advanced space-saving architecture.
Nottingham Trent University (United Kingdom) Bachelor’s in Product Design and Culinary Architecture (Honors) Specialized in the intersection of kitchen technology and lifestyle design. Participated in major industry collaborations, working with premium appliance manufacturers and cabinetry firms to gain real-world insights into modern kitchen workflows.
Publications and Impact
At Kitchenub, Diane Lo shares her expert insights on kitchen renovation processes, material durability, and strategies for achieving peak culinary productivity. Her writing effectively bridges the gap between professional culinary needs and home design, making it an essential resource for those looking to transform their kitchen into a highly efficient and welcoming heart of the home.