

The Solo Stove Yukon offers a unique and mesmerizing fire experience, thanks to its signature 360° Airflow Design. This technology creates a beautiful, secondary burn that results in a nearly smokeless fire. Mastering the art of starting a fire in your Yukon is the first step toward countless enjoyable evenings spent around its captivating flames.
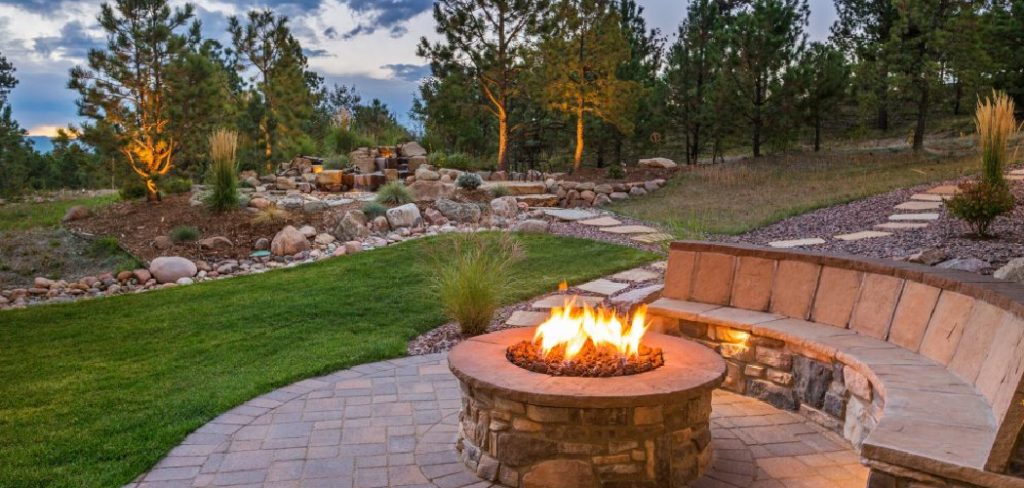
This guide on how to start a fire in solo stove yukon will walk you through everything you need to know, from gathering the right materials to the final, roaring blaze. By following these steps, you’ll ensure a safe, efficient, and impressive fire every time, making you the designated fire-starter for all future gatherings.
Tools and Materials You’ll Need
- Solo Stove Yukon and Stand
- Hardwoods (Like Oak, Hickory, or Maple), Cut to 16 Inches or Less
- Kindling (Small, Dry Sticks or Split Wood)
- Fire Starters or Tinder (Such as Cotton Balls With Petroleum Jelly, Dryer Lint, or Commercial Fire Starter Pucks)
- Lighter or Matches
10 Step-by-step Guidelines on How to Start a Fire in Solo Stove Yukon:
Step 1: Set Up Your Yukon in a Safe Location
Before you even think about lighting a fire, safety must be your top priority. Choose a level, outdoor surface that is clear of any flammable materials. This includes overhanging branches, dry leaves, and outdoor furniture. Place the Yukon on its stand to ensure proper airflow underneath and to protect the surface below from intense heat. It’s crucial to maintain at least a six-foot clearance around the fire pit to prevent any accidents.
Always check your local regulations regarding recreational fires to ensure you are in compliance. Position your Yukon away from buildings and ensure there is adequate ventilation. This initial setup is the foundation for a safe and enjoyable experience, so take a few extra moments to assess your surroundings and make sure everything is properly in place before proceeding.
Step 2: Prepare Your Firewood
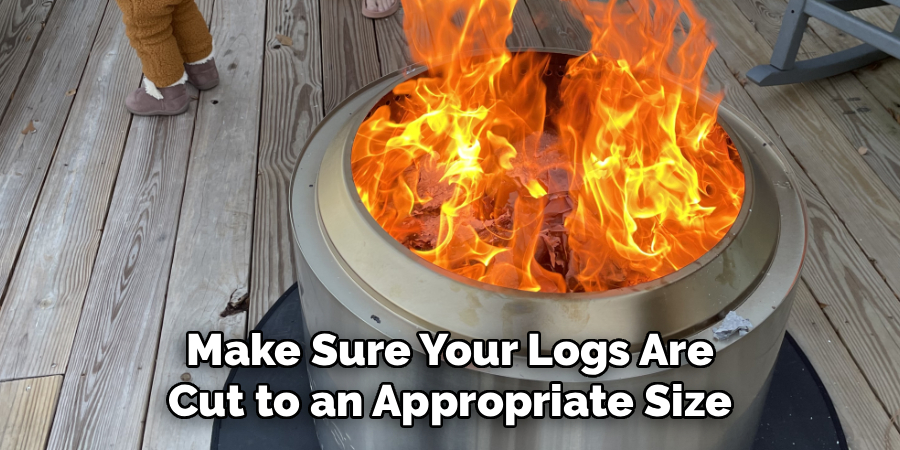
The quality of your fire depends heavily on the wood you use. For the Solo Stove Yukon, kiln-dried or well-seasoned hardwoods are the best choice as they burn hotter, longer, and produce less smoke. Make sure your logs are cut to an appropriate size, ideally no longer than 16 inches, so they fit comfortably inside the burn chamber. You should also have a good supply of kindling, which consists of small, dry twigs or thinly split pieces of wood.
Organize your wood into three piles: tinder (your fire starters), kindling (small sticks), and fuel wood (larger logs). Having everything prepared and within reach will make the process of building and maintaining your fire much smoother. This preparation prevents you from having to search for more wood once the fire has already started, allowing you to relax and enjoy the flames.
Step 3: Place Your Tinder in the Center
Now it’s time to build the base of your fire. Take your chosen tinder—whether it’s a commercial fire starter, dryer lint, or a cotton ball soaked in petroleum jelly—and place it directly in the center of the grate at the bottom of the Yukon. The goal is to create a small, concentrated source of heat that will easily catch the kindling you place on top of it. Don’t be shy with your Tinder; using a sufficient amount will increase your chances of a successful first light.
The grate inside the Yukon is designed to allow ash to fall through while keeping your fuel elevated for optimal airflow. Placing the tinder centrally ensures that the initial flame has access to the air coming from the lower vents. This central placement is key to building a stable fire structure that will burn evenly and efficiently from the ground up.
Step 4: Build a Kindling Teepee or Log Cabin
With your tinder in place, you can now add the kindling. A classic and effective structure is the teepee. Lean your small sticks of kindling against each other, forming a cone shape directly over the tinder. Leave a small opening on one side so you can easily light the tinder underneath. This structure allows air to circulate freely while concentrating the heat upwards to ignite the wood.
Another popular method is the log cabin, where you stack kindling in a square shape, Lincoln Log-style, around the tinder. Both structures work exceptionally well in the Yukon because they promote airflow. The key is to build a stable structure that won’t collapse but has enough space between the pieces of kindling for oxygen to fuel the initial flame.
Step 5: Light the Tinder
Carefully reach through the opening you left in your kindling structure and light the tinder using a long-handled lighter or matches. Light it in a few different spots to ensure it catches properly. Once the tinder is lit, you should see it start to smolder and then produce a small, steady flame. Avoid the temptation to add more wood immediately; give the kindling time to catch fire from the tinder.
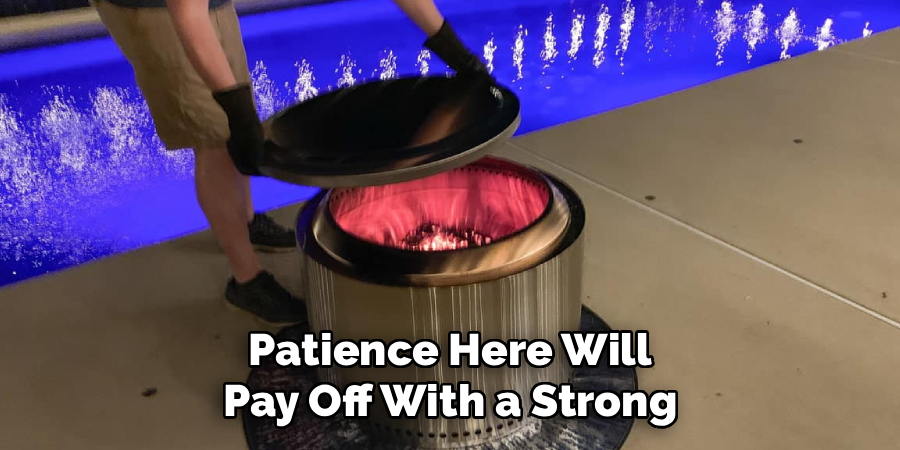
You’ll know the kindling is catching when you hear a soft crackling sound and see the flames begin to grow and spread up the teepee or through the log cabin structure. This is the most critical phase, as a well-established kindling fire is the bridge to igniting your larger logs. Patience here will pay off with a strong, long-lasting fire.
Step 6: Gradually Add Smaller Pieces of Fuel Wood
Once your kindling is burning brightly and the flames are consistent, it’s time to introduce your main fuel. Start by adding a few of your smallest and thinnest pieces of hardwood. Place them gently on top of the burning kindling, being careful not to smother the flames or cause the structure to collapse. Continue to arrange the new logs in a teepee or log cabin formation to maintain good airflow.
The goal during this step is to slowly increase the temperature inside the fire pit. Adding large logs too soon can starve the fire of oxygen and extinguish it. Think of it as feeding the fire a light meal before the main course. These smaller logs will catch quickly and build a hot coal bed, which is essential for igniting the larger pieces of wood.
Step 7: Introduce Larger Logs
When the smaller pieces of fuel wood are fully engulfed in flames and you have a glowing bed of hot coals at the base, you can start adding your larger logs. Place two or three logs on top of the fire, again ensuring there is space between them for air to circulate. The hot coals and intense flames from the smaller wood will now be sufficient to ignite these larger pieces.
Do not overload the Yukon. The top of your wood pile should remain below the secondary burn holes located around the inner rim of the fire pit. Keeping the wood below these holes is crucial for activating the Yukon’s signature smokeless feature. Overfilling the fire pit will disrupt the airflow and produce more smoke.
Step 8: Let the Fire Breathe and Develop
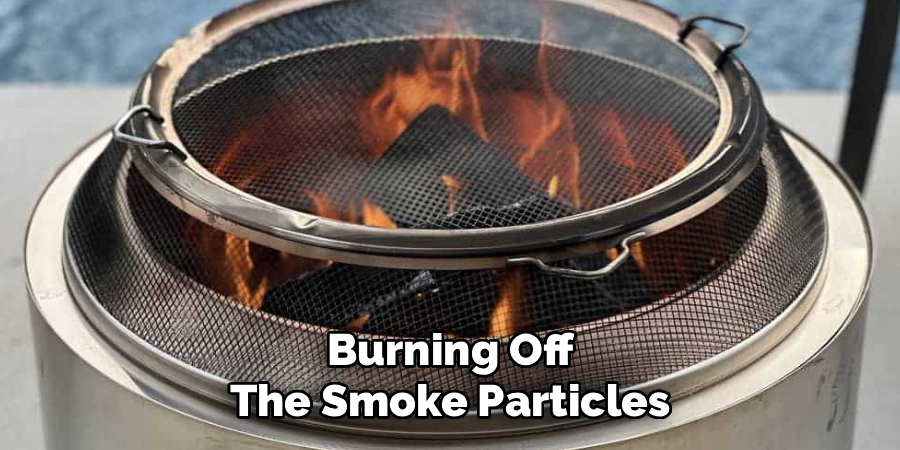
Now that your main fuel is in place, it’s time to step back and let the Solo Stove work its magic. The fire will grow in intensity as the logs catch fire. You will soon notice the flames beginning to exit through the secondary burn holes along the top inner ring of the Yukon. This is the secondary combustion in action, where preheated oxygen is injected into the upper part of the burn chamber, igniting and burning off the smoke particles.
This secondary burn is what creates the beautiful, mesmerizing vortex of flames and minimizes smoke output. It can take 10-20 minutes for the Yukon to get hot enough for this to occur, depending on the wood and weather conditions. Be patient and enjoy watching the unique flame pattern develop.
Step 9: Maintain the Fire
To keep your fire roaring, you’ll need to add new logs periodically. The best time to add more wood is when the existing logs have burned down to a bright, glowing coal bed. Add one or two logs at a time, placing them carefully onto the coals. Again, be mindful not to pack the wood too tightly or fill the Yukon above the secondary burn holes.
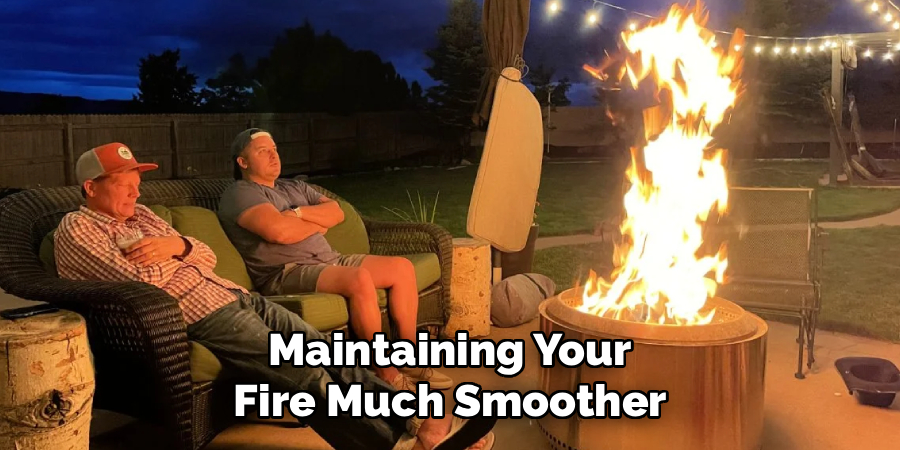
Maintaining a good fire is about balance. You need enough wood to sustain the heat, but enough space to allow for proper airflow. Check on your fire every 30-45 minutes to see if it needs more fuel. A well-maintained fire in the Yukon will provide hours of warmth and ambiance with minimal effort.
Step 10: Safely Extinguish the Fire
When you are ready to call it a night, the safest way to extinguish your fire is to let it burn out on its own. The Yukon is designed to contain the fire completely, so you can simply stop adding logs and allow the remaining fuel to burn down to ash. This process can take a few hours, so plan accordingly. Never leave a burning fire unattended.
Do not use water to extinguish the fire in your Solo Stove. The sudden change in temperature can damage the stainless steel and potentially warp the unit, a condition known as thermal shock. Once the fire is completely out and the Yukon has cooled down (which may take until the next morning), you can safely turn it upside down to empty the ash.
Following these steps on how to start a fire in solo stove yukon will not only ensure a safe and enjoyable experience, but it will also help extend the life of your Solo Stove.
Frequently Asked Questions
Q1: What Is the Best Wood to Use in a Solo Stove Yukon?
A1: The best type of wood for the Solo Stove Yukon is dense, seasoned hardwood. Varieties like oak, hickory, maple, and birch are excellent choices because they burn hot, produce long-lasting coals, and generate minimal smoke. It is crucial to use wood that has been properly seasoned or kiln-dried, meaning its moisture content is below 20%. Avoid softwoods like pine or cedar, as they burn quickly and can create more smoke and creosote buildup.
Q2: Why Is My Solo Stove Smoking?
A2: If your Solo Stove Yukon is producing a noticeable amount of smoke, it’s usually due to one of a few common issues. The most frequent cause is using wet or unseasoned wood. Another reason could be overloading the fire pit; if wood is piled above the secondary burn holes, it disrupts the airflow needed for the smokeless secondary burn. The fire also needs to be hot enough for the secondary burn to engage, so you may see some smoke during the initial startup phase.
Q3: How Do I Clean My Solo Stove Yukon?
A3: Cleaning the Yukon is simple. After the fire has completely burned out and the unit is cool to the touch, just tip it upside down to empty the ash. There is no need for water or cleaning chemicals. For the exterior, you can use a stainless steel cleaner and a soft cloth to wipe away any smudges or discoloration, which can naturally occur from the high heat. Regular cleaning ensures the lower vents remain clear for proper airflow.
Q4: Can I Cook Food Over the Solo Stove Yukon?
A4: Yes, you can cook over your Solo Stove Yukon! Solo Stove offers a range of cooking accessories specifically designed for this purpose, including grill grates and rotisserie kits. These accessories allow you to safely grill steaks, burgers, and more over the wood fire. However, you should avoid placing cooking grates directly on the rim, as this could block the secondary burn and affect performance. Always use accessories made for the Yukon.
Conclusion
Starting a fire in your Solo Stove Yukon is a straightforward process that becomes second nature with a little practice. By following these steps on how to start a fire in solo stove yukon—from preparing your materials to safely extinguishing the flame—you can create a brilliant, nearly smokeless fire every time.
The key is to use quality dry hardwood, allow for proper airflow, and let the stove’s innovative design do the rest. Now you have all the knowledge needed to unlock the full potential of your Yukon and create unforgettable moments around the fire.

About
Diane Lo is a distinguished figure in the world of kitchen innovation and culinary design, with over a decade of expertise creating functional and sustainable kitchen environments. Her professional focus lies in merging ergonomic spatial planning with modern culinary technology, fostering kitchen layouts that are both highly practical and aesthetically refined. As the lead expert at Kitchenub, Diane Lo delves into the art and science of kitchen organization, appliance selection, and workflow efficiency, inspiring home cooks and professional designers alike.
Education
Royal Melbourne Institute of Technology (RMIT University) (Melbourne, Australia) Associate Degree in Interior Design and Spatial Planning Focus on sustainable kitchen layouts, user-centric design, and ergonomic efficiency. Gained hands-on experience in high-traffic commercial kitchen modeling and advanced space-saving architecture.
Nottingham Trent University (United Kingdom) Bachelor’s in Product Design and Culinary Architecture (Honors) Specialized in the intersection of kitchen technology and lifestyle design. Participated in major industry collaborations, working with premium appliance manufacturers and cabinetry firms to gain real-world insights into modern kitchen workflows.
Publications and Impact
At Kitchenub, Diane Lo shares her expert insights on kitchen renovation processes, material durability, and strategies for achieving peak culinary productivity. Her writing effectively bridges the gap between professional culinary needs and home design, making it an essential resource for those looking to transform their kitchen into a highly efficient and welcoming heart of the home.