

Converting an electric stove to a gas model can make cooking more flexible and efficient. This upgrade is popular among homeowners who prefer the responsiveness and temperature control that gas stoves provide. However, making this switch is a significant project that requires careful planning and attention to safety.
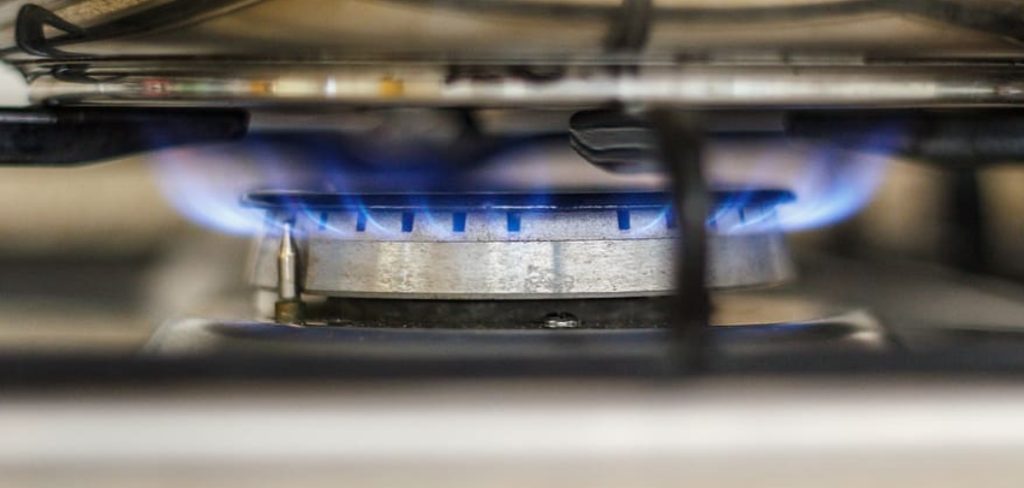
In this guide on how to convert electric stove to gas, we’ll walk you through the key tools and materials, give you a step-by-step process, and outline common mistakes. We’ll also discuss when to call a professional, what you can expect to spend, and answer your biggest questions so you can make a well-informed decision.
Why Make the Switch to a Gas Stove?
There are several reasons why homeowners choose to make the switch from an electric stove to a gas stove. Some of the main benefits include:
Faster Cooking Times:
Gas stoves provide instant heat, allowing for faster cooking times compared to electric stoves. This can be especially helpful when preparing meals that require precise timing or when cooking for a large group of people.
Better Temperature Control:
Gas stoves offer better temperature control, with the ability to adjust the flame to a specific level. This allows for more precise cooking and reduces the risk of burning food.
Cost Savings:
In most areas, gas is significantly cheaper than electricity, which can lead to cost savings on utility bills over time. Additionally, using a gas stove may result in lower overall energy consumption compared to an electric stove.
Versatility:
Gas stoves are designed to work during power outages, making them a reliable option for cooking in emergency situations. They also provide more flexibility for cooking methods, such as using a wok or grilling on the stove’s surface.
Durability:
Gas stoves are known for their durability and longevity. The burners and other components of a gas stove are designed to withstand high temperatures and regular use, making them a reliable choice for long-term use.
Tools and Materials You’ll Need
- Adjustable Wrenches
- Pipe Thread Sealant
- Flexible Gas Line (Approved for Stoves)
- Pipe Cutter
- Gas Shutoff Valve
- Screwdrivers (Flathead and Phillips)
- Measuring Tape
- Soap and Water Solution (for Leak Checking)
- New Gas Stove
- Safety Gloves and Goggles
8 Step-By-Step Guidelines on How to Convert Electric Stove to Gas
Step 1: Assess Your Kitchen Setup
Start by inspecting your kitchen to see if a natural gas line is accessible. Look for existing capped pipes behind your stove. If there’s no line, you’ll need to arrange installation from the main supply.
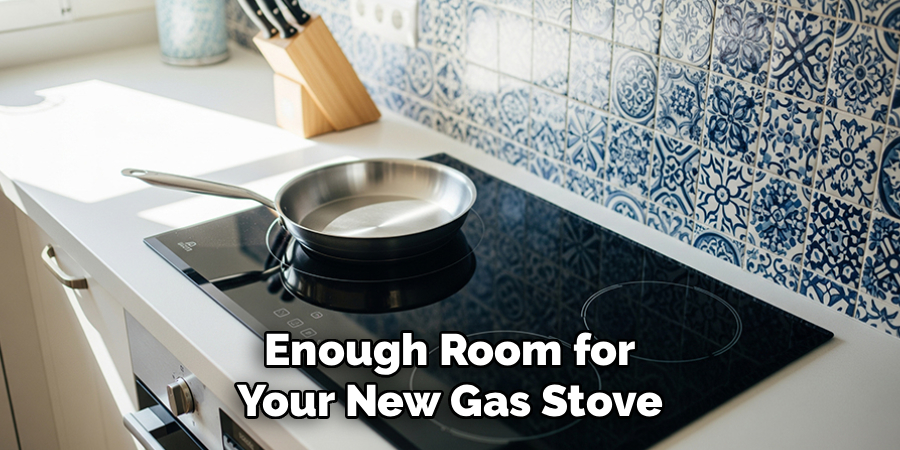
Next, evaluate the space, ensuring proper ventilation and enough room for your new gas stove. Planning ahead at this stage helps prevent issues later and keeps your project within code requirements.
Step 2: Obtain Necessary Permits
Check with your local building authorities to determine if you need permits for the conversion. Most municipalities require a permit for gas line work to ensure safety and compliance with regulations.
Completing this paperwork in advance helps avoid fines or delays during inspections. It also provides you with legal protection and access to professional guidance.
Step 3: Shut Off Power and Remove the Electric Stove
Before beginning any work, shut off the electricity to your kitchen at the circuit breaker. Unplug the electric stove and carefully slide it away from the wall.
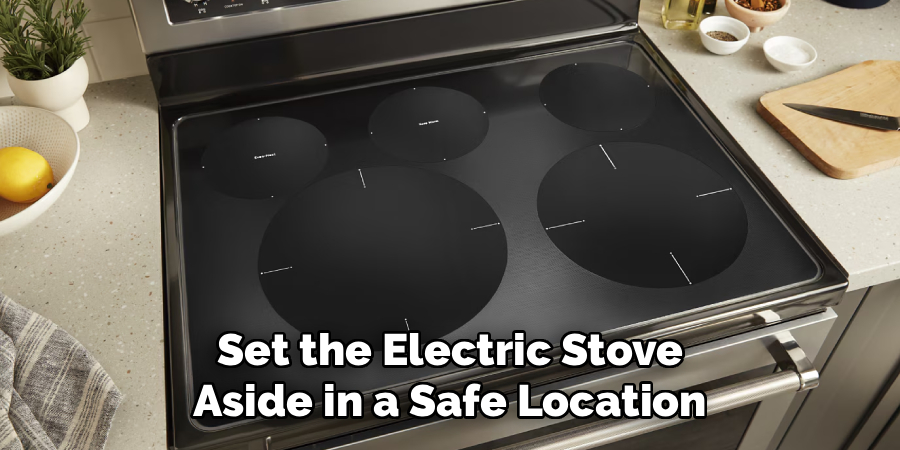
Use caution, as stoves can be heavy and awkward to move. Set the electric stove aside in a safe location, making sure the area is clear for the conversion process.
Step 4: Install a Gas Line if Needed
If your home does not already have a gas line installed in the kitchen, you will need a licensed plumber or gas technician for this step. The professional will route a new line from your main gas supply to the stove location.
This involves measuring, drilling, and securely fitting new pipes. Proper installation is key to preventing leaks and ensuring your stove works efficiently.
Step 5: Install a Shutoff Valve
Once the gas line is in place, install a shutoff valve close to where the stove will be. This allows you to easily stop the gas supply if maintenance or an emergency arises.
Attach the valve using an adjustable wrench and apply pipe thread sealant to prevent leaks. Always double-check for secure connections before proceeding.
Step 6: Attach the Flexible Gas Line
Connect a flexible, approved gas line from the shutoff valve to the stove’s inlet. These hoses allow for easy positioning and movement while maintaining a safe seal.
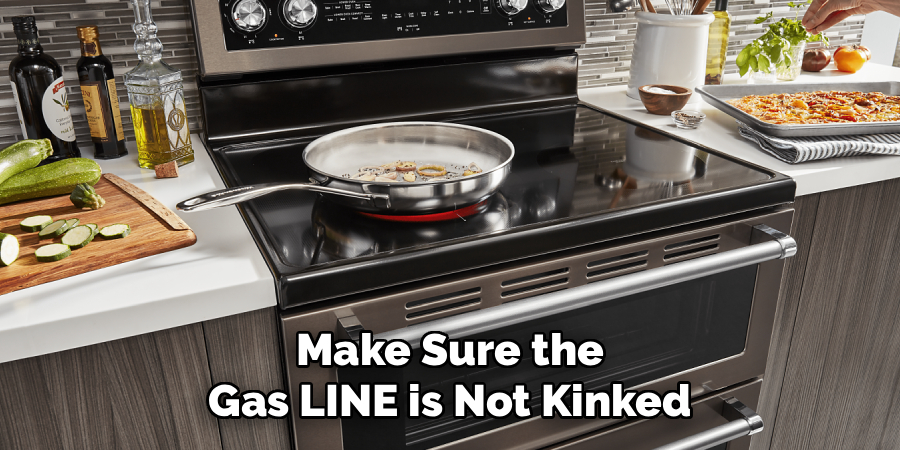
Use pipe thread sealant on threaded connections and tighten them carefully. Make sure the gas line is not kinked or pinched behind the stove.
Step 7: Check for Gas Leaks
Before turning on the gas, mix a small amount of soap with water. Brush this solution over each joint and connection you’ve made. If bubbles form when the gas is turned on, a leak is present.
If you spot leaks, turn off the gas immediately and retighten fittings. Continue inspecting until no bubbles appear, confirming the line is safe for use.
Step 8: Connect and Test the Gas Stove
Move your new gas stove into place. Attach the gas line, plug in the appliance for electronic ignition (if applicable), and open the shutoff valve. Carefully turn on the burners and check for proper flame.
Test all functions according to the manufacturer’s instructions. If anything seems off, consult a professional before using the stove regularly.
Following these steps on how to convert electric stove to gas, you can successfully upgrade your kitchen and enjoy the benefits of cooking with gas. Remember to always consult a professional if you are unsure about any steps in the process. Enjoy your new gas stove!
Common Mistakes to Avoid
Avoid skipping safety checks or trying to work without proper permits, as both can create hazards. Rushing through fitting gas lines can lead to dangerous leaks.
Don’t reuse old, unapproved hoses for the connection. Make sure each connection is properly sealed and tested. Always prioritize safety over speed when dealing with natural gas installations.
Do You Need To Use Professionals?
While some enthusiasts are handy enough to handle certain aspects, any work involving gas line installation or modifications should be handled by a certified professional. Professionals ensure that all connections are secure, properly tested, and meet local codes.
They use specialized tools and have the experience needed to quickly resolve unexpected issues. Taking the DIY route might seem cost-effective, but the risks involved with gas leaks and improper installation far outweigh the potential savings. Hiring a licensed expert also usually includes a warranty on the work, offering peace of mind.
How Much Will It Cost?
The cost of converting an electric stove to gas can vary widely depending on several factors. If you already have a gas line in your kitchen, you’ll save significantly—expect costs anywhere from $200 to $500 for basic hook-up and appliance delivery. Installing a new gas line can increase costs to $1,000 or more.
You should also factor in permit fees, labor charges, and the price of your new gas stove. Remember, investing in proper installation helps avoid expensive repairs or safety issues down the line. Get several quotes from certified professionals to find the best deal for your needs.
Frequently Asked Questions
Q1: Is It Safe To Convert Electric Stove to Gas?
Absolutely, as long as the installation is done correctly and by experienced professionals where gas line work is involved. Proper testing for leaks and adherence to local building codes are critical. Never attempt to bypass safety checks. If you notice any issues during installation or use, stop immediately and call an expert. Safety should always be the priority.
Q2: Can I Do The Conversion Myself?
Some aspects of the job, like removing the electric stove and setting up the new appliance, may be DIY-friendly for those with experience. However, installing or modifying a gas line always requires professional expertise for safety reasons. Failing to hire a pro could result in dangerous leaks, property damage, or legal issues. For peace of mind, leave the gas work to licensed technicians.
Q3: Will My Kitchen Need Remodeling?
Often, only minor changes are required, such as adjusting cabinetry or countertops to fit the new stove. If a new gas line is needed, there may be some wall or floor modifications involved. Typically, the visual impact is minimal if planned correctly. Discuss options with your installer beforehand to ensure you’re prepared for any necessary adjustments.
Q4: How Long Does The Conversion Process Take?
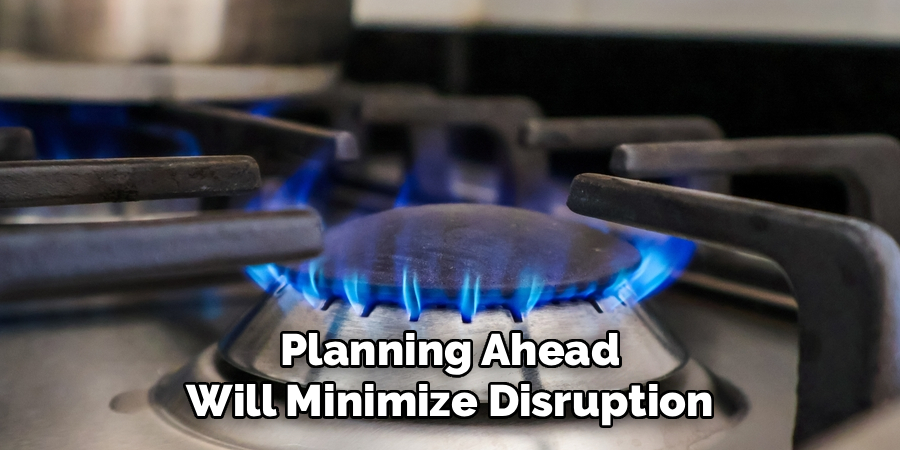
If an existing gas line is present and no major alterations are required, the conversion process usually takes a few hours. With new gas line installation or permit approvals, it can take several days to a week. Timeframes can vary based on factors like access, appliance delivery, and inspector scheduling. Planning ahead will minimize disruption and keep your kitchen running smoothly.
Conclusion
Converting your electric stove to gas can enhance your cooking experience, offering better control and efficiency. While the process involves several technical steps, following proper guidelines and engaging professionals where necessary makes the transition safe and smooth.
Be sure to avoid common pitfalls, understand the costs, and don’t hesitate to ask questions. With careful planning, you can enjoy the perks of gas cooking for years to come. Thanks for reading this guide on how to convert electric stove to gas.

About
Diane Lo is a distinguished figure in the world of kitchen innovation and culinary design, with over a decade of expertise creating functional and sustainable kitchen environments. Her professional focus lies in merging ergonomic spatial planning with modern culinary technology, fostering kitchen layouts that are both highly practical and aesthetically refined. As the lead expert at Kitchenub, Diane Lo delves into the art and science of kitchen organization, appliance selection, and workflow efficiency, inspiring home cooks and professional designers alike.
Education
Royal Melbourne Institute of Technology (RMIT University) (Melbourne, Australia) Associate Degree in Interior Design and Spatial Planning Focus on sustainable kitchen layouts, user-centric design, and ergonomic efficiency. Gained hands-on experience in high-traffic commercial kitchen modeling and advanced space-saving architecture.
Nottingham Trent University (United Kingdom) Bachelor’s in Product Design and Culinary Architecture (Honors) Specialized in the intersection of kitchen technology and lifestyle design. Participated in major industry collaborations, working with premium appliance manufacturers and cabinetry firms to gain real-world insights into modern kitchen workflows.
Publications and Impact
At Kitchenub, Diane Lo shares her expert insights on kitchen renovation processes, material durability, and strategies for achieving peak culinary productivity. Her writing effectively bridges the gap between professional culinary needs and home design, making it an essential resource for those looking to transform their kitchen into a highly efficient and welcoming heart of the home.