

There’s nothing more frustrating than a blender that won’t blend. You load it up with your favorite smoothie ingredients, hit the power button, and you’re met with a jarring noise and a chunky, unblended mess. The culprit is often a worn, loose, or damaged blade. While it might seem like a terminal problem, many blade issues are surprisingly simple to diagnose and resolve at home, saving you from having to buy a whole new appliance.
This guide is designed to walk you through the entire process, providing clear, beginner-friendly instructions. We’ll show you exactly how to fix a broken blender blade, assess the damage, and decide whether a simple repair or a full replacement is the right call for your trusty kitchen appliance.
Why Fixing a Broken Blender Blade is Important
Using a blender with a damaged blade is not just ineffective; it can be dangerous and lead to more significant problems. A chipped, bent, or loose blade will fail to blend ingredients properly, leaving you with lumpy smoothies and grainy sauces. This inefficiency puts a tremendous strain on the blender’s motor. The motor has to work harder to spin the compromised blade, which can cause it to overheat and burn out, turning a small blade issue into a major motor failure.
More importantly, there are serious safety hazards. A loose blade can detach during operation, potentially shattering the blender jar and sending sharp fragments flying. A cracked blade can break apart at high speed, creating a similar danger. Promptly repairing or replacing a faulty blade ensures your blender performs effectively, protects the motor from damage, and keeps you safe.
Tools and Materials You’ll Need
Before you start this kitchen appliance repair project, gathering a few basic tools will make the process much smoother. You likely have most of these on hand already.
- Your Blender Jar and Blade Assembly
- A Screwdriver (Phillips or Flat-Head): Depending on your blender model.
- A Soft Cloth or Sponge: For cleaning.
- A Small Brush or Toothbrush: To clean tight crevices.
- A Pair of Pliers (Optional): May be needed to grip a stubborn retaining nut.
- A Replacement Blade Assembly (Optional): Ensure it is compatible with your blender’s make and model.
- Your Blender’s User Manual (Recommended): For model-specific diagrams and part numbers.
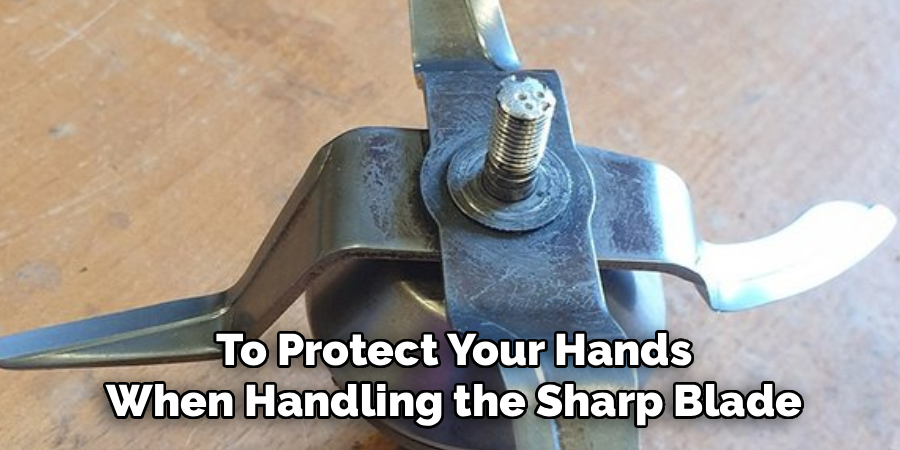
- Safety Gloves: To protect your hands when handling the sharp blade.
Step-by-Step Guide: How to Fix a Broken Blender Blade
Step 1: Assess the Damage
Before you can fix the blade, you need to understand what’s wrong. Unplug the blender and remove the jar. Look closely at the blade assembly. Is the blade visibly bent, chipped, or cracked? Try to wiggle it with your fingers (carefully, or while wearing gloves). A healthy blade should have very little to no movement. If it feels loose or wobbly, the retaining nut or the assembly itself might be the problem. Also, check the plastic or metal housing of the blade assembly for any cracks. This initial assessment will guide your next steps.
Step 2: Unplug and Disassemble the Blade Assembly
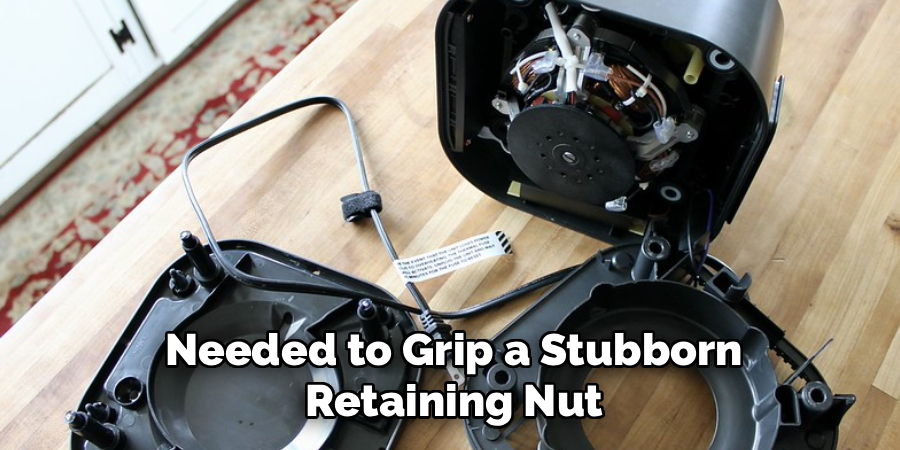
Safety is the most important part of any appliance repair. Make absolutely certain that the blender base is unplugged from the wall. Next, remove the blender jar from the base. To access the blade, you’ll need to unscrew the base of the jar. Turn the jar upside down and twist the base counter-clockwise. It might be tight, so you may need to use a cloth for a better grip. Once unscrewed, the blade assembly and its rubber gasket will lift out. Pay attention to the order of the parts for easy reassembly later.
Step 3: Clean All Components Thoroughly
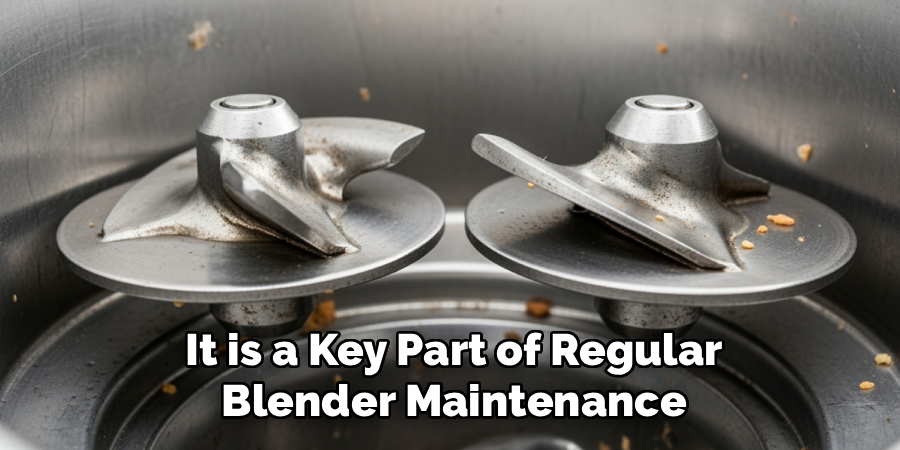
Sometimes, poor performance isn’t due to damage but to built-up food residue. Trapped debris can prevent the blade from spinning freely or seating properly, causing it to wobble. Thoroughly wash the blender jar, blade assembly, and gasket in warm, soapy water. Use a small brush or a toothbrush to scrub any food particles out of the crevices around the blade and the threads on the jar base. A clean blade assembly is essential for both proper diagnosis and function, and it is a key part of regular blender maintenance.
Step 4: Tighten the Blade Assembly
If your initial assessment revealed a wobbly blade, the fix might be as simple as tightening a single nut. On the underside of the blade assembly, you’ll find a retaining nut that holds the blades onto the shaft. Over time, vibrations can cause this nut to loosen. Using a pair of pliers or a wrench that fits, gently tighten this nut. Be careful not to overtighten, as this could crack the plastic housing. Once tightened, the blades should no longer feel loose. This simple step can often resolve issues of loud noises and inefficient blending.
Step 5: Check for Debris in the Drive Socket
The blade assembly connects to the motor via a drive socket on the blender base and a gear on the bottom of the blade. If the blade spins freely by hand but won’t engage with the motor, debris might be trapped in this connection point. Unplug the blender base and inspect the star-shaped drive socket on top. Use a small brush or a damp cotton swab to clean out any food residue or gunk that may have accumulated. A clean connection ensures the motor’s power is transferred effectively to the blade.
Step 6: When to Order Replacement Parts
This is a critical step in the process of how to fix a broken blender blade: knowing when a repair isn’t enough. If you find any significant damage, a replacement is necessary. Order new replacement parts if the blade is severely bent, has large chips, or is cracked. Likewise, if the plastic housing of the blade assembly is cracked, it must be replaced, as it can leak and fail catastrophically. Always order parts that are specifically designed for your blender’s make and model to ensure a safe and proper fit.
Step 7: Reassemble and Test the Blender
Once you have cleaned, tightened, or replaced the blade assembly, it’s time to put everything back together. Place the rubber gasket securely around the blade assembly. Set it back into the blender jar and screw the base on tightly, turning it clockwise until it is snug. Place the jar back on the blender base, plug it in, and test it. Start by blending a small amount of water to check for leaks and ensure the blade spins smoothly and quietly before using it with food.
Key Maintenance Tips for Your Blender
- Clean After Each Use: Always thoroughly clean the blender jar, blade assembly, and gasket after each use to prevent residue build-up and maintain hygiene.
- Inspect the Blade Assembly: Regularly check the blade for signs of dullness or damage and replace it if necessary to ensure efficient performance.
- Tighten Components: Ensure all parts, especially the blade assembly and gasket, are securely tightened to prevent leaks during operation.
- Avoid Overloading: Do not overload the blender beyond its capacity, as this could strain the motor or damage the blades.
- Store Properly: Store the blender in a clean, dry place to protect it from dust or moisture that could corrode the components.
Frequently Asked Questions
How Do I Know if My Blender Blade Is Dull?
A dull blade will struggle to blend ingredients smoothly. If you notice that your smoothies are consistently gritty, leafy greens aren’t breaking down, or frozen fruit remains in chunks, your blade is likely dull. Another sign is that the blender’s motor seems to be working harder or running longer than usual to achieve the same results.
Can You Sharpen Blender Blades?
While it is technically possible to sharpen some blender blades with a specialized sharpening stone, it is generally not recommended for home users. It’s difficult to achieve the correct angle and uniform sharpness, which can unbalance the blade and cause it to wobble, putting strain on the motor. In most cases, it is safer and more effective to purchase a new replacement blade assembly.
Is It Worth Replacing a Blender Blade?
Absolutely. For most quality blenders, replacing the blade assembly is far more cost-effective than buying a new blender. A new blade assembly can make an old blender perform like new again. The replacement part is typically inexpensive and easy to install, making it a smart and sustainable choice that extends the life of your appliance.
Why Is My Blender Leaking from the Bottom?
A leak from the bottom of the blender jar is almost always caused by one of two things: either the blade assembly base is not screwed on tightly enough, or the rubber gasket is old, cracked, or seated improperly. Disassemble the blade and inspect the gasket. If it looks damaged, it needs to be replaced. If it looks fine, ensure it is seated correctly and tighten the base firmly.
How Often Should I Replace My Blender Blade?
There is no set schedule for blade replacement. It depends entirely on your usage. For heavy users who frequently blend hard items like ice, nuts, and frozen fruit, you might need a new blade every one to two years. For more casual users, a blade can last for many years. The best approach is to inspect your blade regularly for signs of dullness, damage, or wear.

Conclusion
A faulty blender blade doesn’t have to mean the end of your appliance. With a little bit of confidence and a methodical approach, you can often diagnose and resolve the problem yourself, restoring your blender to its full, smoothie-making glory. From a simple tightening to a full replacement, blender maintenance is a manageable task for any home cook.
By learning how to fix a broken blender blade, you’ve taken a proactive step in maintaining your kitchen tools. Remember to always prioritize safety, and don’t hesitate to opt for a replacement when a blade is significantly damaged. A well-cared-for blender will serve you delicious and healthy creations for years to come.

About
Diane Lo is a distinguished figure in the world of kitchen innovation and culinary design, with over a decade of expertise creating functional and sustainable kitchen environments. Her professional focus lies in merging ergonomic spatial planning with modern culinary technology, fostering kitchen layouts that are both highly practical and aesthetically refined. As the lead expert at Kitchenub, Diane Lo delves into the art and science of kitchen organization, appliance selection, and workflow efficiency, inspiring home cooks and professional designers alike.
Education
Royal Melbourne Institute of Technology (RMIT University) (Melbourne, Australia) Associate Degree in Interior Design and Spatial Planning Focus on sustainable kitchen layouts, user-centric design, and ergonomic efficiency. Gained hands-on experience in high-traffic commercial kitchen modeling and advanced space-saving architecture.
Nottingham Trent University (United Kingdom) Bachelor’s in Product Design and Culinary Architecture (Honors) Specialized in the intersection of kitchen technology and lifestyle design. Participated in major industry collaborations, working with premium appliance manufacturers and cabinetry firms to gain real-world insights into modern kitchen workflows.
Publications and Impact
At Kitchenub, Diane Lo shares her expert insights on kitchen renovation processes, material durability, and strategies for achieving peak culinary productivity. Her writing effectively bridges the gap between professional culinary needs and home design, making it an essential resource for those looking to transform their kitchen into a highly efficient and welcoming heart of the home.