

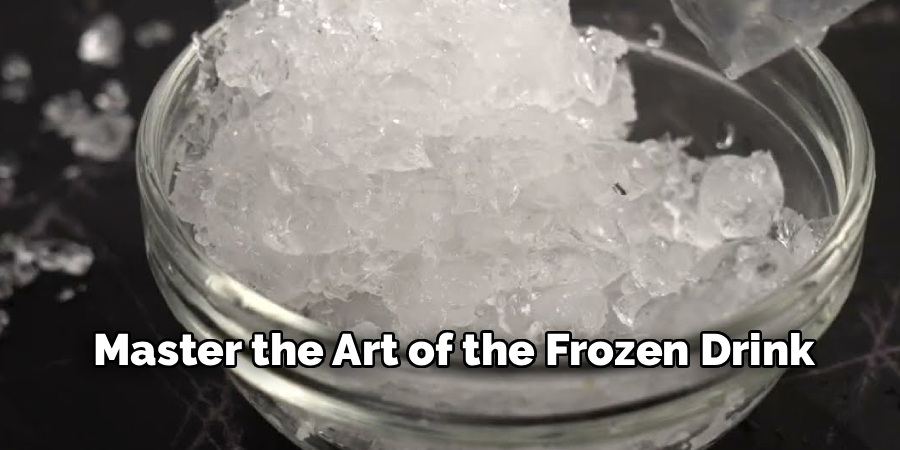
There’s something incredibly refreshing about a drink filled with perfectly crushed ice, whether it’s a frosty smoothie, a classic margarita, or a simple glass of iced tea. While it might seem like a job for a specialized machine, your kitchen blender is often the best tool for the task. With the right technique, you can transform hard ice cubes into fluffy, snow-like ice in seconds, elevating your homemade beverages from good to great.
This guide is designed to take the guesswork out of the process. We’ll show you exactly how to crush ice in a blender safely and effectively, covering everything from the ideal speed settings to the best type of ice to use. Get ready to unlock your blender’s full potential and master the art of the frozen drink.

Why Use a Blender to Crush Ice?
Using a blender to crush ice is all about efficiency and control. Manual methods, like putting ice in a bag and smashing it with a mallet, are messy, loud, and produce uneven chunks. A blender, on the other hand, can create a consistent texture in a fraction of the time. This consistency is key for creating a smooth, well-blended drink where you aren’t left chewing on large ice shards.
A blender also offers incredible versatility. You can achieve a wide range of textures, from coarse, chunky ice for cocktails on the rocks to fine, snow-like ice for slushies and frozen desserts. Many modern blenders even have a dedicated ice-crushing feature that automates the process. This ability to dial in the perfect texture makes the blender an indispensable tool for anyone who enjoys making high-quality frozen drinks at home.
Tools and Materials You’ll Need
Crushing ice doesn’t require a lot of specialized gear, but having the right tools on hand will ensure better results and protect your appliance.
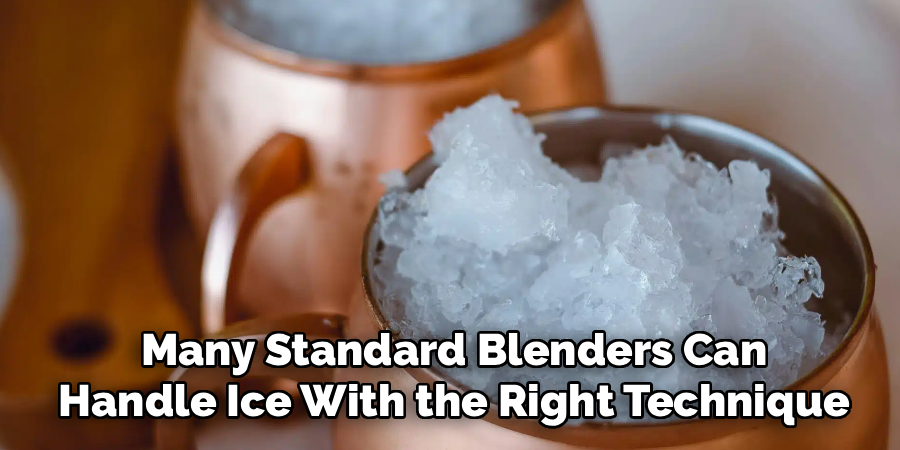
- A Blender: A high-powered blender is best, but many standard blenders can handle ice with the right technique.
- Ice Cubes: Standard-sized cubes from a freezer tray work well.
- Liquid: A small amount of water, juice, or other liquid is recommended.
- A Spatula or Tamper: To help move the ice around if needed (only when the blender is off).
- An Ice Cube Tray: For making your own ice.
- A Mallet or Rolling Pin (Optional): If you are starting with a large block of ice, you may need to break it into smaller pieces first.
Step-by-Step Guide: How to Crush Ice in a Blender
Step 1: Check Your Blender’s Capability
Before you start, it’s important to know what your blender can handle. Not all blenders are created equal when it comes to crushing ice. High-performance blenders have powerful motors and robust blades designed for this task. Many standard blenders can also crush ice, but you’ll need to be more careful. Check your user manual to see if the manufacturer provides specific instructions or warnings about crushing ice. Forcing a blender that isn’t designed for the job can lead to a cracked jar, a broken blade, or a burnt-out motor. Proper blender maintenance starts with knowing your machine’s limits.
Step 2: Use the Right Amount of Ice
A common mistake is overloading the blender. Filling the jar to the top with ice will prevent it from moving freely, creating a “dome” over the blades where nothing gets blended. A good rule of thumb is to fill the blender no more than halfway with ice. This leaves enough room for the ice to circulate, ensuring that all the cubes come into contact with the blades. If you need a large quantity of crushed ice, it’s far more effective to work in several small batches rather than trying to do it all at once.
Step 3: Add a Small Amount of Liquid
While it’s possible to crush ice without liquid, adding a small amount makes the process much easier and more efficient. The liquid helps create a vortex that pulls the ice cubes down into the blades, preventing them from getting stuck. For every cup of ice, add about a quarter-cup of water or another liquid like juice. This small addition provides the lubrication needed for a smoother blend and a better smoothie texture. Be careful not to add too much liquid, as you will end up with a slushy instead of dry, crushed ice.
Step 4: Start with the Pulse Function
The pulse button is your best friend when it comes to crushing ice. Instead of running the blender continuously, start by using short, sharp pulses. This technique acts like a jackhammer, breaking up the large, solid cubes into smaller, more manageable pieces without putting excessive strain on the motor. Pulse about 8-10 times, or until all the large cubes have been broken down. This initial step is a key part of how to crush ice in a blender without damaging your appliance.
Step 5: Increase to a Continuous Speed
Once the ice has been broken down into smaller pieces using the pulse function, you can switch to a continuous blending speed. Start on a low speed for a few seconds, then gradually increase it to a medium or high setting. Running the blender continuously will create a uniform, fine texture. If your blender has a dedicated ice-crushing feature, now is the time to use it. This preset is specifically programmed with a cycle of pulsing and blending to achieve the perfect result automatically.
Step 6: Don’t Blend for Too Long
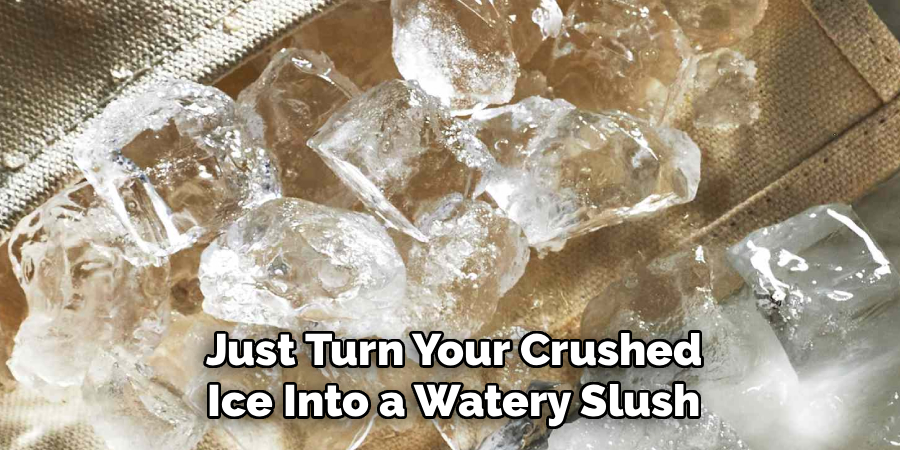
The goal is to crush the ice, not to melt it. The friction from the spinning blades generates heat, which will begin to melt your freshly crushed ice if you let it run for too long. After the initial pulses, you should only need to blend continuously for about 20-30 seconds to achieve a fine, snowy texture. Keep an eye on the consistency and stop blending as soon as you are happy with the result. Over-blending will just turn your crushed ice into a watery slush.
Step 7: Use the Tamper if Necessary
If you are using a high-performance blender that includes a tamper, it can be a useful tool for stubborn batches. Sometimes an air pocket can form above the blades, preventing the ice from falling down into them. With the blender running on low, you can insert the tamper through the lid and use it to push the ice down toward the blades. Never use any other utensil, like a spoon or spatula, while the blender is running. This is one of the most important kitchen appliance tips for safety.
Blender’s Longevity
Another crucial tip for maintaining your blender’s longevity is to avoid overfilling it. Every blender has a maximum capacity, typically marked on the jar, and exceeding this limit can strain the motor or lead to uneven blending. Always make sure to leave enough room for the ingredients to move around freely. Additionally, layering ingredients properly—starting with liquids, followed by softer items, then harder items like frozen fruit or ice—can improve performance and ensure a smoother blend. Proper care and mindful usage not only enhance your blender’s efficiency but also contribute significantly to your safety in the kitchen.
Frequently Asked Questions
Can Any Blender Crush Ice?
Not all blenders are designed for the task. High-powered blenders with strong motors (typically 1000 watts or more) and robust blades are best. While some less powerful blenders can handle ice if you use small amounts and add liquid, doing so frequently can strain the motor and lead to damage. Always check your blender’s manual for its ice-crushing capabilities.
What Is the Best Blender for Crushing Ice?
High-performance blenders from brands like Vitamix, Blendtec, and Ninja are widely regarded as the best for crushing ice. They have powerful motors, durable jars, and blade designs that are optimized for breaking down tough ingredients. Many of these models also include helpful presets for frozen drinks and ice crushing, which makes the process foolproof.
Is It Better to Use Small or Large Ice Cubes?
This depends on your blender. For most standard blenders, using slightly smaller ice cubes can be easier on the motor. However, for high-powered blenders, standard-sized or even larger cubes are often better. Very small or pre-crushed ice can sometimes clump together and form a dome over the blades. Experiment with your machine to see what works best.
Why Does My Blender Struggle to Crush Ice?
If your blender is struggling, there are a few common reasons. You may be overloading the jar, which prevents the ice from circulating. Try working in smaller batches. Another common issue is not using enough liquid, which can cause the ice to get stuck. Finally, your blender’s motor may simply not be powerful enough for the job, or the blades may have become dull over time.
Can I Crush Ice Without Adding Liquid?
Yes, you can crush ice without liquid, but it is more difficult and puts more strain on the blender. This is sometimes called a “dry crush.” You will need to use the pulse function extensively and likely work in very small batches. The resulting ice will be fluffier and less dense. This technique is best left to high-performance blenders.
Conclusion
Mastering the art of crushing ice in your blender is a simple skill that can dramatically improve your homemade beverages. By following the right steps—using small batches, adding a touch of liquid, and starting with the pulse function—you can achieve perfect results while protecting your appliance from strain and damage. It’s all about working with your blender, not against it.
Now that you know how to crush ice in a blender, it’s time to experiment. Try making different textures for different drinks, from a coarse crush for a julep to a fine snow for a frozen margarita. With these tips, you’re well on your way to becoming a master of frozen drinks.

About
Diane Lo is a distinguished figure in the world of kitchen innovation and culinary design, with over a decade of expertise creating functional and sustainable kitchen environments. Her professional focus lies in merging ergonomic spatial planning with modern culinary technology, fostering kitchen layouts that are both highly practical and aesthetically refined. As the lead expert at Kitchenub, Diane Lo delves into the art and science of kitchen organization, appliance selection, and workflow efficiency, inspiring home cooks and professional designers alike.
Education
Royal Melbourne Institute of Technology (RMIT University) (Melbourne, Australia) Associate Degree in Interior Design and Spatial Planning Focus on sustainable kitchen layouts, user-centric design, and ergonomic efficiency. Gained hands-on experience in high-traffic commercial kitchen modeling and advanced space-saving architecture.
Nottingham Trent University (United Kingdom) Bachelor’s in Product Design and Culinary Architecture (Honors) Specialized in the intersection of kitchen technology and lifestyle design. Participated in major industry collaborations, working with premium appliance manufacturers and cabinetry firms to gain real-world insights into modern kitchen workflows.
Publications and Impact
At Kitchenub, Diane Lo shares her expert insights on kitchen renovation processes, material durability, and strategies for achieving peak culinary productivity. Her writing effectively bridges the gap between professional culinary needs and home design, making it an essential resource for those looking to transform their kitchen into a highly efficient and welcoming heart of the home.