

A clean kitchen often starts with a sparkling stove top, but spills and boil-overs are an inevitable part of cooking. When food gets burnt onto an electric stove, it can seem like a permanent stain. These tough, carbonized messes not only look unsightly but can also affect your stove’s performance and even become a fire hazard over time.
Fortunately, you don’t have to live with a scorched surface. With the right tools, a bit of patience, and the correct technique, you can restore your electric stove top to its former glory. This guide on how to clean burnt electric stove top will walk you through everything you need to know to tackle even the most stubborn burnt-on residue safely and effectively.
Tools and Materials You’ll Need
- Baking Soda
- Distilled White Vinegar
- Dish Soap
- Warm Water
- A Spray Bottle
- A Non-abrasive Scrubbing Pad or Sponge
- Microfiber Cloths or Soft Towels
- A Plastic or Silicone Scraper (or an Old Credit Card)
- Protective Gloves (Optional)
8 Step-by-step Guidelines on How to Clean Burnt Electric Stove Top
Step 1: Cool and Clear the Stove Top
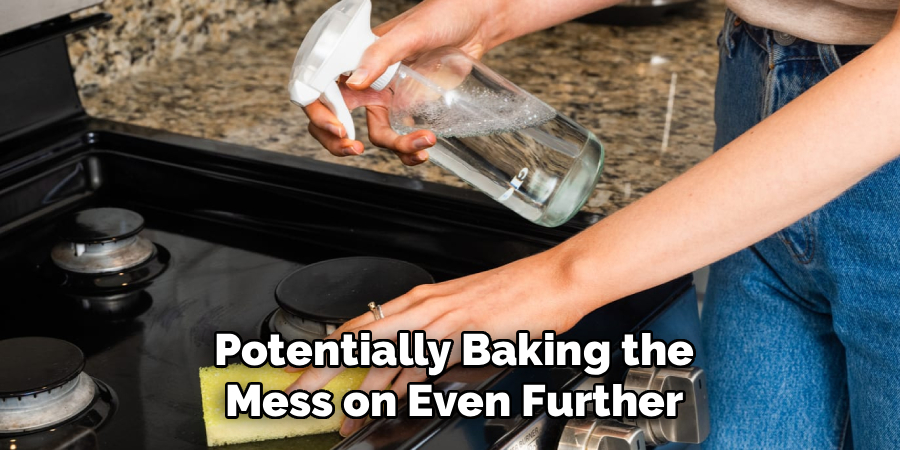
Before you begin any cleaning, safety is your top priority. Ensure that the electric stove top is completely cool to the touch to prevent any burns or injuries. Attempting to clean a hot surface is not only dangerous, but it can also cause cleaning solutions to evaporate too quickly, reducing their effectiveness and potentially baking the mess on even further. Once you have confirmed the surface is cool, you can proceed with the initial preparation.
Remove all the electric coil burners from their sockets, if your model allows for it. This will give you unobstructed access to the drip pans and the surface underneath. For glass or ceramic cooktops, you just need to clear the area. Wipe away any loose crumbs, debris, or fresh spills with a dry cloth or paper towel. This initial sweep makes the deep cleaning process more efficient by getting rid of surface-level dirt first.
Step 2: Create Your Baking Soda Paste
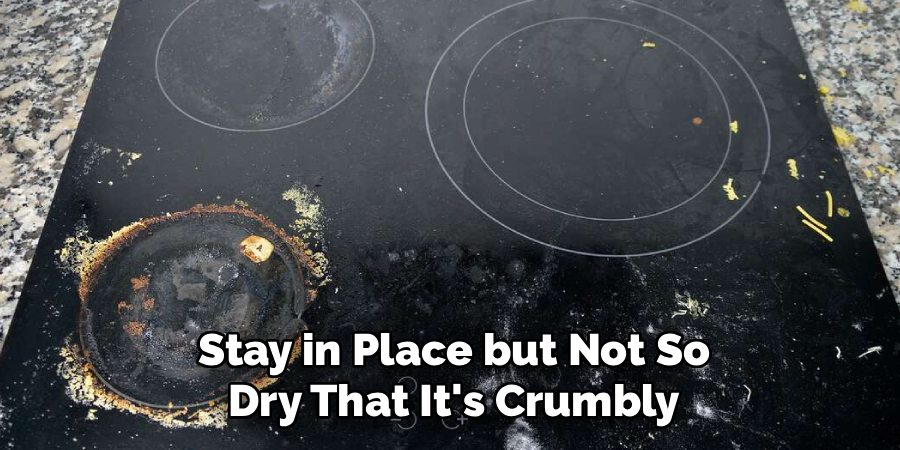
Baking soda is a fantastic, mildly abrasive cleaner that is perfect for breaking down tough, burnt-on food without scratching your stove’s surface. In a small bowl, create a thick paste by mixing baking soda with a small amount of warm water. You are aiming for a consistency similar to toothpaste—thick enough to spread and stay in place but not so dry that it’s crumbly. A good starting ratio is about half a cup of baking soda to a few tablespoons of water.
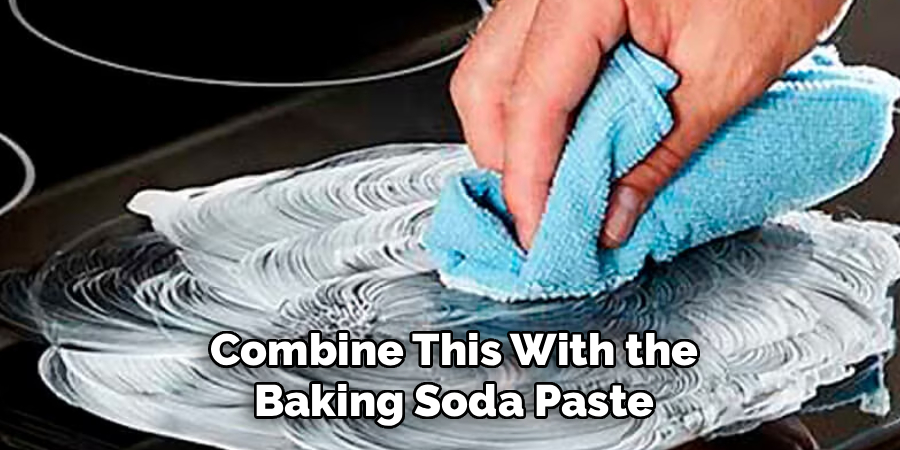
Once you have achieved the right consistency, apply the paste generously over all the burnt spots on your stove top. Don’t be shy with the application; you want a thick layer covering the entire affected area. Use your fingers (wearing gloves if you prefer) or a spatula to spread it evenly. This paste will work to loosen the carbonized food from the surface, making it much easier to scrub away later.
Step 3: Apply Vinegar and Let It Sit
Now it’s time to introduce the second key ingredient: distilled white vinegar. The chemical reaction between the acidic vinegar and the alkaline baking soda creates a fizzing action that helps to lift and dissolve the grime. Pour some white vinegar into a spray bottle and lightly spritz it over the baking soda paste you just applied. You will immediately see a bubbling or fizzing reaction, which is a sign that the cleaning agents are hard at work.
After spraying the vinegar, let the mixture sit on the stove top for at least 15 to 30 minutes. For extremely stubborn, thick, burnt-on messes, you can even let it sit for a few hours. This waiting period is crucial as it gives the solution ample time to penetrate and break down the tough, baked-on food. To keep the paste moist during this time, you can cover the area with a warm, damp towel.
Step 4: Gently Scrub the Surface
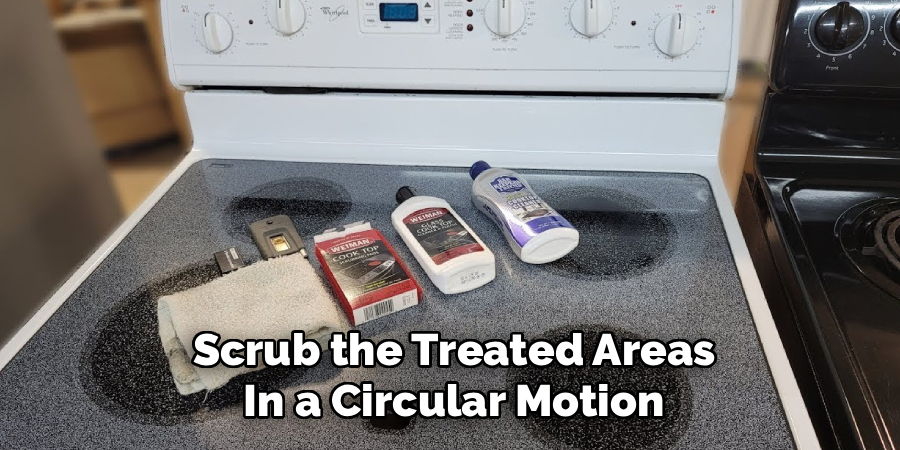
After the baking soda and vinegar solution has had enough time to work its magic, it’s time for some gentle scrubbing. Take your non-abrasive scrubbing pad or sponge and begin to scrub the treated areas in a circular motion. Apply firm, steady pressure, but avoid being overly aggressive to prevent scratching the cooktop, especially if it’s a glass or ceramic model. The paste will act as a soft abrasive to help lift the loosened grime.
As you scrub, you should notice the burnt residue starting to come off. Periodically wipe away a small section with a damp cloth to check your progress. If some spots are particularly stubborn, you may need to apply a bit more paste and let it sit for a little longer before scrubbing again. The key here is patience; consistent, gentle effort is more effective and safer for your stove than forceful, hurried scrubbing.
Step 5: Use a Scraper for Stubborn Spots
Even after a good scrub, you might find some particularly stubborn, raised patches of burnt-on food that refuse to budge. For these tough areas, a scraper is your best tool. It’s essential to use a scraper made of plastic or silicone, or even an old gift card or credit card, to avoid scratching the stove top. Never use metal scrapers, knives, or steel wool, as they will cause permanent damage to the surface.
Hold the scraper at a low angle (around 30-45 degrees) to the cooktop surface and apply steady, even pressure to gently pry the burnt residue off. Work carefully and methodically, lifting the scraper after each small push. This technique helps to lift the gunk without gouging the stove. Combine this with the baking soda paste for extra lubrication and cleaning power. This step can make all the difference for those seemingly impossible spots.
Step 6: Wipe Everything Clean
Once you have scrubbed and scraped away all the burnt-on mess, the next step is to remove all the cleaning residue. Use a clean, damp microfiber cloth or sponge to wipe away the baking soda paste, vinegar, and loosened grime. You will likely need to rinse your cloth multiple times in clean, warm water to get the entire surface clear. It’s important to remove all traces of the cleaning solution.
Make sure you are thorough in this step, as any leftover baking soda paste can leave a chalky, white film on your stovetop once it dries. Go over the surface a few times with a well-rinsed cloth to ensure it is completely clean. This wiping process not only cleans up the mess but also prepares the surface for the final polishing step, giving you a clear view of your progress.
Step 7: Clean the Drip Pans and Coils
If you have a stove with removable electric coils, don’t forget to clean the drip pans and the coils themselves. The drip pans can often be cleaned using the same baking soda and vinegar method. For heavily soiled pans, you can let them soak in hot, soapy water with a bit of vinegar before scrubbing. Some drip pans are even dishwasher-safe, but be sure to check your manufacturer’s instructions first to confirm.
The coils themselves generally shouldn’t be submerged in water. Most burnt food on the coils will burn off the next time you use them. For any significant residue, wait for them to cool completely and then wipe them down with a damp cloth. Make sure the coils and their connection points are completely dry before you place them back into their sockets on the stove top. This prevents any risk of electrical shorts or damage.
Step 8: Dry and Polish the Stove Top
The final step is to dry and polish your newly cleaned stove top to a streak-free shine. Use a clean, dry microfiber cloth for this task, as microfiber is excellent at buffing surfaces without leaving behind lint. Buff the entire cooktop in circular motions, ensuring there are no water spots or lingering smudges. This last touch is what will make your stove top look brand new again.
A final polish not only enhances the appearance of your stove but also gives you a chance to inspect your work and ensure you haven’t missed any spots. For glass or ceramic tops, you can add an extra bit of sparkle by spraying a small amount of white vinegar onto the surface and buffing it dry with a clean cloth. Step back and admire your clean, gleaming stove top.
Following these steps on how to clean burnt electric stove top will not only make your cooking area more presentable, but it will also help maintain the longevity of your stove.
Do You Need To Use Professionals?
For most everyday spills and burnt-on food, professional help isn’t necessary. The DIY methods outlined here are effective for the vast majority of cleaning situations. However, there are a few scenarios where you might consider calling a professional.
If you have extremely deep, pitted scorch marks on a glass cooktop, or if you suspect there is damage to the electronic components beneath the surface, it’s best to consult an expert. Additionally, if the burnt substance has chemically bonded with the glass surface, a professional may have specialized compounds to address it without causing further damage.
How Much Will It Cost?
Cleaning your burnt electric stove top yourself is incredibly cost-effective. The primary ingredients—baking soda and white vinegar—are common household items that are very inexpensive. You may already have everything you need on hand. If you need to purchase all the supplies, including a non-abrasive sponge and microfiber cloths, the total cost will likely be under $15.
In contrast, hiring a professional cleaning service for a deep kitchen clean or a specialized appliance technician can cost anywhere from $75 to $200 or more, depending on your location and the severity of the issue.
Frequently Asked Questions
Q1: Can I Use a Magic Eraser on My Electric Stove Top?
A1: It depends on the type of stove top you have. For traditional coil stoves with porcelain or enamel surfaces, a magic eraser can be effective for some stains. However, for glass or ceramic cooktops, it’s best to be cautious. Magic erasers are a form of micro-abrasive and could cause micro-scratches or dull the shiny finish over time. Always test it on a small, inconspicuous area first if you choose to use one.
Q2: How Can I Prevent Food From Burning Onto My Stove?
A2: Prevention is always better than a cure. To prevent messes, try to use cookware with heavy, flat bottoms that distribute heat evenly. Avoid overfilling pots and pans to prevent boil-overs. It’s also a great habit to wipe up spills as soon as they happen, once the area has cooled enough to be safe. For glass tops, be especially careful with sugary liquids, as they can cause permanent damage if left to burn.
Q3: Is It Safe to Use a Razor Blade on a Glass Cooktop?
A3: While some cleaning kits for glass cooktops include a specially designed razor blade scraper, it should be used with extreme caution. These tools are meant to be held at a very specific, low angle to gently lift burnt-on residue. Using a standard razor blade or holding the scraper at the wrong angle can easily lead to deep, permanent scratches. For most users, a plastic scraper is a much safer and still effective alternative.
Q4: What Do I Do if My Electric Coils Are Smoking?
A4: If your electric coils start smoking, it’s usually because food or grease has spilled directly onto them. The best thing to do is to turn on your kitchen’s ventilation fan and let the residue burn off completely. This process might produce a smell, but it is generally not dangerous. Once the coil has fully cooled, you can wipe it down with a damp cloth to remove any remaining ash. Never spray a hot coil with water or cleaner.
Conclusion
A burnt electric stove top can seem like a daunting cleaning challenge, but it’s a manageable task with the right approach. By using simple, safe, and effective household ingredients like baking soda and vinegar, you can break down even the most stubborn messes without resorting to harsh chemicals or expensive services.
Following a patient, step-by-step process on how to clean burnt electric stove top—from preparation and application to scrubbing and polishing—ensures you get a brilliant clean without damaging your appliance. Maintaining a clean stove not only improves the look of your kitchen but also contributes to a safer and more efficient cooking environment.

About
Diane Lo is a distinguished figure in the world of kitchen innovation and culinary design, with over a decade of expertise creating functional and sustainable kitchen environments. Her professional focus lies in merging ergonomic spatial planning with modern culinary technology, fostering kitchen layouts that are both highly practical and aesthetically refined. As the lead expert at Kitchenub, Diane Lo delves into the art and science of kitchen organization, appliance selection, and workflow efficiency, inspiring home cooks and professional designers alike.
Education
Royal Melbourne Institute of Technology (RMIT University) (Melbourne, Australia) Associate Degree in Interior Design and Spatial Planning Focus on sustainable kitchen layouts, user-centric design, and ergonomic efficiency. Gained hands-on experience in high-traffic commercial kitchen modeling and advanced space-saving architecture.
Nottingham Trent University (United Kingdom) Bachelor’s in Product Design and Culinary Architecture (Honors) Specialized in the intersection of kitchen technology and lifestyle design. Participated in major industry collaborations, working with premium appliance manufacturers and cabinetry firms to gain real-world insights into modern kitchen workflows.
Publications and Impact
At Kitchenub, Diane Lo shares her expert insights on kitchen renovation processes, material durability, and strategies for achieving peak culinary productivity. Her writing effectively bridges the gap between professional culinary needs and home design, making it an essential resource for those looking to transform their kitchen into a highly efficient and welcoming heart of the home.