

Discovering a puddle of water on your kitchen floor is never a welcome sight—especially when the culprit turns out to be your refrigerator. While a leaking refrigerator can cause panic and inconvenience, the reassuring news is that many leaks stem from issues you can resolve yourself. Common household refrigerators can develop leaks due to normal wear and tear, blockages, or minor misalignments, but most problems don’t require an expensive service call.
This guide will walk you step by step through how to fix a leaking refrigerator, helping you identify the source and address the most common causes of leaks. With a systematic approach, you can troubleshoot and resolve many refrigerator leaks with minimal tools, restoring order to your kitchen and saving time and money.
Safety First: Preparing to Troubleshoot Your Refrigerator
Before you begin inspecting or working on your refrigerator, always put safety first.
Unplug the Refrigerator
Start by unplugging the refrigerator from its power source. Carefully pull it away from the wall and disconnect it from the outlet to avoid any risk of electric shock.
Shut Off the Water Supply
If your fridge has an icemaker or water dispenser, locate and turn off the water supply valve—usually found under the sink or just behind the appliance.
Prepare Your Workspace
Prepare your workspace by clearing the area around the fridge and having towels or a mop on hand to immediately clean any standing or residual water. These simple steps will keep you safe and help prevent slips or electrical hazards during your repair process.
Identifying the Source of the Leak: Interior vs. Exterior Puddles
Begin your troubleshooting by observing exactly where the water is pooling.
Leaks Inside the Refrigerator
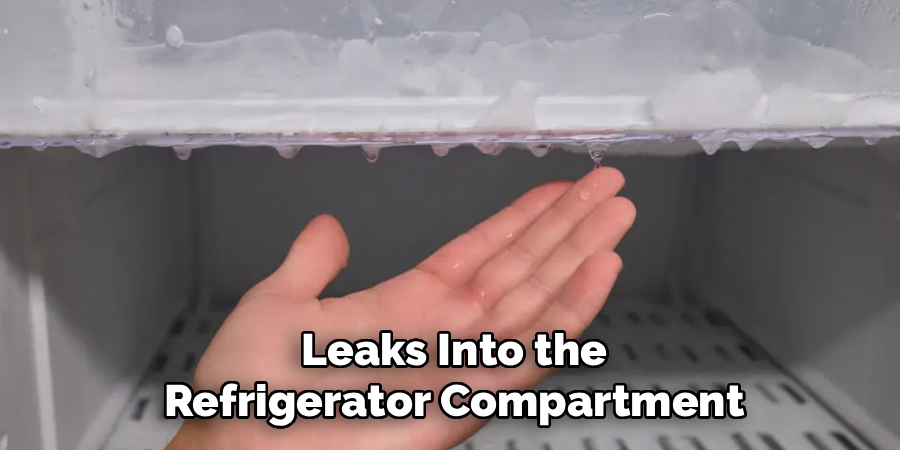
If you notice water collecting inside the refrigerator—perhaps under the crisper drawers or on the bottom shelf—it typically signals a problem with the internal defrost drain system.
Leaks on the Floor in Front of the Refrigerator
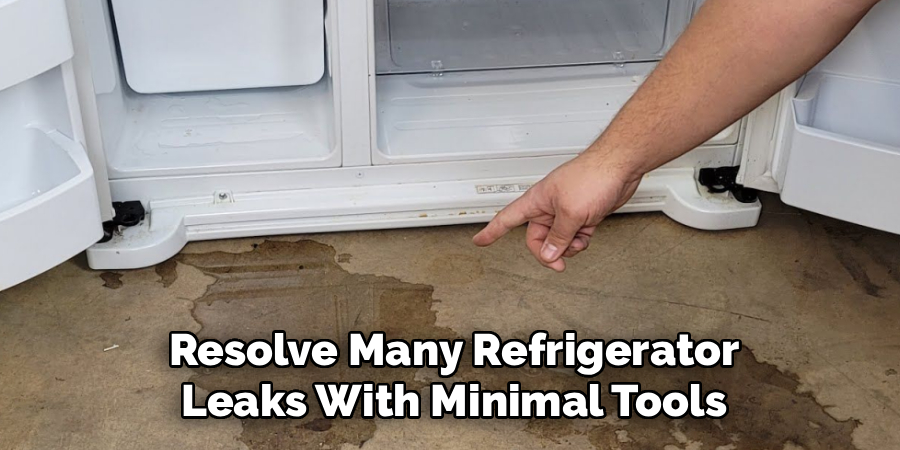
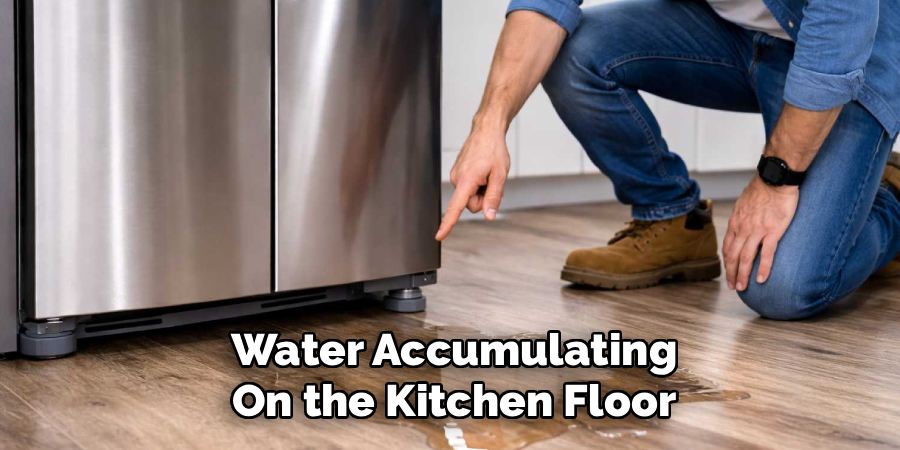
Water accumulating on the kitchen floor in front of your fridge often results from an overflowing defrost drain or a faulty door seal. Watch for puddles that appear just beyond the door, as these are classic signs of interior water escaping out the front.
Leaks at the Back of the Refrigerator
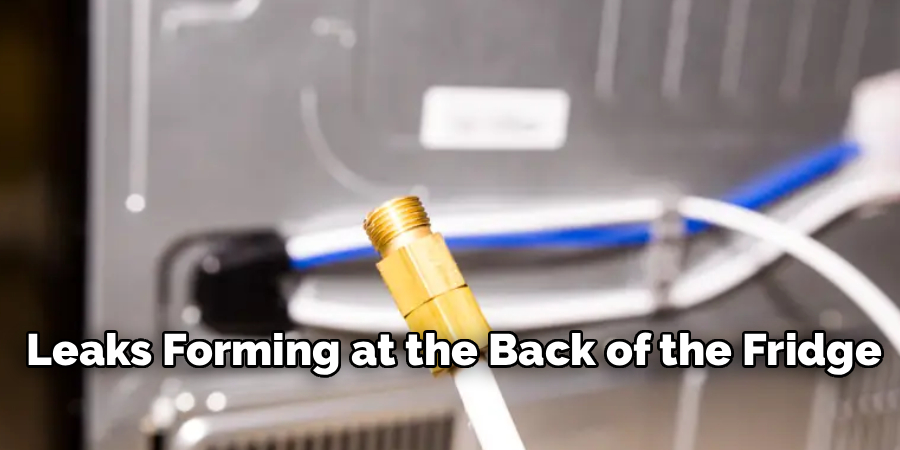
Leaks forming at the back of the fridge may point to issues with the drain pan, the icemaker’s water line, or the main water inlet valve. Check for water pooling behind the unit, as this can help you target water-supply-related problems.
Pinpointing the source helps you target the right fix, reducing trial and error.
How to Fix a Leaking Refrigerator: Clearing a Clogged Defrost Drain
Understanding the Defrost Drain System
The most common source of interior leaks in modern refrigerators is the defrost drain. These units regularly melt ice off their evaporator coils, channeling the water through a narrow drain tube to a pan beneath the fridge where it evaporates. If this drain becomes clogged—by bits of food, debris, or ice buildup—water backs up and leaks into the refrigerator compartment.
Locating the Defrost Drain Hole
To address this, find the drain hole at the back of the freezer compartment or on the rear wall inside the fresh food area. The location can vary by model, so check your manual if necessary.
Clearing the Drain Clog
Flush the drain hole with hot (not boiling) water using a turkey baster or small funnel; this can melt small ice blockages. For more stubborn clogs, gently insert a thin, flexible tool such as a pipe cleaner to dislodge food scraps or mineral deposits. Work slowly to avoid damaging the tubing.
Cleaning the Drain Tube and Pan
Next, move to the back of your refrigerator and locate the external end of the drain tube. Remove and thoroughly clean it with soap and water. While at the rear, inspect and clean the drain pan; it may be full of stagnant water or developing a musty odor from mold. Restoring free flow in the drain system is often enough to stop interior leaks and helps prevent future issues.
Fixing Leaks from the Water Supply Line
Inspecting the Water Line
If your refrigerator has a built-in icemaker or water dispenser, leaks can stem from the supply line. Visual inspection is your first step: Examine the entire length of plastic or copper tubing connecting the water valve to the fridge, looking for cracks, kinks, or areas where the line may have loosened.
Tightening or Replacing Fittings
At each connection—both at the wall and the refrigerator’s water inlet valve—gently check the compression nuts and fittings, tightening each by a small turn as needed. If you notice any signs of cracking or if the tubing seems brittle, replace it immediately; replacement kits are available at most hardware stores.
Checking the Water Inlet Valve
If water appears to be dripping from the inlet valve itself (often a small plastic component at the refrigerator’s base), this likely indicates a cracked valve body. In such cases, replacing the valve is the only reliable solution. Careful inspection and thoughtful adjustments or replacements in this area will resolve most leaks related to your fridge’s water supply.
Troubleshooting a Leaking Drain Pan
What Does the Drain Pan Do?
Your refrigerator’s drain pan is designed to collect water that drips down from the defrost cycle. This collected water gradually evaporates with help from the heat produced by the compressor, keeping moisture from pooling on your kitchen floor.
Inspecting the Drain Pan for Cracks or Damage
To determine if the drain pan is the source of a leak, locate it beneath or at the rear of your refrigerator. Drain pans are typically easy to access, often sliding or clipping out. Carefully examine the pan for cracks, small holes, or warping—any of these flaws can let water escape and create puddles beneath your fridge.
Ensuring the Drain Pan Is Properly Aligned
Besides damage, even a slightly misaligned drain pan can allow water to miss the pan and spill directly onto the floor. Make sure the pan is seated correctly within its bracket, sits level, and does not shift out of place. If the pan is damaged beyond repair, replacing it is necessary to prevent further leaks. Always confirm that any replacement or reinstalled pan is secure before restoring power to the fridge.
Addressing Problems with Door Gaskets and Leveling
Another frequent culprit of leaks or excess interior moisture is a compromised door seal. When a refrigerator door gasket is dirty or deteriorating, it lets warm, moist air enter the cold compartment, increasing condensation and, over time, resulting in water puddles.
Cleaning and Testing the Door Gasket
Regularly clean the gasket using warm, soapy water to remove grime and maintain a tight seal. Make sure to dry it thoroughly so mold and mildew don’t develop. Inspect the gasket for cuts, cracks, or signs of wear during cleaning, as these can also weaken the seal.
Performing the Dollar Bill Test
To check the strength of the gasket, close the refrigerator door on a dollar bill so that half remains outside. Gently tug the bill—if it slides out easily without resistance, your seal isn’t performing properly. A weak seal means the gasket should be replaced to restore proper insulation and prevent leaks.
Adjusting the Leveling Feet for Proper Drainage
Proper leveling of your refrigerator is crucial. The appliance should tilt slightly backward, encouraging doors to close securely and guiding defrost water toward the drain channel. Locate the leveling feet, usually found at the front of the refrigerator base. Adjust them by turning clockwise or counterclockwise as needed, checking with a level to ensure correct alignment. This small step supports effective drainage and optimal door function.
When the Problem is a Clogged or Frozen Water Filter
Inspecting the Filter Housing for Damage
In refrigerators with water filters, leaks can occur if the filter or its housing is compromised. Examine the filter housing closely for any cracks, damage, or leaks. Even hairline fractures can result in water escape, so inspect this area thoroughly.
Ensuring Correct Filter Installation
Always make sure the filter is seated properly. An improperly installed filter can allow water to leak from the connection point, leading to persistent puddles or drips. Refer to your user manual for the correct removal and installation procedure for your specific refrigerator model, ensuring a tight, secure fit every time.
Caution with Non-OEM Filters
Be cautious when using off-brand or non-OEM filters. While they might be less expensive, imperfect fits or lower-quality seals can cause slow, hard-to-detect leaks. If your filter is old, frequently freezing, or not locking into place easily, replace it with the correct model recommended by your refrigerator’s manufacturer to maintain a consistent, leak-free seal.
When to Call a Professional
Even with diligent troubleshooting, there are situations when it’s best to seek expert assistance.
Suspected Refrigerant Leaks
If you notice an oily, chemical-smelling liquid leaking from your refrigerator, it could be refrigerant. Refrigerant leaks are hazardous to both health and the environment and require immediate attention from a licensed technician. Do not attempt to manage refrigerant issues yourself.
Complex Electrical or Sealed System Repairs
Leaks that involve accessing or replacing internal valves, electrical components, or the refrigerator’s sealed defrost system can be complicated and potentially dangerous if handled incorrectly. If you are not familiar or comfortable with these types of repairs, it’s wise to call a professional to avoid risking further damage or personal injury.
When the Source of Leak Remains a Mystery
If you’ve thoroughly checked drains, water lines, gaskets, and drain pans but still cannot locate the leak, professional diagnostics and repair are recommended. Sometimes, underlying issues are difficult to diagnose without specialized tools and experience.
With careful observation and a methodical approach, most refrigerator leaks can be diagnosed and repaired at home. By focusing on the source of water—inside or outside—checking the defrost drain, inspecting water supply lines, confirming the condition and fit of filters, and ensuring proper leveling, you’ll often resolve leaks without needing outside help. However, always recognize your limits, and don’t hesitate to seek expert assistance for more complicated or hazardous issues.
Conclusion
In conclusion, understanding “How to Fix a Leaking Refrigerator” can save you time, money, and frustration. By identifying the root cause of the issue and systematically addressing potential problems like clogged defrost drains, loose water supply lines, or improper leveling, you can often restore your appliance to optimal working condition. Regular maintenance and prompt attention to leaks will also help prevent further damage to your refrigerator and your home. If the issue persists or feels beyond your expertise, don’t hesitate to consult a professional for assistance.

About
Diane Lo is a distinguished figure in the world of kitchen innovation and culinary design, with over a decade of expertise creating functional and sustainable kitchen environments. Her professional focus lies in merging ergonomic spatial planning with modern culinary technology, fostering kitchen layouts that are both highly practical and aesthetically refined. As the lead expert at Kitchenub, Diane Lo delves into the art and science of kitchen organization, appliance selection, and workflow efficiency, inspiring home cooks and professional designers alike.
Education
Royal Melbourne Institute of Technology (RMIT University) (Melbourne, Australia) Associate Degree in Interior Design and Spatial Planning Focus on sustainable kitchen layouts, user-centric design, and ergonomic efficiency. Gained hands-on experience in high-traffic commercial kitchen modeling and advanced space-saving architecture.
Nottingham Trent University (United Kingdom) Bachelor’s in Product Design and Culinary Architecture (Honors) Specialized in the intersection of kitchen technology and lifestyle design. Participated in major industry collaborations, working with premium appliance manufacturers and cabinetry firms to gain real-world insights into modern kitchen workflows.
Publications and Impact
At Kitchenub, Diane Lo shares her expert insights on kitchen renovation processes, material durability, and strategies for achieving peak culinary productivity. Her writing effectively bridges the gap between professional culinary needs and home design, making it an essential resource for those looking to transform their kitchen into a highly efficient and welcoming heart of the home.