

Soapstone countertops are prized for their natural beauty and durability, making them a popular choice in kitchens and bathrooms. At the same time, their softer composition allows for easier cutting compared to granite or quartz, but achieving a professional result still requires careful planning and the right tools.
In this guide, you’ll discover how to cut soapstone countertops accurately and safely. Whether you’re a DIY enthusiast or a first-timer, following well-outlined steps will help you avoid costly mistakes. Read on for all the details, from preparation to finishing touches.
Tools and Materials You’ll Need
- Measuring Tape
- Pencil or Chalk for Marking
- Circular Saw With Diamond-tipped or Carbide Blade
- Angle Grinder (Optional, for Detail Cuts)
- Clamps
- Safety Goggles and Gloves
- Dust Mask or Respirator
- Straight Edge or Guide Rail
- Sandpaper (Various Grits) or Sanding Block
- Mineral Oil or Soapstone Sealer
- Wet/dry Vacuum or Shop Vac
7 Simple Step-by-step Guidelines on How to Cut Soapstone Countertops:
Step 1: Measure and Mark Your Cut Lines
Begin by taking precise measurements of your countertop area. Double-check your numbers to ensure accuracy, as small mistakes can be costly. Once you’re satisfied, use a pencil or chalk to clearly mark the exact lines where you’ll make the cuts.
Check that your markings are straight and visually confirm their alignment with the walls or cabinetry. This planning helps prevent errors during the actual cutting process and can make installation much smoother.
Step 2: Prepare the Workspace
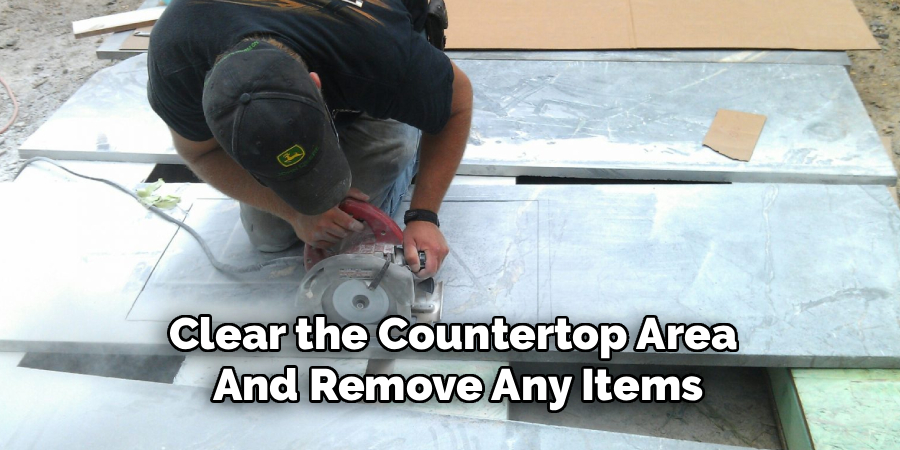
Clear the countertop area and remove any items that could get in the way while working. Lay down a drop cloth to catch dust and debris. Position your soapstone slab on a sturdy, flat work surface, and secure it with clamps.
Good lighting is essential, so make sure your workspace is well-illuminated. If you’re working indoors, open windows or set up fans to improve ventilation and reduce dust accumulation. Organize your tools nearby for easy access throughout the project.
Step 3: Set Up Your Cutting Tools
Choose a circular saw with a suitable diamond-tipped or carbide blade designed for cutting stone. Attach your saw to a guide rail or straight edge to ensure a clean, straight cut. Before powering on the tool, confirm that the blade is sharp and the depth is set correctly.
Don your safety gear, including goggles, gloves, and a dust mask. Double-check electrical cords and connections for safety. Running through a quick pre-cut checklist can help prevent equipment malfunctions and improve your cutting precision.
Step 4: Make the Initial Cut
Slowly and steadily guide the saw along the marked line, allowing the blade to do the work. Avoid forcing the tool, as rushing can cause the saw to bind or the soapstone to chip. Maintain a firm, consistent speed for a smoother cut.
If your cut is particularly long or the slab is thick, consider making several shallow passes instead of a single deep cut. This reduces the risk of fractures and produces a neater edge. Use a shop vac or wet/dry vacuum to keep dust to a minimum during cutting.
Step 5: Refine and Shape the Edges
Once the main cut is complete, examine the edges for uneven spots or roughness. Use an angle grinder or sanding block to smooth and shape the sides as needed. Start with a coarser grit and gradually move to finer sandpaper for a polished effect.
Work slowly and check your progress often to avoid removing too much material. If you’re aiming for decorative edges or curves, mark your desired shape and proceed carefully with the angle grinder for best results.
Step 6: Clean Up and Inspect
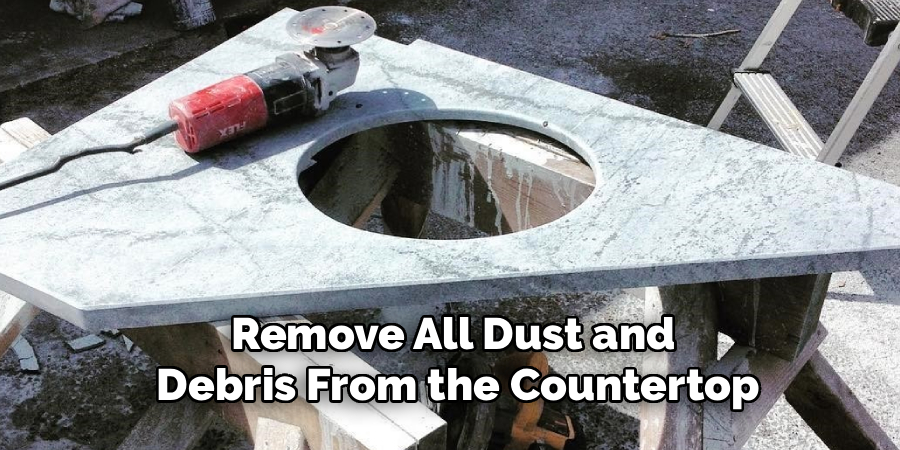
Remove all dust and debris from the countertop and workspace. Use a damp cloth to wipe down the soapstone, and vacuum the floor area to prevent slipping or tracking particles elsewhere. Take a moment to inspect the cut and edge for any imperfections.
Address minor chips or scratches with additional sanding. This stage is also your opportunity to ensure the countertop fits as planned before installation. Do not skip the inspection—attention to detail will lead to a better finished appearance.
Step 7: Apply Finish and Install
When fully satisfied with your cut, apply mineral oil or a stone sealer to the edges and surface of your soapstone. This treatment enhances color and protects the stone from stains. Allow the finish to be absorbed before handling the slab further.
With finishing complete, carefully install your soapstone countertop in its final location. Double-check that it sits properly and make any final adjustments. Celebrate your successful project by admiring the transformation in your space.
Following these steps on how to cut soapstone countertops will ensure a successful and aesthetically pleasing outcome. However, it is important to note that soapstone is a softer stone compared to granite or marble, meaning it may scratch more easily. Regular maintenance and care, such as using trivets, cutting boards, and avoiding harsh chemicals, can help preserve the beauty of your soapstone countertop for years to come.
Safety Tips
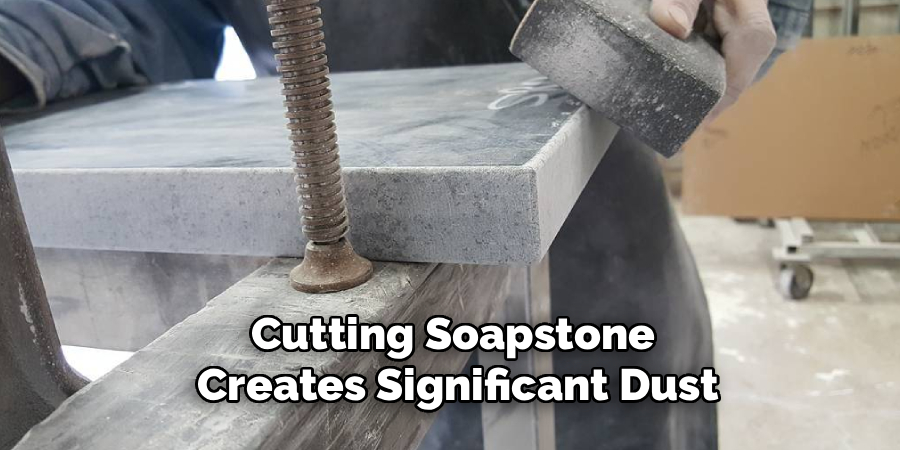
Cutting soapstone creates significant dust, which can be harmful if inhaled, so always wear a dust mask or respirator during the process. Eyes and hands should be protected with safety goggles and gloves at all times. Never operate power tools near flammable materials or in wet conditions to avoid accidents.
Ensure your work area is clear of unnecessary items and bystanders. If you feel uncertain about operating cutting tools, seek guidance or assistance before starting. Prioritizing safety reduces the risk of injury and ensures a smoother project overall.
Common Mistakes to Avoid
When working on any project involving tools and equipment, certain mistakes can lead to inefficiencies or even hazardous situations. One common error is neglecting to read the manufacturer’s instructions for tools, which can result in improper usage or damage to the equipment. Skipping the step of securing materials properly during cutting or drilling is another frequent mistake, as it can lead to uneven results or accidents.
Using dull or inappropriate tools for the job not only affects the quality of the outcome but also poses safety risks. Additionally, failing to clean and maintain tools regularly can reduce their lifespan and effectiveness. Always take the time to properly plan and prepare for your project to avoid these common pitfalls.
When to Hire a Professional?
If you have limited experience with power tools or working with stone, hiring a professional is highly recommended. Large or complex countertop shapes can be difficult to cut accurately without specialized equipment. Professionals can also handle tight installation spaces and tricky corner cuts with ease.
Unexpected complications, such as cracks in the soapstone or uneven support surfaces, require expert solutions. If the cost of error is high or you value a flawless finish, investing in professional services is the safest choice. Ultimately, knowing your own abilities is key to making this decision.
Frequently Asked Questions
Q1: What Blade Should I Use For Cutting Soapstone?
A diamond-tipped or carbide blade is best for cutting soapstone due to its density and texture. Using the correct blade ensures a smoother cut with less risk of chipping or damaging the stone. Never use blades designed for wood, as they can dull quickly and cause uneven edges.
Verify that your saw is compatible with the blade and follow the manufacturer’s instructions. Remember to check blade sharpness before each use for optimal results.
Q2: Can I Make Curved Or Decorative Cuts Myself?
It is possible to make curved or decorative cuts in soapstone, but it requires additional tools like an angle grinder and plenty of patience. Mark your desired curve clearly and proceed in small increments to avoid over-cutting.
Practice on a scrap piece to refine your technique before working on your actual countertop. Decorative edges require a steady hand, so don’t rush the process.
Q3: How Do I Maintain My Soapstone Countertop After Cutting?
Maintaining a soapstone countertop is relatively simple—regularly apply mineral oil or a suitable sealer to enhance its appearance and protect it from stains. Clean spills promptly with mild soap and water, avoiding abrasive cleaners.
Over time, the surface will develop a natural patina, which adds character. Minor scratches can be sanded out and re-oiled as needed.
Q4: Is It Necessary To Seal Soapstone Countertops?
Sealing is optional but highly recommended for soapstone countertops. While soapstone is naturally non-porous, sealing or oiling helps deepen its color and makes cleaning easier. Some homeowners prefer the look of untreated stone, but regular oiling keeps it looking vibrant.
Ultimately, sealing is a matter of personal preference based on desired appearance and maintenance needs.
Conclusion
Cutting soapstone countertops is a manageable DIY project when approached with preparation and the right tools. Attention to safety, accuracy, and finishing will ensure a professional result you can be proud of.
By following these detailed steps and tips on how to cut soapstone countertops, you’ll enjoy a beautiful, customized soapstone surface for years to come.

About
Diane Lo is a distinguished figure in the world of kitchen innovation and culinary design, with over a decade of expertise creating functional and sustainable kitchen environments. Her professional focus lies in merging ergonomic spatial planning with modern culinary technology, fostering kitchen layouts that are both highly practical and aesthetically refined. As the lead expert at Kitchenub, Diane Lo delves into the art and science of kitchen organization, appliance selection, and workflow efficiency, inspiring home cooks and professional designers alike.
Education
Royal Melbourne Institute of Technology (RMIT University) (Melbourne, Australia) Associate Degree in Interior Design and Spatial Planning Focus on sustainable kitchen layouts, user-centric design, and ergonomic efficiency. Gained hands-on experience in high-traffic commercial kitchen modeling and advanced space-saving architecture.
Nottingham Trent University (United Kingdom) Bachelor’s in Product Design and Culinary Architecture (Honors) Specialized in the intersection of kitchen technology and lifestyle design. Participated in major industry collaborations, working with premium appliance manufacturers and cabinetry firms to gain real-world insights into modern kitchen workflows.
Publications and Impact
At Kitchenub, Diane Lo shares her expert insights on kitchen renovation processes, material durability, and strategies for achieving peak culinary productivity. Her writing effectively bridges the gap between professional culinary needs and home design, making it an essential resource for those looking to transform their kitchen into a highly efficient and welcoming heart of the home.